
How to Use DFPLAYER: Examples, Pinouts, and Specs
 Design with DFPLAYER in Cirkit Designer
Introduction
The DFPlayer is a compact MP3 player module designed to decode and play audio files stored on a microSD card. It is widely used in embedded systems and DIY projects for audio playback due to its small size, low cost, and ease of integration. The module supports MP3, WAV, and WMA file formats and can be controlled via serial communication or standalone mode using buttons.
Explore Projects Built with DFPLAYER
 Open Project in Cirkit Designer
 Open Project in Cirkit Designer
 Open Project in Cirkit Designer
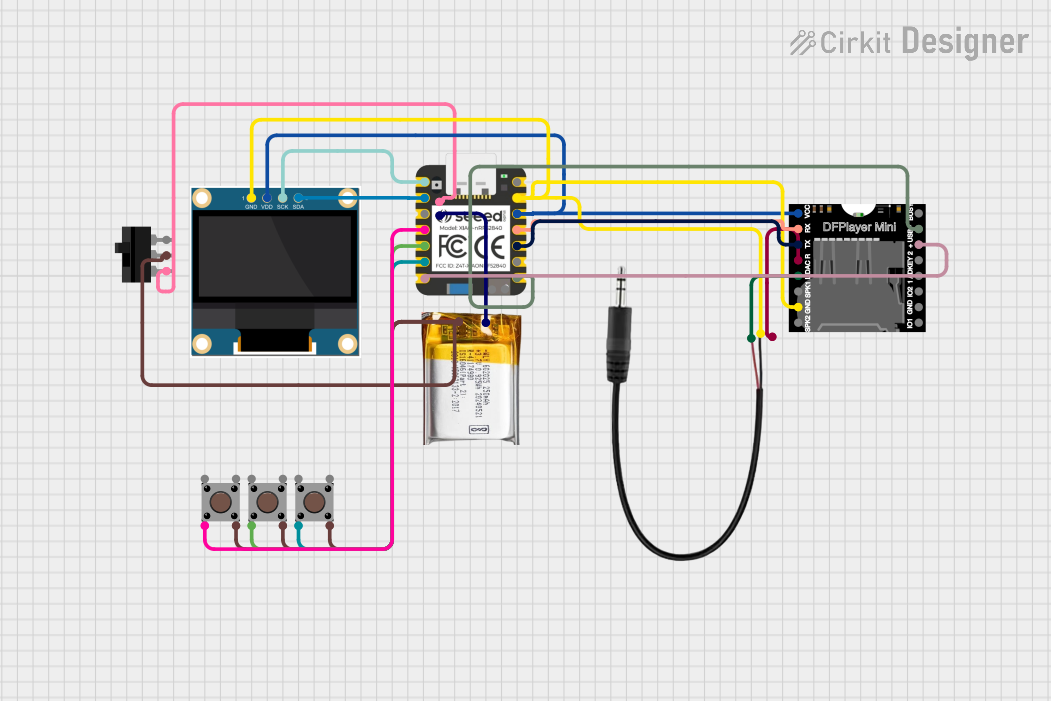 Open Project in Cirkit Designer
Explore Projects Built with DFPLAYER
Open Project in Cirkit DesignerOpen Project in Cirkit DesignerOpen Project in Cirkit DesignerOpen Project in Cirkit DesignerCommon Applications
- Voice prompts in embedded systems
- Audio playback in IoT devices
- Interactive art installations
- Alarm systems with custom sounds
- Educational and hobbyist projects
Technical Specifications
Below are the key technical details of the DFPlayer module:
| Parameter | Value |
|---|---|
| Operating Voltage | 3.2V - 5.0V |
| Operating Current | 20mA - 30mA |
| Supported File Formats | MP3, WAV, WMA |
| Storage Medium | microSD card (up to 32GB, FAT16/FAT32) |
| Communication Protocol | UART (9600 bps default) |
| Audio Output | Stereo (DAC) or Mono (via speaker output) |
| Dimensions | 22mm x 30mm |
Pin Configuration
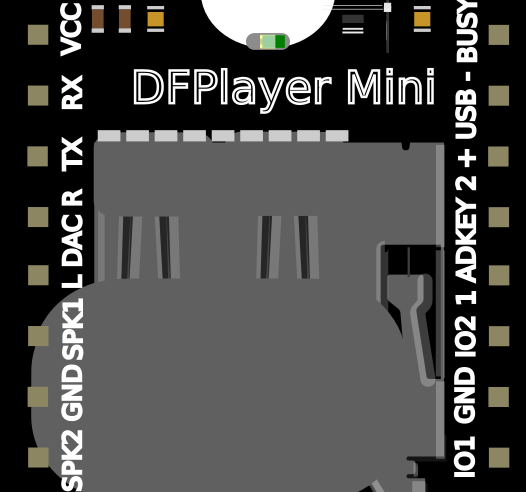
The DFPlayer module has 16 pins, but not all are required for basic operation. Below is the pinout:
| Pin | Name | Description |
|---|---|---|
| 1 | VCC | Power supply input (3.2V - 5.0V) |
| 2 | GND | Ground |
| 3 | RX | UART Receive pin (connect to TX of microcontroller) |
| 4 | TX | UART Transmit pin (connect to RX of microcontroller) |
| 5 | DAC_R | Right channel audio output (for external amplifier or headphones) |
| 6 | DAC_L | Left channel audio output (for external amplifier or headphones) |
| 7 | SPK_1 | Speaker output 1 (connect directly to a speaker) |
| 8 | SPK_2 | Speaker output 2 (connect directly to a speaker) |
| 9-16 | Reserved | Not commonly used in basic applications |
Usage Instructions
Connecting the DFPlayer to a Circuit
To use the DFPlayer module, follow these steps:
- Power Supply: Connect the
VCCpin to a 5V power source and theGNDpin to ground. - Audio Output:
- For headphones or an external amplifier, use the
DAC_LandDAC_Rpins. - For a small speaker, connect it directly to the
SPK_1andSPK_2pins.
- For headphones or an external amplifier, use the
- Control:
- For UART control, connect the
RXpin to the TX pin of a microcontroller (e.g., Arduino) and theTXpin to the RX pin of the microcontroller. - Alternatively, use standalone mode with buttons connected to specific pins (refer to the module's datasheet for details).
- For UART control, connect the
Important Considerations
- Ensure the microSD card is formatted as FAT16 or FAT32 and contains audio files in supported formats.
- Use a resistor divider or level shifter if the microcontroller operates at 5V logic levels to avoid damaging the module.
- Avoid connecting both
DACandSPKoutputs simultaneously to prevent audio distortion.
Example: Using DFPlayer with Arduino UNO
Below is an example of how to control the DFPlayer module using an Arduino UNO:
#include "SoftwareSerial.h"

// Define RX and TX pins for SoftwareSerial
SoftwareSerial mySerial(10, 11); // RX = Pin 10, TX = Pin 11

void setup() {
  mySerial.begin(9600); // Initialize SoftwareSerial at 9600 bps
  Serial.begin(9600);   // Initialize Serial Monitor for debugging

  delay(1000); // Allow the DFPlayer to initialize

  // Send initialization command to DFPlayer
  mySerial.write(0x7E); // Start byte
  mySerial.write(0xFF); // Version
  mySerial.write(0x06); // Length
  mySerial.write(0x09); // Command: Play track 1
  mySerial.write(0x00); // Feedback
  mySerial.write(0x00); // Parameter high byte
  mySerial.write(0x01); // Parameter low byte (track number)
  mySerial.write(0xEF); // End byte

  Serial.println("Playing track 1...");
}

void loop() {
  // Add code here to send additional commands or handle user input
}
Notes:
- Replace
10and11with the desired pins forRXandTXif needed. - Ensure the microSD card contains a file named
0001.mp3in the root directory for the above example.
Troubleshooting and FAQs
Common Issues
No Sound Output:
- Ensure the speaker or headphones are properly connected to the correct pins.
- Verify that the audio file format is supported and the microSD card is formatted correctly.
- Check the power supply voltage (3.2V - 5.0V).
Module Not Responding:
- Confirm the UART connections (
RXandTX) are correct. - Ensure the baud rate is set to 9600 bps in the code.
- Check for loose or incorrect wiring.
- Confirm the UART connections (
Audio Distortion:
- Avoid connecting both
DACandSPKoutputs simultaneously. - Use an appropriate speaker impedance (4Ω or 8Ω recommended).
- Avoid connecting both
FAQs
Q: Can I use the DFPlayer without a microcontroller?
A: Yes, the DFPlayer can operate in standalone mode using buttons connected to specific pins.
Q: What is the maximum storage capacity supported?
A: The DFPlayer supports microSD cards up to 32GB formatted as FAT16 or FAT32.
Q: How do I adjust the volume?
A: Volume can be adjusted via UART commands or by using buttons in standalone mode.
Q: Can I play audio files in a specific folder?
A: Yes, the DFPlayer supports folder-based playback. Use UART commands to specify the folder and file.
By following this documentation, you can effectively integrate the DFPlayer module into your projects for reliable audio playback.