
How to Use WS2812B 5V LED Strip: Examples, Pinouts, and Specs

 Design with WS2812B 5V LED Strip in Cirkit Designer
Introduction
The WS2812B 5V LED Strip is a flexible lighting solution featuring individually addressable RGB LEDs. Each LED contains a built-in driver IC, enabling precise control of color and brightness. This component operates at 5V and is widely used in decorative lighting, dynamic displays, and projects requiring programmable lighting effects. Its versatility and ease of use make it a popular choice for hobbyists, makers, and professionals alike.
Explore Projects Built with WS2812B 5V LED Strip
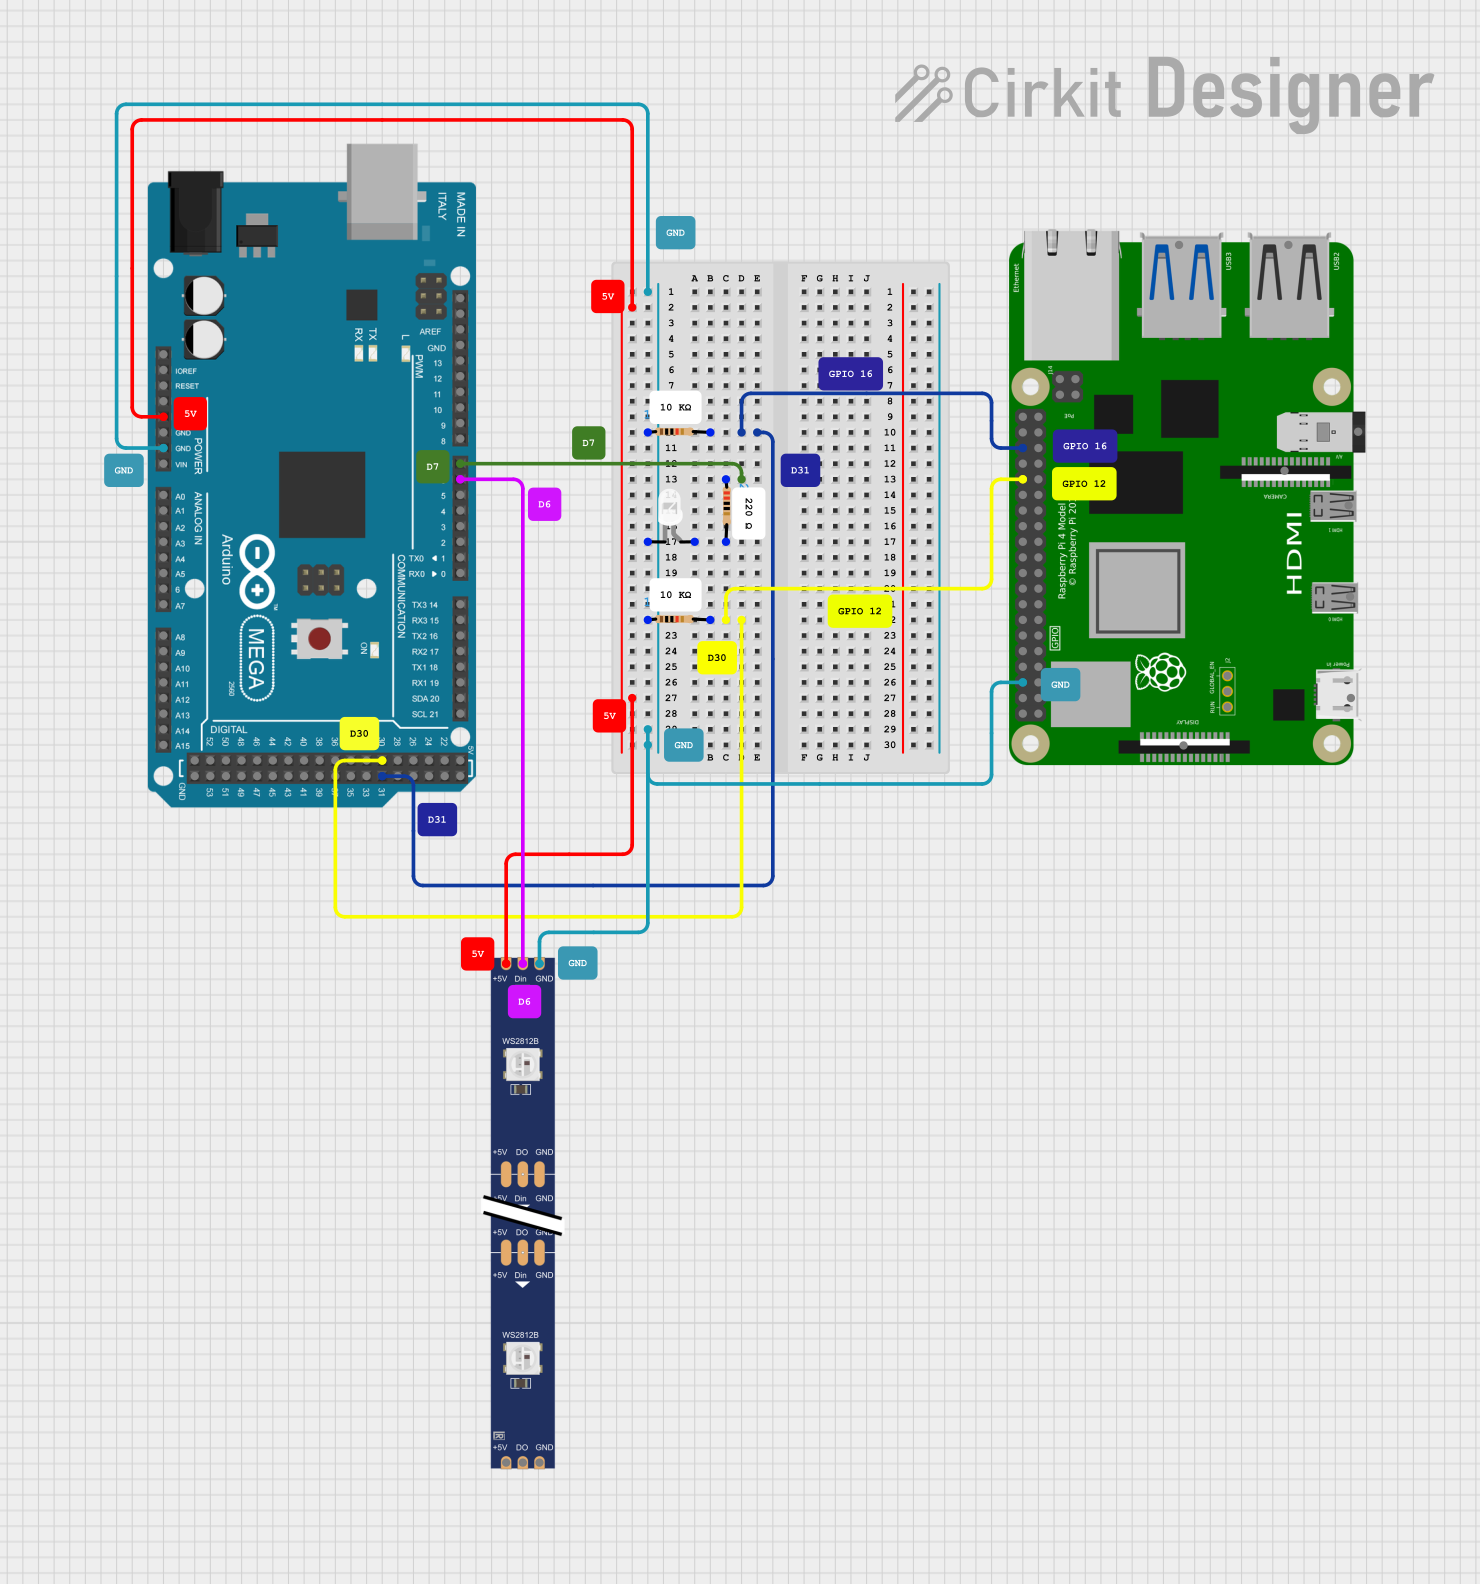 Open Project in Cirkit Designer
 Open Project in Cirkit Designer
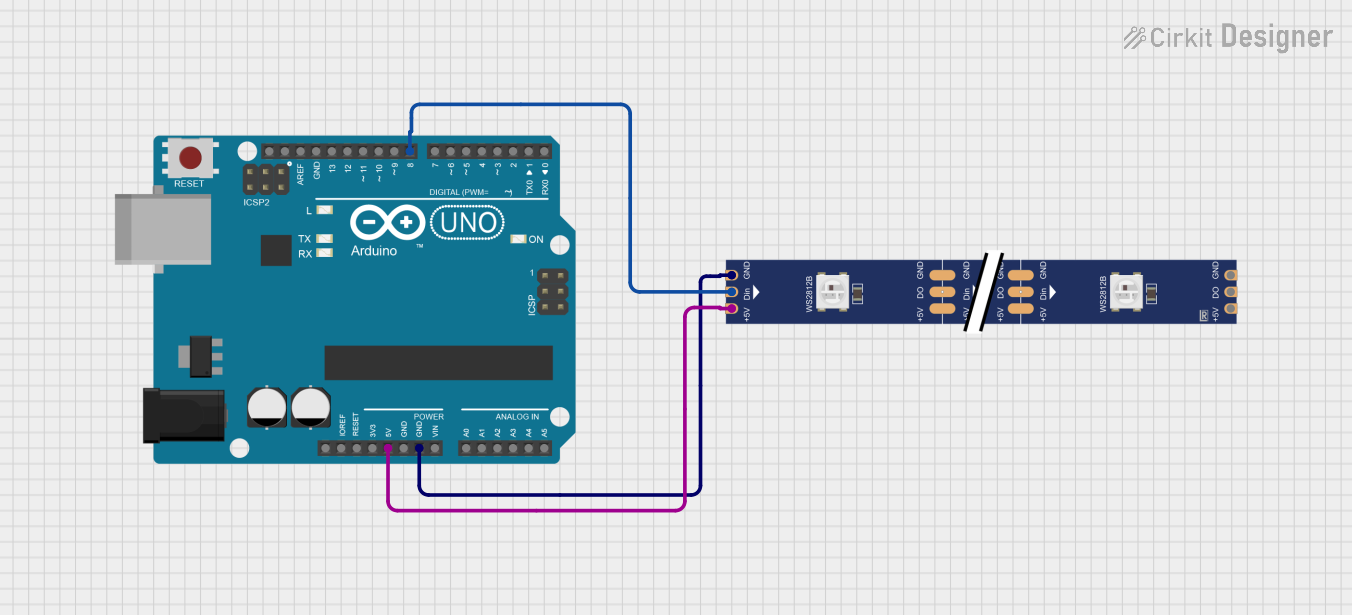 Open Project in Cirkit Designer
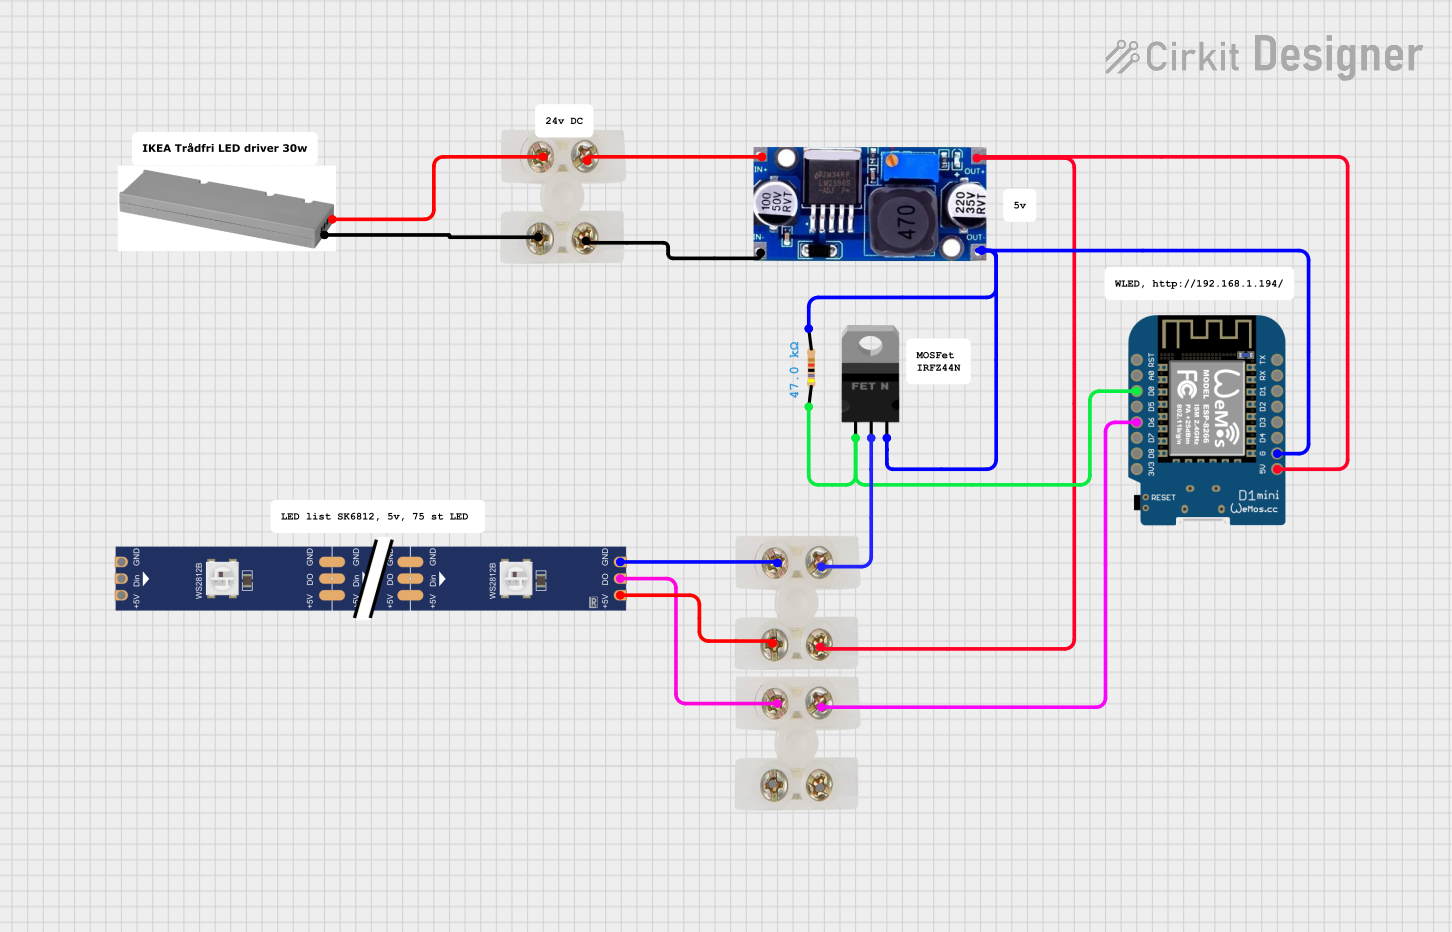 Open Project in Cirkit Designer
Explore Projects Built with WS2812B 5V LED Strip
Open Project in Cirkit DesignerOpen Project in Cirkit DesignerOpen Project in Cirkit DesignerOpen Project in Cirkit DesignerCommon Applications
- Decorative lighting for homes, events, and holidays
- Dynamic displays and signage
- Wearable electronics and costumes
- Interactive art installations
- Robotics and IoT projects requiring visual feedback
Technical Specifications
The WS2812B LED strip is designed for ease of use and high performance. Below are its key technical details:
General Specifications
| Parameter | Value |
|---|---|
| Operating Voltage | 5V DC |
| LED Type | RGB (Red, Green, Blue) |
| Communication Protocol | Single-wire (data line) |
| LED Pitch | Typically 30, 60, or 144 LEDs per meter |
| Power Consumption | ~60mA per LED at full brightness (white) |
| Operating Temperature | -25°C to +80°C |
| Manufacturer Part ID | WS2812B |
Pin Configuration
The WS2812B LED strip typically has three pins for connection. Below is the pinout description:
| Pin Name | Description |
|---|---|
| +5V | Power supply input (5V DC) |
| GND | Ground connection |
| DIN | Data input for controlling the LEDs |
Note: Some LED strips may include an additional
DOUTpin at the end of the strip for chaining multiple strips together.
Usage Instructions
Connecting the WS2812B LED Strip
- Power Supply: Connect the
+5Vpin to a 5V DC power source and theGNDpin to the ground of the same power source. - Data Line: Connect the
DINpin to the data output pin of a microcontroller (e.g., Arduino). Use a resistor (330–470Ω) in series with the data line to protect the LEDs. - Capacitor: Place a 1000µF capacitor (16V or higher) across the
+5VandGNDpins to stabilize the power supply. - Chaining Strips: To chain multiple strips, connect the
DOUTpin of the first strip to theDINpin of the next strip.
Arduino UNO Example Code
Below is an example of how to control the WS2812B LED strip using an Arduino UNO and the Adafruit NeoPixel library:
#include <Adafruit_NeoPixel.h>

// Define the pin connected to the DIN pin of the LED strip
#define LED_PIN 6

// Define the number of LEDs in the strip
#define NUM_LEDS 30

// Create a NeoPixel object
Adafruit_NeoPixel strip = Adafruit_NeoPixel(NUM_LEDS, LED_PIN, NEO_GRB + NEO_KHZ800);

void setup() {
  strip.begin(); // Initialize the LED strip
  strip.show();  // Turn off all LEDs initially
}

void loop() {
  // Example: Set all LEDs to red
  for (int i = 0; i < NUM_LEDS; i++) {
    strip.setPixelColor(i, strip.Color(255, 0, 0)); // Red color
  }
  strip.show(); // Update the strip to display the colors
  delay(1000);  // Wait for 1 second

  // Example: Turn off all LEDs
  for (int i = 0; i < NUM_LEDS; i++) {
    strip.setPixelColor(i, strip.Color(0, 0, 0)); // Turn off
  }
  strip.show(); // Update the strip to turn off LEDs
  delay(1000);  // Wait for 1 second
}
Best Practices
- Use a power supply capable of providing sufficient current for the number of LEDs in your strip. For example, a 60-LED strip at full brightness may require up to 3.6A.
- Avoid powering the strip directly from the Arduino's 5V pin, as it cannot supply enough current for multiple LEDs.
- Keep the data line as short as possible to avoid signal degradation. For longer distances, consider using a level shifter to ensure a 5V data signal.
Troubleshooting and FAQs
Common Issues
LEDs not lighting up:
- Check the power supply voltage and ensure it is 5V.
- Verify all connections, especially the
DINpin. - Ensure the data pin in your code matches the Arduino pin connected to the strip.
Flickering or incorrect colors:
- Add a 330–470Ω resistor in series with the data line.
- Use a 1000µF capacitor across the power supply to stabilize voltage.
- Ensure the ground of the LED strip is connected to the ground of the microcontroller.
Only the first LED works:
- Check the solder joints or connectors between the first and second LEDs.
- Ensure the data signal is reaching the
DINpin of the first LED.
FAQs
Q: Can I cut the LED strip to a custom length?
A: Yes, the WS2812B strip can be cut at designated points (usually marked with scissors icons). Ensure you reconnect the +5V, GND, and DIN pins properly after cutting.
Q: How many LEDs can I control with one Arduino?
A: The number of LEDs depends on the available memory of your Arduino. For example, an Arduino UNO can typically control up to ~500 LEDs.
Q: Can I power the strip with a battery?
A: Yes, you can use a 5V battery pack. Ensure the battery can supply enough current for the number of LEDs in your strip.
Q: Can I chain multiple strips together?
A: Yes, connect the DOUT pin of one strip to the DIN pin of the next. Ensure your power supply can handle the total current draw.
By following this documentation, you can effectively integrate the WS2812B LED strip into your projects and create stunning lighting effects!