
How to Use SWITCH-MOMENTARY-2: Examples, Pinouts, and Specs
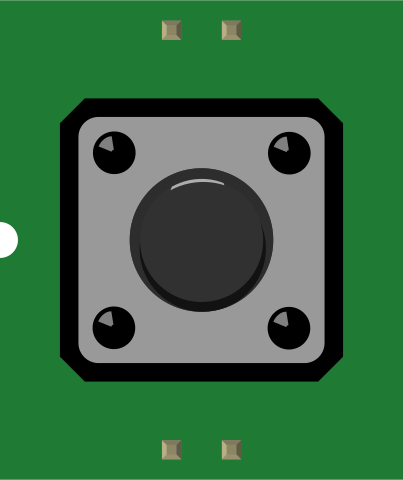
 Design with SWITCH-MOMENTARY-2 in Cirkit Designer
Introduction
The SWITCH-MOMENTARY-2 is a momentary push-button switch that temporarily closes a circuit only while it is being pressed. Once released, the circuit opens again. This type of switch is widely used in applications where a temporary connection is required, such as in doorbells, reset buttons, and user input interfaces.
Explore Projects Built with SWITCH-MOMENTARY-2
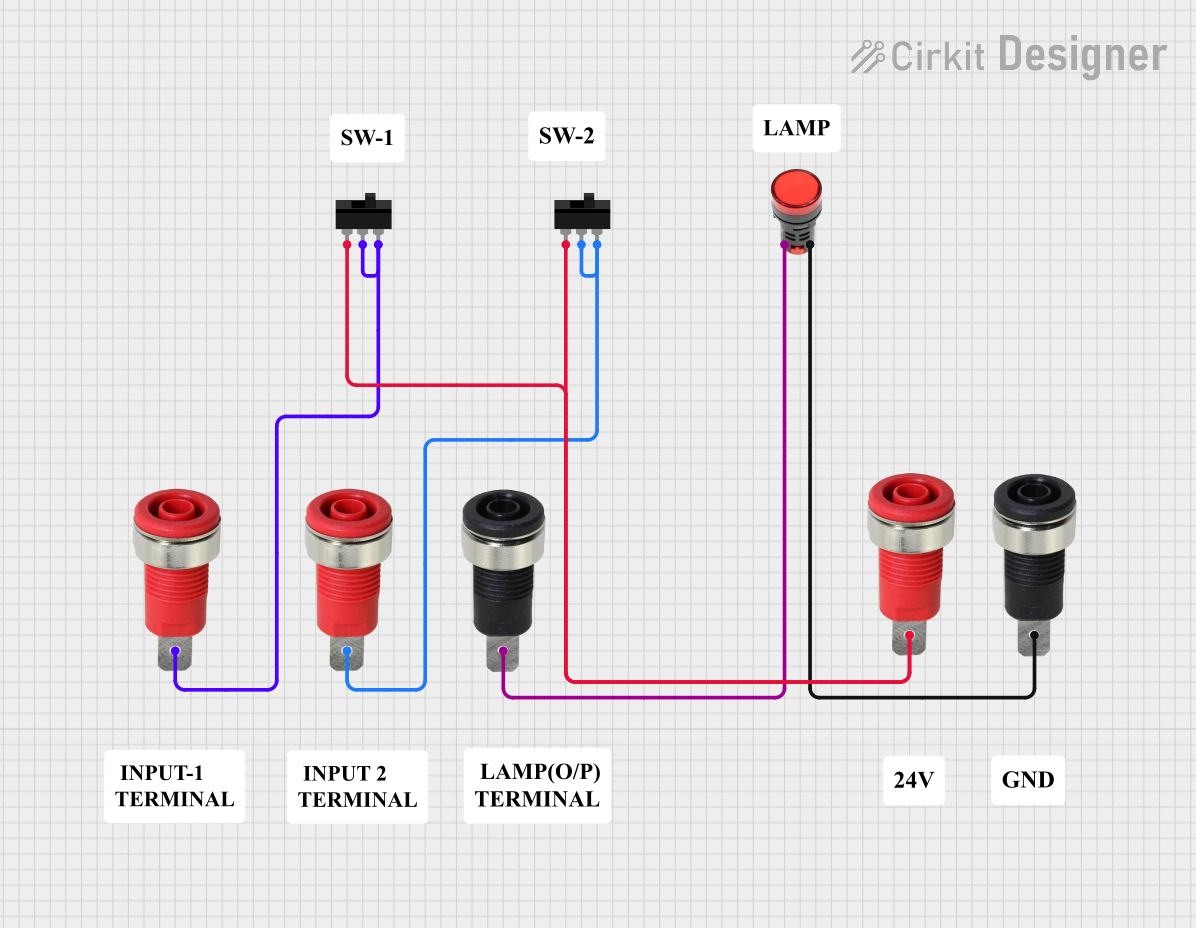 Open Project in Cirkit Designer
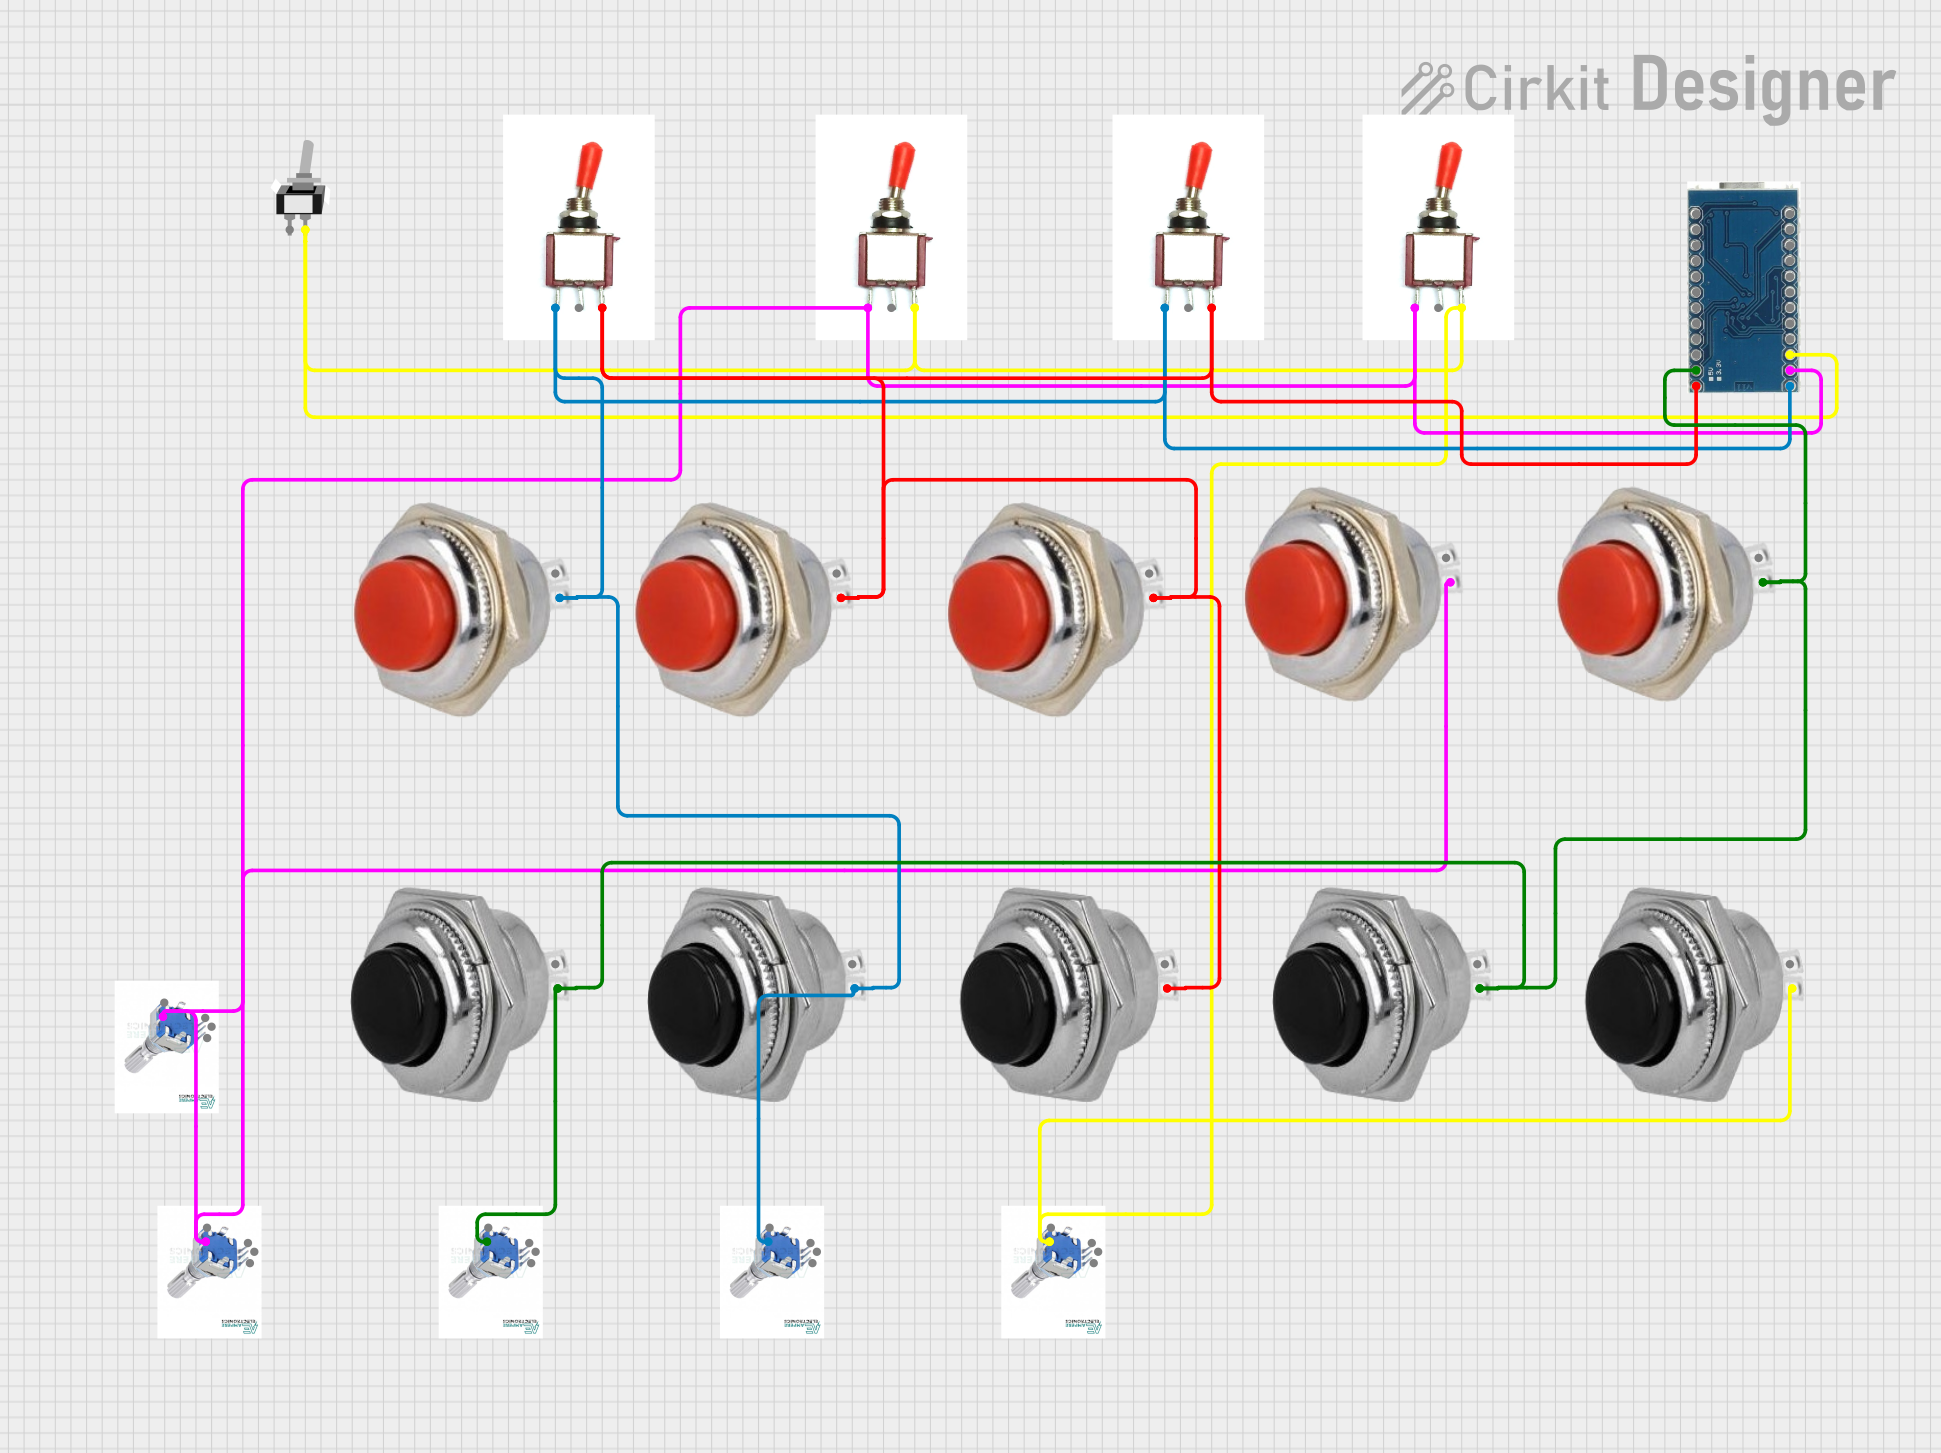 Open Project in Cirkit Designer
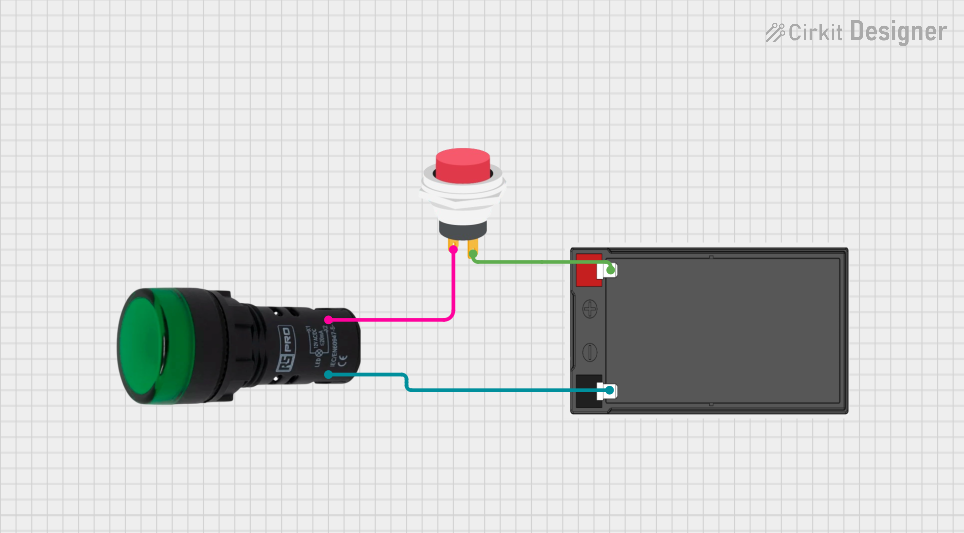 Open Project in Cirkit Designer
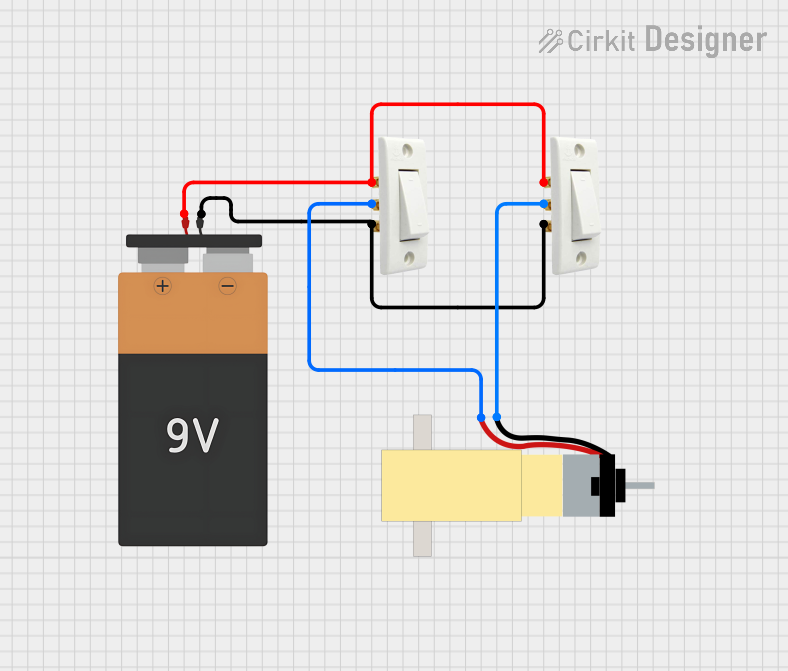 Open Project in Cirkit Designer
Explore Projects Built with SWITCH-MOMENTARY-2
Open Project in Cirkit DesignerOpen Project in Cirkit DesignerOpen Project in Cirkit DesignerOpen Project in Cirkit DesignerCommon Applications and Use Cases
- Doorbell systems
- Reset buttons on electronic devices
- User input for microcontroller projects (e.g., Arduino)
- Triggering events in circuits
- Testing and debugging circuits
Technical Specifications
The following table outlines the key technical details of the SWITCH-MOMENTARY-2:
| Parameter | Value |
|---|---|
| Switch Type | Momentary (Normally Open) |
| Operating Voltage | 3V to 24V DC |
| Maximum Current Rating | 50mA |
| Contact Resistance | ≤ 50 mΩ |
| Insulation Resistance | ≥ 100 MΩ |
| Operating Temperature | -20°C to +70°C |
| Mechanical Lifespan | 100,000 cycles |
Pin Configuration and Descriptions
The SWITCH-MOMENTARY-2 typically has two pins. The table below describes the pin configuration:
| Pin | Description |
|---|---|
| Pin 1 | Connects to one side of the circuit |
| Pin 2 | Connects to the other side of the circuit |
Note: The switch is non-polarized, meaning the pins are interchangeable.
Usage Instructions
How to Use the Component in a Circuit
Basic Connection:
- Connect one pin of the switch to the positive side of the circuit (e.g., power supply or microcontroller input pin).
- Connect the other pin to the load or ground, depending on the circuit design.
- When the button is pressed, the circuit will close, allowing current to flow.
Debouncing:
- Momentary switches can produce electrical noise or "bouncing" when pressed or released. To avoid erratic behavior, use a debouncing circuit (e.g., a capacitor and resistor) or implement software debouncing in your microcontroller code.
Pull-Up or Pull-Down Resistors:
- When interfacing with a microcontroller, use a pull-up or pull-down resistor to ensure a stable signal when the switch is not pressed.
Example: Connecting to an Arduino UNO
Below is an example of how to connect the SWITCH-MOMENTARY-2 to an Arduino UNO and read its state:
Circuit Diagram
- Connect one pin of the switch to digital pin 2 on the Arduino.
- Connect the other pin to ground.
- Use the Arduino's internal pull-up resistor to stabilize the input.
Arduino Code
// Example code for using SWITCH-MOMENTARY-2 with Arduino UNO
const int switchPin = 2; // Pin connected to the switch
int switchState = 0;     // Variable to store the switch state

void setup() {
  pinMode(switchPin, INPUT_PULLUP); // Set pin as input with internal pull-up
  Serial.begin(9600);              // Initialize serial communication
}

void loop() {
  switchState = digitalRead(switchPin); // Read the state of the switch

  if (switchState == LOW) {
    // Switch is pressed (LOW because of pull-up resistor)
    Serial.println("Switch Pressed");
  } else {
    // Switch is not pressed
    Serial.println("Switch Released");
  }

  delay(100); // Small delay to avoid spamming the serial monitor
}
Important Considerations and Best Practices
- Avoid exceeding the maximum voltage and current ratings to prevent damage.
- Use proper debouncing techniques to ensure reliable operation.
- Ensure the switch is securely mounted to avoid mechanical stress.
Troubleshooting and FAQs
Common Issues and Solutions
| Issue | Possible Cause | Solution |
|---|---|---|
| Switch does not respond when pressed | Loose or incorrect wiring | Verify connections and ensure proper wiring. |
| Erratic behavior when pressing the switch | Electrical noise or bouncing | Add a debouncing circuit or use software debouncing. |
| Microcontroller does not detect input | Missing pull-up or pull-down resistor | Use an internal or external pull-up/pull-down resistor. |
| Switch feels stuck or unresponsive | Mechanical wear or debris inside the switch | Replace the switch or clean it carefully. |
FAQs
Can I use the SWITCH-MOMENTARY-2 with AC circuits?
No, this switch is designed for low-voltage DC circuits only. Using it with AC circuits may damage the switch or cause unsafe operation.What is the lifespan of the switch?
The mechanical lifespan is rated at 100,000 cycles under normal operating conditions.Do I need an external pull-up resistor when using this switch with an Arduino?
No, you can use the Arduino's internal pull-up resistor by configuring the pin asINPUT_PULLUP.Can I use this switch for high-current applications?
No, the maximum current rating is 50mA. For high-current applications, consider using a relay or transistor in conjunction with the switch.
By following this documentation, you can effectively integrate the SWITCH-MOMENTARY-2 into your projects and troubleshoot any issues that arise.