How to Use DC-DC Converter: Examples, Pinouts, and Specs

 Design with DC-DC Converter in Cirkit Designer
Introduction
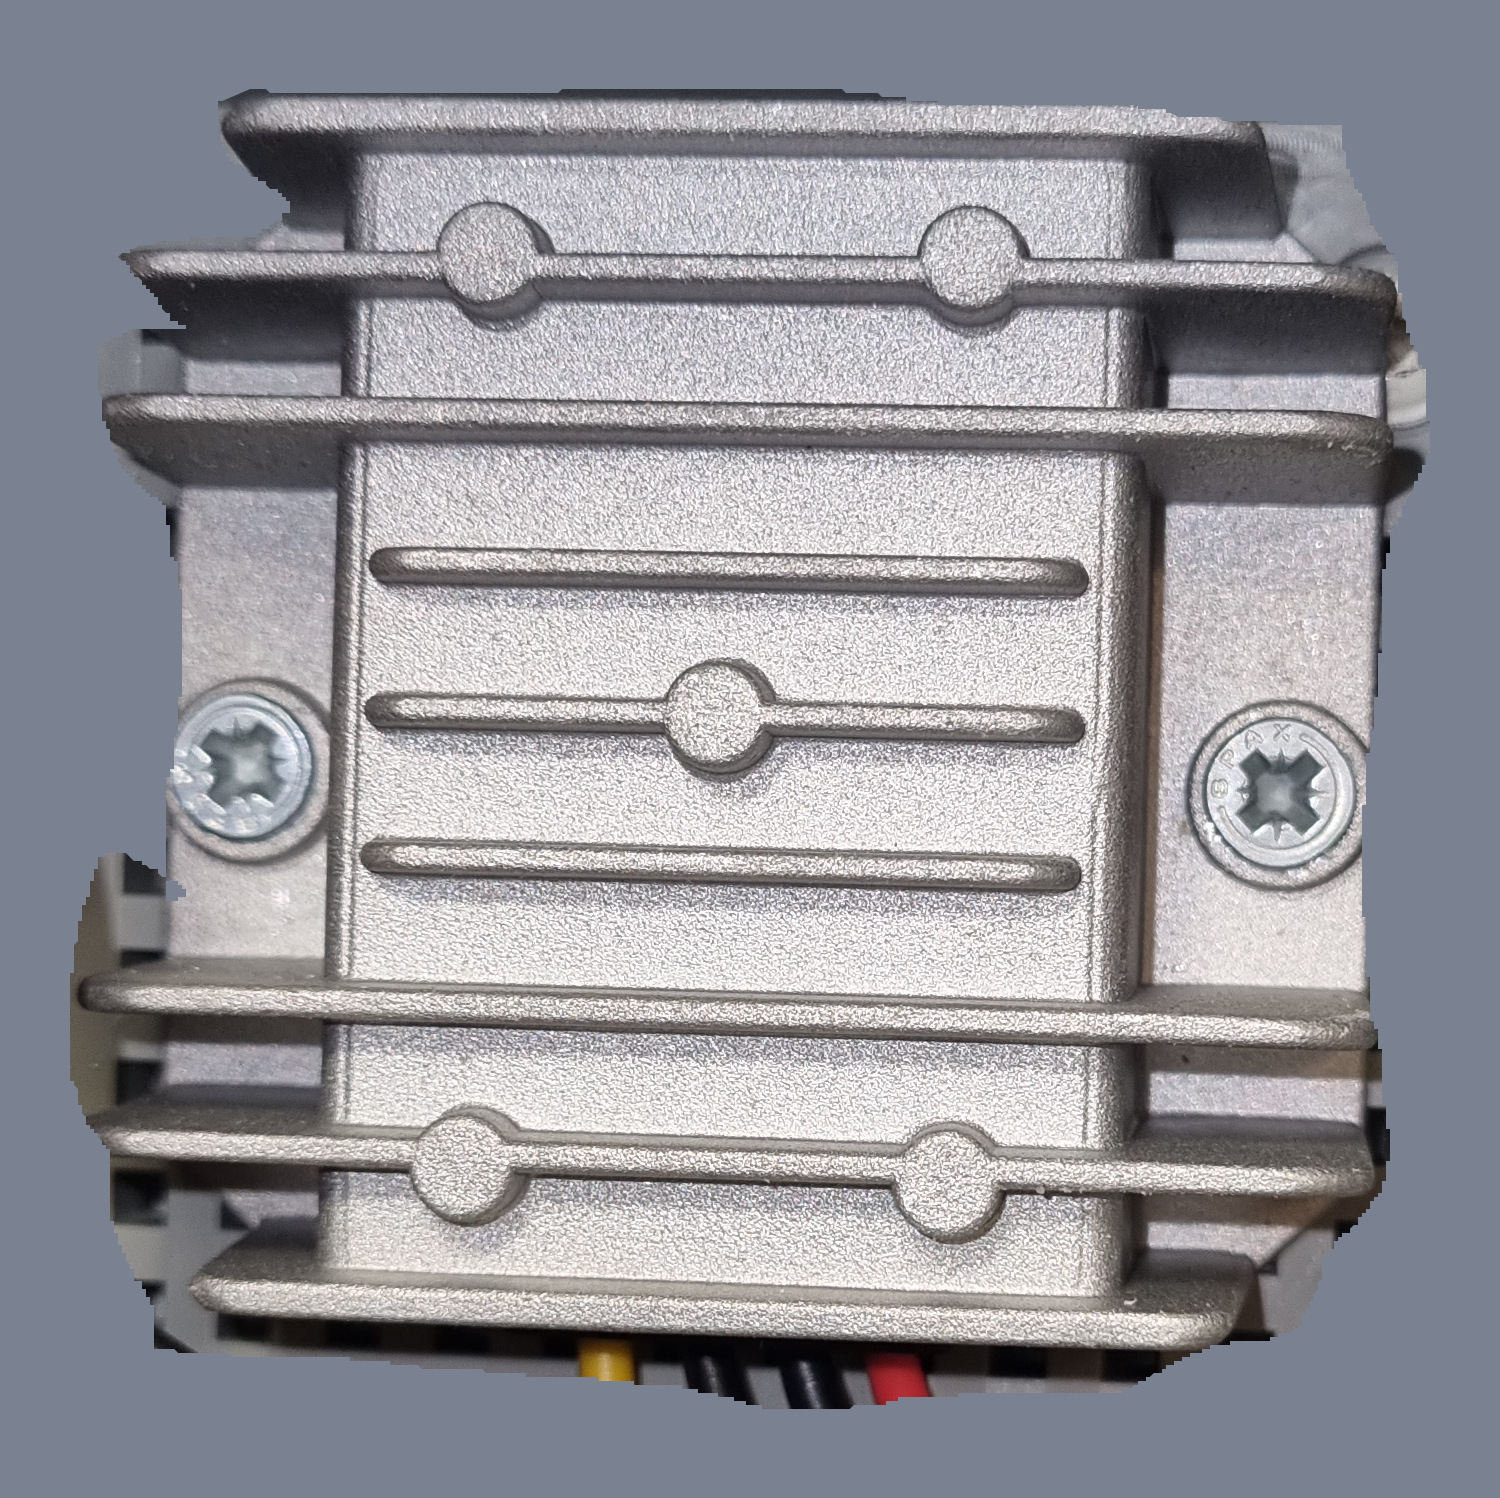
The Swengiao WG-24S1205 is a high-performance DC-DC converter designed to efficiently convert a direct current (DC) input voltage to a different DC output voltage. This component is widely used in applications requiring reliable power management, such as industrial automation, telecommunications, automotive systems, and portable electronics. Its compact design and robust performance make it an ideal choice for both professional and hobbyist projects.
Explore Projects Built with DC-DC Converter

 Open Project in Cirkit Designer
 Open Project in Cirkit Designer
 Open Project in Cirkit Designer
 Open Project in Cirkit Designer
Explore Projects Built with DC-DC Converter

 Open Project in Cirkit Designer
 Open Project in Cirkit Designer
 Open Project in Cirkit Designer
 Open Project in Cirkit Designer
Common Applications
- Powering microcontrollers and sensors from higher voltage sources
- Voltage regulation in battery-powered devices
- Isolated power supplies for industrial and medical equipment
- Step-down or step-up voltage conversion in automotive systems
Technical Specifications
The following table outlines the key technical specifications of the Swengiao WG-24S1205 DC-DC converter:
| Parameter | Value |
|---|---|
| Input Voltage Range | 18V to 36V |
| Output Voltage | 5V |
| Output Current | 1A |
| Output Power | 5W |
| Efficiency | Up to 85% |
| Isolation Voltage | 1500V DC |
| Operating Temperature | -40°C to +85°C |
| Package Type | SIP (Single Inline Package) |
| Dimensions | 22.0mm x 9.5mm x 12.0mm |
Pin Configuration
The WG-24S1205 has a standard 4-pin configuration. The pinout is described in the table below:
| Pin Number | Pin Name | Description |
|---|---|---|
| 1 | Vin+ | Positive input voltage (18V to 36V) |
| 2 | Vin- | Negative input voltage (Ground) |
| 3 | Vout- | Negative output voltage (Ground) |
| 4 | Vout+ | Positive output voltage (5V) |
Usage Instructions
How to Use the Component in a Circuit
- Input Voltage Connection: Connect the input voltage source (18V to 36V DC) to the
Vin+andVin-pins. Ensure the input voltage is within the specified range to avoid damage to the converter. - Output Voltage Connection: Connect the load to the
Vout+andVout-pins. The output voltage will be regulated to 5V DC. - Isolation: If isolation is required between the input and output, ensure proper grounding and avoid direct electrical connections between the input and output circuits.
- Heat Dissipation: For applications with high current or continuous operation, consider adding a heatsink or ensuring adequate airflow to maintain optimal operating temperatures.
Important Considerations
- Input Voltage Range: Always verify that the input voltage remains within the specified range (18V to 36V). Exceeding this range may damage the component.
- Load Requirements: Ensure the connected load does not exceed the maximum output current of 1A.
- Polarity: Double-check the polarity of the input and output connections to prevent reverse polarity damage.
- Decoupling Capacitors: Add decoupling capacitors (e.g., 10µF and 0.1µF) near the input and output pins to reduce noise and improve stability.
Example: Using with an Arduino UNO
The WG-24S1205 can be used to power an Arduino UNO from a 24V DC source. Below is an example circuit and code:
Circuit Setup
- Connect the 24V DC source to the
Vin+andVin-pins of the DC-DC converter. - Connect the
Vout+pin to the Arduino UNO's 5V pin. - Connect the
Vout-pin to the Arduino UNO's GND pin.
Example Code
// Example code for Arduino UNO powered by WG-24S1205 DC-DC converter
// This code blinks an LED connected to pin 13

void setup() {
  pinMode(13, OUTPUT); // Set pin 13 as an output
}

void loop() {
  digitalWrite(13, HIGH); // Turn the LED on
  delay(1000);            // Wait for 1 second
  digitalWrite(13, LOW);  // Turn the LED off
  delay(1000);            // Wait for 1 second
}
Troubleshooting and FAQs
Common Issues
No Output Voltage
- Cause: Input voltage is outside the specified range.
- Solution: Verify the input voltage is between 18V and 36V.
Overheating
- Cause: Excessive load or poor ventilation.
- Solution: Reduce the load or improve airflow around the component.
Noise on Output Voltage
- Cause: Insufficient decoupling or high-frequency interference.
- Solution: Add decoupling capacitors (e.g., 10µF and 0.1µF) near the output pins.
Reverse Polarity Damage
- Cause: Incorrect connection of input or output pins.
- Solution: Double-check the polarity of all connections before powering the circuit.
FAQs
Can the WG-24S1205 be used with a 12V input?
- No, the input voltage must be between 18V and 36V. Using a 12V input will not provide the correct output voltage.
Is the output voltage adjustable?
- No, the output voltage is fixed at 5V.
Can this converter power multiple devices simultaneously?
- Yes, as long as the total current draw does not exceed 1A.
Does the WG-24S1205 require additional components?
- While not strictly necessary, adding decoupling capacitors can improve performance and reduce noise.
By following this documentation, users can effectively integrate the Swengiao WG-24S1205 DC-DC converter into their projects for efficient and reliable power management.