Cirkit Designer LogoCirkit DesignerYour all-in-one circuit design IDE Launch Cirkit Designer App

How to Use Accu: Examples, Pinouts, and Specs

Image of AccuDesign with Accu in Cirkit Designer

Introduction

The Bosch Accu 12V is a rechargeable battery designed to store electrical energy for powering a wide range of devices. This versatile component is commonly used in portable electronics, power tools, automotive systems, and renewable energy storage solutions. Its compact design and reliable performance make it an essential component in both consumer and industrial applications.

Explore Projects Built with Accu

Use Cirkit Designer to design, explore, and prototype these projects online. Some projects support real-time simulation. Click "Open Project" to start designing instantly!
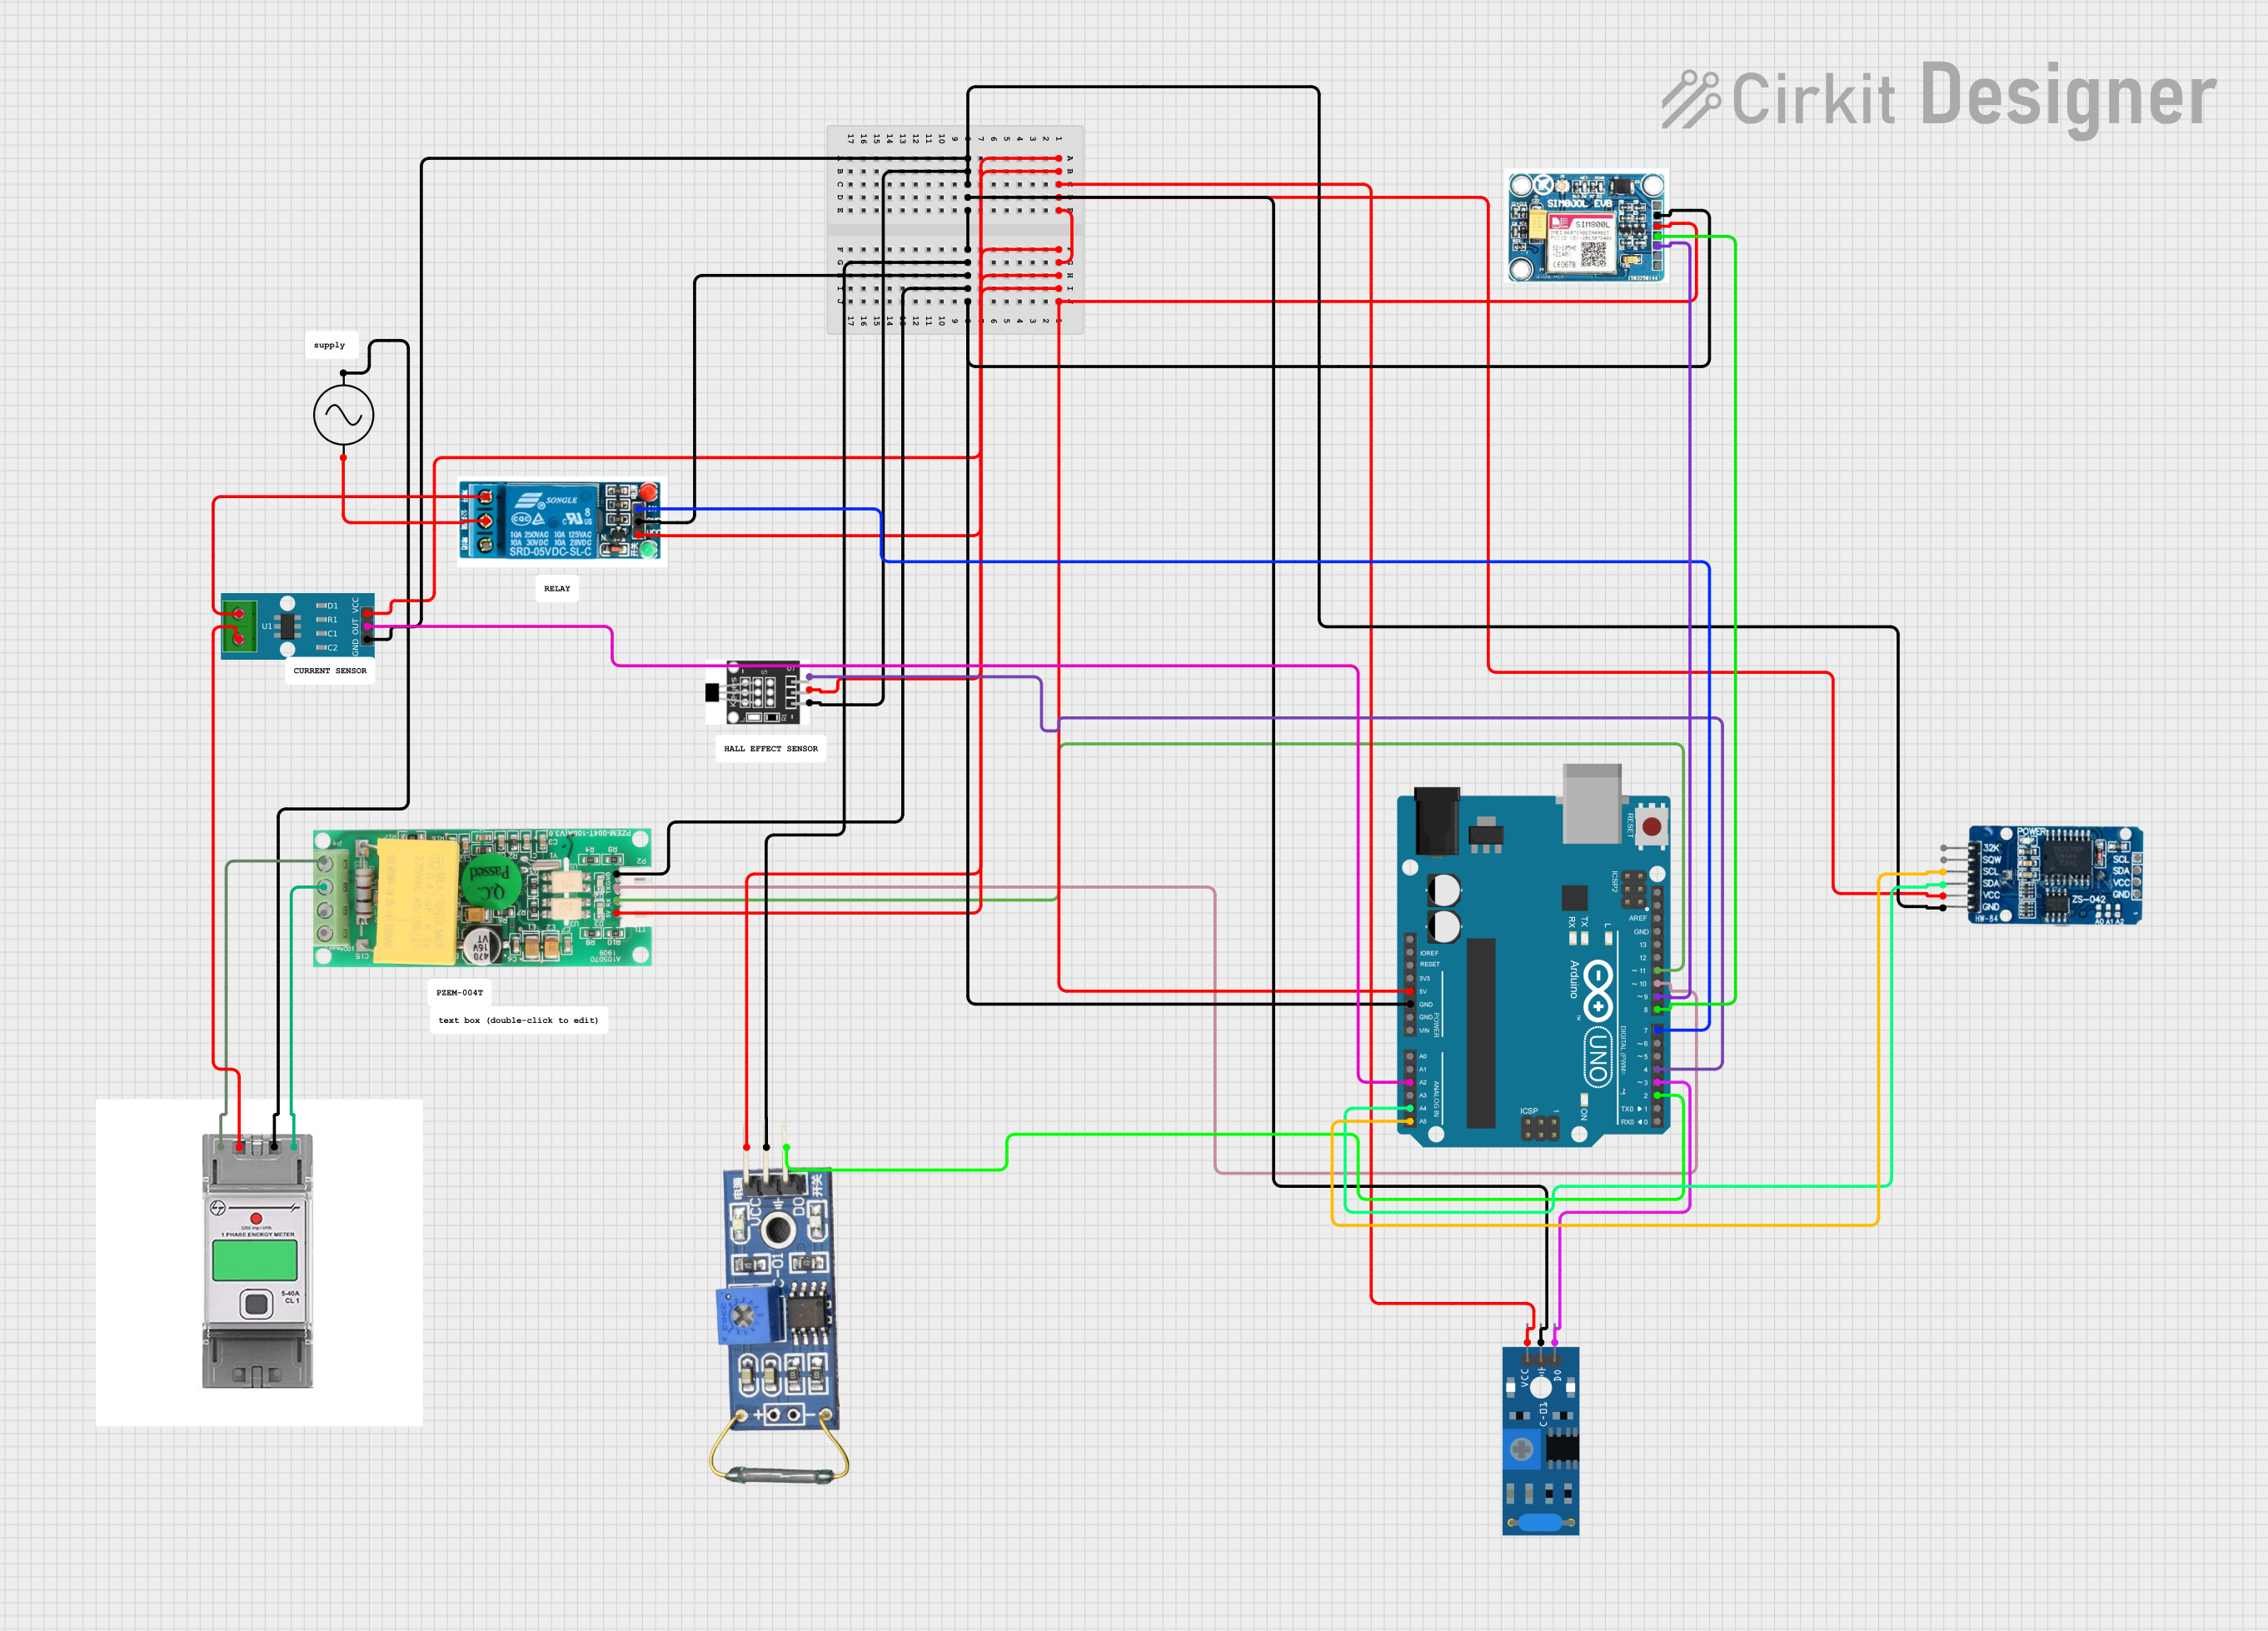
Image of Arduino UNO-based Smart Energy Monitoring System with GSM Reporting and Environmental Sensing: A project utilizing Accu in a practical application
Arduino UNO-based Smart Energy Monitoring System with GSM Reporting and Environmental Sensing

This circuit is designed to monitor various environmental and electrical parameters and control power flow in an AC circuit. It uses an Arduino UNO to interface with a GSM module for remote communication, a real-time clock for timekeeping, various sensors for detecting current, vibration, and magnetic fields, and a relay for controlling an AC load. The system is likely used for data acquisition and automation in a home or industrial setting.

Open Project in Cirkit Designer
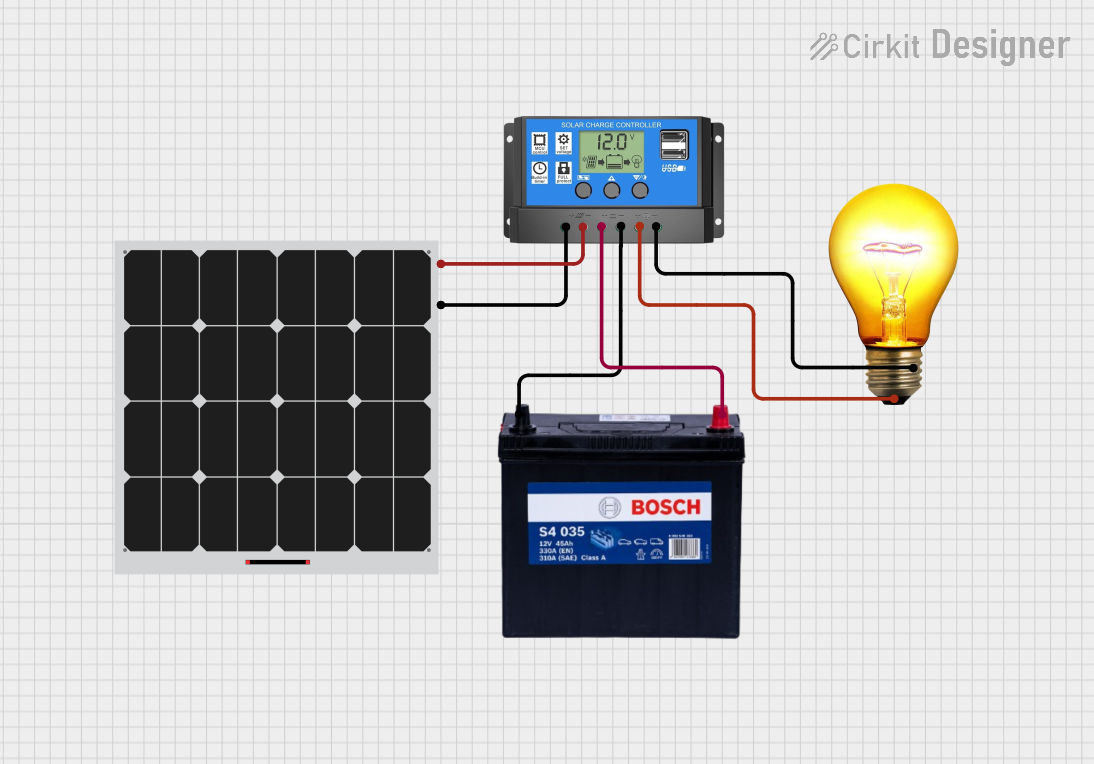
Image of Solar-Powered Lighting System with Battery Backup: A project utilizing Accu in a practical application
Solar-Powered Lighting System with Battery Backup

This circuit is a solar power system that includes a solar panel, a solar charge controller, a 12V 200Ah battery, and an AC bulb. The solar panel generates electricity, which is regulated by the solar charge controller to charge the battery and power the AC bulb. The charge controller ensures proper charging of the battery and provides power to the load (AC bulb) from the battery.

Open Project in Cirkit Designer

Common Applications and Use Cases

Technical Specifications

The Bosch Accu 12V is engineered to deliver consistent performance under various operating conditions. Below are its key technical specifications:

Parameter Value
Manufacturer Bosch
Part ID 12V
Nominal Voltage 12V
Capacity 2.0 Ah (varies by model)
Chemistry Lithium-ion (Li-ion)
Charging Voltage 12.6V (maximum)
Discharge Current 10A (continuous)
Operating Temperature -10°C to 50°C
Storage Temperature -20°C to 60°C
Dimensions 85mm x 50mm x 50mm (approx.)
Weight 200g (approx.)
Cycle Life >500 charge/discharge cycles

Pin Configuration and Descriptions

The Bosch Accu 12V typically features a two-terminal configuration for easy integration into circuits. Below is the pin description:

Pin Label Description
1 + (Positive) Positive terminal for power output
2 - (Negative) Negative terminal for power return (GND)

Usage Instructions

How to Use the Component in a Circuit

  1. Connection: Connect the positive terminal (+) of the Accu to the positive input of your circuit and the negative terminal (-) to the ground (GND).
  2. Charging: Use a compatible 12.6V Li-ion battery charger to recharge the Accu. Ensure the charger has overcharge protection to prevent damage.
  3. Discharging: Avoid discharging the battery below its minimum voltage (typically 10.8V) to maintain its lifespan.
  4. Load Compatibility: Ensure the connected load does not exceed the battery's maximum discharge current (10A).

Important Considerations and Best Practices

Example: Connecting the Accu to an Arduino UNO

The Bosch Accu 12V can be used to power an Arduino UNO. Below is an example circuit and code to read the battery voltage using the Arduino's analog input.

Circuit Diagram

  1. Connect the + terminal of the Accu to the Arduino's VIN pin.
  2. Connect the - terminal of the Accu to the Arduino's GND pin.
  3. Use a voltage divider (e.g., 10kΩ and 5kΩ resistors) to step down the battery voltage for safe measurement on the Arduino's analog pin.

Arduino Code

// Define the analog pin for voltage measurement
const int voltagePin = A0;

// Voltage divider resistor values (in ohms)
const float R1 = 10000.0; // 10kΩ
const float R2 = 5000.0;  // 5kΩ

// Reference voltage of the Arduino (5V for most boards)
const float referenceVoltage = 5.0;

void setup() {
  Serial.begin(9600); // Initialize serial communication
}

void loop() {
  // Read the analog value from the voltage divider
  int analogValue = analogRead(voltagePin);

  // Calculate the battery voltage
  float voltage = (analogValue * referenceVoltage / 1023.0) * ((R1 + R2) / R2);

  // Print the voltage to the Serial Monitor
  Serial.print("Battery Voltage: ");
  Serial.print(voltage);
  Serial.println(" V");

  delay(1000); // Wait for 1 second before the next reading
}

Troubleshooting and FAQs

Common Issues and Solutions

  1. Battery Not Charging:

    • Cause: Faulty charger or damaged battery.
    • Solution: Verify the charger output voltage and inspect the battery for physical damage.
  2. Short Battery Life:

    • Cause: Over-discharging or operating outside the recommended temperature range.
    • Solution: Avoid deep discharges and ensure proper operating conditions.
  3. Overheating:

    • Cause: Excessive current draw or short circuit.
    • Solution: Use a load within the battery's rated discharge current and ensure proper ventilation.
  4. Voltage Reading Inaccurate:

    • Cause: Incorrect resistor values in the voltage divider.
    • Solution: Double-check the resistor values and connections.

FAQs

This concludes the documentation for the Bosch Accu 12V. For further assistance, refer to the manufacturer's guidelines or contact technical support.