
How to Use MP3 Trigger: Examples, Pinouts, and Specs
 Design with MP3 Trigger in Cirkit Designer
Introduction
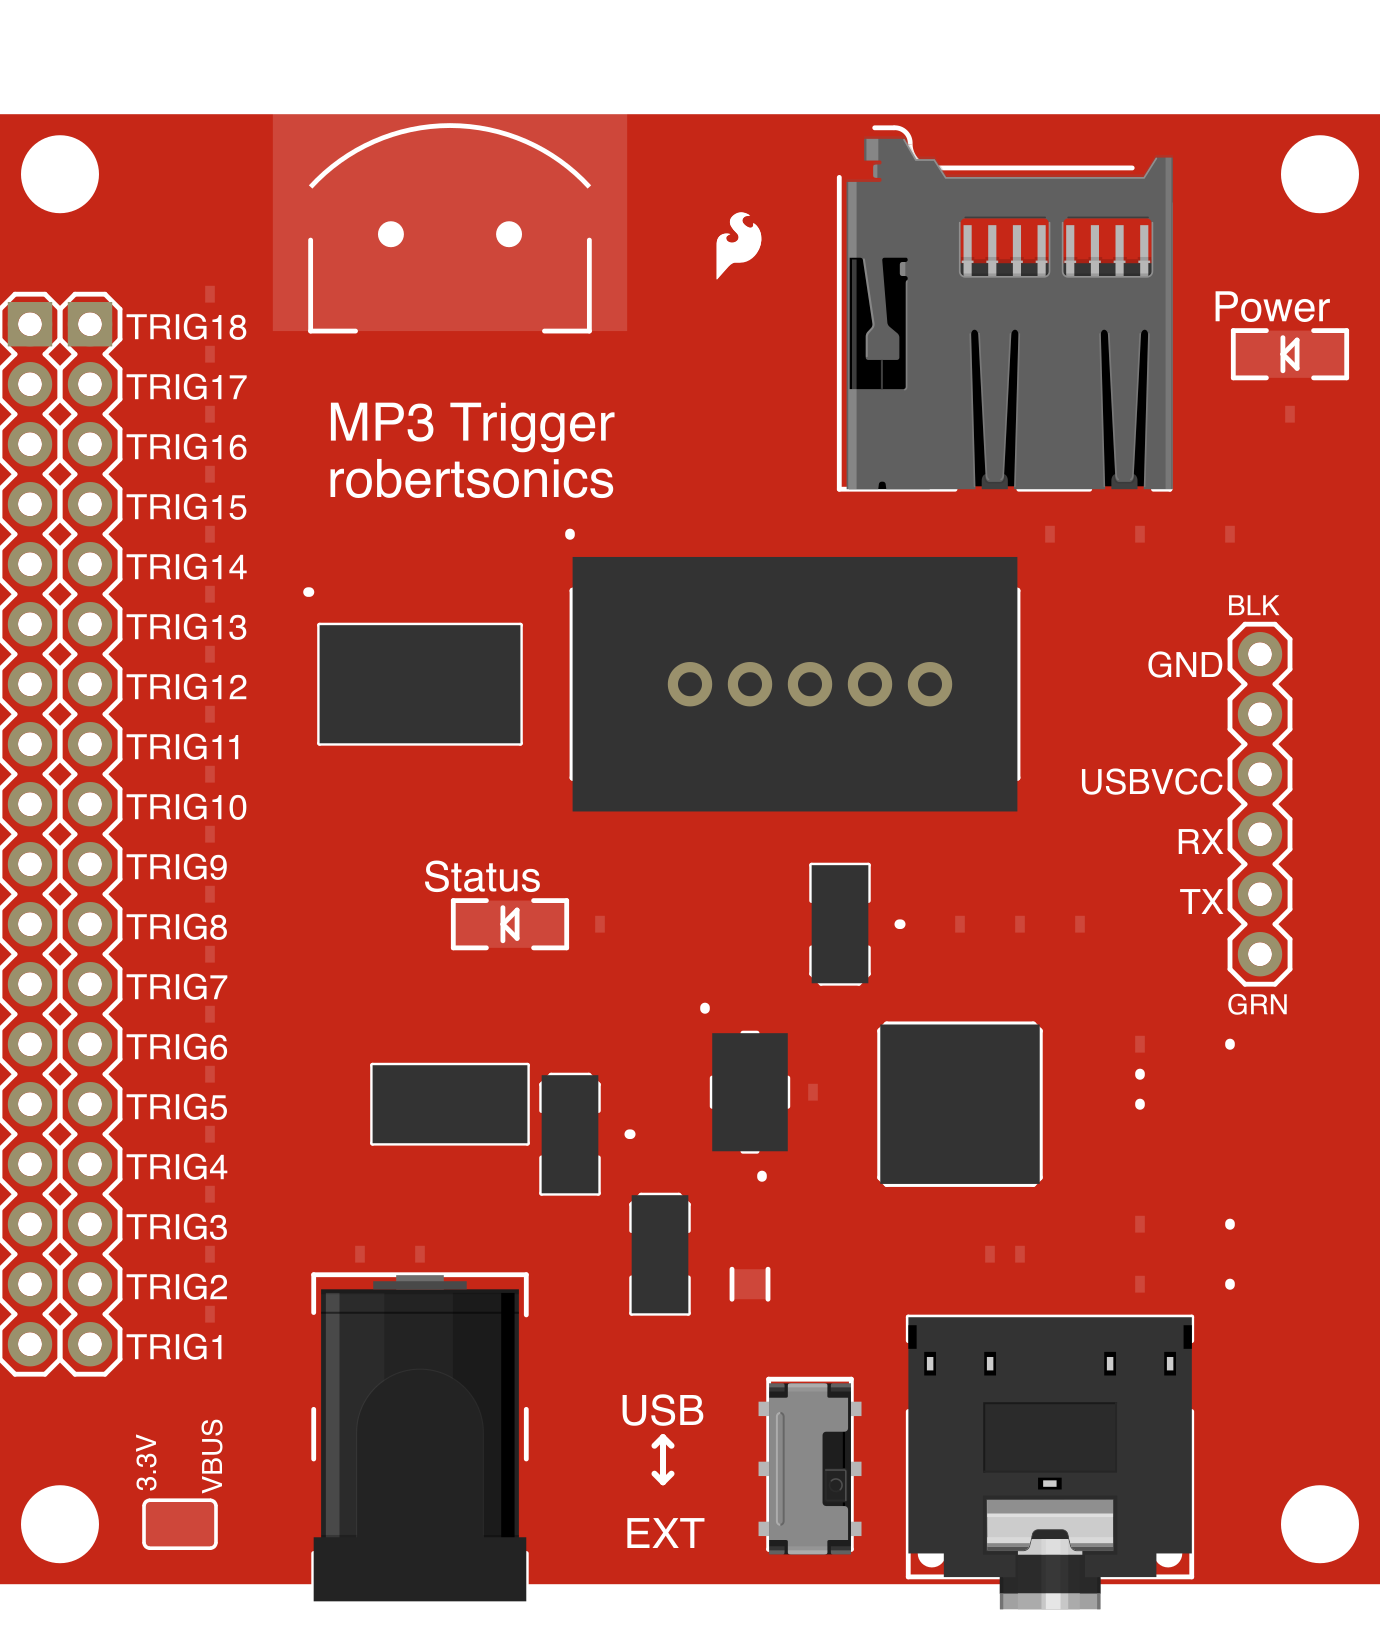
The MP3 Trigger (Manufacturer: SparkFun Electronics, Part ID: WIG-09356) is a versatile audio playback device designed to play MP3 files stored on a microSD card. It is triggered by external signals, making it ideal for projects requiring sound effects, music playback, or voice prompts. The MP3 Trigger is widely used in interactive installations, robotics, museum exhibits, and DIY electronics projects.
This component simplifies audio integration by offering straightforward triggering mechanisms and high-quality audio output. It is compatible with microcontrollers like Arduino, making it a popular choice for hobbyists and professionals alike.
Explore Projects Built with MP3 Trigger
 Open Project in Cirkit Designer
 Open Project in Cirkit Designer
 Open Project in Cirkit Designer
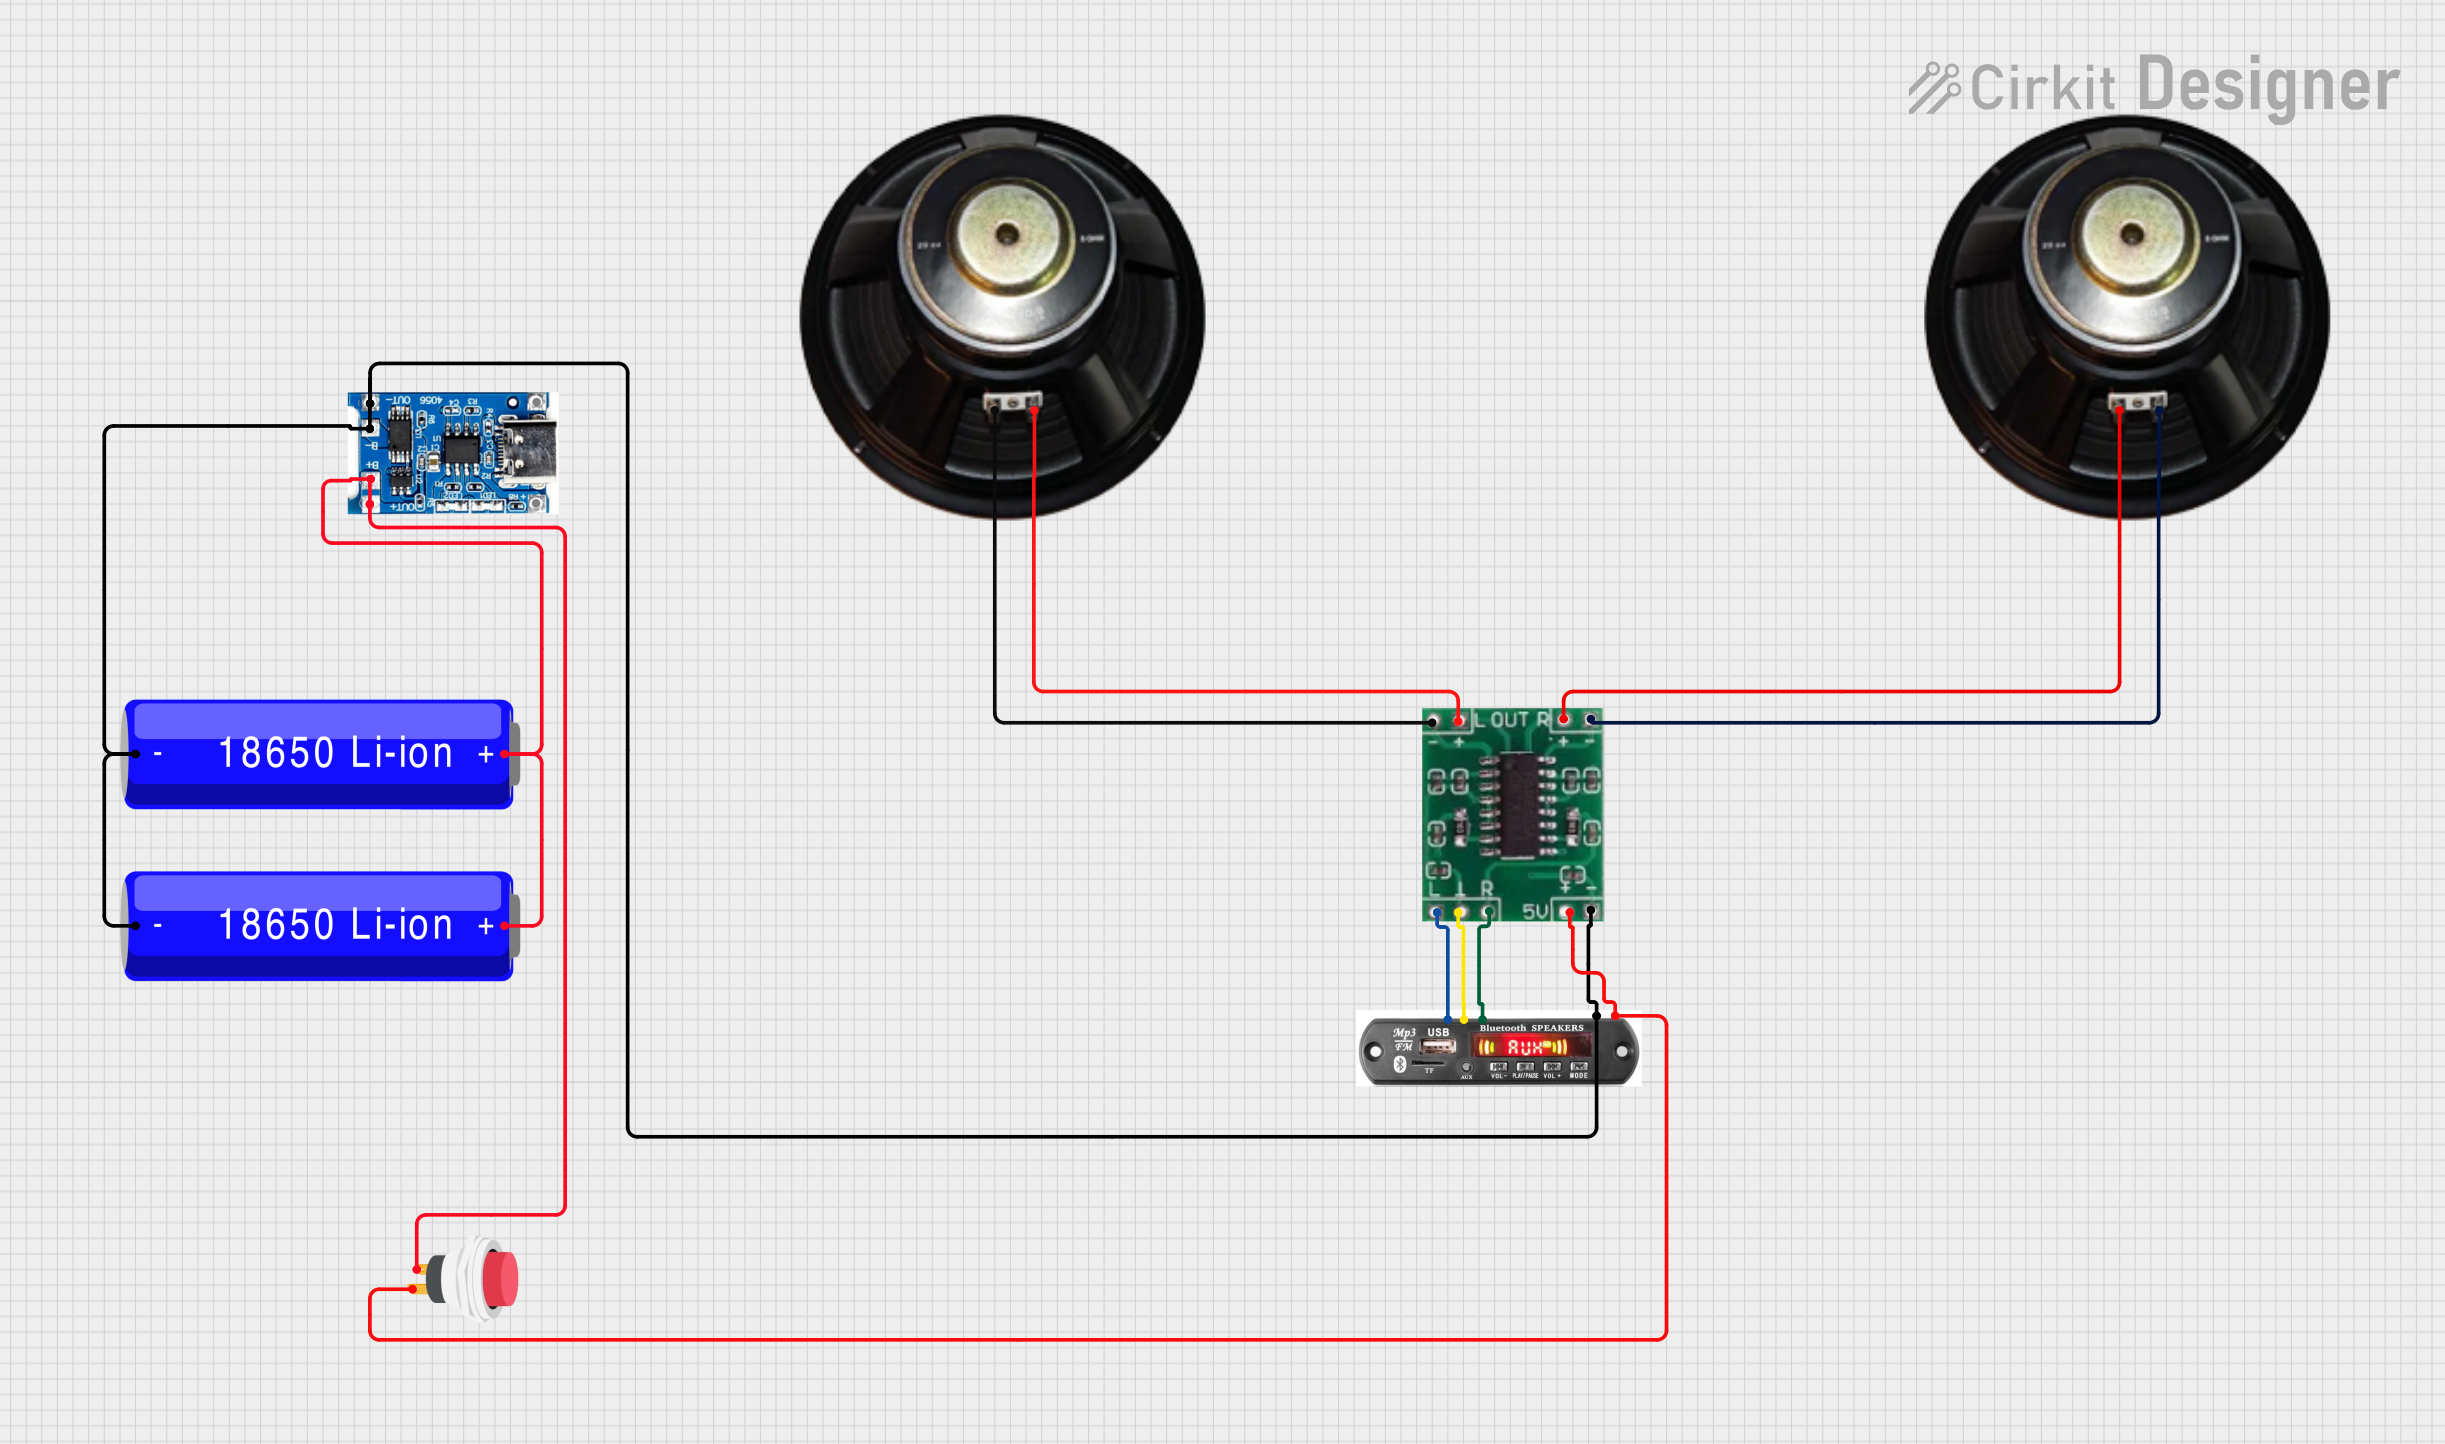 Open Project in Cirkit Designer
Explore Projects Built with MP3 Trigger
Open Project in Cirkit DesignerOpen Project in Cirkit DesignerOpen Project in Cirkit DesignerOpen Project in Cirkit DesignerTechnical Specifications
The MP3 Trigger is designed for ease of use and reliable performance. Below are its key technical details:
General Specifications
| Parameter | Value |
|---|---|
| Manufacturer | SparkFun Electronics |
| Part ID | WIG-09356 |
| Power Supply Voltage | 3.6V to 6.0V DC |
| Current Consumption | ~100mA (varies with playback volume) |
| Audio Output | Stereo, Line-level |
| Storage Medium | microSD card (FAT16/FAT32, up to 32GB) |
| Supported File Formats | MP3 (MPEG-1 Layer III) |
| Trigger Inputs | 18 GPIO pins (active low) |
| Communication Protocols | UART (optional for advanced control) |
Pin Configuration and Descriptions
The MP3 Trigger features a 24-pin header for power, triggers, and communication. Below is the pinout:
| Pin Number | Name | Description |
|---|---|---|
| 1 | GND | Ground connection |
| 2 | VIN | Power input (3.6V to 6.0V DC) |
| 3-20 | TRIG1-TRIG18 | Trigger inputs (active low, used to play specific MP3 files) |
| 21 | TX | UART Transmit (for advanced control via serial communication) |
| 22 | RX | UART Receive (for advanced control via serial communication) |
| 23 | AUDIO_L | Left audio output (line-level) |
| 24 | AUDIO_R | Right audio output (line-level) |
Usage Instructions
Basic Setup
Prepare the microSD Card:
- Format the microSD card to FAT16 or FAT32.
- Load MP3 files onto the card. File names should follow the format
001.mp3,002.mp3, etc., corresponding to trigger inputs TRIG1, TRIG2, and so on.
Connect Power:
- Supply 3.6V to 6.0V DC to the VIN pin and connect GND to the ground of your power source.
Connect Triggers:
- Connect external switches, sensors, or microcontroller GPIO pins to the TRIG1-TRIG18 pins. When a pin is pulled low, the corresponding MP3 file will play.
Audio Output:
- Connect the AUDIO_L and AUDIO_R pins to an amplifier or headphones for stereo audio output.
Using with an Arduino UNO
The MP3 Trigger can be controlled via its trigger pins or UART interface. Below is an example of using an Arduino UNO to trigger MP3 playback:
Circuit Connections
- Connect the MP3 Trigger's VIN and GND to the Arduino's 5V and GND pins, respectively.
- Connect TRIG1 to Arduino digital pin 2.
- Connect AUDIO_L and AUDIO_R to an audio amplifier or headphones.
Example Code
// Example code to trigger MP3 playback on the MP3 Trigger using Arduino UNO
// This code pulls TRIG1 low to play the first MP3 file (001.mp3).

const int triggerPin = 2; // Arduino pin connected to TRIG1 on MP3 Trigger

void setup() {
  pinMode(triggerPin, OUTPUT); // Set trigger pin as output
  digitalWrite(triggerPin, HIGH); // Ensure trigger pin is initially HIGH
}

void loop() {
  digitalWrite(triggerPin, LOW); // Pull TRIG1 low to play 001.mp3
  delay(500); // Keep the pin low for 500ms
  digitalWrite(triggerPin, HIGH); // Set the pin back to HIGH
  delay(5000); // Wait 5 seconds before triggering again
}
Best Practices
- Ensure the microSD card is properly formatted and files are named correctly.
- Use pull-up resistors on trigger pins if they are left floating.
- Avoid exceeding the maximum power supply voltage (6.0V) to prevent damage.
- Use an external amplifier for louder audio output.
Troubleshooting and FAQs
Common Issues
No Audio Output:
- Ensure the microSD card is properly inserted and formatted.
- Verify that MP3 files are named correctly (e.g.,
001.mp3,002.mp3). - Check the audio connections to the amplifier or headphones.
Trigger Pins Not Working:
- Confirm that the trigger pins are being pulled low (active low logic).
- Check for loose connections or faulty wiring.
- Use a multimeter to verify the voltage levels on the trigger pins.
Device Not Powering On:
- Ensure the power supply voltage is within the 3.6V to 6.0V range.
- Check the polarity of the power connections.
FAQs
Q: Can I use a larger microSD card (e.g., 64GB)?
A: The MP3 Trigger supports microSD cards up to 32GB formatted as FAT16 or FAT32. Larger cards may not work reliably.
Q: How many MP3 files can the MP3 Trigger handle?
A: The MP3 Trigger can handle up to 18 MP3 files, corresponding to the 18 trigger inputs.
Q: Can I control the MP3 Trigger via UART?
A: Yes, the MP3 Trigger supports UART communication for advanced control. Refer to the manufacturer's documentation for UART command details.
Q: Is the MP3 Trigger compatible with other microcontrollers?
A: Yes, the MP3 Trigger can be used with any microcontroller that supports GPIO or UART communication.
By following this documentation, you can effectively integrate the MP3 Trigger into your projects and troubleshoot common issues.