How to Use MPL3115A2: Examples, Pinouts, and Specs
 Design with MPL3115A2 in Cirkit Designer
Introduction
The MPL3115A2 is a compact piezoresistive, absolute pressure sensor with an I2C interface. Manufactured by NXP Semiconductors, it offers high-precision altitude and temperature data, making it ideal for a variety of applications such as weather stations, smartphones, personal health and wellness devices, and sports watches. Its ability to measure the pressure changes associated with altitude variations as small as 30 cm makes it particularly useful for altimeters and similar precision instruments.
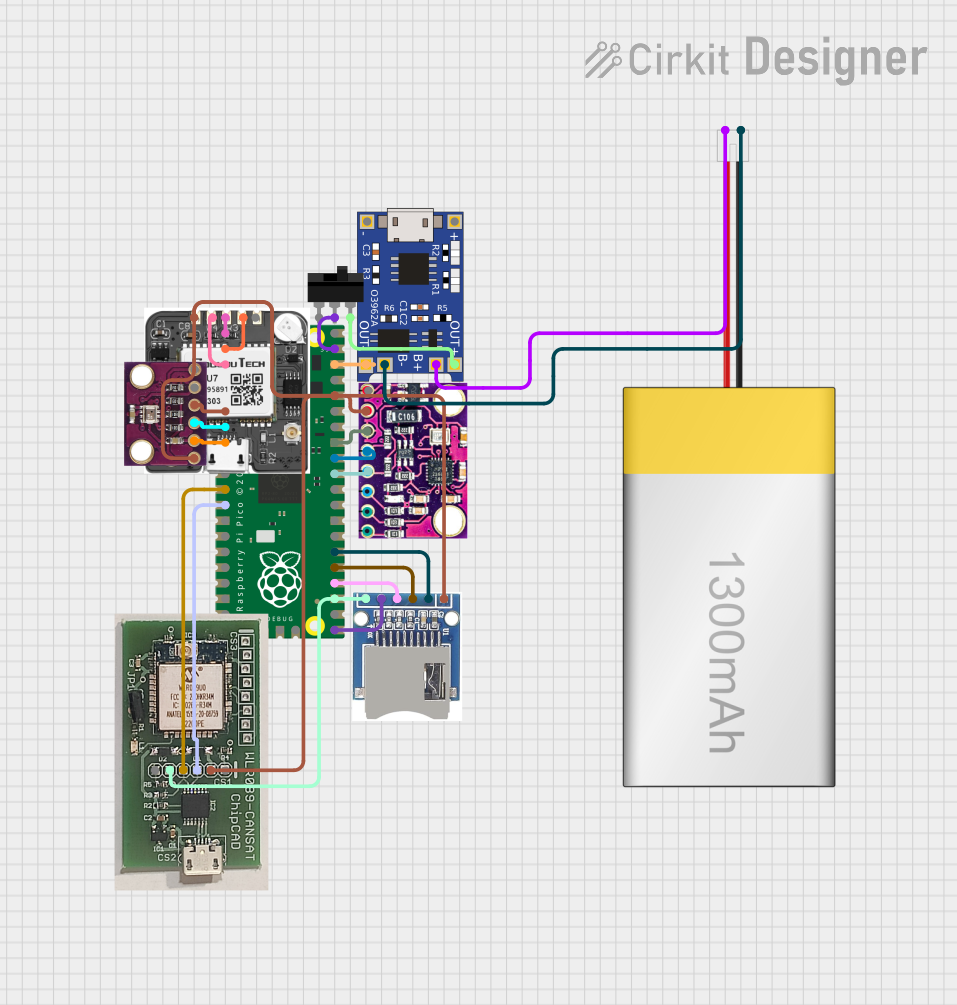
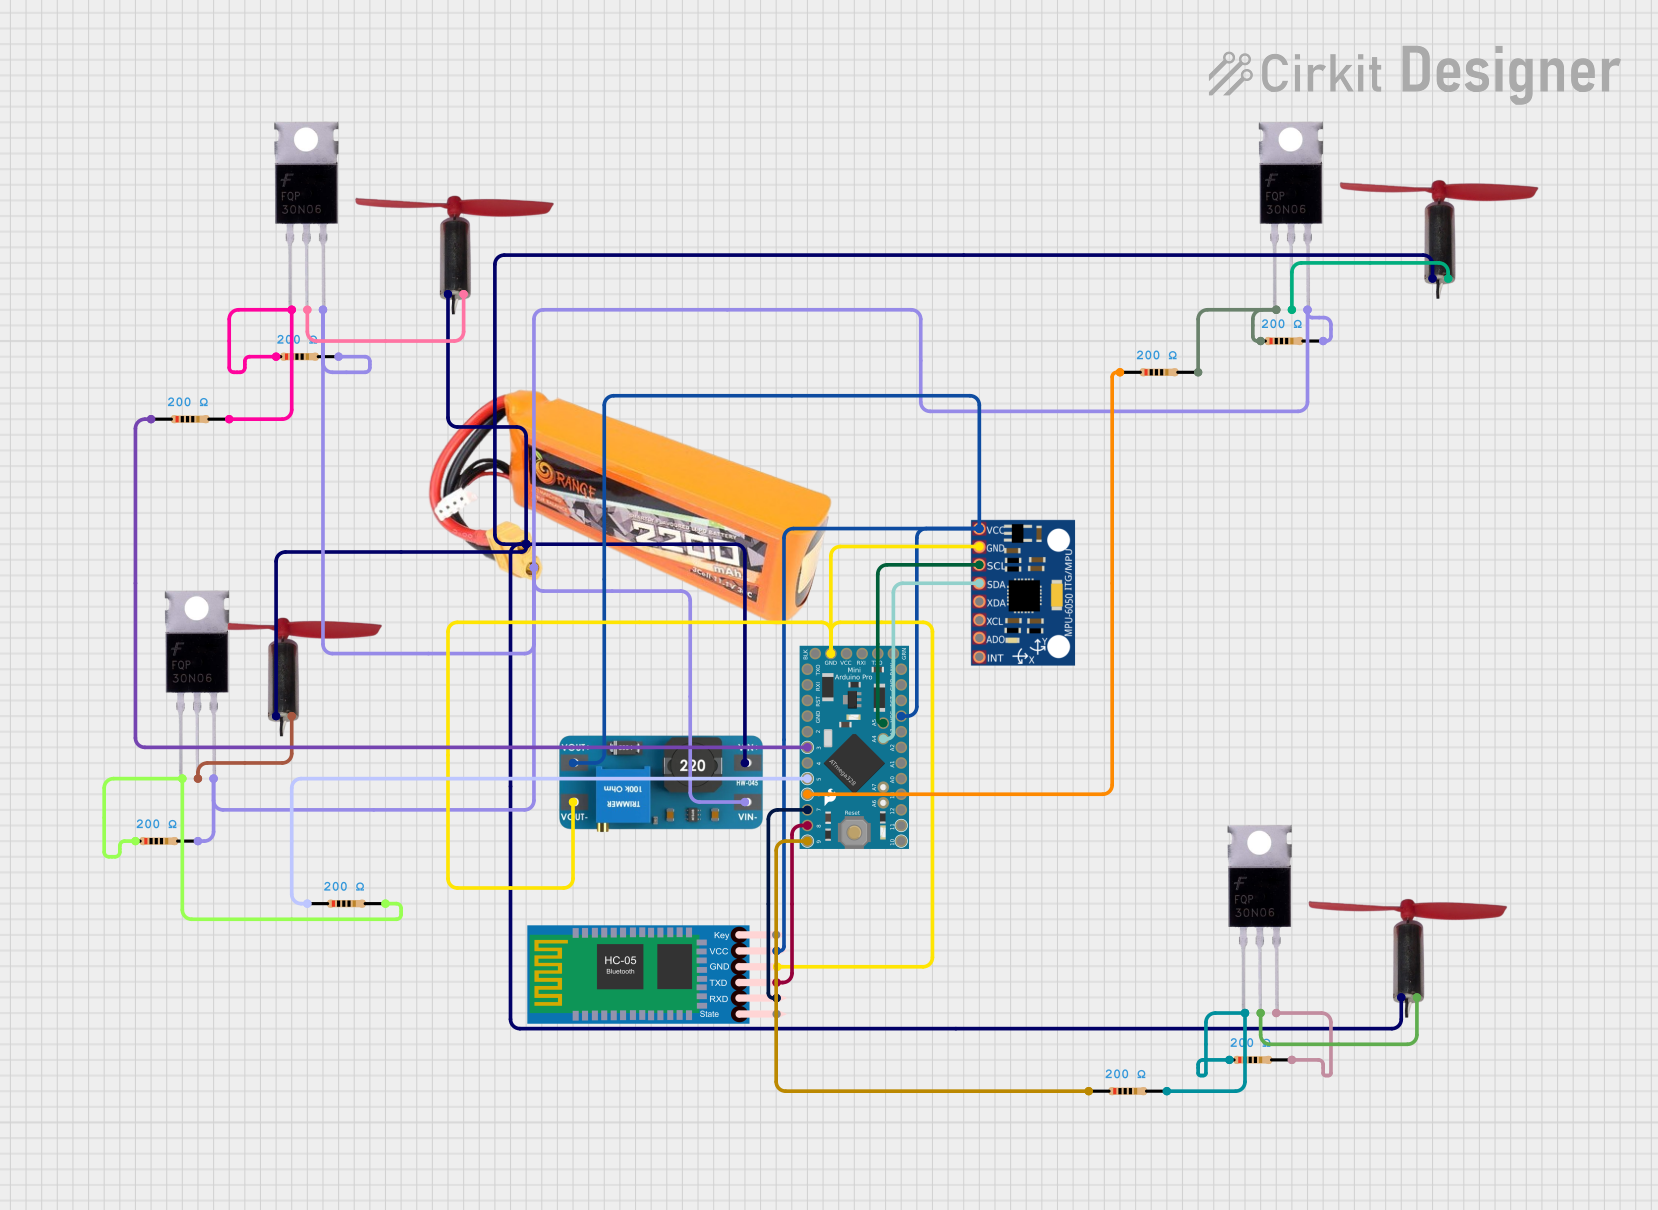
Explore Projects Built with MPL3115A2

 Open Project in Cirkit Designer
 Open Project in Cirkit Designer
 Open Project in Cirkit Designer
 Open Project in Cirkit Designer
Explore Projects Built with MPL3115A2

 Open Project in Cirkit Designer
 Open Project in Cirkit Designer
 Open Project in Cirkit Designer
 Open Project in Cirkit Designer
Technical Specifications
Key Features
- Integrated pressure sensor and temperature sensor
- Digital output (I2C)
- 20-bit pressure measurement (Pascals)
- 20-bit altitude measurement (meters)
- 12-bit temperature measurement (degrees Celsius)
- Operating Voltage: 1.95V to 3.6V
- Pressure Range: 20 kPa to 110 kPa
- Altitude Range: -300m to +10,000m
- Temperature Range: -40°C to +85°C
- Precision: ±0.4 kPa (pressure), ±0.3m (altitude)
Pin Configuration and Descriptions
| Pin Number | Name | Description |
|---|---|---|
| 1 | VDD | Power supply (1.95V to 3.6V) |
| 2 | GND | Ground connection |
| 3 | SCL | I2C clock line |
| 4 | SDA | I2C data line |
| 5 | INT1 | Interrupt 1 (configurable) |
| 6 | INT2 | Interrupt 2 (configurable) |
| 7 | N/C | Not connected |
| 8 | N/C | Not connected |
Usage Instructions
Integration with a Circuit
To use the MPL3115A2 in a circuit:
- Connect VDD to a power supply between 1.95V and 3.6V.
- Connect GND to the ground of the power supply.
- Connect SCL and SDA to the I2C clock and data lines, respectively.
- Optionally, connect INT1 and INT2 to microcontroller interrupt pins if interrupt-driven operation is required.
Best Practices
- Use pull-up resistors on the I2C lines (SCL and SDA).
- Ensure that the power supply is stable and within the specified voltage range.
- Avoid physical stress and contamination during handling and operation.
- Implement proper ESD precautions when handling the sensor.
Example Code for Arduino UNO
#include <Wire.h>

// MPL3115A2 I2C address
#define MPL3115A2_ADDRESS 0x60

void setup() {
  Wire.begin(); // Initialize I2C
  Serial.begin(9600); // Initialize Serial for debugging

  // Configure the sensor
  Wire.beginTransmission(MPL3115A2_ADDRESS);
  Wire.write(0x26); // CTRL_REG1
  Wire.write(0xB9); // Set to Altimeter mode with oversampling
  Wire.endTransmission();
  delay(10);

  // Enable data flags
  Wire.beginTransmission(MPL3115A2_ADDRESS);
  Wire.write(0x13); // PT_DATA_CFG
  Wire.write(0x07); // Enable all data flags
  Wire.endTransmission();
  delay(10);

  // Begin measurements
  Wire.beginTransmission(MPL3115A2_ADDRESS);
  Wire.write(0x26); // CTRL_REG1
  Wire.write(0xB9 | 0x01); // Set ACTIVE bit
  Wire.endTransmission();
}

void loop() {
  // Read altitude data
  Wire.beginTransmission(MPL3115A2_ADDRESS);
  Wire.write(0x01); // Data register
  Wire.endTransmission();
  Wire.requestFrom(MPL3115A2_ADDRESS, 3); // Request 3 bytes

  if (Wire.available() == 3) {
    // Read the bytes
    byte msb = Wire.read();
    byte csb = Wire.read();
    byte lsb = Wire.read();

    // Convert to altitude
    long altitude = (long(msb) << 16) | (long(csb) << 8) | lsb;
    altitude >>= 4; // The altitude is a 20-bit value

    // Output the result
    Serial.print("Altitude: ");
    Serial.print(altitude / 16.0);
    Serial.println(" m");
  }

  delay(1000); // Wait for a second before the next read
}
Troubleshooting and FAQs
Common Issues
- Inaccurate Readings: Ensure that the sensor is not subjected to sudden temperature changes and that it is properly calibrated.
- No Data on I2C: Check the connections and pull-up resistors on the I2C lines. Also, verify that the sensor is powered correctly.
- Intermittent Operation: This could be due to power supply issues. Ensure that the power supply is stable and within the recommended voltage range.
FAQs
Q: Can the MPL3115A2 be used to measure both altitude and pressure? A: Yes, the MPL3115A2 can be configured to measure either altitude or pressure. However, it measures one at a time and requires reconfiguration to switch between modes.
Q: What is the purpose of the INT1 and INT2 pins? A: These pins can be configured to trigger interrupts for certain events, such as data ready or threshold crossing, which can be useful for power-saving operations in battery-powered devices.
Q: How do I calibrate the sensor? A: Calibration involves writing calibration coefficients to the sensor's registers. Refer to the MPL3115A2 datasheet for detailed calibration procedures.
Q: Is the MPL3115A2 waterproof? A: No, the MPL3115A2 is not inherently waterproof. It should be protected from moisture and environmental contaminants.
For further assistance, consult the MPL3115A2 datasheet or contact NXP Semiconductors technical support.