How to Use Humbucker 4+Э: Examples, Pinouts, and Specs
Introduction
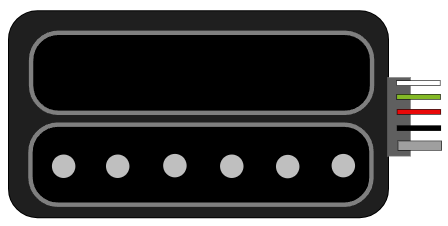
The Humbucker 4+Э (Manufacturer: Epiphone USA Probucker, Part ID: PB3NHCB-4) is a high-quality electric guitar pickup designed to deliver a rich, warm tone while minimizing unwanted noise. This component uses a dual-coil design to cancel out electromagnetic interference, making it ideal for professional and amateur guitarists seeking a clean, powerful sound.
Explore Projects Built with Humbucker 4+Э
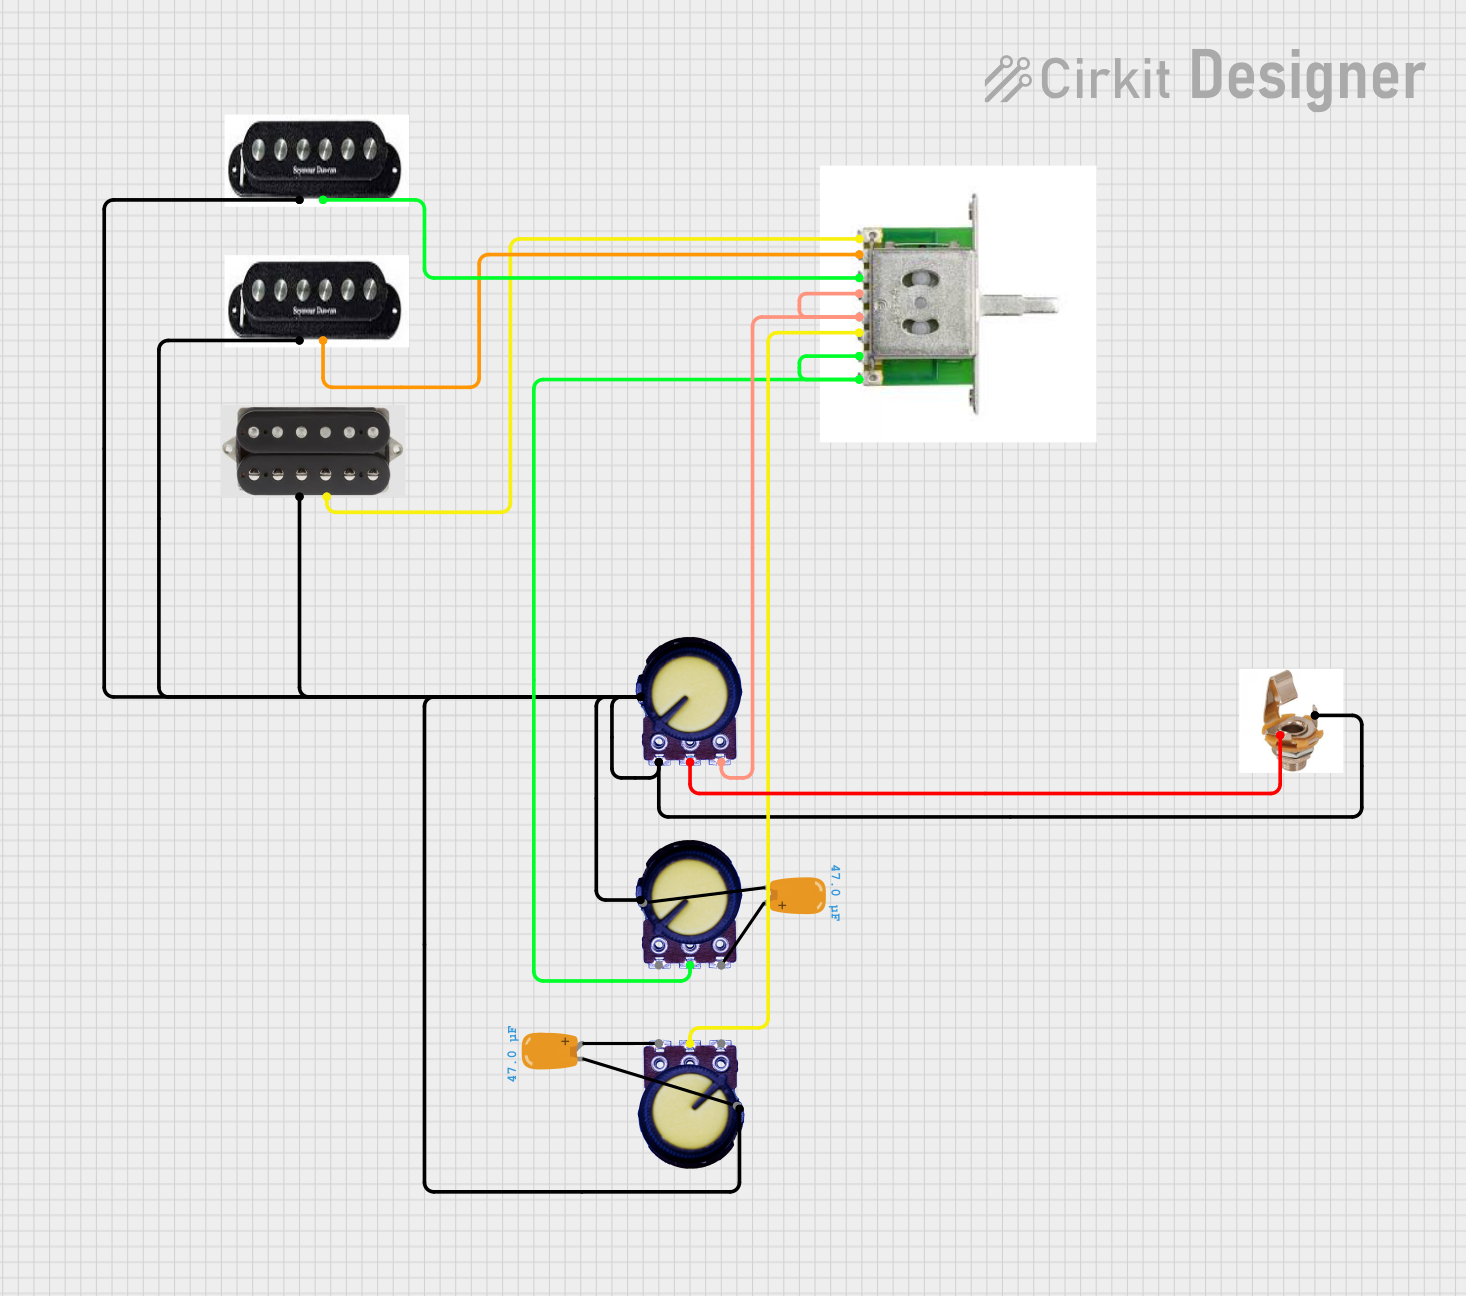


Explore Projects Built with Humbucker 4+Э
Common Applications and Use Cases
- Electric guitars for rock, blues, jazz, and metal genres
- Studio recording and live performances
- Guitar upgrades or replacements for improved sound quality
- Noise reduction in high-gain amplifier setups
Technical Specifications
The following table outlines the key technical details of the Humbucker 4+Э:
| Parameter | Value |
|---|---|
| Manufacturer | Epiphone USA Probucker |
| Part ID | PB3NHCB-4 |
| Type | Dual-coil humbucker pickup |
| Resistance (DC) | 8.2 kΩ |
| Inductance | 4.5 H |
| Magnet Type | Alnico II |
| Output Voltage | 250 mV (nominal) |
| Frequency Response | 80 Hz – 5 kHz |
| Mounting Style | 4-conductor wiring |
| Dimensions | 68.5 mm x 37 mm x 18 mm |
| Weight | 150 g |
Pin Configuration and Descriptions
The Humbucker 4+Э features a 4-conductor wiring system for versatile connectivity. The pinout is as follows:
| Wire Color | Function |
|---|---|
| Red | Hot output (coil 1) |
| White | Coil 1 finish (connect to ground or coil 2) |
| Green | Coil 2 finish (connect to ground) |
| Black | Hot output (coil 2) |
| Bare | Shield (connect to ground) |
Usage Instructions
How to Use the Humbucker 4+Э in a Circuit
Wiring the Pickup:
- Connect the red wire to the input of your guitar's volume potentiometer or selector switch.
- Solder the white and green wires together for series wiring (standard humbucker configuration).
- Connect the black wire to the output of the selector switch or directly to the amplifier input.
- Attach the bare wire to the ground (e.g., the back of a potentiometer or the guitar's ground plane).
Mounting the Pickup:
- Secure the pickup to the guitar body using the provided screws and springs.
- Adjust the height of the pickup to balance output volume and tone.
Testing:
- Plug the guitar into an amplifier and test the sound. Adjust the pickup height and tone controls as needed.
Important Considerations and Best Practices
- Shielding: Ensure proper grounding and shielding to minimize noise.
- Height Adjustment: Maintain a distance of 2-3 mm between the pickup and strings for optimal performance.
- Wiring Configurations: Experiment with series, parallel, or coil-split wiring for different tonal options.
- Compatibility: Verify that the pickup fits your guitar's cavity and matches the existing wiring configuration.
Arduino Integration
While the Humbucker 4+Э is not typically used with microcontrollers like the Arduino UNO, it is possible to measure its output signal for analysis or effects processing. Below is an example of how to read the pickup's signal using an Arduino:
// Example: Reading Humbucker 4+Э signal with Arduino UNO
// Note: Use a voltage divider or buffer circuit to protect the Arduino's analog pin.

const int pickupPin = A0; // Analog pin connected to the pickup output
int signalValue = 0;      // Variable to store the signal value

void setup() {
  Serial.begin(9600); // Initialize serial communication
}

void loop() {
  signalValue = analogRead(pickupPin); // Read the pickup signal
  Serial.println(signalValue);        // Print the signal value to the Serial Monitor
  delay(10);                          // Small delay for stability
}
Note: Use a buffer circuit or resistor divider to ensure the pickup's output voltage does not exceed the Arduino's input voltage range (0-5V).
Troubleshooting and FAQs
Common Issues and Solutions
No Sound or Weak Output:
- Check all solder joints for proper connections.
- Ensure the pickup height is correctly adjusted.
- Verify that the selector switch and potentiometers are functioning.
Excessive Noise or Hum:
- Confirm that the bare wire is securely connected to the ground.
- Inspect the guitar's shielding for gaps or damage.
Unbalanced Tone:
- Adjust the pickup height to balance the output across all strings.
- Experiment with different wiring configurations (e.g., series vs. parallel).
FAQs
Q: Can I use the Humbucker 4+Э for coil-splitting?
A: Yes, the 4-conductor wiring allows for coil-splitting. Connect the white wire to a switch to toggle between single-coil and humbucker modes.
Q: What type of magnet does the Humbucker 4+Э use?
A: The pickup uses Alnico II magnets, known for their warm and vintage tone.
Q: Is this pickup compatible with all electric guitars?
A: The Humbucker 4+Э is compatible with most guitars that support humbucker pickups. However, verify the dimensions and wiring configuration before installation.
Q: How do I clean the pickup?
A: Use a soft, dry cloth to remove dust and debris. Avoid using liquids or abrasive materials.
By following this documentation, you can effectively install, use, and troubleshoot the Humbucker 4+Э for optimal performance.