How to Use HUSKYLENS 2: Examples, Pinouts, and Specs
Introduction
HUSKYLENS 2, manufactured by DFRobot (Part ID: SEN0638), is an advanced AI-enabled vision sensor designed for object, color, and face recognition. It features a user-friendly interface and supports multiple communication protocols, making it an ideal choice for robotics, automation, and AI-based projects. With its built-in machine learning algorithms, HUSKYLENS 2 simplifies complex vision tasks, enabling developers to focus on innovation rather than implementation.
Explore Projects Built with HUSKYLENS 2

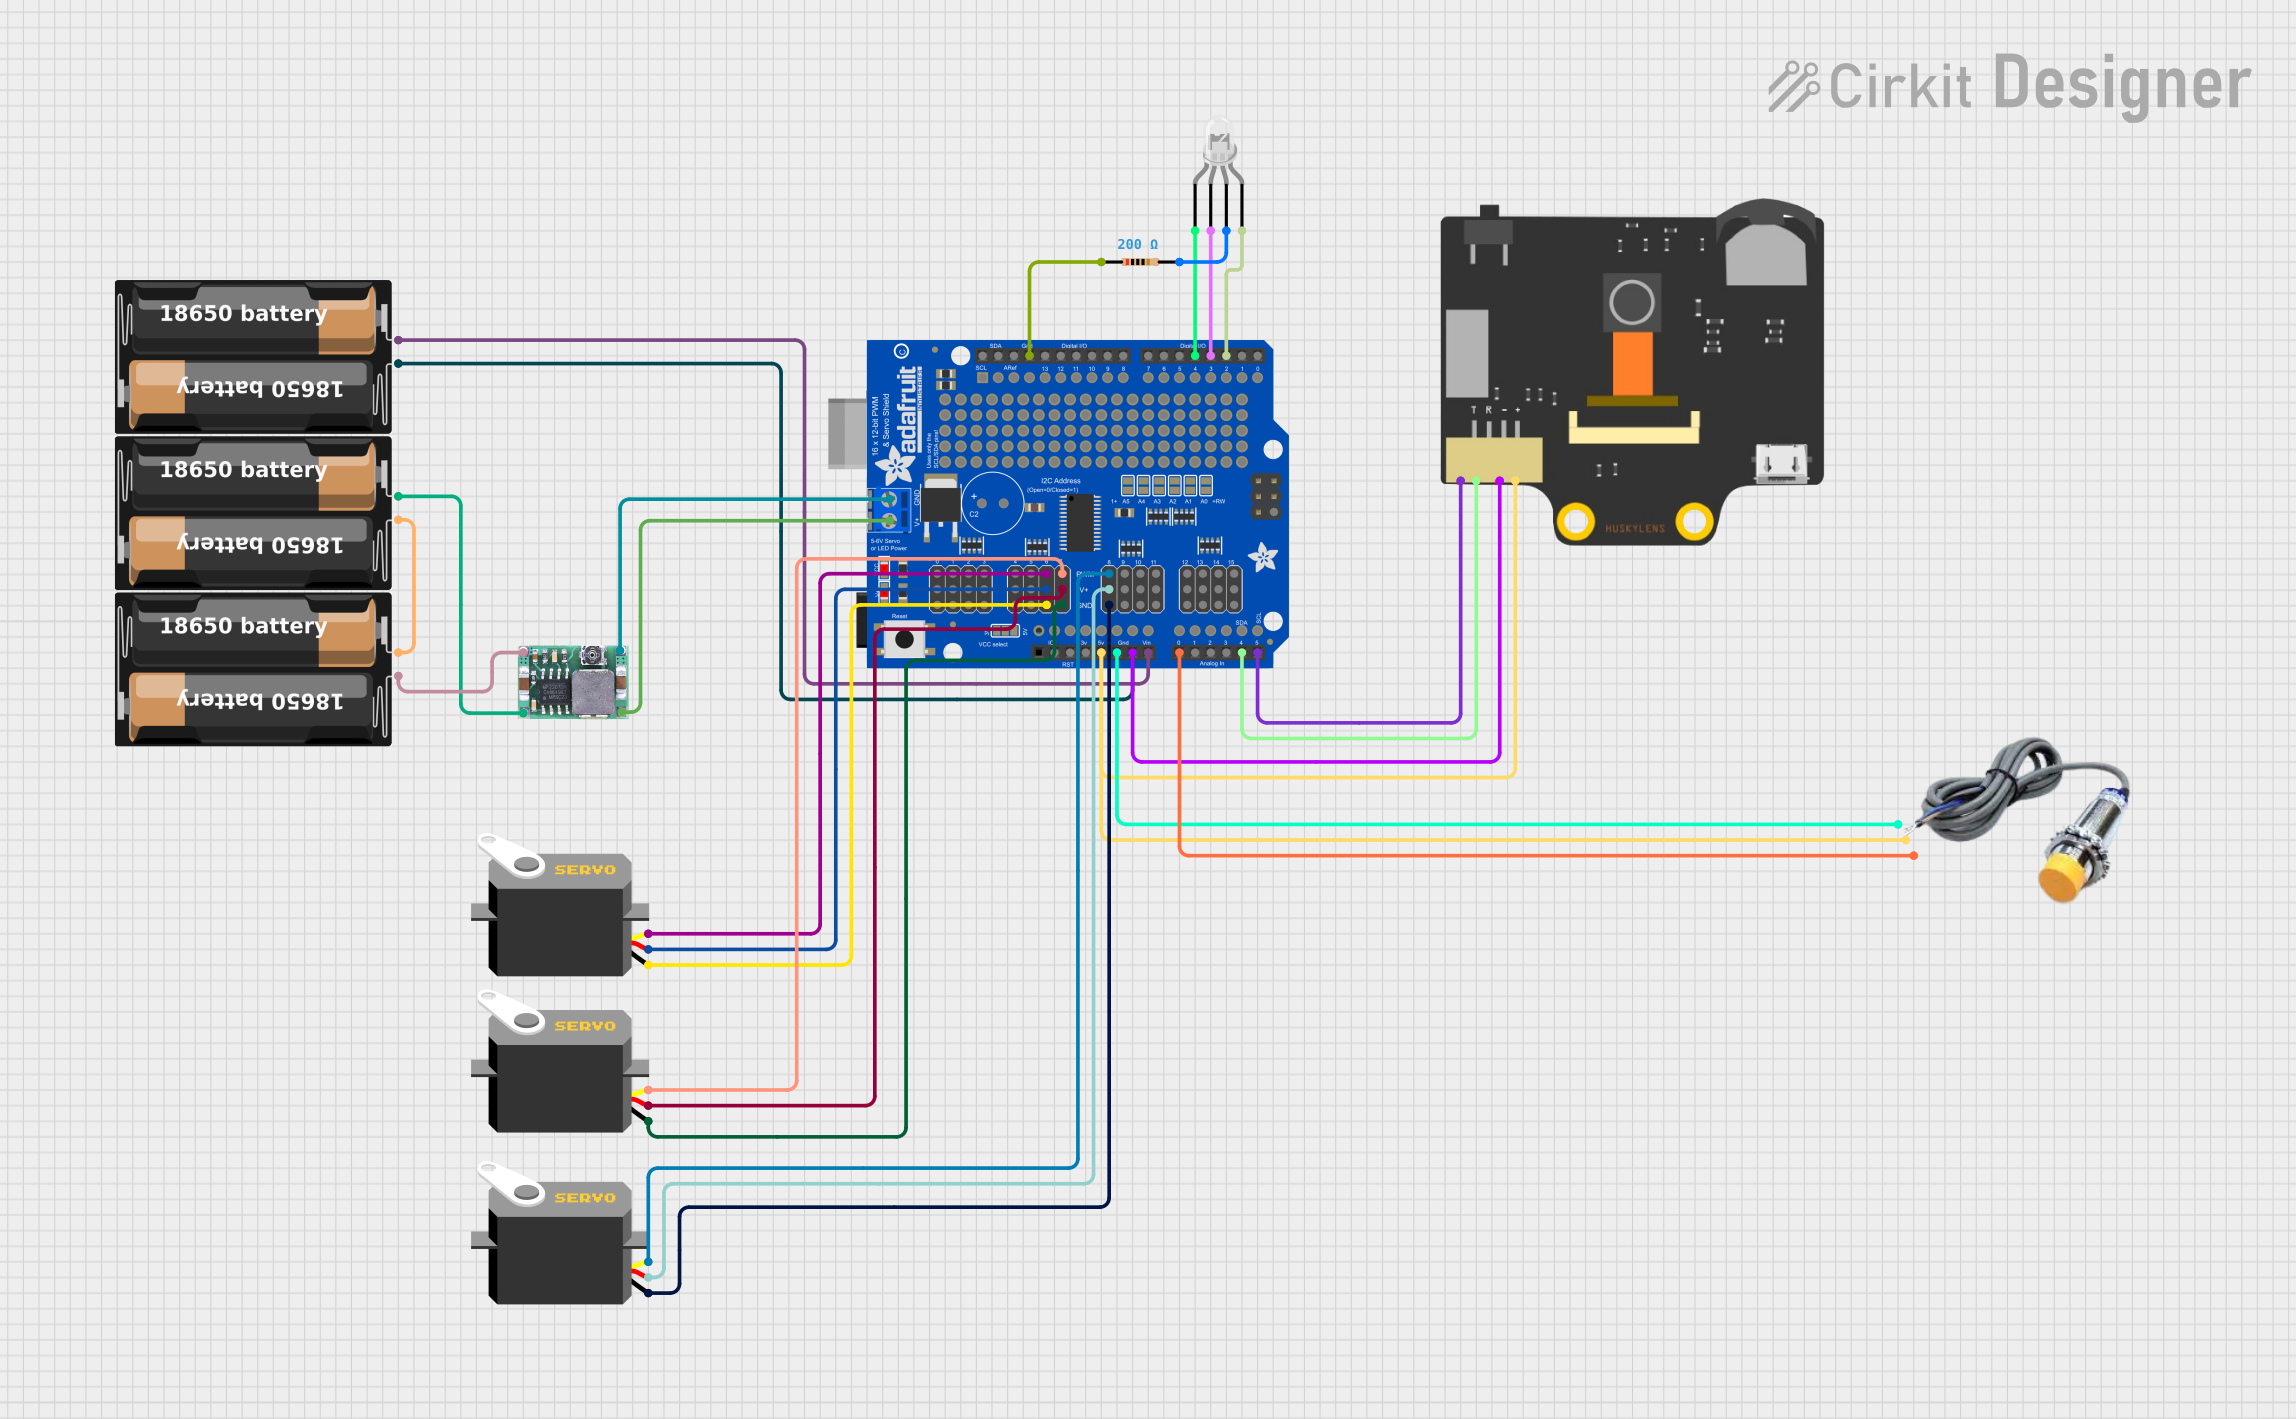
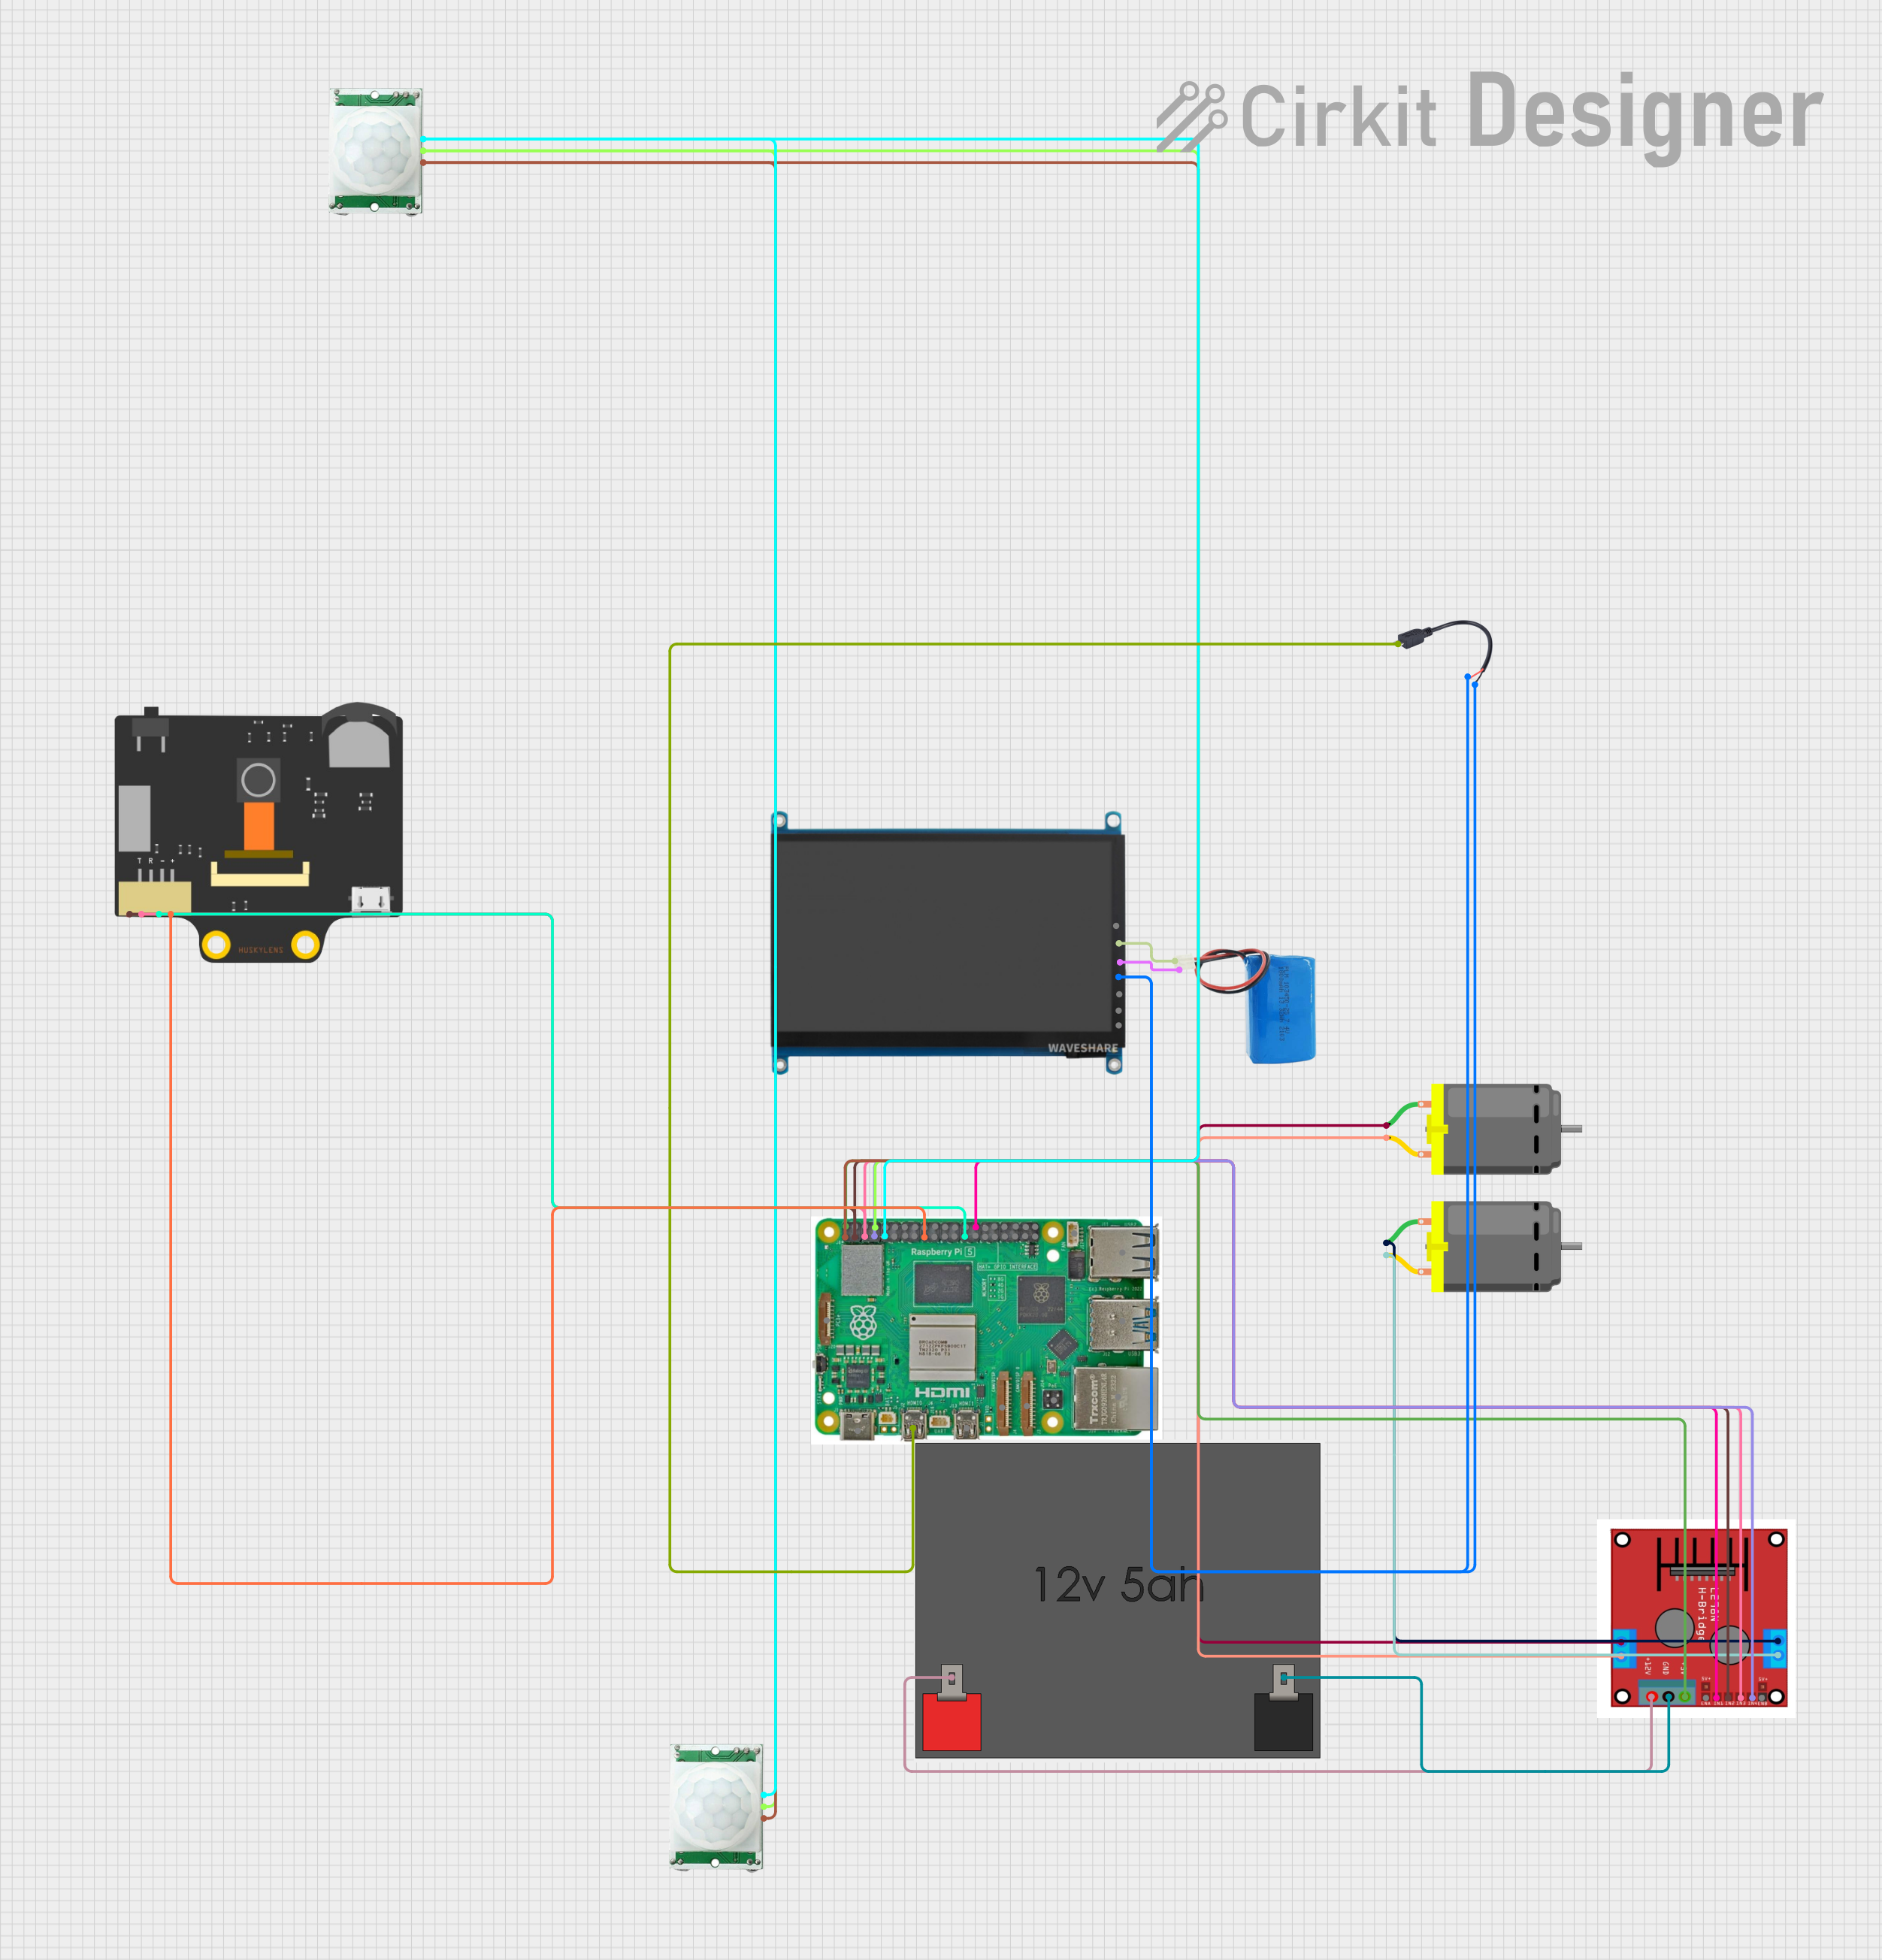
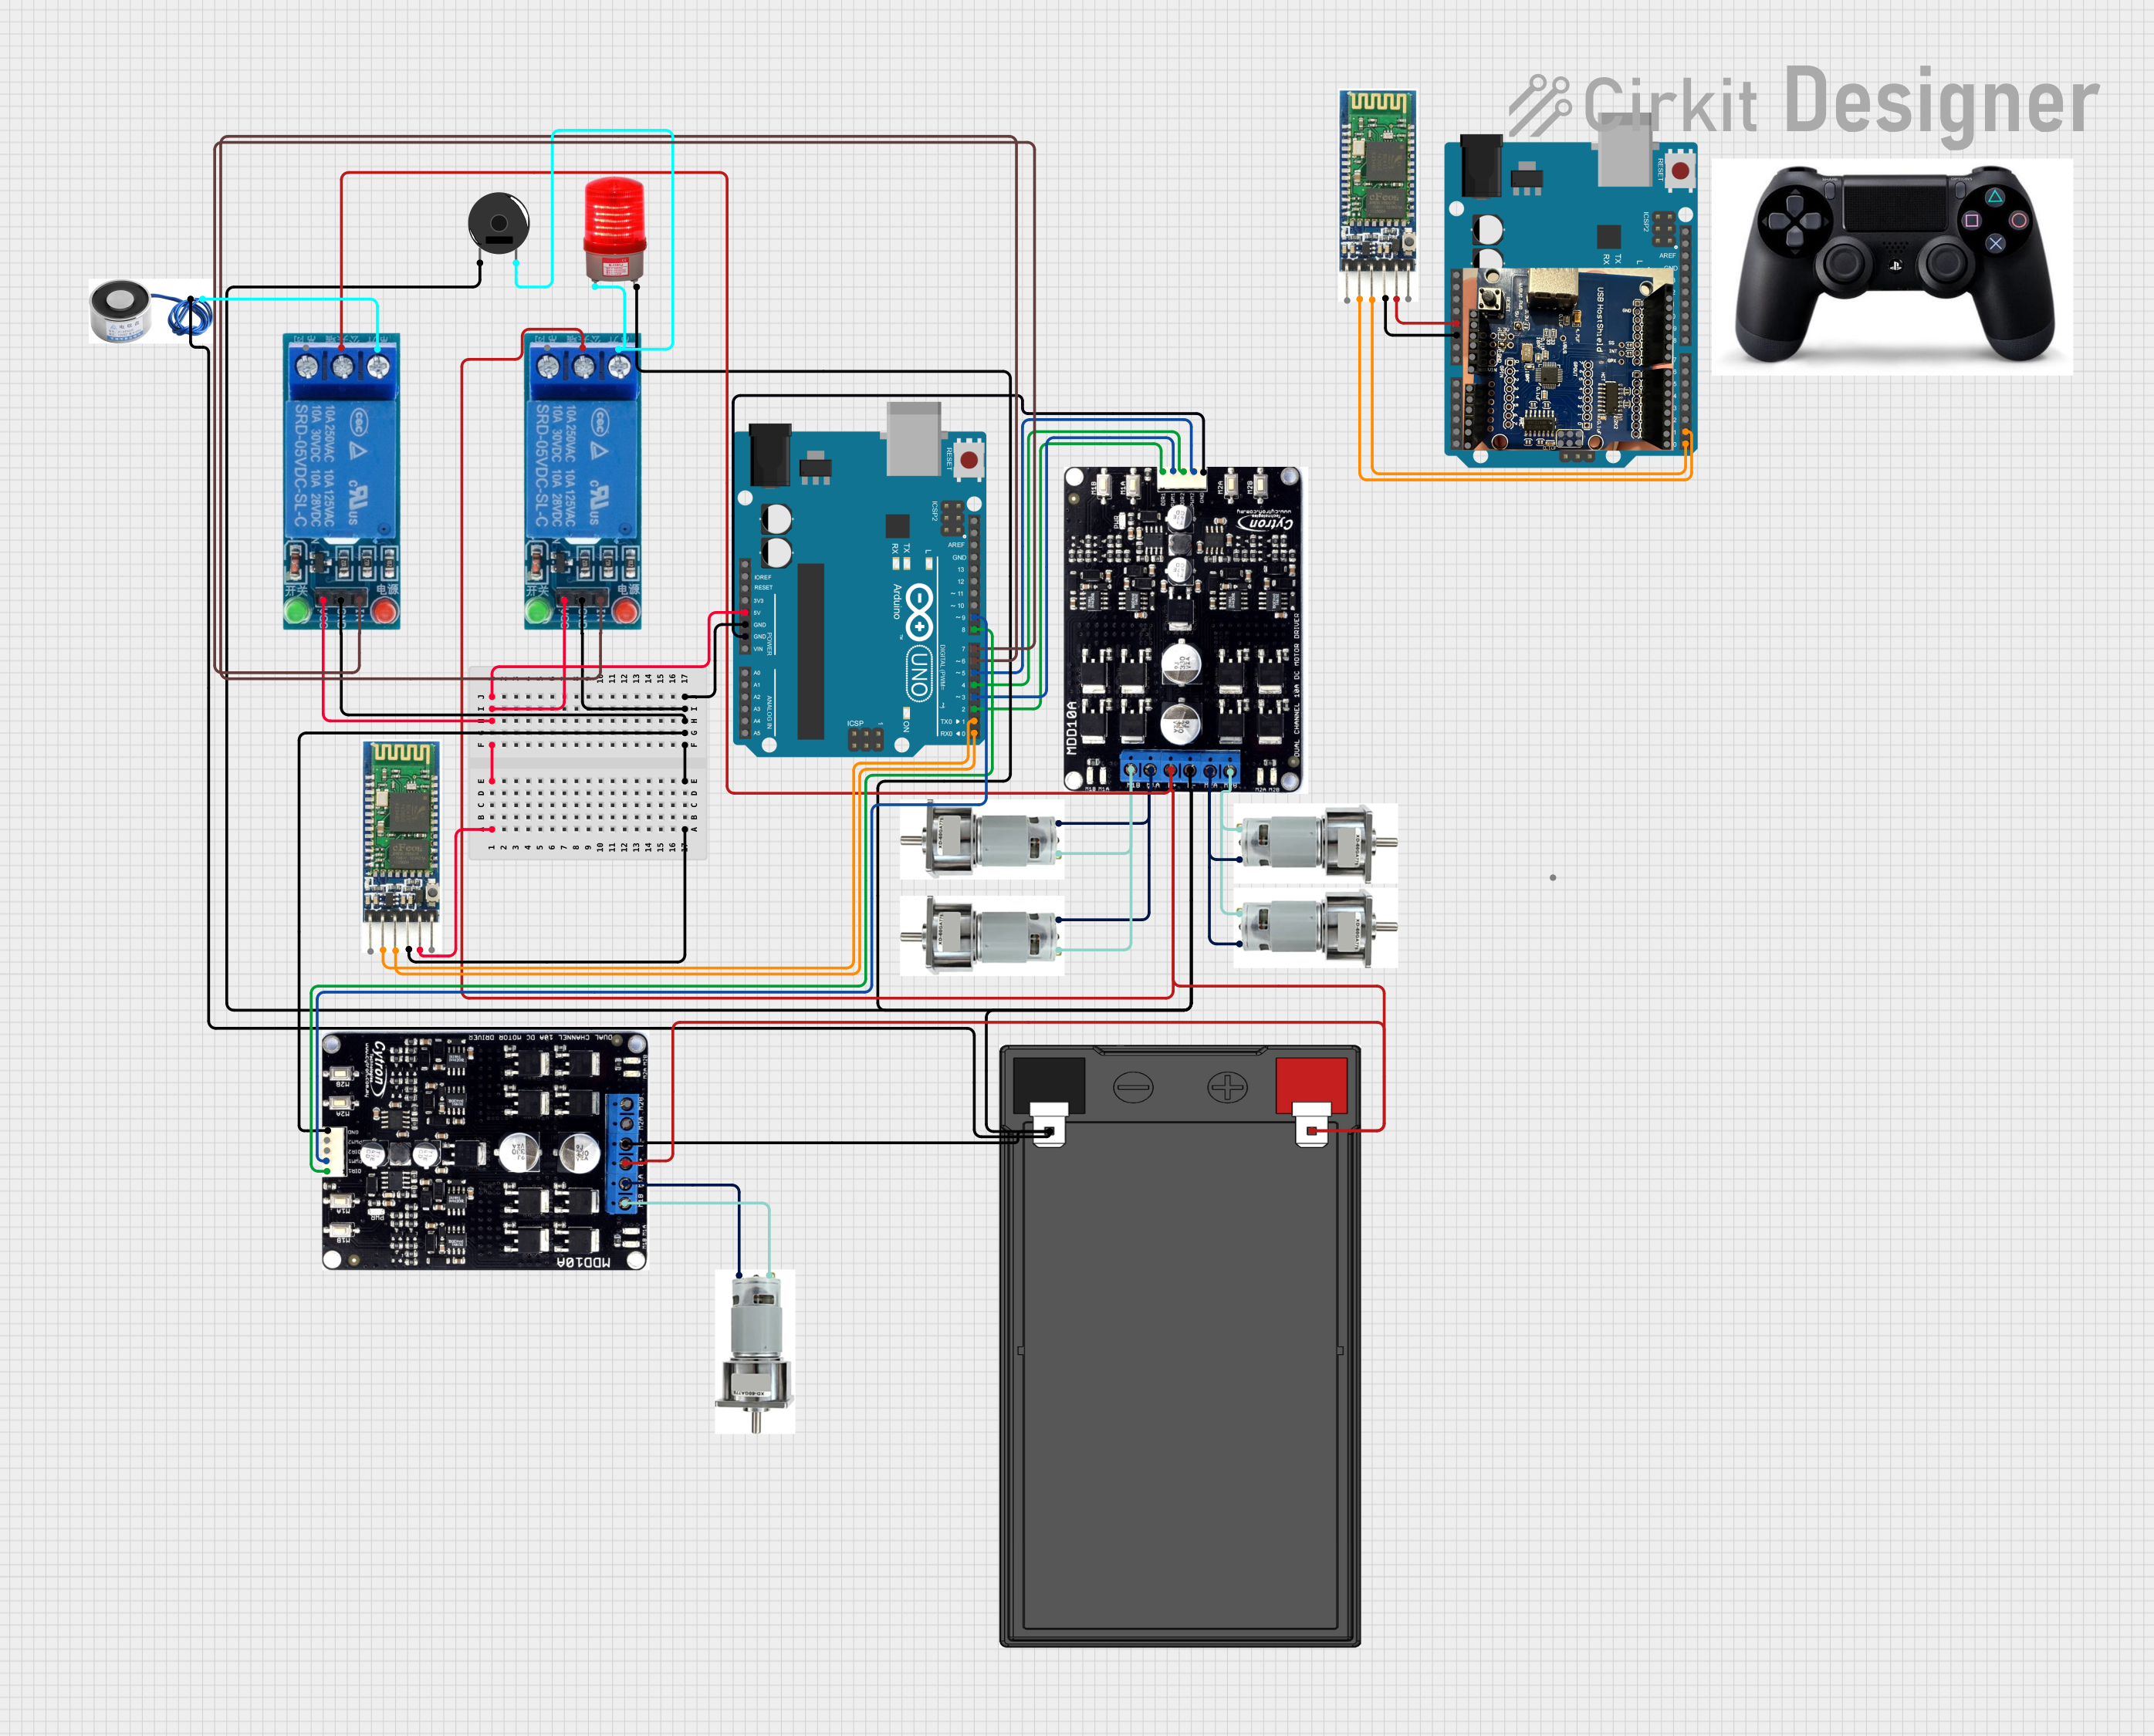
Explore Projects Built with HUSKYLENS 2
Common Applications and Use Cases
- Robotics: Object tracking, obstacle detection, and navigation.
- Automation: Color-based sorting systems and facial recognition for access control.
- Education: AI and computer vision learning projects.
- DIY Projects: Smart home systems, gesture recognition, and interactive devices.
Technical Specifications
Below are the key technical details of the HUSKYLENS 2:
| Specification | Details |
|---|---|
| Manufacturer | DFRobot |
| Part ID | SEN0638 |
| Power Supply Voltage | 3.3V to 5V |
| Communication Interfaces | UART, I2C |
| Image Resolution | 320 x 240 pixels |
| Frame Rate | 30 FPS |
| Recognition Capabilities | Object, face, color, tag, line, and QR code recognition |
| Display | 2.0-inch IPS screen (320 x 240 resolution) |
| Processor | Built-in AI processor for real-time recognition |
| Dimensions | 52mm x 44mm x 20mm |
| Weight | 30g |
Pin Configuration and Descriptions
The HUSKYLENS 2 features a 4-pin interface for communication and power. Below is the pin configuration:
| Pin | Name | Description |
|---|---|---|
| 1 | VCC | Power input (3.3V to 5V) |
| 2 | GND | Ground connection |
| 3 | TX | UART Transmit pin (used for serial communication) |
| 4 | RX | UART Receive pin (used for serial communication) |
For I2C communication, the HUSKYLENS 2 uses the following default addresses:
- I2C Address: 0x32 (modifiable via software)
Usage Instructions
How to Use the Component in a Circuit
- Powering the HUSKYLENS 2: Connect the VCC pin to a 3.3V or 5V power source and the GND pin to the ground.
- Communication Setup:
- For UART: Connect the TX pin of HUSKYLENS 2 to the RX pin of the microcontroller and the RX pin of HUSKYLENS 2 to the TX pin of the microcontroller.
- For I2C: Connect the SDA and SCL lines of the microcontroller to the corresponding I2C pins of HUSKYLENS 2.
- Mounting: Secure the HUSKYLENS 2 in a stable position to ensure consistent image capture.
- Programming: Use the provided DFRobot libraries to interface with the HUSKYLENS 2.
Important Considerations and Best Practices
- Ensure the power supply voltage is within the specified range (3.3V to 5V) to avoid damage.
- Avoid exposing the sensor to direct sunlight or reflective surfaces, as this may affect recognition accuracy.
- Use the built-in touchscreen to configure recognition modes (e.g., object, face, or color recognition).
- Regularly update the firmware to access the latest features and improvements.
Example: Connecting HUSKYLENS 2 to an Arduino UNO
Below is an example of how to connect and program the HUSKYLENS 2 with an Arduino UNO using UART communication:
Circuit Diagram
- VCC → 5V on Arduino UNO
- GND → GND on Arduino UNO
- TX → Pin 2 on Arduino UNO
- RX → Pin 3 on Arduino UNO
Arduino Code
#include <SoftwareSerial.h>
#include "HUSKYLENS.h"

// Define software serial pins for HUSKYLENS communication
SoftwareSerial huskySerial(2, 3); // RX, TX
HUSKYLENS huskyLens;

void setup() {
  Serial.begin(9600); // Initialize serial monitor
  huskySerial.begin(9600); // Initialize HUSKYLENS communication

  if (!huskyLens.begin(huskySerial)) {
    Serial.println("HUSKYLENS initialization failed!");
    while (1); // Halt if initialization fails
  }
  Serial.println("HUSKYLENS initialized successfully!");
}

void loop() {
  if (huskyLens.request()) { // Request data from HUSKYLENS
    if (huskyLens.isLearned()) { // Check if an object is learned
      Serial.println("Object detected!");
    } else {
      Serial.println("No object detected.");
    }
  } else {
    Serial.println("Failed to communicate with HUSKYLENS.");
  }
  delay(500); // Wait for 500ms before the next request
}
Troubleshooting and FAQs
Common Issues and Solutions
HUSKYLENS 2 is not powering on:
- Ensure the VCC and GND connections are secure.
- Verify that the power supply voltage is within the 3.3V to 5V range.
No data received from the sensor:
- Check the TX and RX connections for UART communication.
- Ensure the baud rate in the code matches the HUSKYLENS 2 default (9600 bps).
Recognition accuracy is low:
- Ensure the sensor is positioned correctly and is not exposed to excessive light or reflections.
- Re-learn the object or face under better lighting conditions.
I2C communication not working:
- Verify the I2C address (default: 0x32) and ensure it matches the code.
- Check the pull-up resistors on the SDA and SCL lines.
FAQs
Q: Can HUSKYLENS 2 recognize multiple objects simultaneously?
A: Yes, HUSKYLENS 2 can recognize and track multiple objects, depending on the selected mode.
Q: How do I update the firmware?
A: Connect the HUSKYLENS 2 to a computer via the USB-C port and use the DFRobot firmware update tool.
Q: Is HUSKYLENS 2 compatible with Raspberry Pi?
A: Yes, HUSKYLENS 2 can be interfaced with Raspberry Pi using UART or I2C communication.
Q: Can I modify the recognition modes programmatically?
A: Yes, you can switch between recognition modes using the DFRobot HUSKYLENS library.
By following this documentation, users can effectively integrate and utilize the HUSKYLENS 2 in their projects.