
How to Use Arduino Modkit Shield: Examples, Pinouts, and Specs
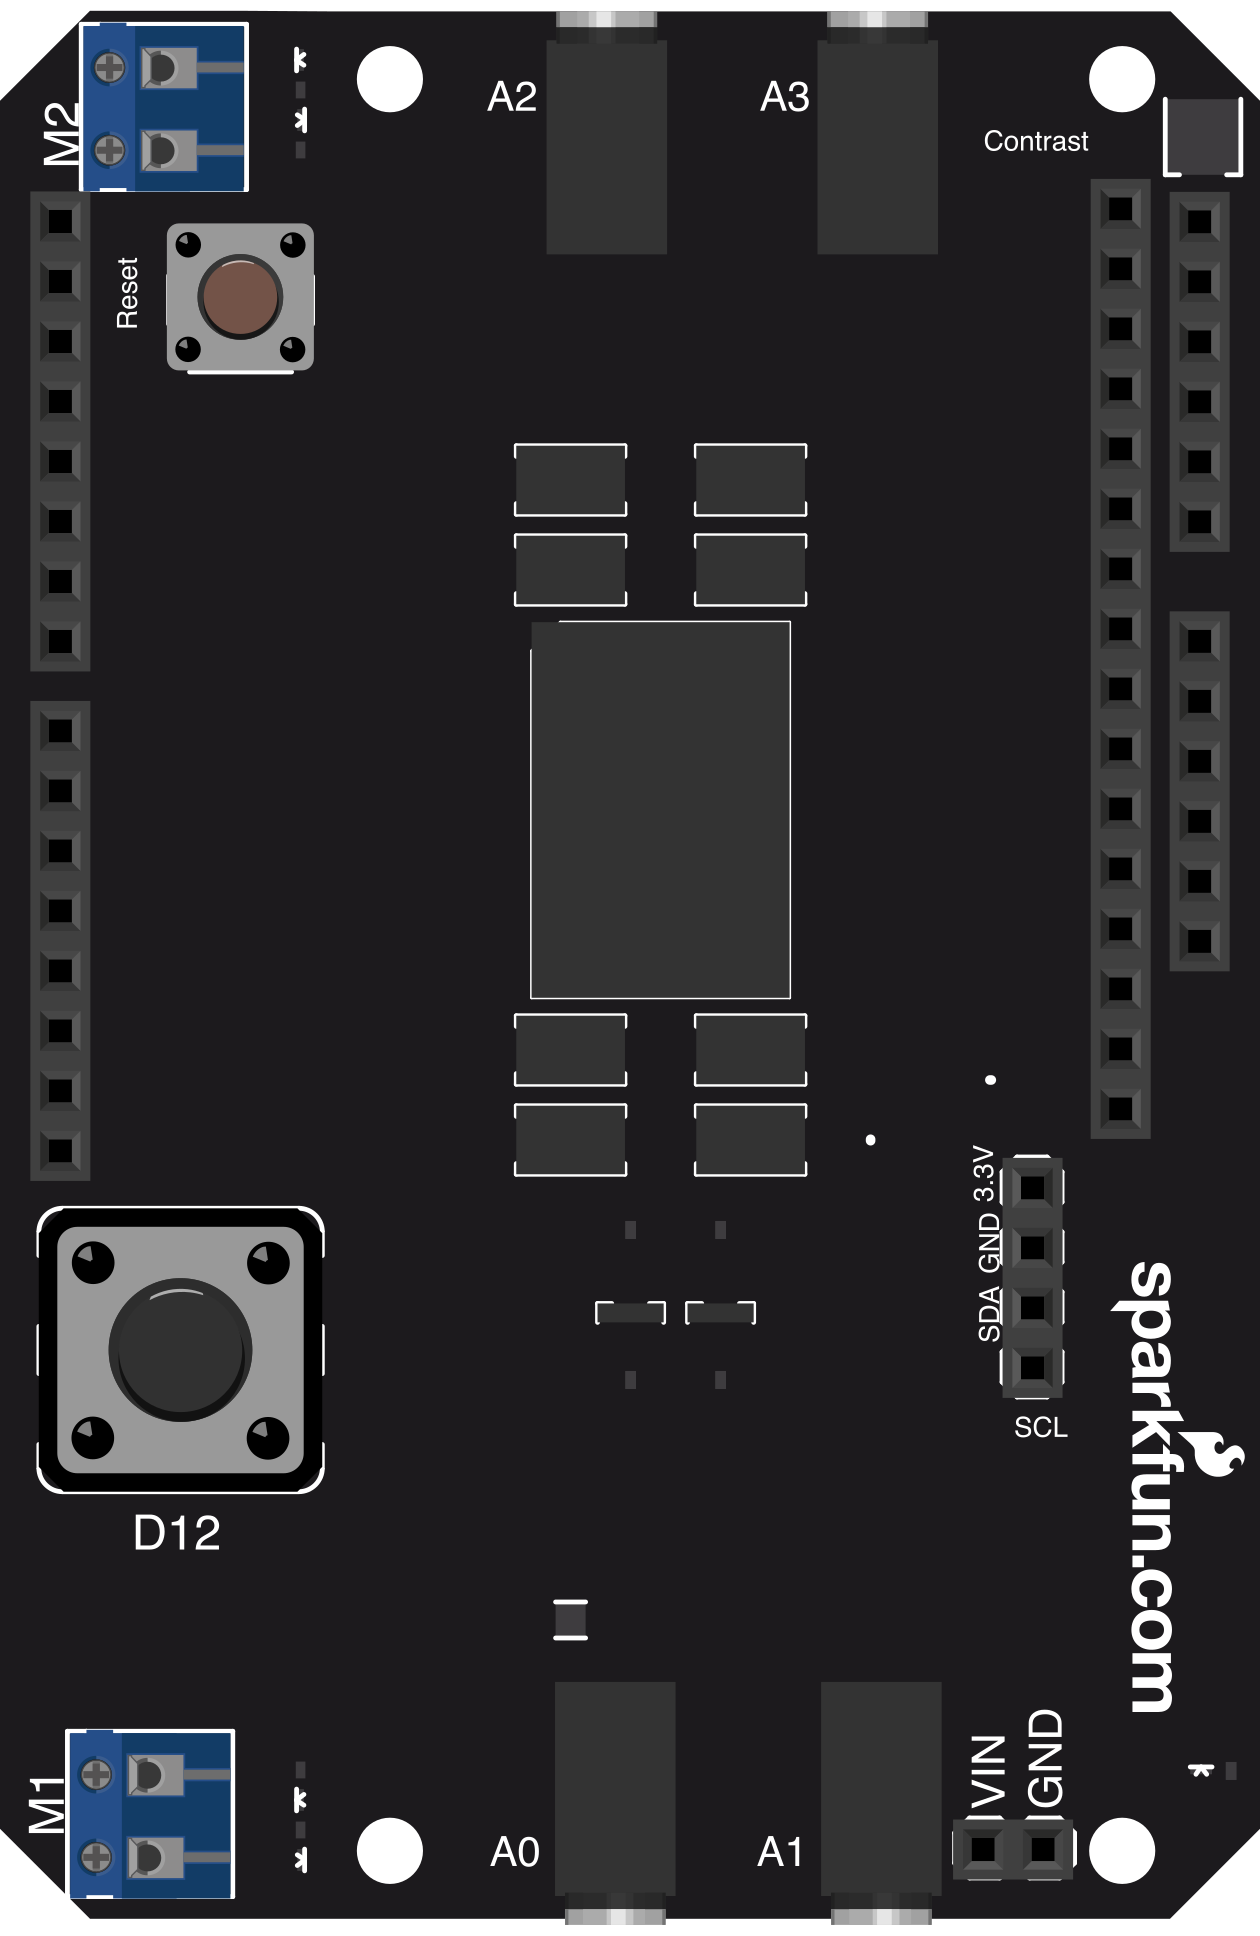
 Design with Arduino Modkit Shield in Cirkit Designer
Introduction
The Arduino Modkit Shield (Manufacturer Part ID: 10018) by SparkFun is a versatile shield designed to expand the functionality of Arduino boards. It provides additional connectivity options and features, making it an excellent choice for building interactive projects. This shield is particularly useful for prototyping, educational purposes, and creating IoT applications. Its modular design allows users to easily integrate sensors, actuators, and other peripherals into their projects.
Explore Projects Built with Arduino Modkit Shield
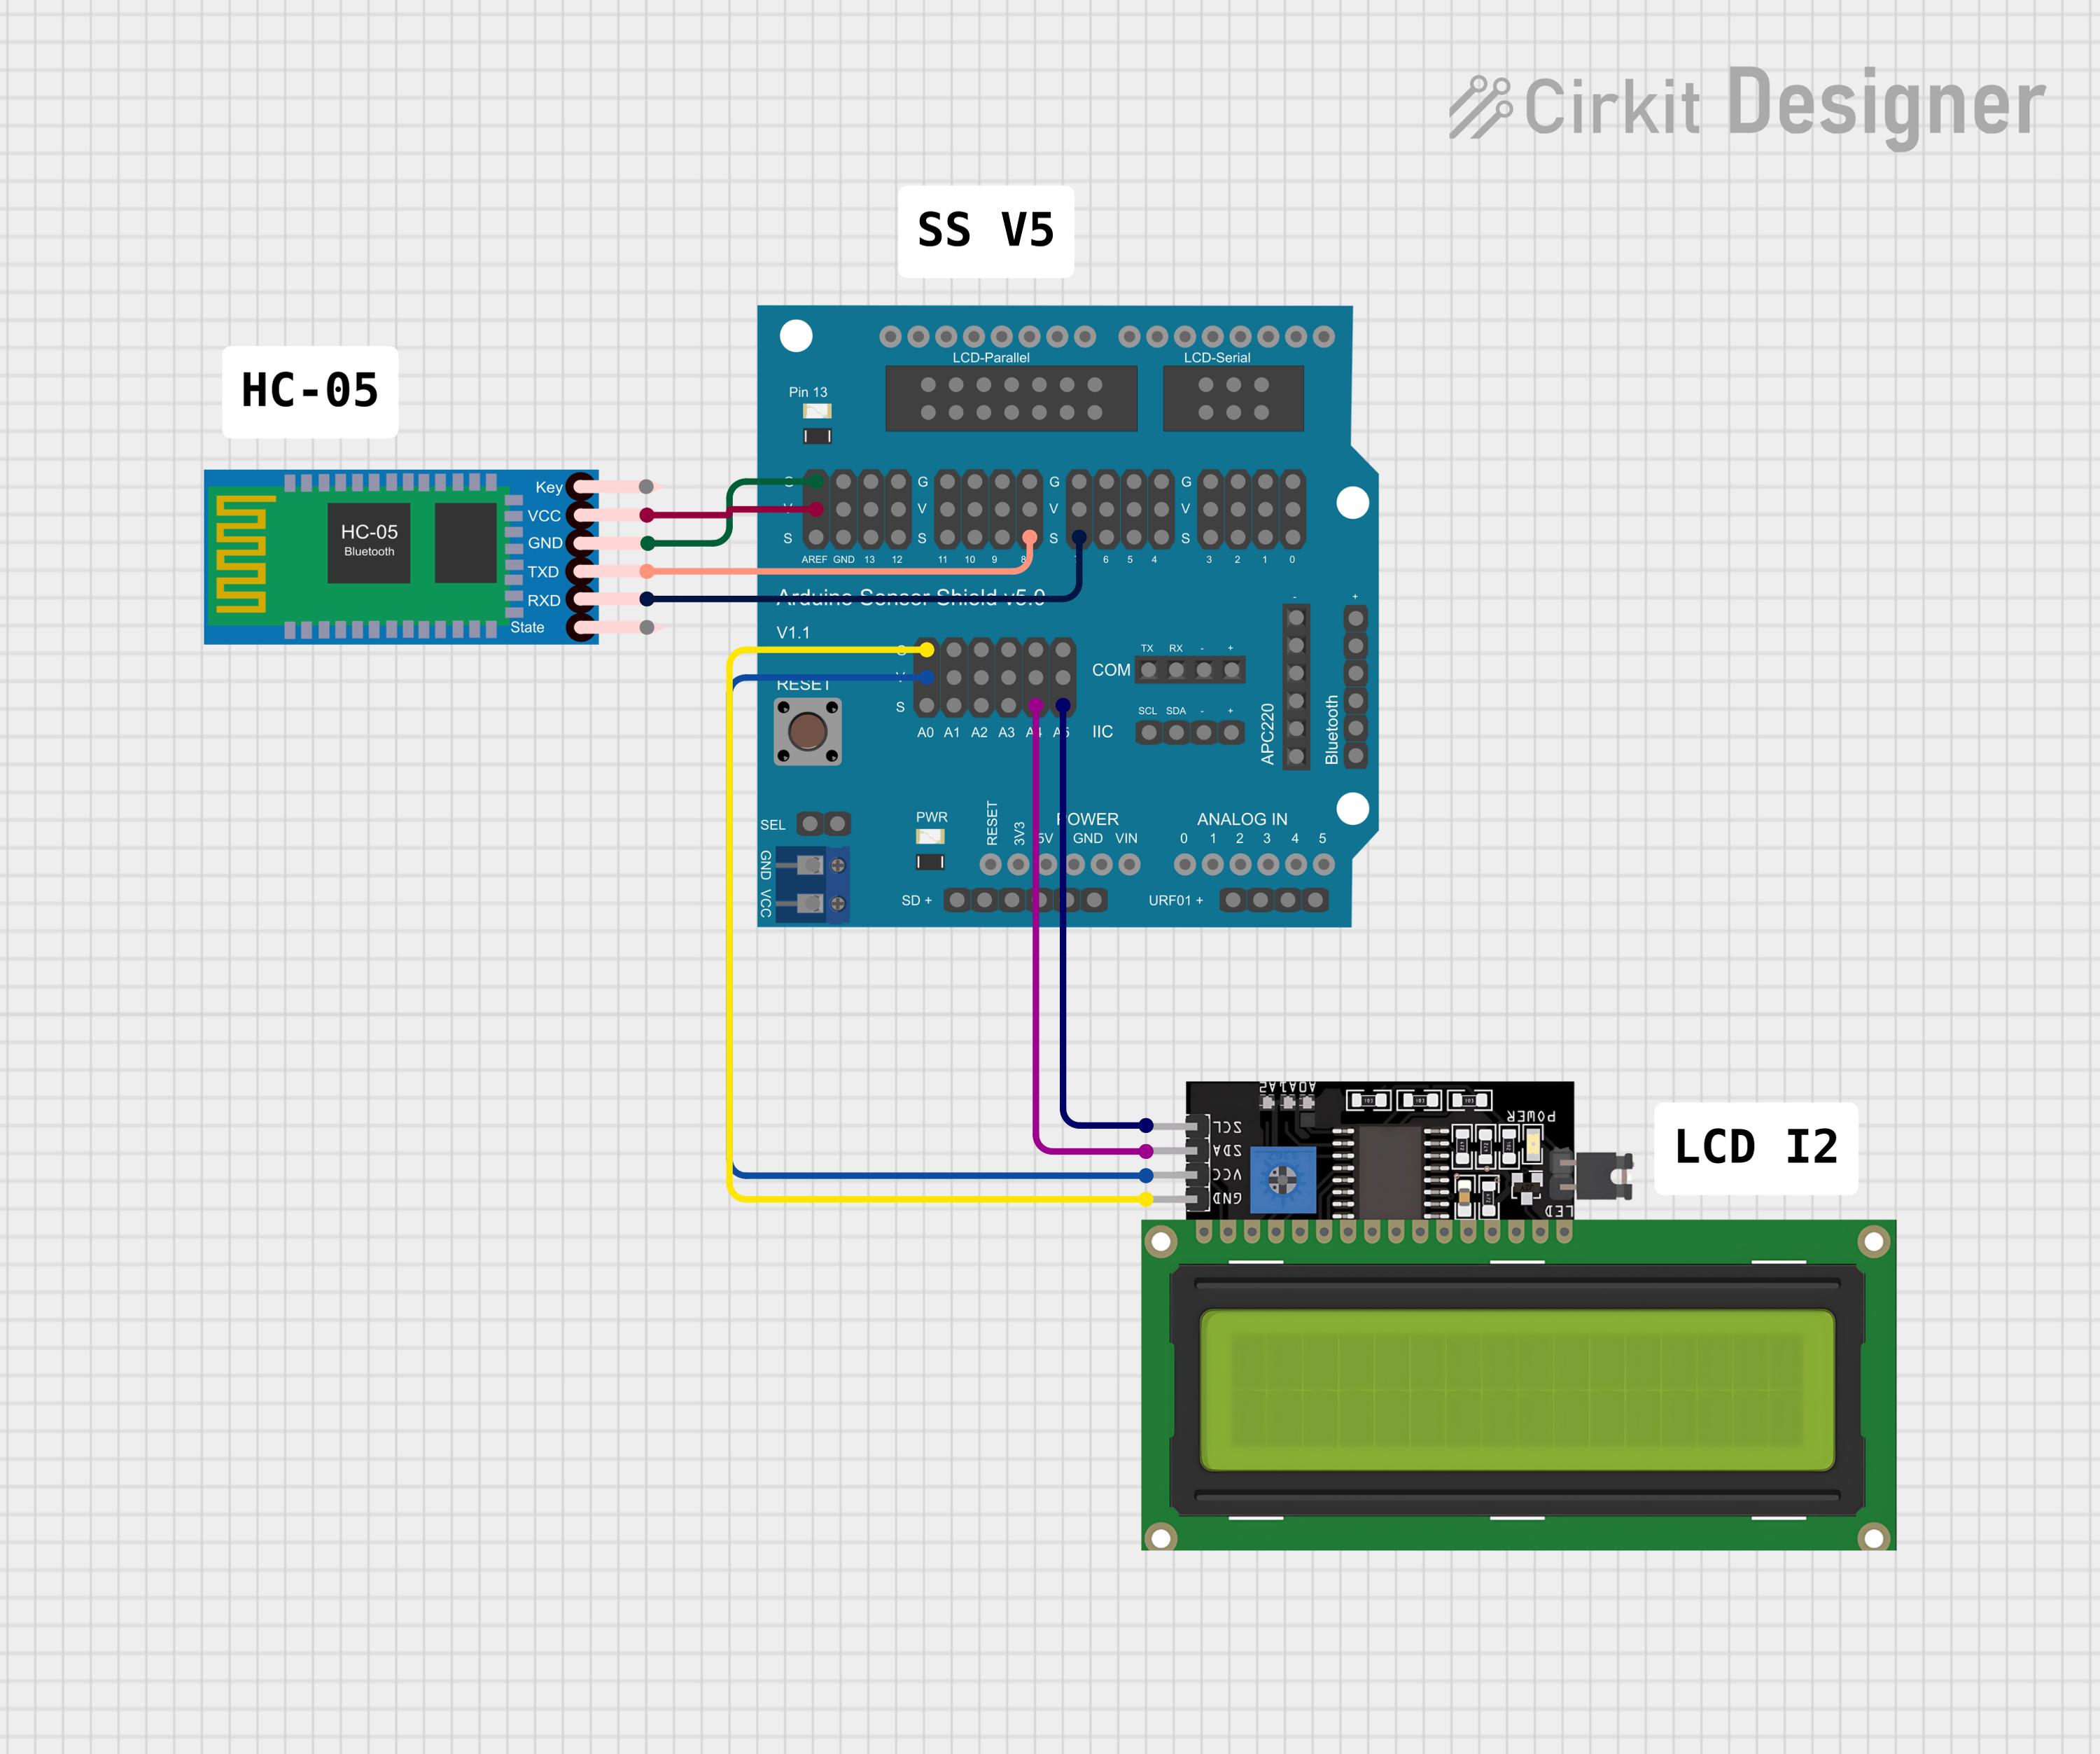 Open Project in Cirkit Designer
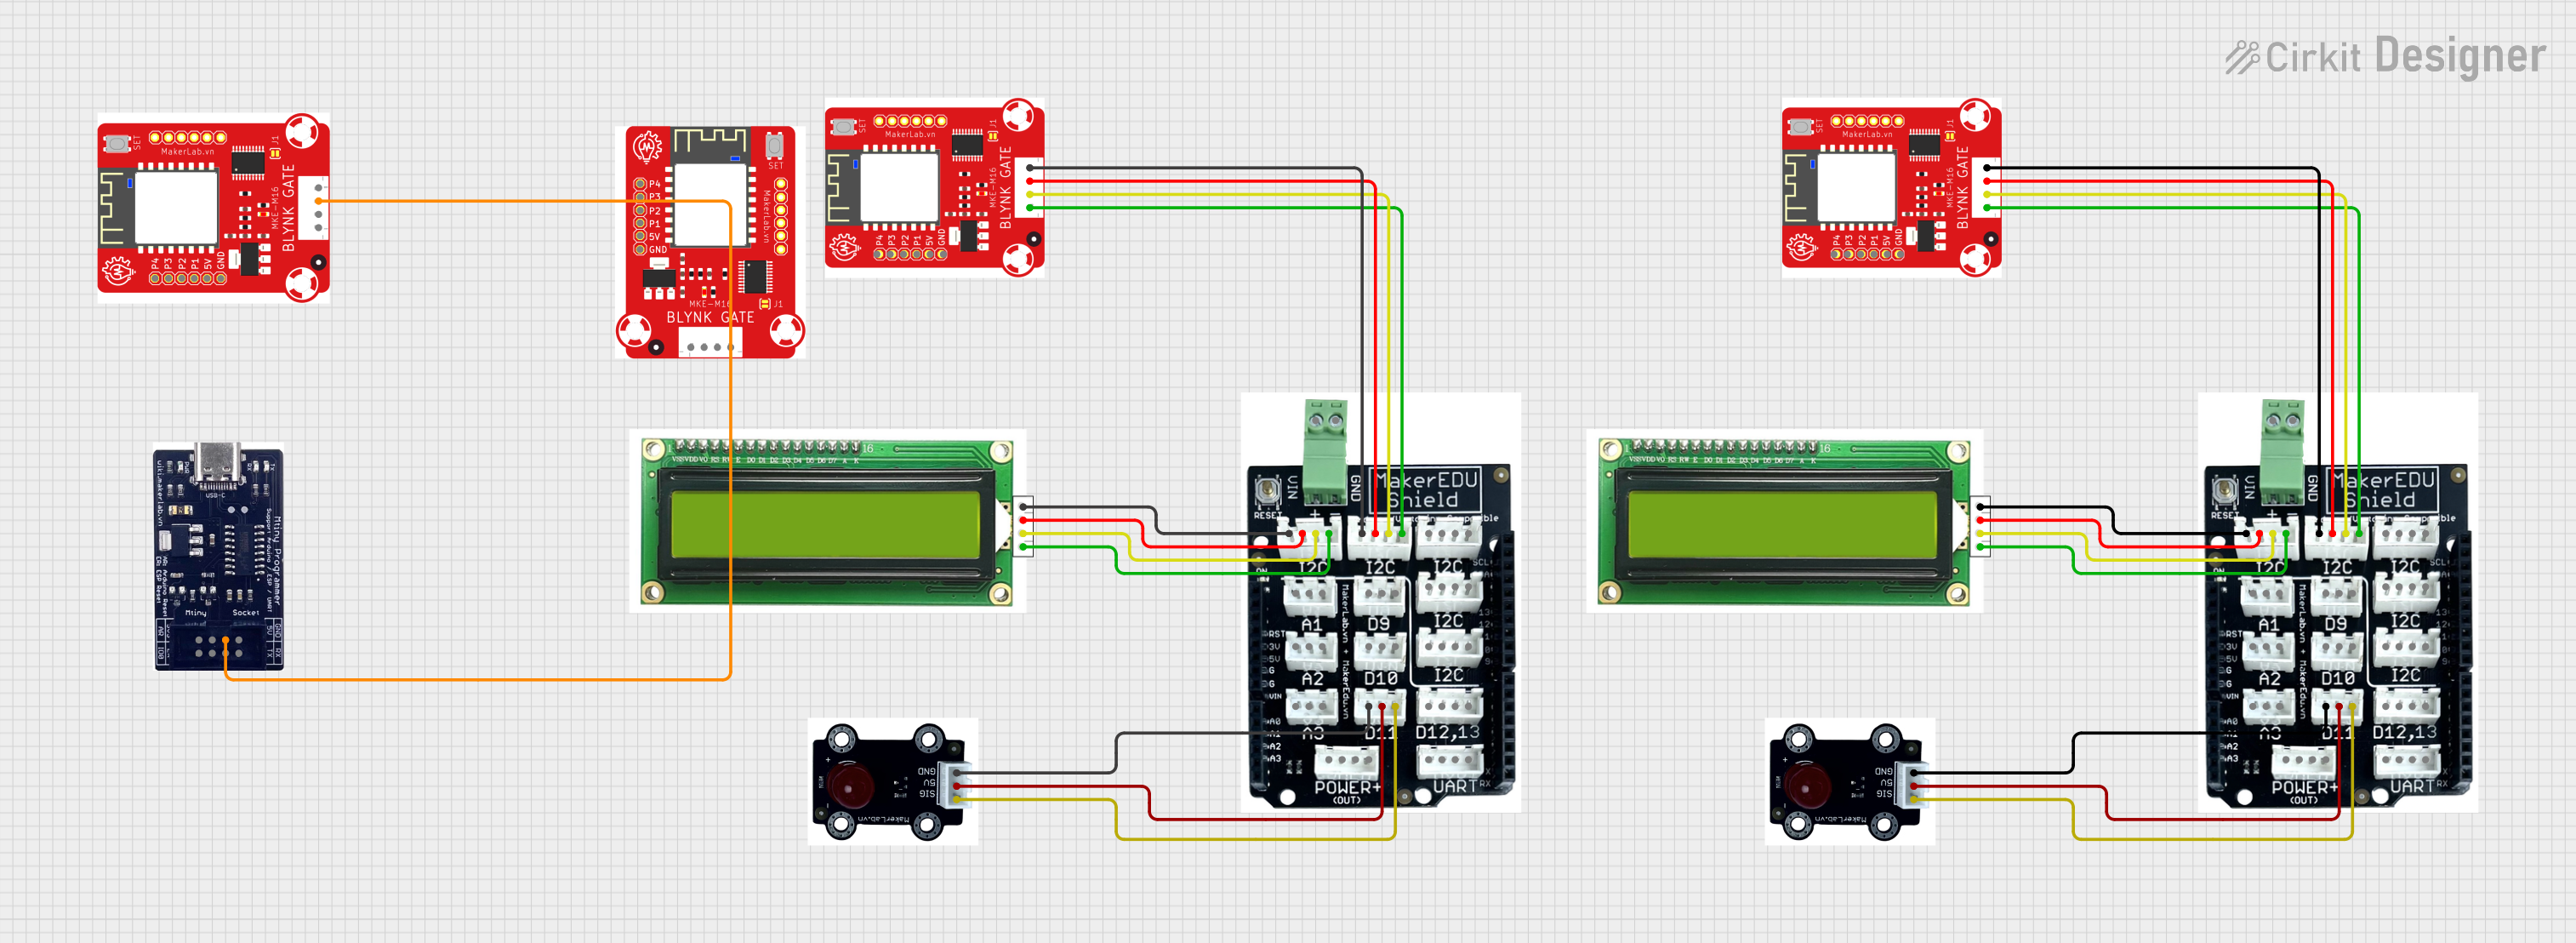 Open Project in Cirkit Designer
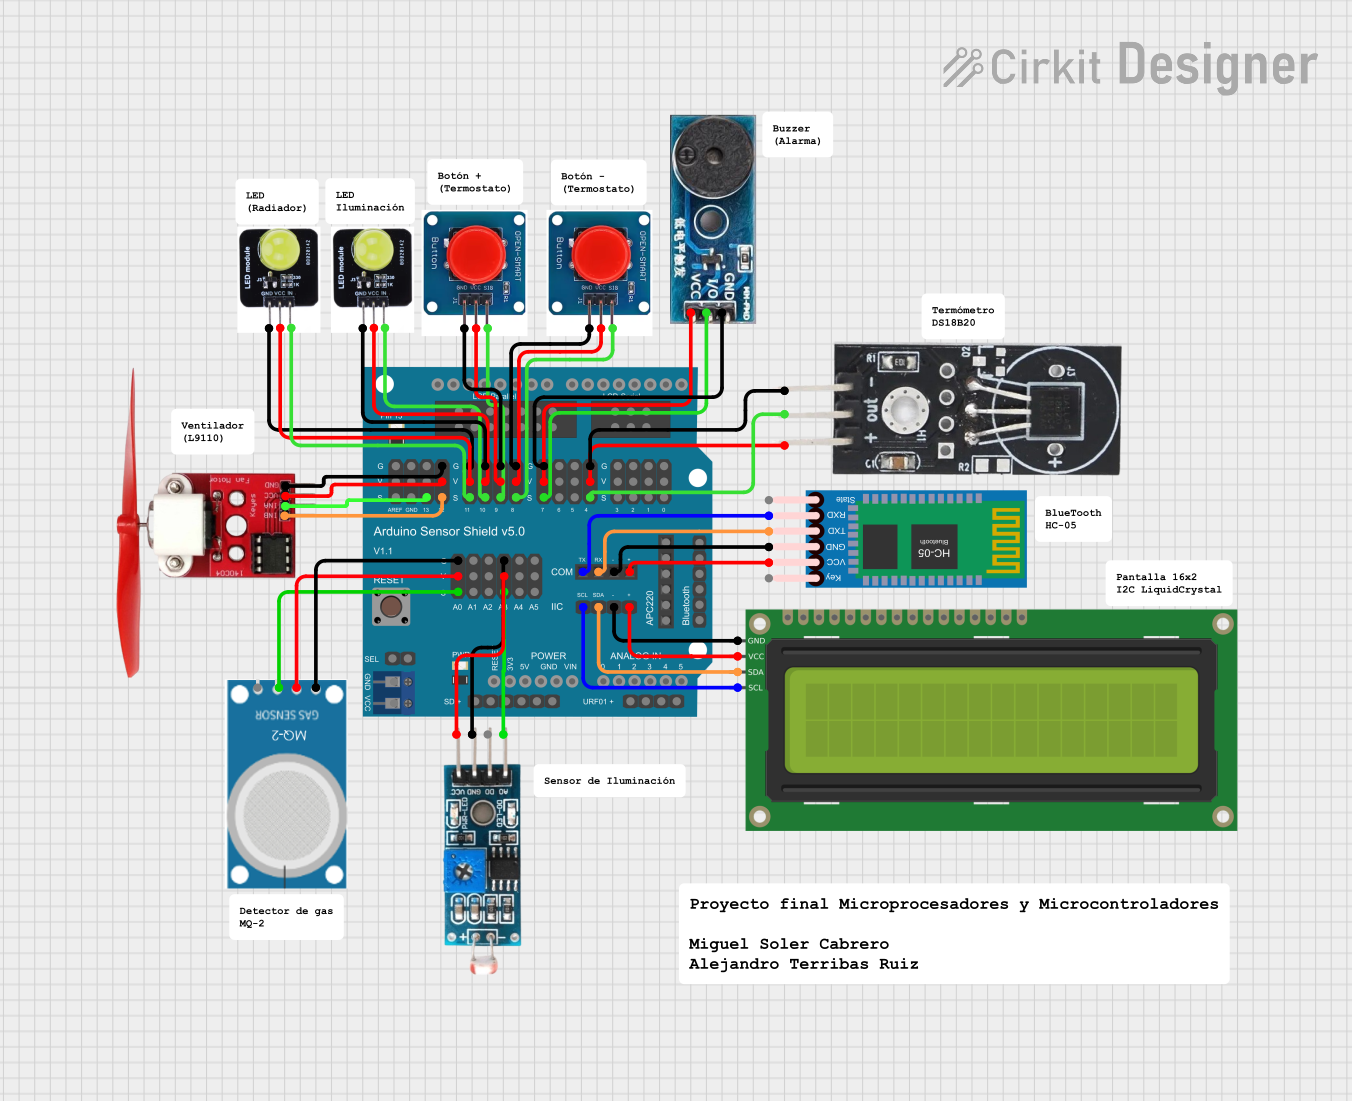 Open Project in Cirkit Designer
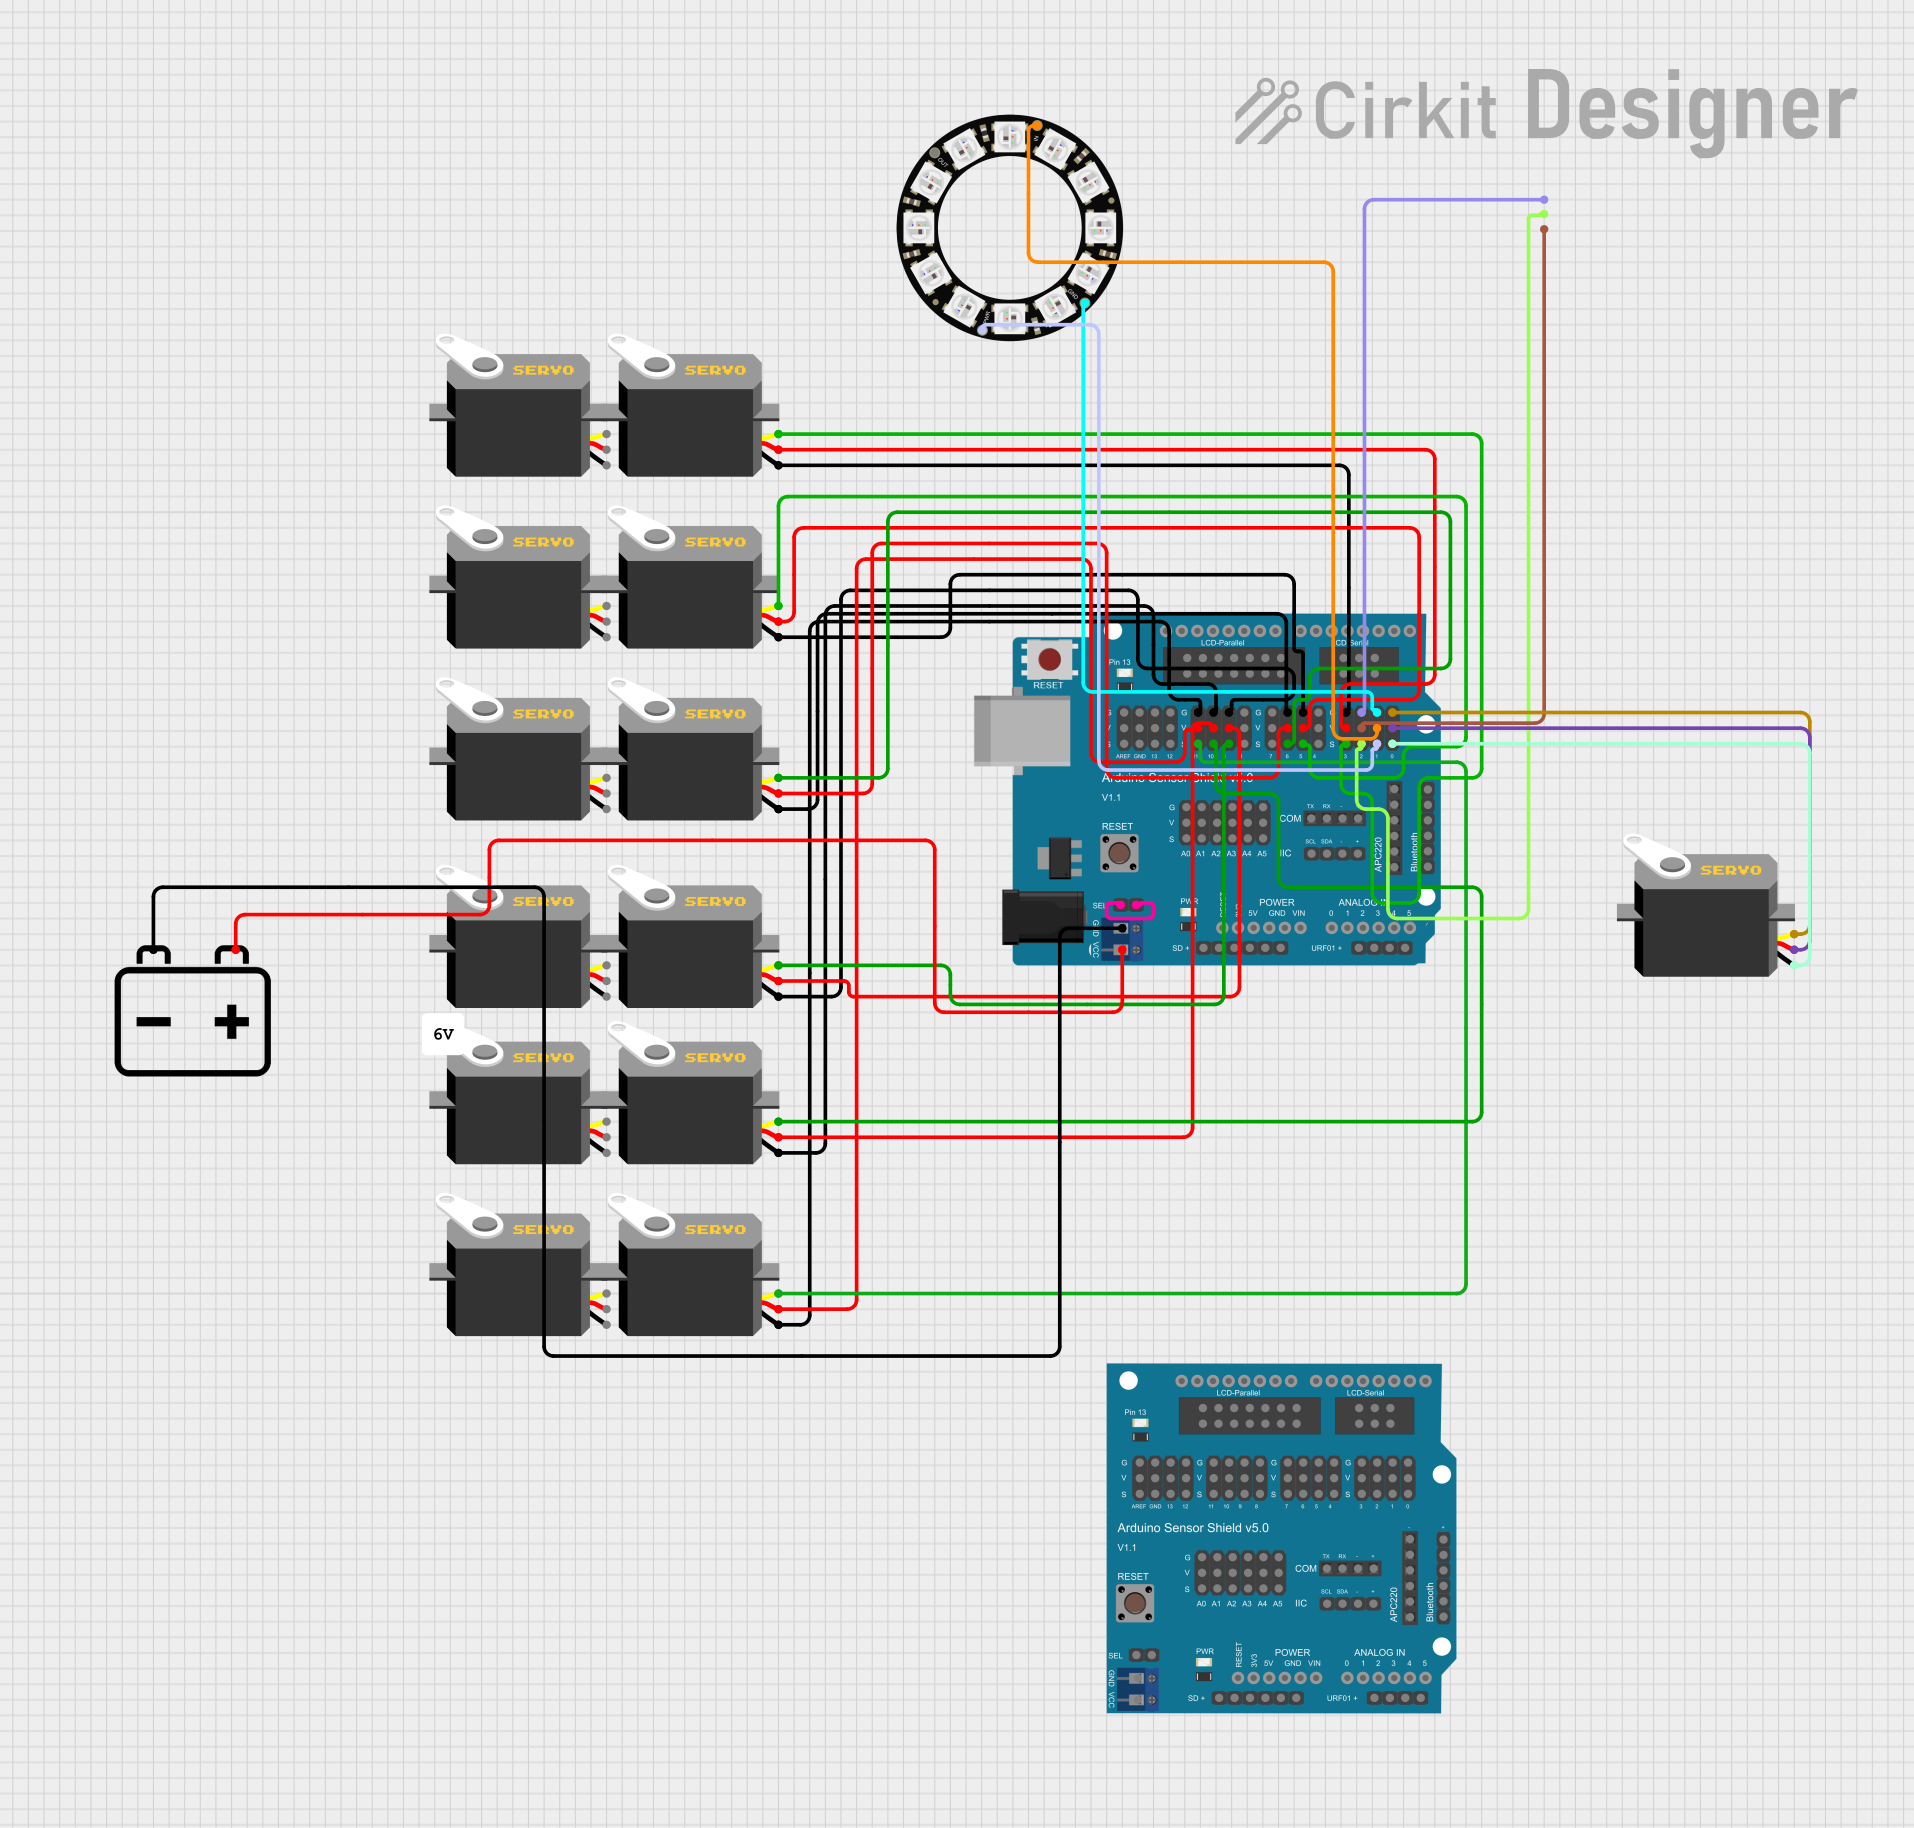 Open Project in Cirkit Designer
Explore Projects Built with Arduino Modkit Shield
Open Project in Cirkit DesignerOpen Project in Cirkit DesignerOpen Project in Cirkit DesignerOpen Project in Cirkit DesignerCommon Applications
- Robotics and automation projects
- IoT (Internet of Things) devices
- Educational tools for learning Arduino programming
- Interactive art installations
- Rapid prototyping of electronic systems
Technical Specifications
The Arduino Modkit Shield is designed to be compatible with most Arduino boards, including the Arduino UNO. Below are the key technical details and pin configurations:
Key Technical Details
| Parameter | Specification |
|---|---|
| Manufacturer | SparkFun |
| Part ID | 10018 |
| Operating Voltage | 5V (from Arduino board) |
| Communication Interfaces | I2C, SPI, UART |
| Dimensions | 68.6mm x 53.4mm (standard Arduino size) |
| Weight | ~20g |
| Compatibility | Arduino UNO, Mega, Leonardo, etc. |
Pin Configuration and Descriptions
The Arduino Modkit Shield uses the standard Arduino pinout and provides additional headers for easy connectivity. Below is the pin configuration:
| Pin Name | Description |
|---|---|
| A0 - A5 | Analog input pins for connecting sensors or other analog devices |
| D0 - D13 | Digital I/O pins for general-purpose input/output |
| SDA | I2C data line for communication with I2C devices |
| SCL | I2C clock line for communication with I2C devices |
| SPI (MISO) | SPI Master-In-Slave-Out for SPI communication |
| SPI (MOSI) | SPI Master-Out-Slave-In for SPI communication |
| SPI (SCK) | SPI clock line for SPI communication |
| 5V | Power supply pin (5V output from Arduino board) |
| GND | Ground connection |
| Reset | Reset pin to restart the Arduino board |
Usage Instructions
The Arduino Modkit Shield is designed to be plug-and-play. Follow the steps below to use it effectively in your projects:
Step 1: Mounting the Shield
- Align the shield's pins with the headers on your Arduino board.
- Gently press the shield onto the Arduino board until it is securely connected.
Step 2: Connecting Peripherals
- Use the analog (A0-A5) and digital (D0-D13) pins to connect sensors, actuators, or other devices.
- For I2C devices, connect them to the SDA and SCL pins.
- For SPI devices, use the SPI pins (MISO, MOSI, SCK).
Step 3: Programming the Arduino
Write your Arduino sketch to control the peripherals connected to the shield. Below is an example code snippet for reading an analog sensor connected to pin A0 and controlling an LED on pin D13:
// Example: Reading an analog sensor and controlling an LED

const int sensorPin = A0;  // Analog pin connected to the sensor
const int ledPin = 13;     // Digital pin connected to the LED

void setup() {
  pinMode(ledPin, OUTPUT);  // Set LED pin as output
  Serial.begin(9600);       // Initialize serial communication
}

void loop() {
  int sensorValue = analogRead(sensorPin);  // Read the sensor value
  Serial.println(sensorValue);             // Print the value to the Serial Monitor

  // Turn on the LED if the sensor value exceeds a threshold
  if (sensorValue > 500) {
    digitalWrite(ledPin, HIGH);  // Turn on the LED
  } else {
    digitalWrite(ledPin, LOW);   // Turn off the LED
  }

  delay(100);  // Wait for 100 milliseconds
}
Best Practices
- Ensure the shield is properly aligned with the Arduino board to avoid damaging the pins.
- Avoid exceeding the voltage and current ratings of the shield and connected devices.
- Use appropriate pull-up resistors for I2C communication if required by your peripherals.
- Regularly check for loose connections to ensure reliable operation.
Troubleshooting and FAQs
Common Issues and Solutions
The shield is not powering on.
- Ensure the Arduino board is connected to a power source (via USB or external power).
- Check that the shield is properly seated on the Arduino board.
Peripherals are not responding.
- Verify the wiring and connections to the shield's pins.
- Double-check the pin numbers used in your Arduino sketch.
I2C devices are not communicating.
- Ensure the SDA and SCL lines are connected correctly.
- Use a logic analyzer or Serial Monitor to debug I2C communication.
The Arduino board resets unexpectedly.
- Check for short circuits or excessive current draw from connected devices.
- Ensure the shield is not drawing more power than the Arduino board can supply.
FAQs
Q: Is the Arduino Modkit Shield compatible with all Arduino boards?
A: The shield is compatible with most Arduino boards, including the UNO, Mega, and Leonardo. However, compatibility with non-standard boards may vary.
Q: Can I stack multiple shields on top of the Modkit Shield?
A: Yes, the shield supports stacking, but ensure that the combined power and pin requirements do not exceed the Arduino board's capabilities.
Q: Do I need additional libraries to use the shield?
A: No additional libraries are required for basic functionality. However, specific peripherals may require their own libraries.
Q: Can I use the shield for wireless communication?
A: The shield itself does not include wireless modules, but you can connect external wireless modules (e.g., Bluetooth, Wi-Fi) to the appropriate pins.
By following this documentation, you can effectively use the Arduino Modkit Shield to enhance your projects and bring your ideas to life!