How to Use MPR121 Capacitive Touch Sensor Breakout Board: Examples, Pinouts, and Specs
Introduction
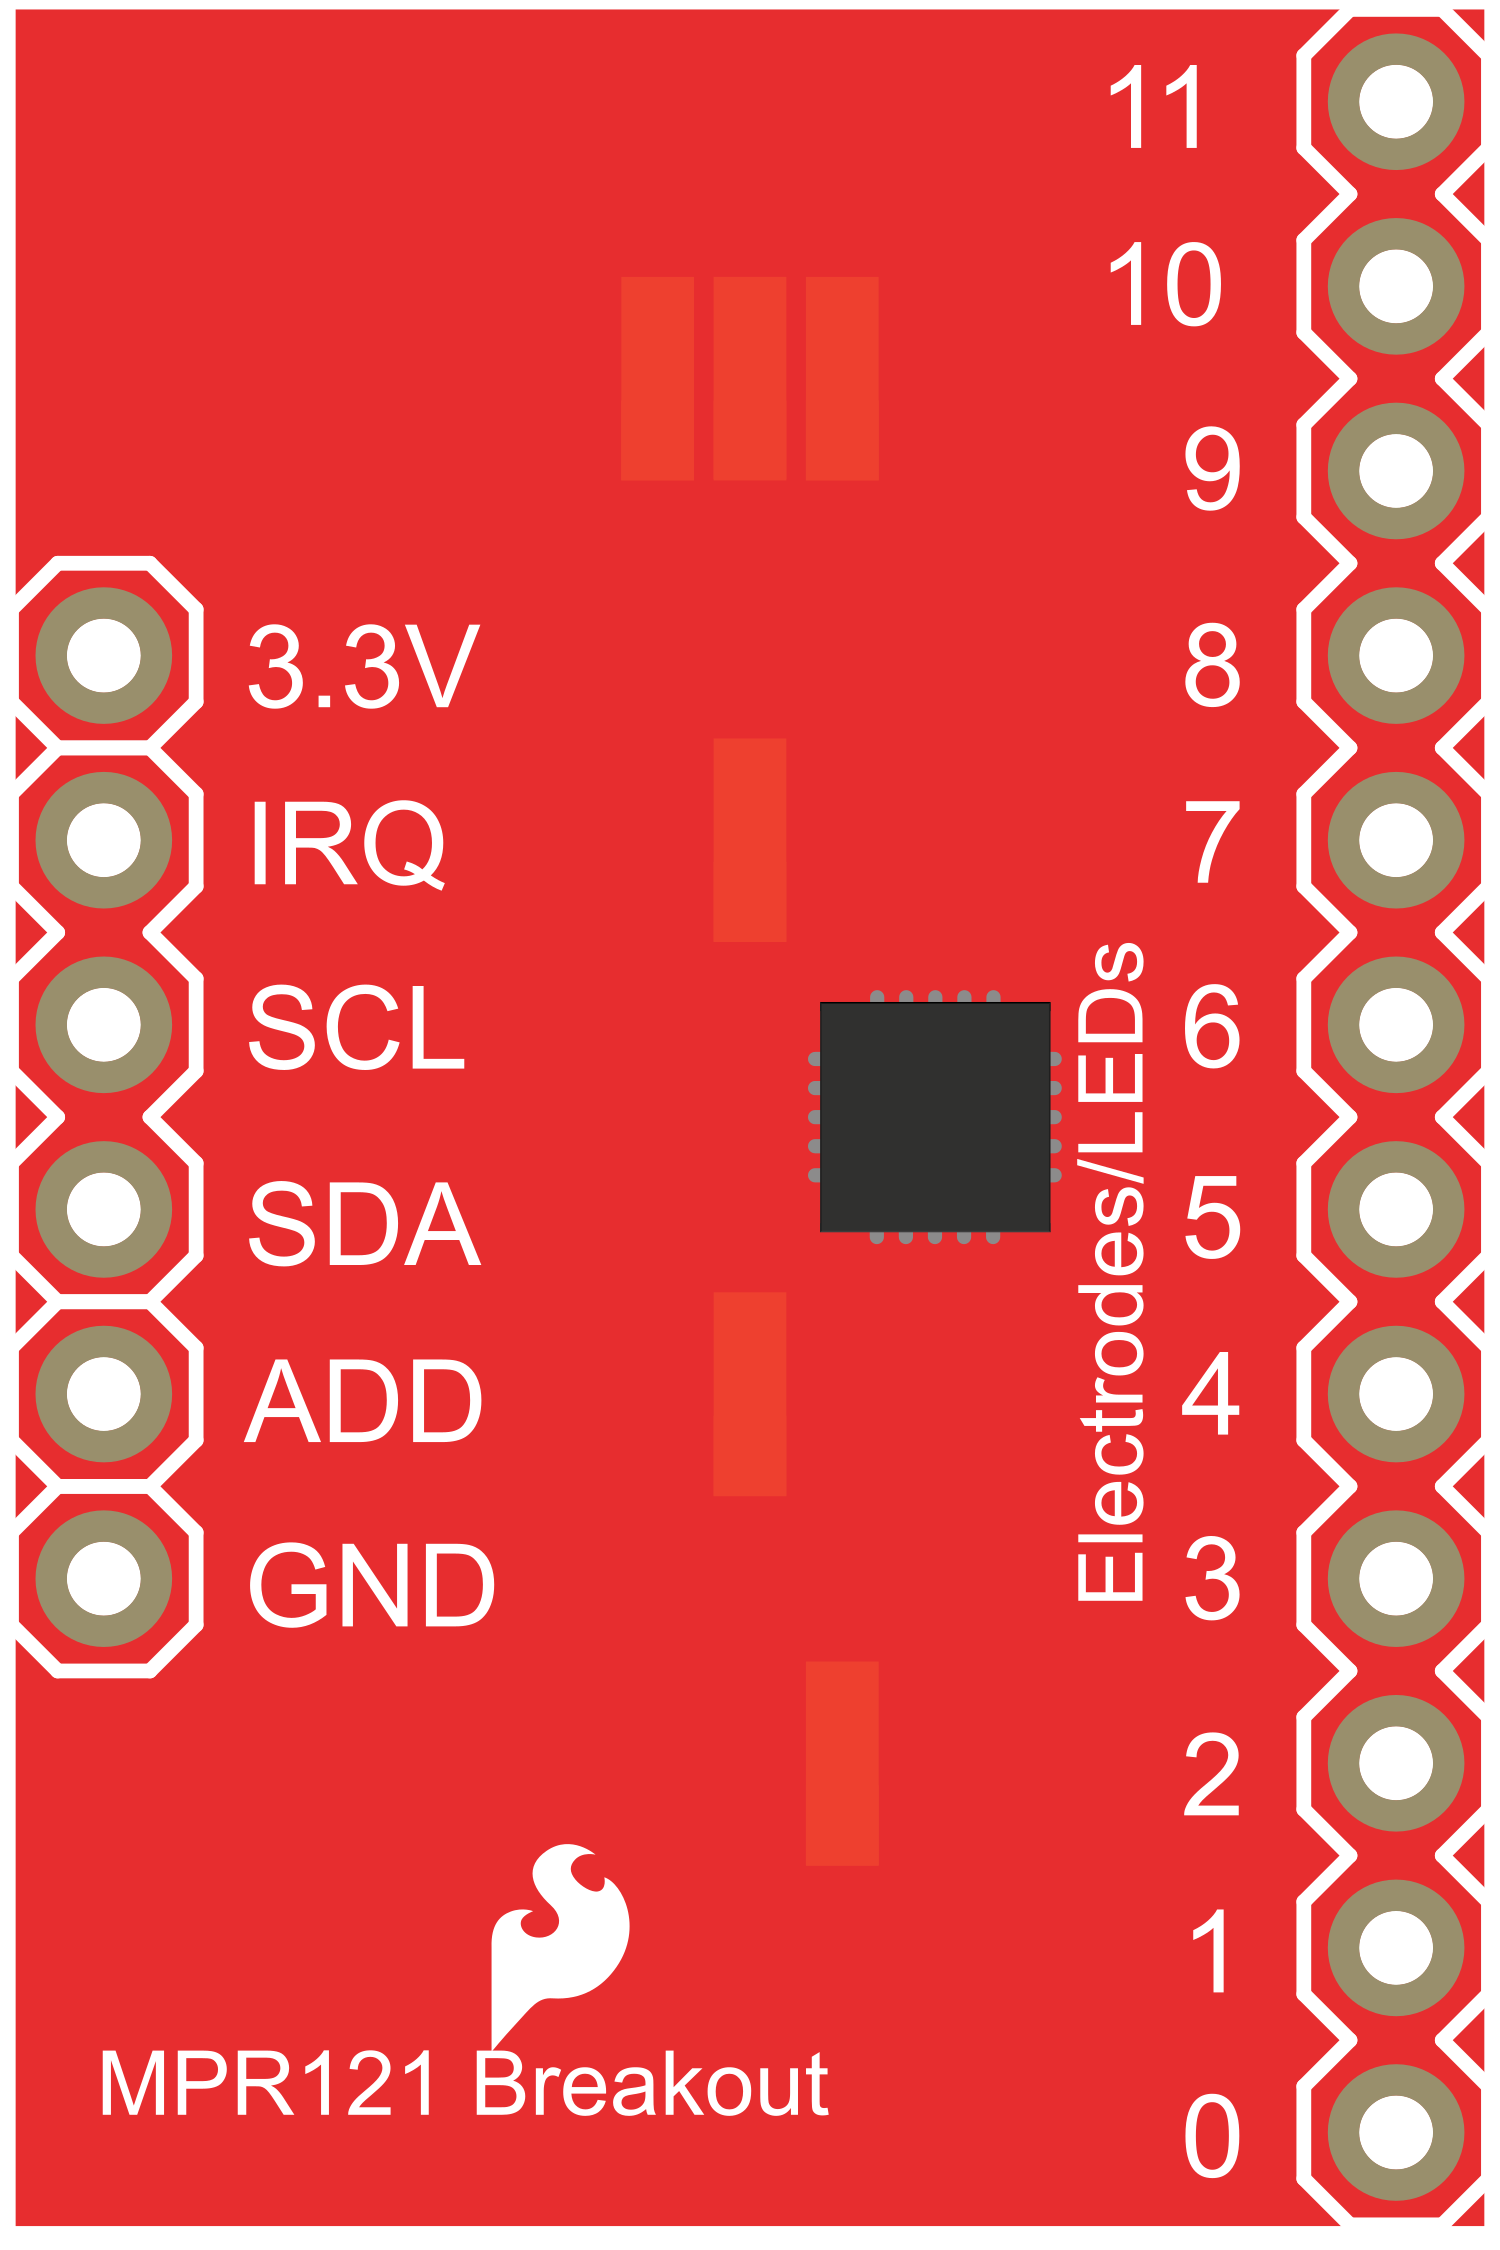
The MPR121 Capacitive Touch Sensor Breakout Board is a sophisticated electronic component designed to add touch sensing capabilities to your projects. Utilizing the MPR121 chip, this breakout board can detect the touch or proximity of human fingers and provides a digital output signal for each of its 12 electrodes. Common applications include touch interfaces, interactive installations, and replacement of traditional buttons.
Explore Projects Built with MPR121 Capacitive Touch Sensor Breakout Board


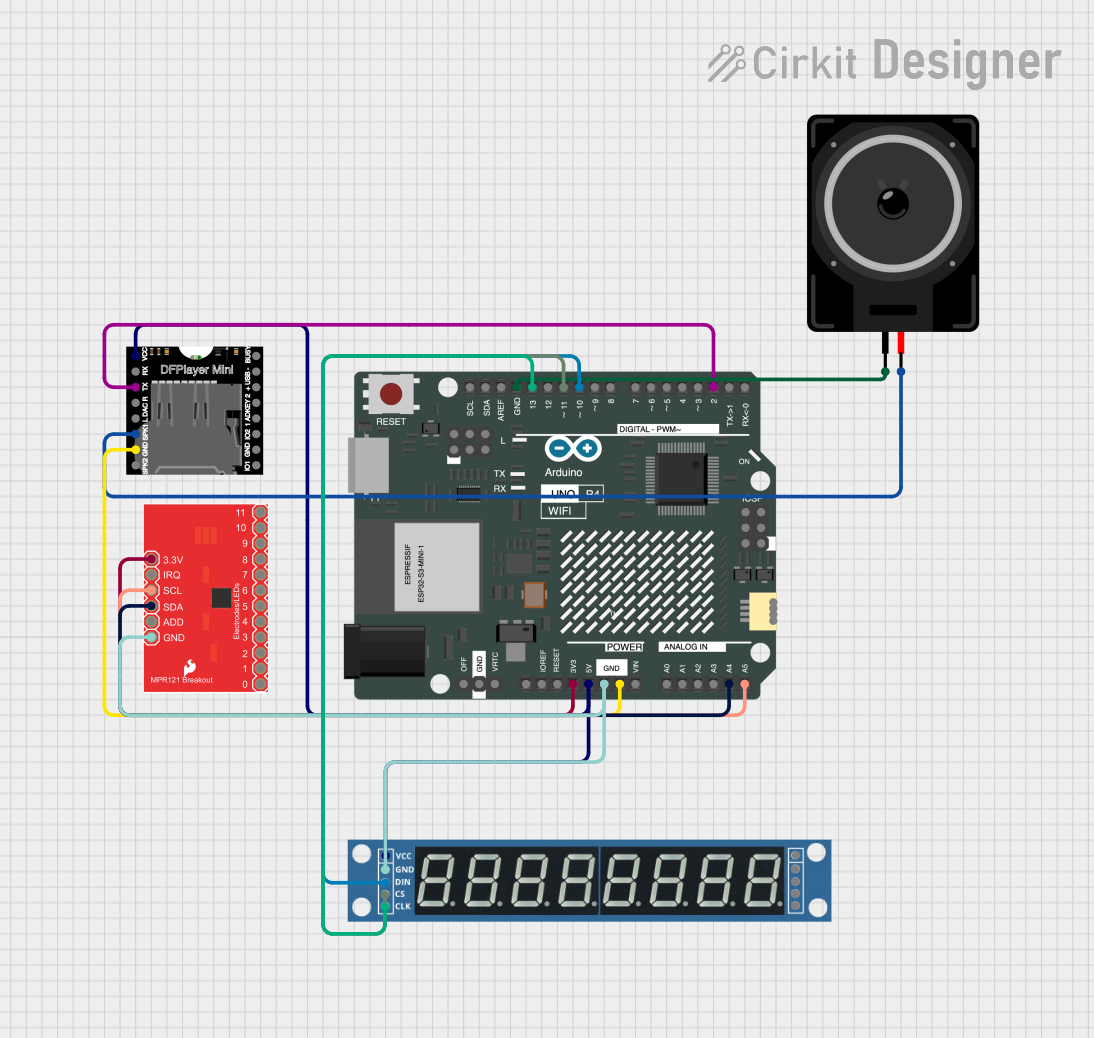
Explore Projects Built with MPR121 Capacitive Touch Sensor Breakout Board
Technical Specifications
Key Technical Details
- Operating Voltage: 2.5V to 3.6V
- Supply Current: 29uA (run mode), 3uA (stop mode)
- Input Capacitance Range: 0 to 50pF
- Number of Electrodes: 12 touch-sensitive inputs
- Communication Interface: I2C (up to 400 kHz)
- Sensitivity: Adjustable with internal registers
- Response Time: Adjustable with internal registers
- Interrupt Output: Yes, for touch and release events
Pin Configuration and Descriptions
| Pin Number | Pin Name | Description |
|---|---|---|
| 1 | IRQ | Interrupt output to microcontroller |
| 2 | ADDR | I2C address select pin |
| 3 | SDA | I2C data line |
| 4 | SCL | I2C clock line |
| 5 | VDD | Power supply (2.5V to 3.6V) |
| 6 | GND | Ground |
| 7-18 | ELE0-ELE11 | Electrode connections for touch inputs |
Usage Instructions
Integration with a Circuit
- Powering the Board: Connect VDD to a 2.5V to 3.6V power source and GND to the ground.
- I2C Communication: Connect SDA and SCL to your microcontroller's I2C data and clock lines respectively.
- Address Selection: The ADDR pin can be connected to VDD, GND, or left floating to select between I2C addresses.
- Electrode Connections: Connect conductive material or objects to the ELE0-ELE11 pins for touch sensing.
- Interrupts: The IRQ pin can be connected to an interrupt-capable pin on your microcontroller to detect touch events.
Best Practices
- Use proper decoupling capacitors close to the board's power supply pins to minimize noise.
- Keep the traces or wires to the electrodes as short as possible to reduce interference.
- Avoid running electrode traces or wires parallel to high-current carrying conductors.
- Calibrate the sensitivity settings according to your application's requirements.
Example Code for Arduino UNO
#include <Wire.h>
#include "Adafruit_MPR121.h"

// You can have up to 4 on one i2c bus (connecting ADDR to 3.3V, GND or leaving it floating)
// but you can only have one sensor per unique i2c address.
Adafruit_MPR121 cap = Adafruit_MPR121();

void setup() {
  Serial.begin(9600);
  while (!Serial) { // needed to keep leonardo/micro from starting too fast!
    delay(10);
  }

  if (!cap.begin(0x5A)) {
    Serial.println("MPR121 not found, check wiring?");
    while (1);
  }
  Serial.println("MPR121 found!");
}

void loop() {
  // Get the currently touched pads
  currtouched = cap.touched();

  for (uint8_t i=0; i<12; i++) {
    // it if *is* touched and *wasnt* touched before, alert!
    if ((currtouched & _BV(i)) && !(lasttouched & _BV(i)) ) {
      Serial.print(i); Serial.println(" touched");
    }
    // if it *was* touched and now *isnt*, alert!
    if (!(currtouched & _BV(i)) && (lasttouched & _BV(i)) ) {
      Serial.print(i); Serial.println(" released");
    }
  }

  // reset our state
  lasttouched = currtouched;

  // comment out this line for detailed data from the sensor!
  delay(100);
}
Troubleshooting and FAQs
Common Issues
- Sensor Not Responding: Ensure that the power supply is within the specified range and that the I2C lines are properly connected.
- Inaccurate Touch Detection: Adjust the sensitivity settings and check the electrode connections for any interference.
- No Interrupt Triggered: Verify that the IRQ pin is connected to an interrupt-capable pin on your microcontroller and that the interrupt is properly configured in your code.
FAQs
Q: Can the MPR121 operate at 5V? A: No, the MPR121 is designed to operate between 2.5V and 3.6V. Using a higher voltage can damage the chip.
Q: How can I change the sensitivity of the touch detection? A: Sensitivity can be adjusted through the MPR121's internal registers. Refer to the datasheet for detailed register settings.
Q: Can I use the MPR121 with a microcontroller other than an Arduino? A: Yes, as long as the microcontroller supports I2C communication, you can interface with the MPR121.
Q: How do I clean the electrodes? A: Use a soft, dry cloth to gently wipe the electrodes. Avoid using any liquids or abrasive materials that could damage the board.
For further assistance, consult the MPR121 datasheet and ensure that your setup matches the recommended configurations.