How to Use Speaker: Examples, Pinouts, and Specs
Introduction
A speaker is a device that converts electrical energy into sound, allowing audio signals to be heard. It is an essential component in audio systems, enabling the reproduction of music, voice, and other sounds. Speakers are widely used in consumer electronics, such as smartphones, televisions, computers, and home audio systems, as well as in professional audio equipment and public address systems.
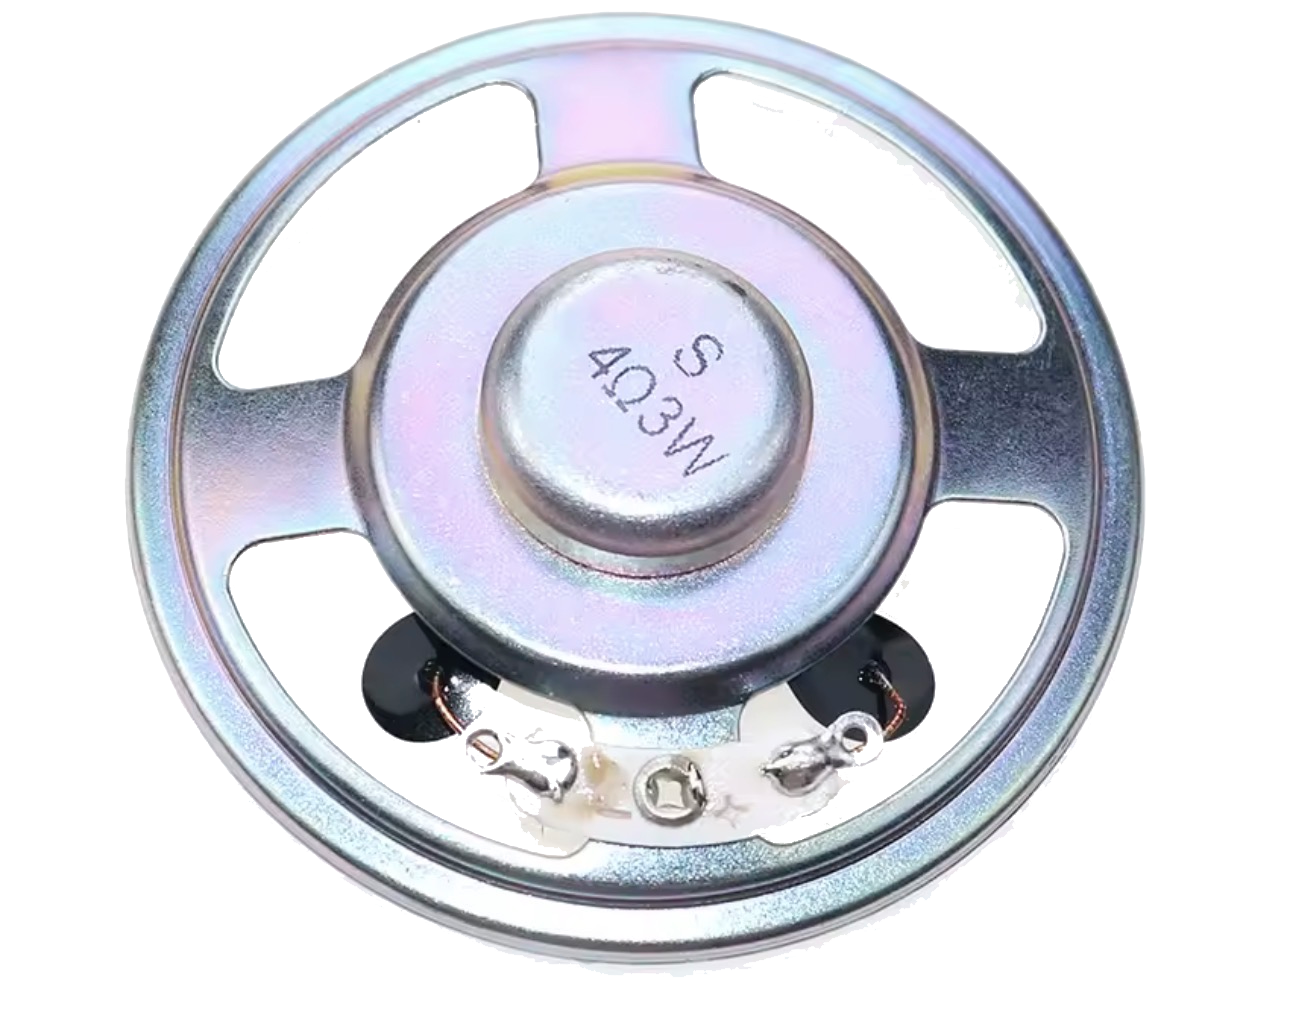
The 8R Speaker is a versatile and compact speaker designed for general-purpose audio applications. Its 8-ohm impedance makes it compatible with a wide range of audio amplifiers and microcontroller-based projects.
Explore Projects Built with Speaker


Explore Projects Built with Speaker
Technical Specifications
Below are the key technical details of the 8R Speaker:
| Parameter | Value |
|---|---|
| Manufacturer | Speaker |
| Part ID | 8R |
| Impedance | 8 ohms |
| Power Rating | 0.5W to 1W |
| Frequency Response | 100 Hz to 10 kHz |
| Diameter | 66 mm (varies by model) |
| Operating Temperature | -20°C to 60°C |
Pin Configuration and Descriptions
The 8R Speaker typically has two terminals for connection:
| Pin Name | Description |
|---|---|
| Positive (+) | Connects to the positive output of the amplifier or circuit. |
| Negative (-) | Connects to the ground or negative output of the amplifier. |
Usage Instructions
How to Use the Speaker in a Circuit
- Connect to an Amplifier: The speaker requires an audio amplifier to drive it. Connect the positive terminal of the speaker to the amplifier's positive output and the negative terminal to the amplifier's ground.
- Power Considerations: Ensure the amplifier's output power does not exceed the speaker's power rating (0.5W to 1W) to avoid damage.
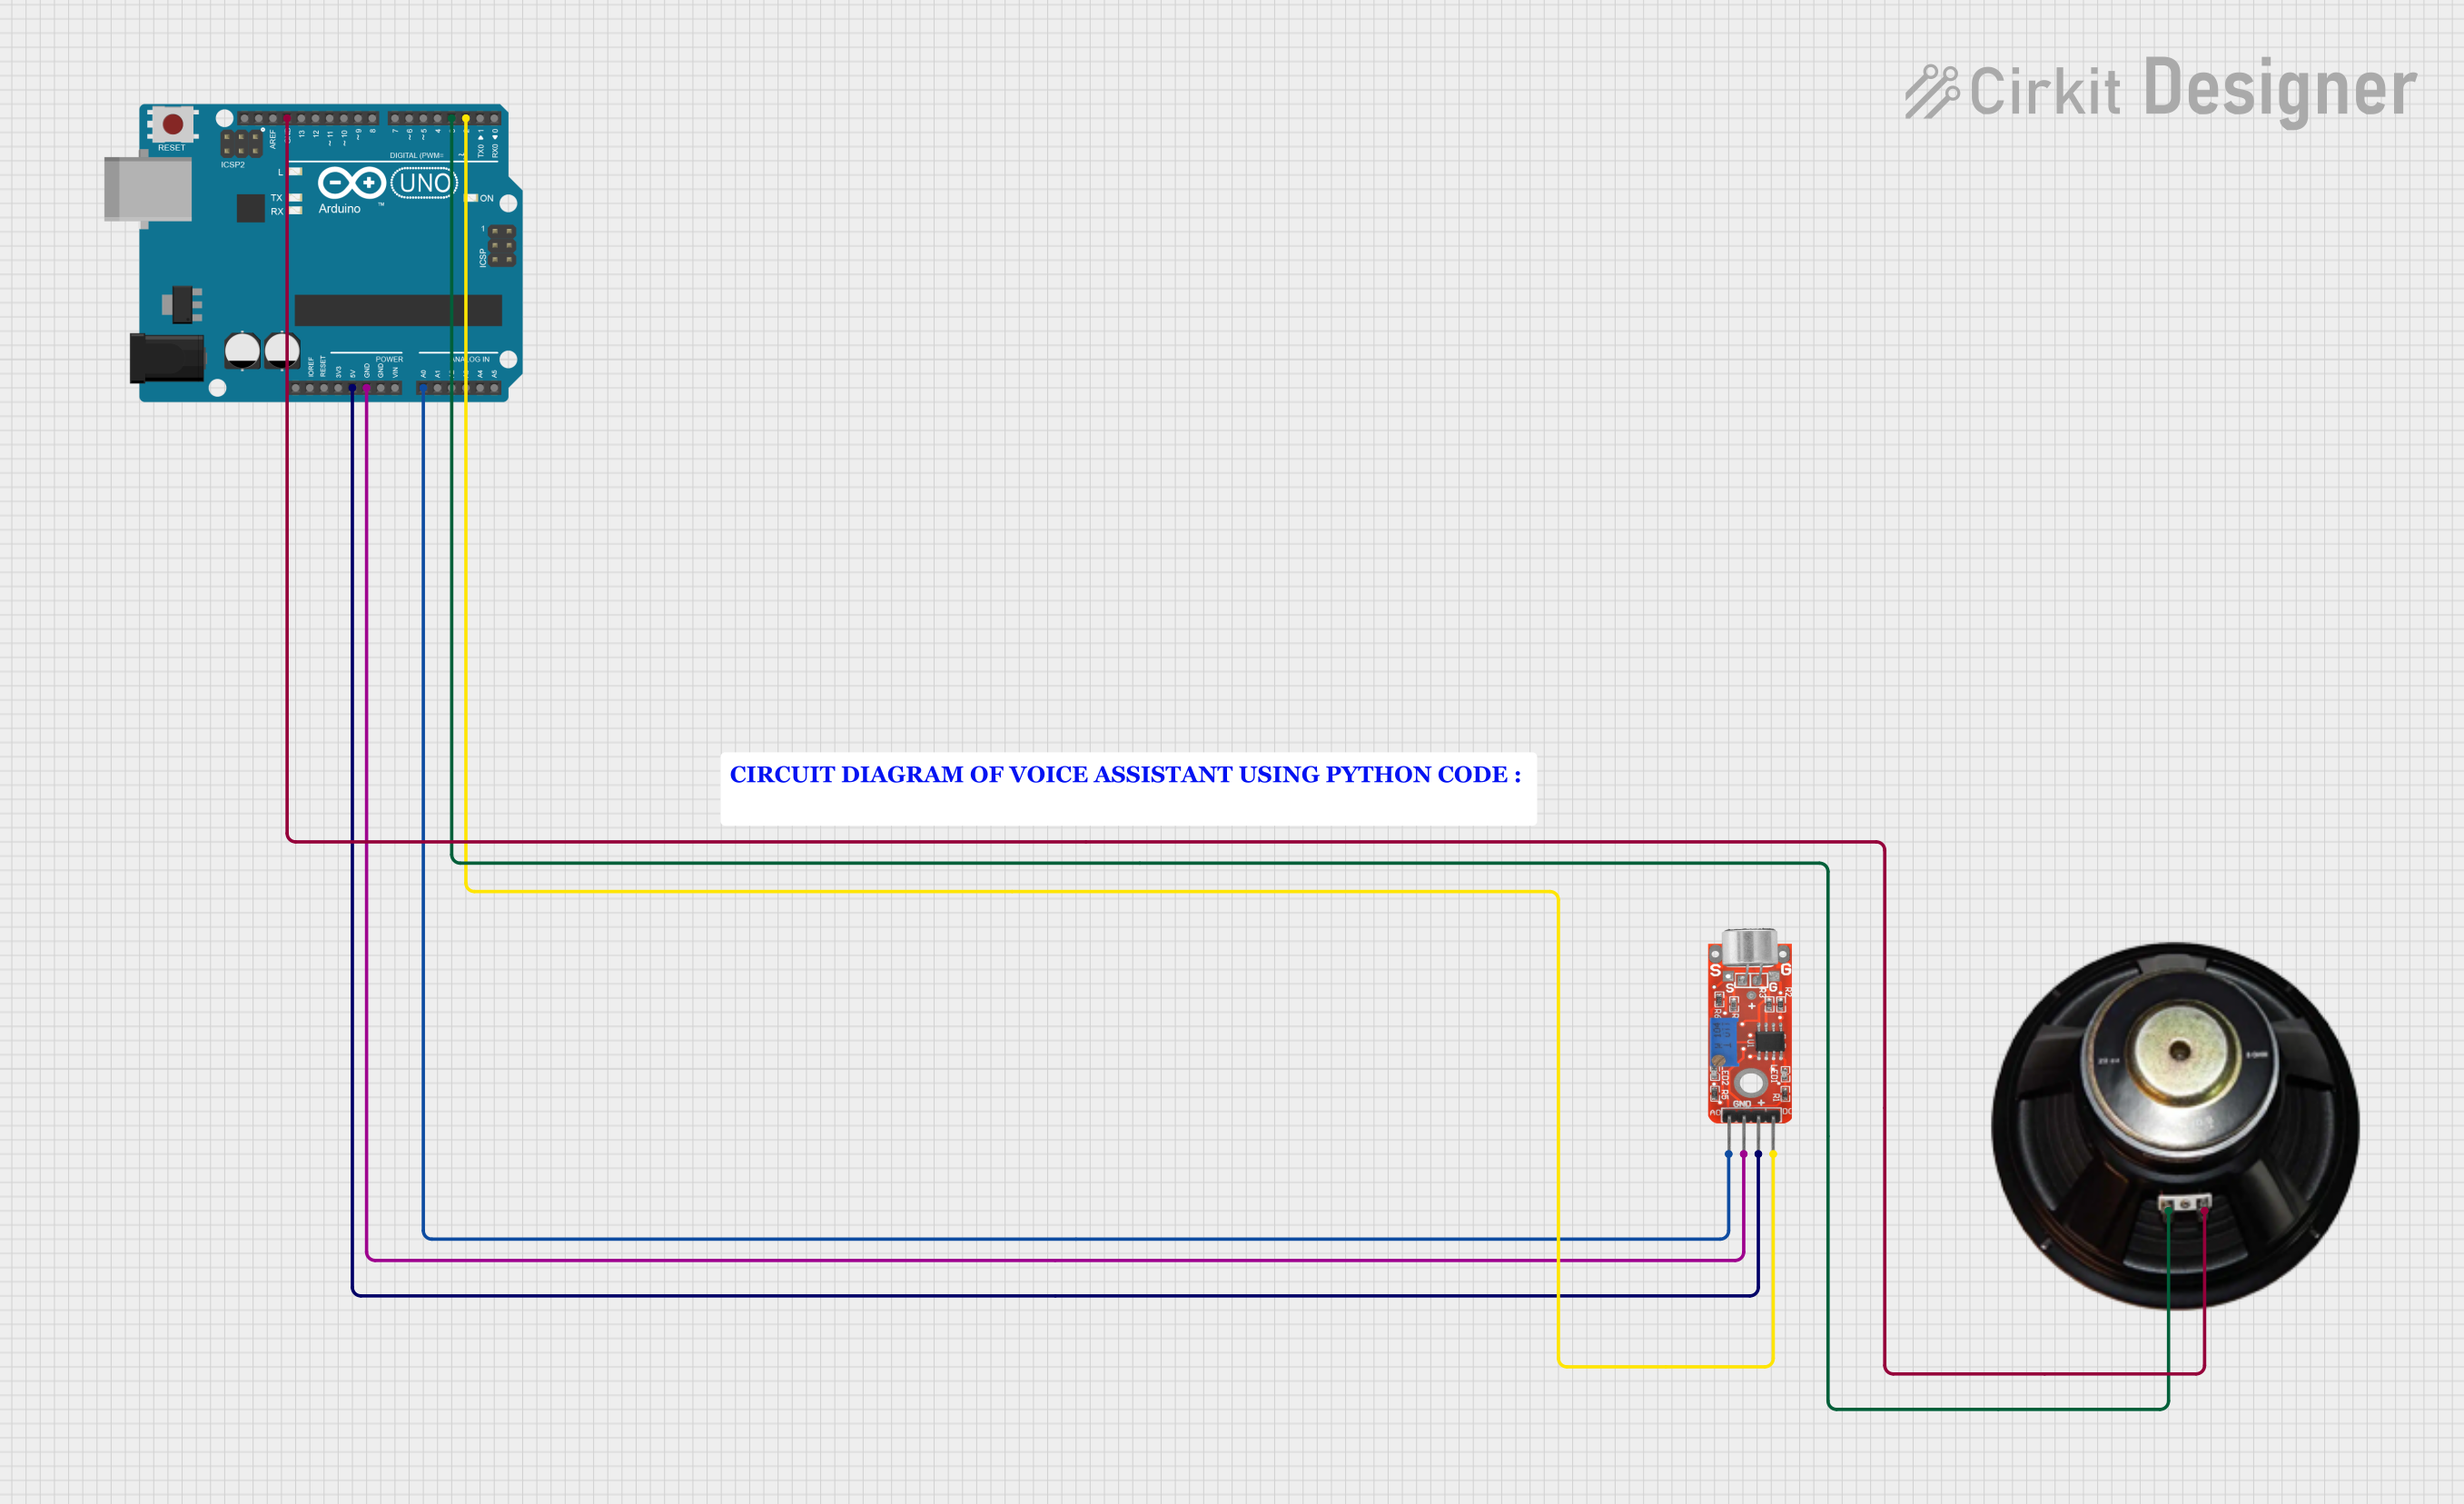
- Microcontroller Integration: If using a microcontroller (e.g., Arduino UNO), you will need an audio amplifier module between the microcontroller and the speaker, as microcontrollers cannot directly drive speakers.
Example: Connecting an 8R Speaker to an Arduino UNO
To play simple tones using an Arduino UNO, you can use the tone() function. Below is an example circuit and code:
Circuit:
- Connect the positive terminal of the speaker to one pin of a 100-ohm resistor.
- Connect the other pin of the resistor to Arduino pin 8.
- Connect the negative terminal of the speaker to the Arduino's GND.
Code:
// Example code to play tones on an 8R speaker using Arduino UNO

void setup() {
  // No setup required for tone generation
}

void loop() {
  tone(8, 440, 500); // Play a 440 Hz tone (A4) for 500 ms
  delay(1000);       // Wait for 1 second
  tone(8, 523, 500); // Play a 523 Hz tone (C5) for 500 ms
  delay(1000);       // Wait for 1 second
}
Important Notes:
- Use a resistor (e.g., 100 ohms) in series with the speaker to limit current and protect the Arduino pin.
- Avoid driving the speaker directly from the Arduino without an amplifier for prolonged periods, as it may damage the microcontroller.
Best Practices
- Always match the speaker's impedance with the amplifier's output impedance for optimal performance.
- Avoid exceeding the speaker's power rating to prevent distortion or permanent damage.
- Use an enclosure to enhance sound quality and protect the speaker from physical damage.
Troubleshooting and FAQs
Common Issues and Solutions
No Sound from the Speaker:
- Cause: Loose or incorrect connections.
- Solution: Verify all connections, ensuring the positive and negative terminals are correctly connected.
Distorted Sound:
- Cause: Overdriving the speaker with excessive power.
- Solution: Reduce the amplifier's output power or volume.
Low Volume:
- Cause: Insufficient amplifier power or incorrect impedance matching.
- Solution: Use an amplifier with a higher power output that matches the speaker's impedance.
Speaker Not Working with Arduino:
- Cause: Missing amplifier or incorrect resistor value.
- Solution: Add an audio amplifier module or use a suitable resistor in series with the speaker.
FAQs
Q1: Can I connect the 8R Speaker directly to a microcontroller?
A1: No, microcontrollers cannot provide sufficient current to drive a speaker directly. Use an audio amplifier or a transistor-based driver circuit.
Q2: What is the purpose of the resistor in the Arduino example?
A2: The resistor limits the current flowing through the speaker, protecting both the speaker and the Arduino pin.
Q3: Can I use the 8R Speaker for high-fidelity audio applications?
A3: The 8R Speaker is suitable for basic audio applications but may not provide the sound quality required for high-fidelity systems.
Q4: How do I improve the sound quality of the speaker?
A4: Use a properly designed enclosure and ensure the amplifier's output matches the speaker's impedance and power rating.
By following this documentation, you can effectively integrate the 8R Speaker into your projects and troubleshoot common issues.