
How to Use FCHUB-12S V2: Examples, Pinouts, and Specs
 Design with FCHUB-12S V2 in Cirkit Designer
Introduction
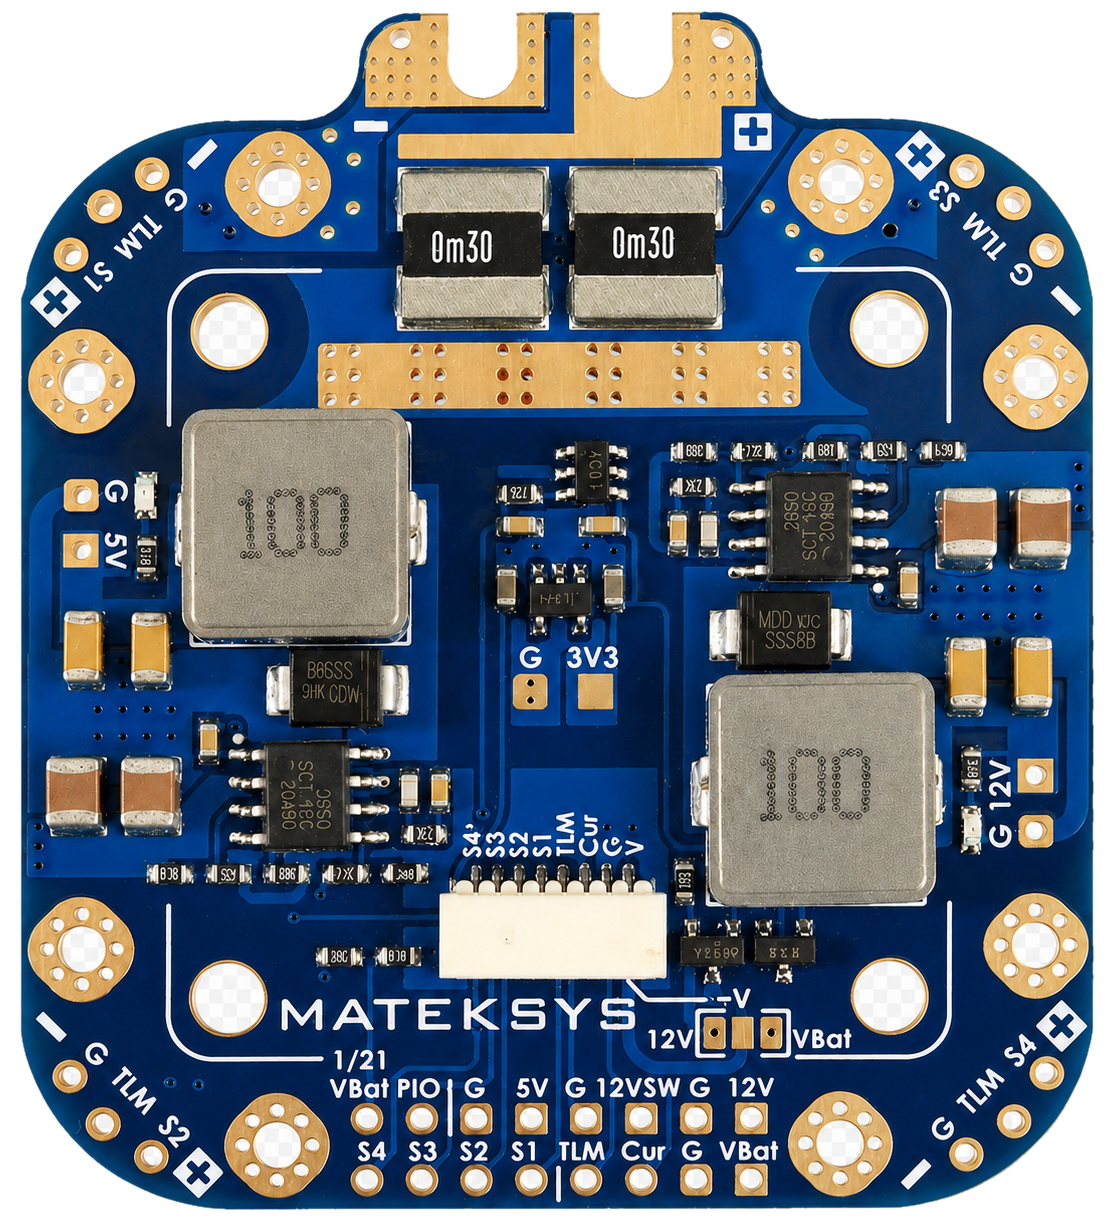
The FCHUB-12S V2 is a versatile power distribution hub designed for use in RC and drone applications. It enables efficient power management and distribution to multiple components from a single power source. This component is particularly useful in multi-rotor drones, where it simplifies wiring and ensures stable power delivery to flight controllers, ESCs (Electronic Speed Controllers), and other peripherals.
Explore Projects Built with FCHUB-12S V2
 Open Project in Cirkit Designer
 Open Project in Cirkit Designer
 Open Project in Cirkit Designer
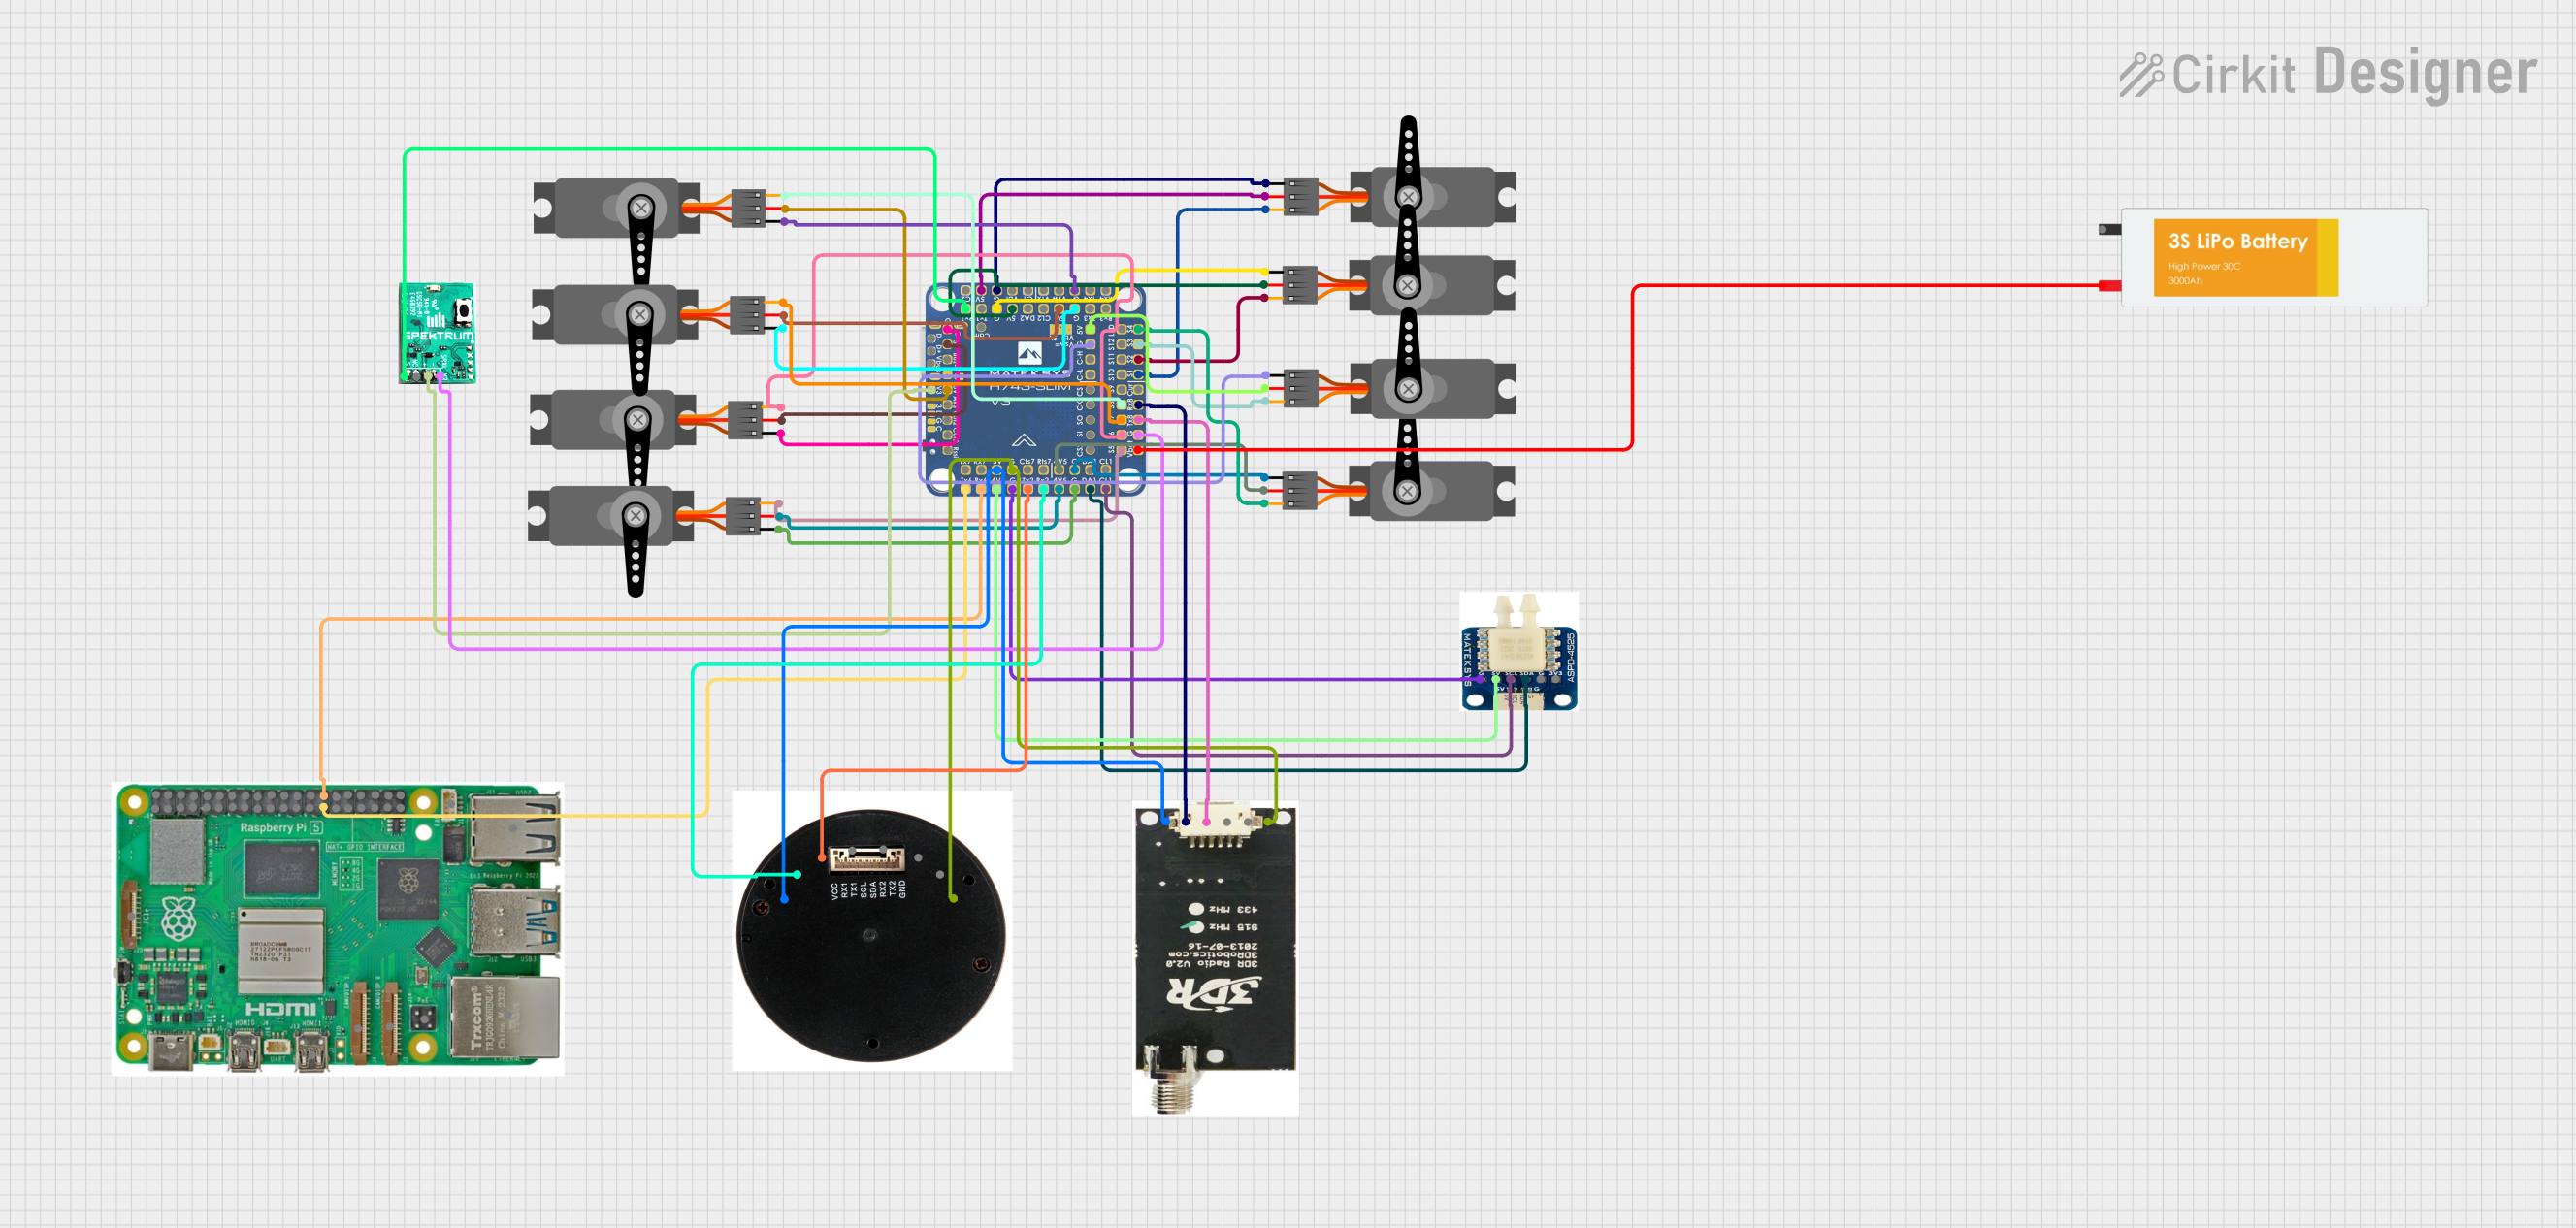 Open Project in Cirkit Designer
Explore Projects Built with FCHUB-12S V2
Open Project in Cirkit DesignerOpen Project in Cirkit DesignerOpen Project in Cirkit DesignerOpen Project in Cirkit DesignerCommon Applications and Use Cases
- Power distribution for multi-rotor drones
- RC vehicles and robotics
- Integration with flight controllers for clean and efficient wiring
- Voltage and current monitoring for battery management
- Powering auxiliary components such as cameras, LEDs, and transmitters
Technical Specifications
The FCHUB-12S V2 is designed to handle high-current loads while providing reliable power distribution. Below are its key technical details:
Key Specifications
| Parameter | Value |
|---|---|
| Input Voltage Range | 3S to 12S LiPo (9V to 60V) |
| Maximum Current Handling | 200A |
| Voltage Monitoring Output | 0-60V (scaled for flight controllers) |
| Current Monitoring Output | 0-200A (scaled for flight controllers) |
| Dimensions | 36mm x 36mm |
| Weight | 8g |
| Mounting Hole Spacing | 30.5mm x 30.5mm (standard) |
| Connector Type | Solder pads for power input/output |
| Compatibility | Compatible with most flight controllers supporting voltage/current monitoring |
Pin Configuration and Descriptions
The FCHUB-12S V2 features solder pads and connectors for power input, output, and monitoring. Below is a detailed description of its pin configuration:
| Pin/Pad Name | Description |
|---|---|
| VBAT+ | Positive terminal for battery input (main power source) |
| VBAT- | Negative terminal for battery input (main power source) |
| ESC+ | Positive terminal for ESC power output |
| ESC- | Negative terminal for ESC power output |
| VOUT+ | Positive terminal for auxiliary power output (e.g., cameras, LEDs) |
| VOUT- | Negative terminal for auxiliary power output |
| CURR | Current sensor output (analog signal for flight controller) |
| VOLT | Voltage sensor output (analog signal for flight controller) |
| GND | Ground connection for sensors and auxiliary components |
Usage Instructions
How to Use the FCHUB-12S V2 in a Circuit
Power Input Connection:
- Connect the positive terminal of your LiPo battery to the
VBAT+pad. - Connect the negative terminal of your LiPo battery to the
VBAT-pad. - Ensure secure soldering to handle high current loads.
- Connect the positive terminal of your LiPo battery to the
Power Output to ESCs:
- Solder the positive and negative wires of each ESC to the
ESC+andESC-pads, respectively. - Verify that the ESCs are rated for the input voltage of your battery.
- Solder the positive and negative wires of each ESC to the
Auxiliary Power Output:
- Use the
VOUT+andVOUT-pads to power auxiliary components such as cameras, LEDs, or transmitters. - Ensure the auxiliary components are compatible with the battery voltage.
- Use the
Voltage and Current Monitoring:
- Connect the
VOLTandCURRpins to the corresponding inputs on your flight controller. - Connect the
GNDpin to the ground of your flight controller. - Configure the flight controller software (e.g., Betaflight) to read voltage and current data.
- Connect the
Important Considerations and Best Practices
- Soldering: Use high-quality solder and ensure all connections are secure to prevent power loss or overheating.
- Heat Dissipation: Avoid placing the FCHUB-12S V2 near heat-sensitive components, as it may generate heat under high loads.
- Current Limits: Do not exceed the maximum current rating of 200A to prevent damage to the board.
- Insulation: Ensure no exposed wires or solder joints can short-circuit against other components.
- Flight Controller Configuration: Calibrate the voltage and current sensors in your flight controller software for accurate readings.
Example: Connecting to an Arduino UNO for Monitoring
While the FCHUB-12S V2 is primarily designed for drones, it can also be used with an Arduino UNO for voltage and current monitoring. Below is an example code snippet:
// Example code for reading voltage and current from FCHUB-12S V2
// Connect VOLT to A0, CURR to A1, and GND to Arduino GND

const int voltagePin = A0; // Pin connected to VOLT output
const int currentPin = A1; // Pin connected to CURR output

void setup() {
  Serial.begin(9600); // Initialize serial communication
}

void loop() {
  // Read analog values from VOLT and CURR pins
  int voltageRaw = analogRead(voltagePin);
  int currentRaw = analogRead(currentPin);

  // Convert raw values to actual voltage and current
  // Assuming a 5V Arduino and 10-bit ADC (0-1023 range)
  float voltage = (voltageRaw / 1023.0) * 60.0; // Scale to 0-60V
  float current = (currentRaw / 1023.0) * 200.0; // Scale to 0-200A

  // Print the results to the Serial Monitor
  Serial.print("Voltage: ");
  Serial.print(voltage);
  Serial.println(" V");

  Serial.print("Current: ");
  Serial.print(current);
  Serial.println(" A");

  delay(1000); // Wait 1 second before next reading
}
Troubleshooting and FAQs
Common Issues and Solutions
No Power Output:
- Cause: Poor soldering or loose connections.
- Solution: Recheck all solder joints and ensure secure connections.
Inaccurate Voltage/Current Readings:
- Cause: Incorrect calibration in the flight controller or Arduino.
- Solution: Calibrate the sensors in your flight controller software or adjust the scaling factors in your Arduino code.
Overheating:
- Cause: Exceeding the maximum current rating or poor ventilation.
- Solution: Ensure the current load is within the 200A limit and improve airflow around the board.
Short Circuit:
- Cause: Exposed wires or solder joints touching other components.
- Solution: Insulate all connections and check for potential shorts.
FAQs
Q: Can the FCHUB-12S V2 handle 6S LiPo batteries?
A: Yes, the FCHUB-12S V2 supports up to 12S LiPo batteries, including 6S.
Q: Is it compatible with all flight controllers?
A: The FCHUB-12S V2 is compatible with most flight controllers that support analog voltage and current monitoring.
Q: Can I use it for non-drone applications?
A: Yes, it can be used in any application requiring efficient power distribution, such as RC cars or robotics.
Q: How do I mount the FCHUB-12S V2?
A: Use the standard 30.5mm x 30.5mm mounting holes to secure it to your frame or chassis.