How to Use SparkFun LilyPad Vibe Board: Examples, Pinouts, and Specs
Introduction
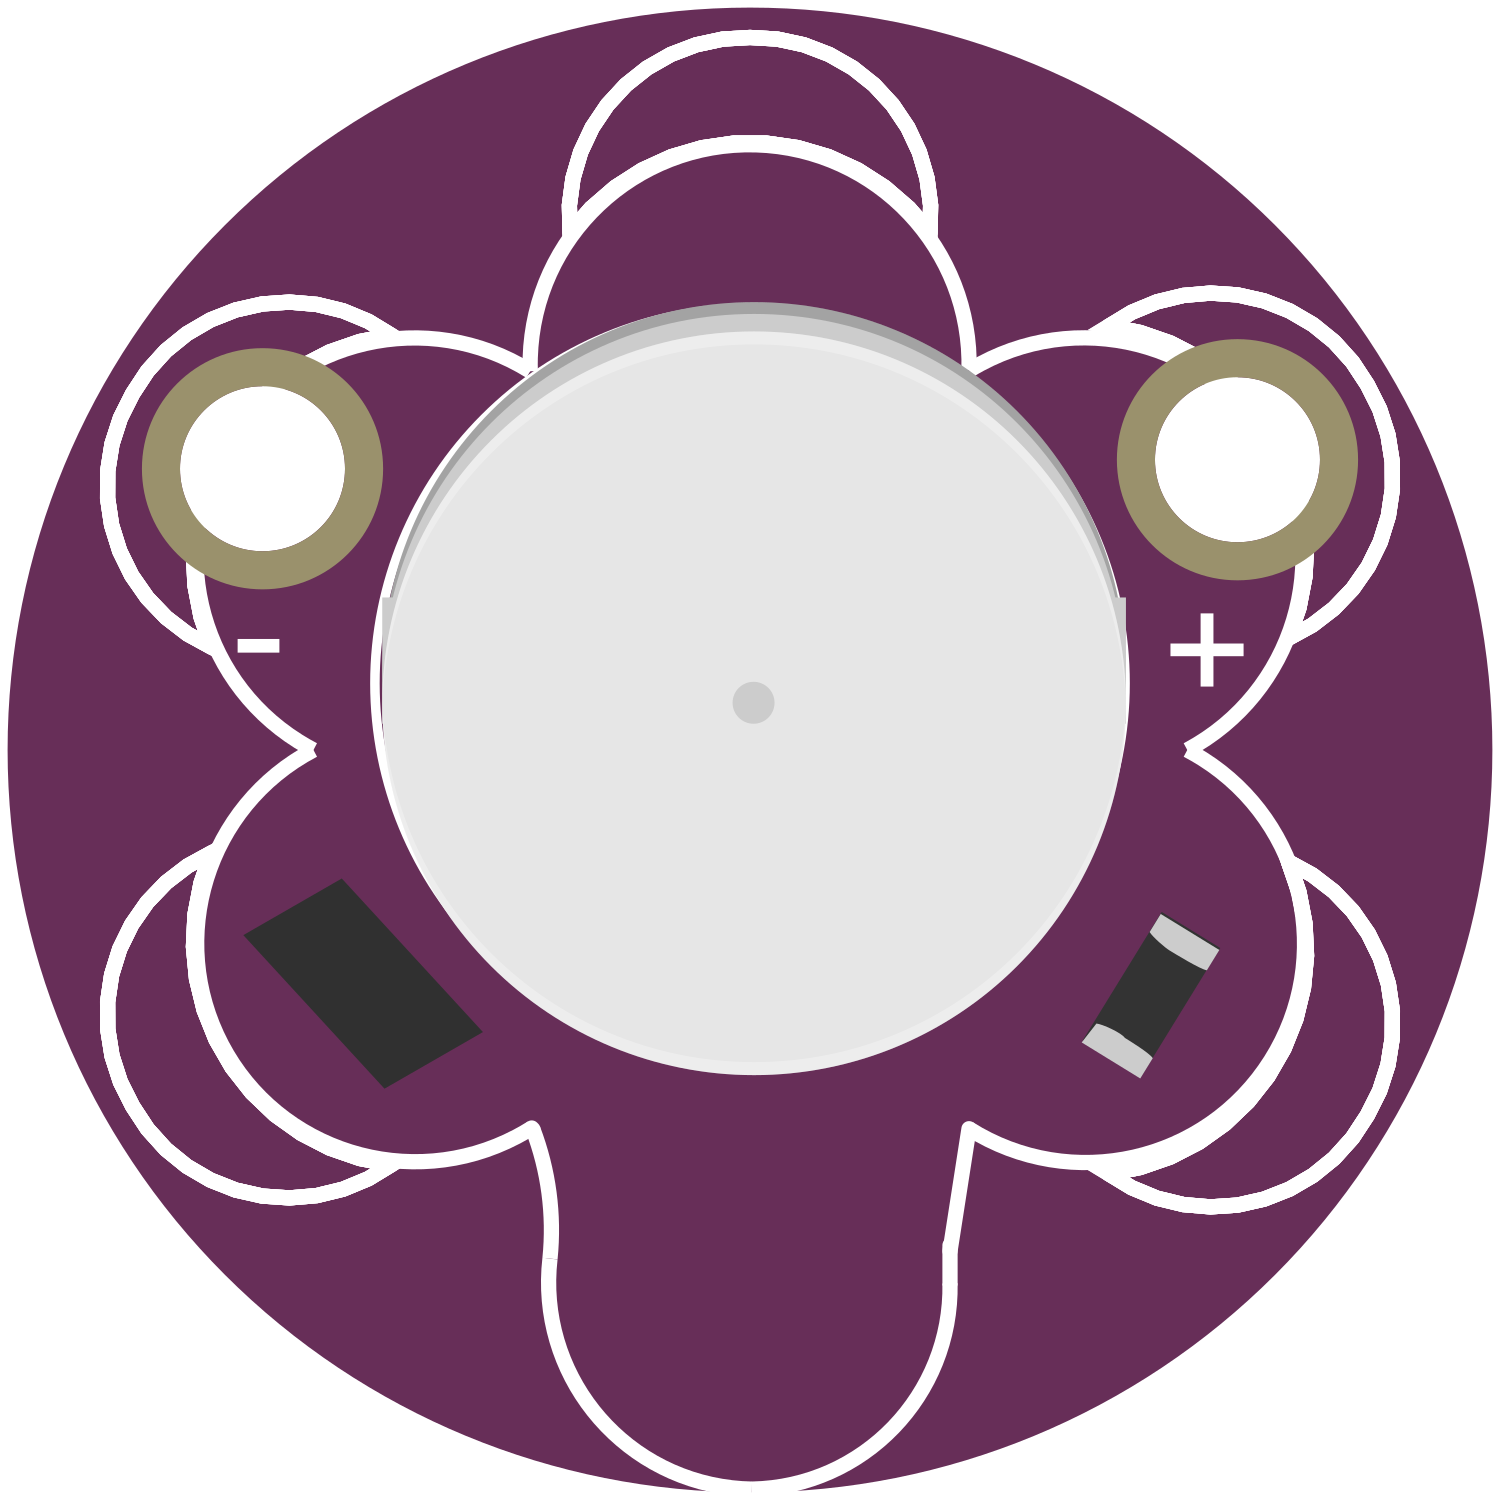
The SparkFun LilyPad Vibe Board is a compact, sewable electronics module designed to add haptic feedback to wearable projects. It integrates a vibration motor that can be controlled to provide notifications or tactile feedback in soft circuits. This board is part of the LilyPad wearable e-textile technology developed by Leah Buechley and cooperatively designed by SparkFun and Leah. It's commonly used in DIY wearables, costumes, interactive art, and soft robotics.
Explore Projects Built with SparkFun LilyPad Vibe Board


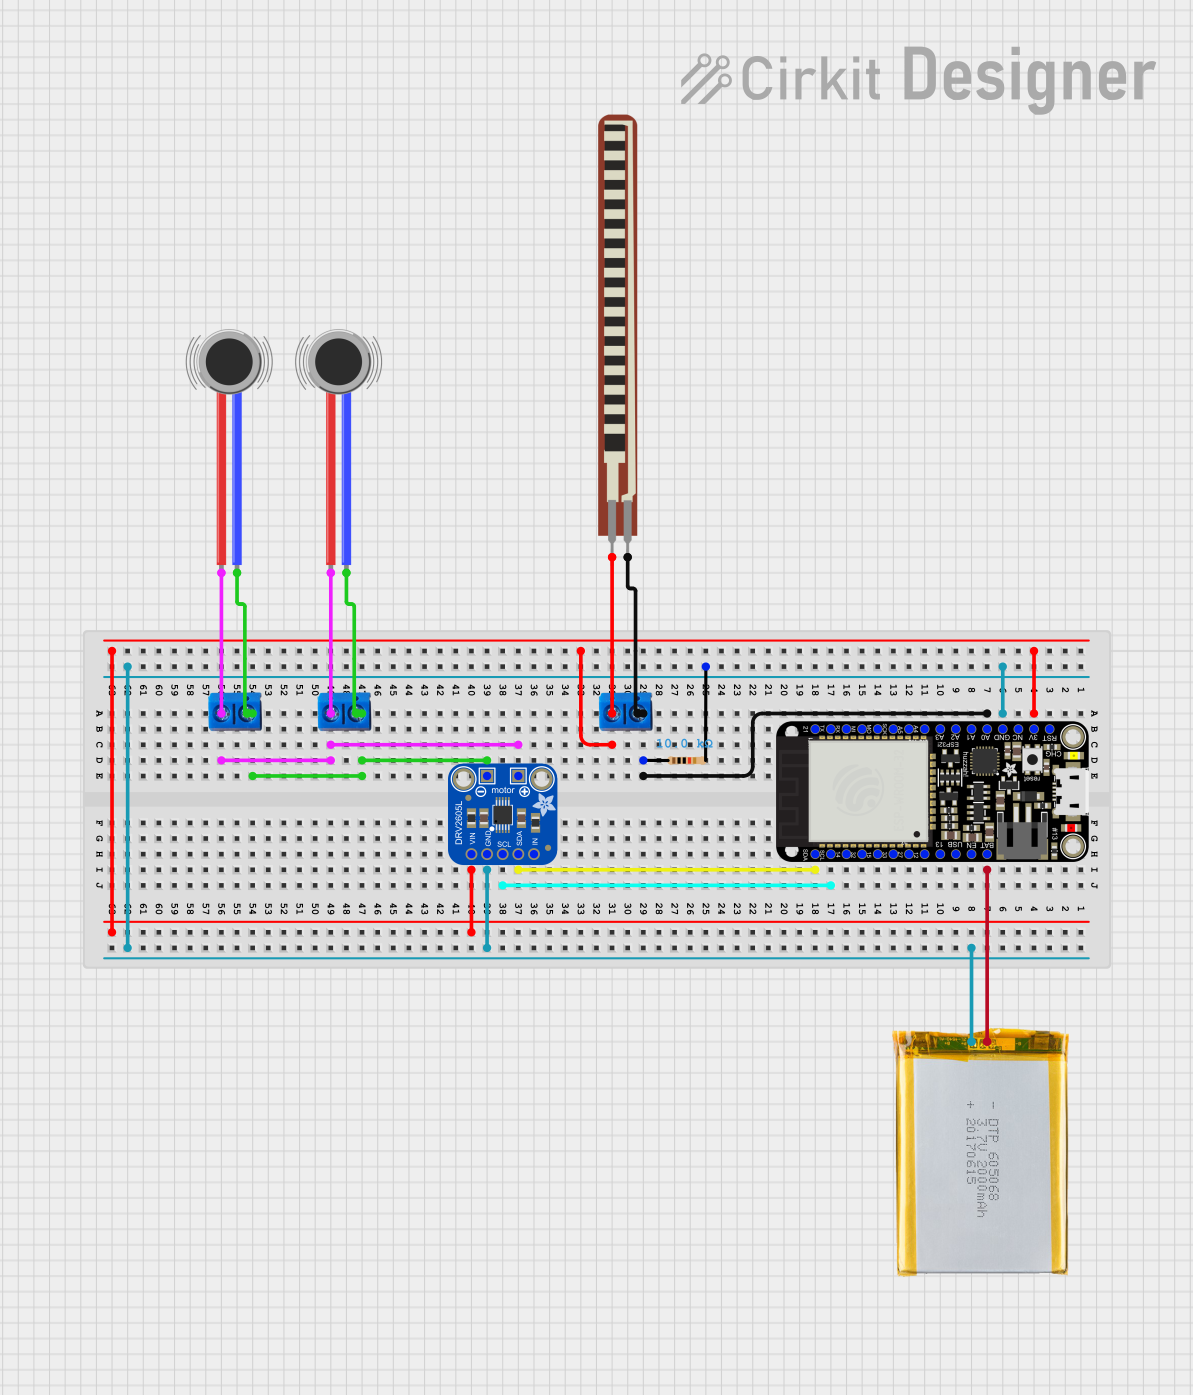

Explore Projects Built with SparkFun LilyPad Vibe Board
Common Applications and Use Cases
- Wearable devices that require user notifications
- Interactive costumes that provide haptic feedback
- Soft robotics for simulating movement or touch
- Educational projects teaching about circuits and haptics
Technical Specifications
Key Technical Details
- Operating Voltage: 3V to 5V
- Control Method: Digital signal (High to activate)
- Current Consumption: 40mA (max)
- Dimensions: 20mm outer diameter, 0.8mm thick
Pin Configuration and Descriptions
| Pin Label | Description |
|---|---|
+ |
Connect to VCC (3V to 5V) |
- |
Connect to ground (GND) |
S |
Digital signal input (High to activate) |
Usage Instructions
How to Use the Component in a Circuit
- Power Connections: Connect the
+pin to a 3V to 5V power supply and the-pin to ground. - Signal Connection: Connect the
Spin to a digital output on your microcontroller, such as an Arduino UNO. - Programming: Write a program to send a HIGH signal to the
Spin to turn on the vibration motor and a LOW signal to turn it off.
Important Considerations and Best Practices
- Ensure the power supply does not exceed 5V to avoid damaging the motor.
- Use a current-limiting resistor if you're working with a power supply greater than the motor's rating.
- Avoid continuous operation at maximum current to prevent overheating.
- Secure the board firmly to your project to maximize the haptic feedback.
Example Code for Arduino UNO
// Define the pin connected to the LilyPad Vibe Board
const int vibePin = 2;

void setup() {
  // Set the vibe pin as an output
  pinMode(vibePin, OUTPUT);
}

void loop() {
  // Turn on the vibration motor
  digitalWrite(vibePin, HIGH);
  delay(1000); // Vibrate for 1 second

  // Turn off the vibration motor
  digitalWrite(vibePin, LOW);
  delay(1000); // Pause for 1 second
}
Troubleshooting and FAQs
Common Issues Users Might Face
- Motor not vibrating: Ensure the power supply is correctly connected and within the specified voltage range. Check the signal pin for proper digital HIGH/LOW signals.
- Weak vibration: Verify that the power supply can deliver sufficient current and that the voltage is not dropping under load.
- Intermittent operation: Check for loose connections or intermittent signals from the microcontroller.
Solutions and Tips for Troubleshooting
- Double-check all connections, especially if the board is sewn into a fabric.
- Use a multimeter to verify voltage levels and continuity.
- Ensure the microcontroller's code is correctly toggling the signal pin.
FAQs
Q: Can I wash the LilyPad Vibe Board? A: It's not recommended to wash electronic components. If necessary, remove the board before washing the fabric or project.
Q: How long can I run the vibration motor? A: The motor can run continuously, but to prevent overheating, it's best to use it intermittently.
Q: Can I control the intensity of the vibration? A: The intensity is fixed based on the voltage applied. However, you can create a pseudo-PWM effect by rapidly toggling the signal pin to vary the perceived intensity.
Remember to follow all safety guidelines when working with electronic components and ensure that your project is powered off when making adjustments or troubleshooting.