How to Use Turbidity: Examples, Pinouts, and Specs
Introduction
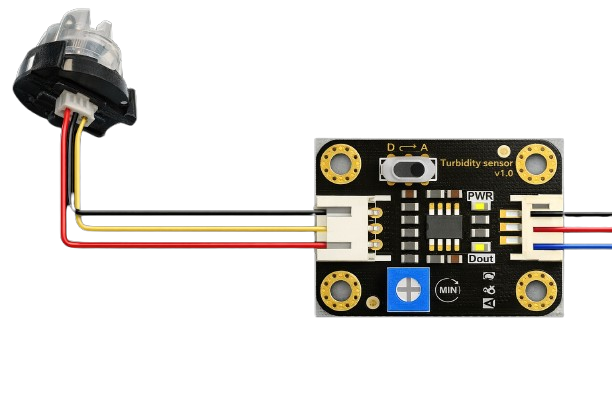
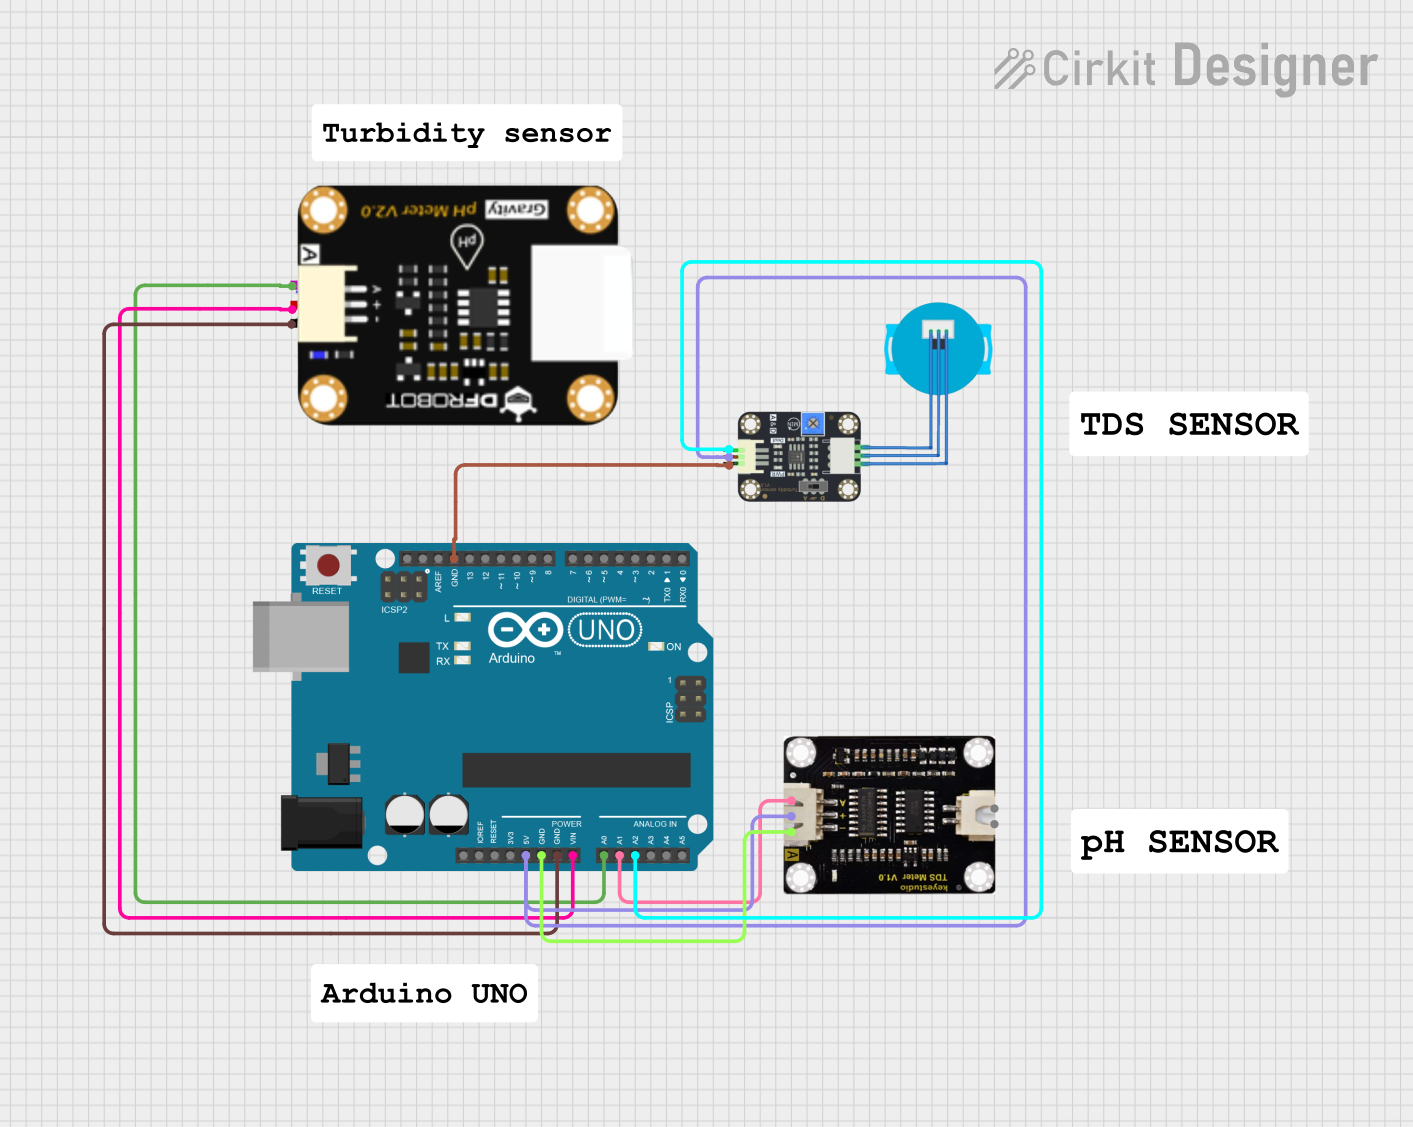
The Arduino Turbidity Sensor (Part ID: 1) is a device designed to measure the cloudiness or haziness of a liquid. This cloudiness, known as turbidity, is caused by the presence of suspended particles in the liquid. The sensor is widely used in water quality monitoring applications to assess contamination levels, detect pollutants, or measure sediment concentration.
Explore Projects Built with Turbidity
Explore Projects Built with Turbidity
Common Applications and Use Cases
- Water quality monitoring in environmental studies
- Industrial process control for liquid clarity
- Aquatic ecosystem analysis
- Filtration system performance evaluation
- Laboratory experiments involving liquid analysis
Technical Specifications
The Arduino Turbidity Sensor is designed for ease of use and compatibility with microcontrollers like the Arduino UNO. Below are the key technical details:
Key Technical Details
- Operating Voltage: 5V DC
- Output Signal: Analog voltage (0-4.5V)
- Measurement Range: 0 to 1000 NTU (Nephelometric Turbidity Units)
- Accuracy: ±5% of the measured value
- Response Time: <500ms
- Operating Temperature: -30°C to 80°C
- Cable Length: 30cm
- Connector Type: 3-pin interface (VCC, GND, Signal)
Pin Configuration and Descriptions
The sensor has a 3-pin interface for easy connection to microcontrollers. Below is the pin configuration:
| Pin | Name | Description |
|---|---|---|
| 1 | VCC | Power supply input (5V DC) |
| 2 | GND | Ground connection |
| 3 | Signal | Analog output signal proportional to turbidity |
Usage Instructions
The Arduino Turbidity Sensor is simple to integrate into a circuit and provides an analog voltage output that corresponds to the turbidity of the liquid being measured.
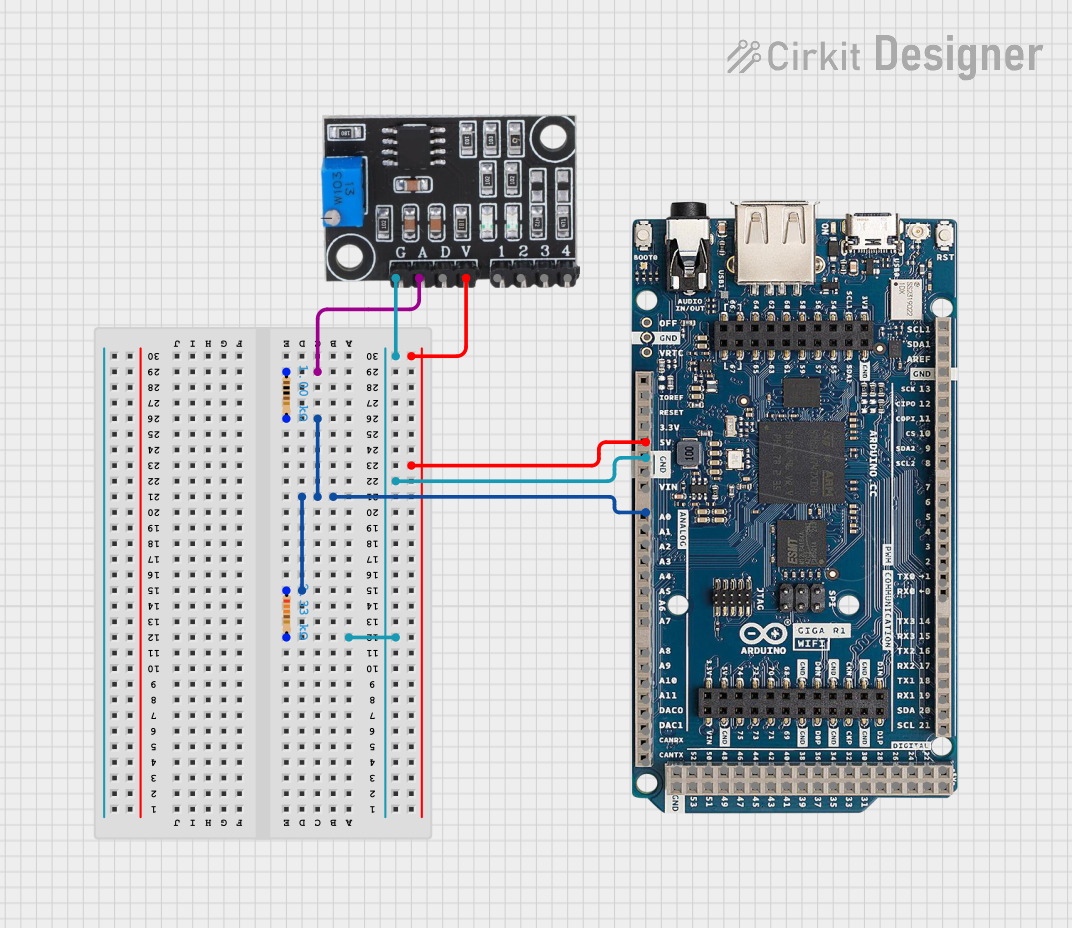
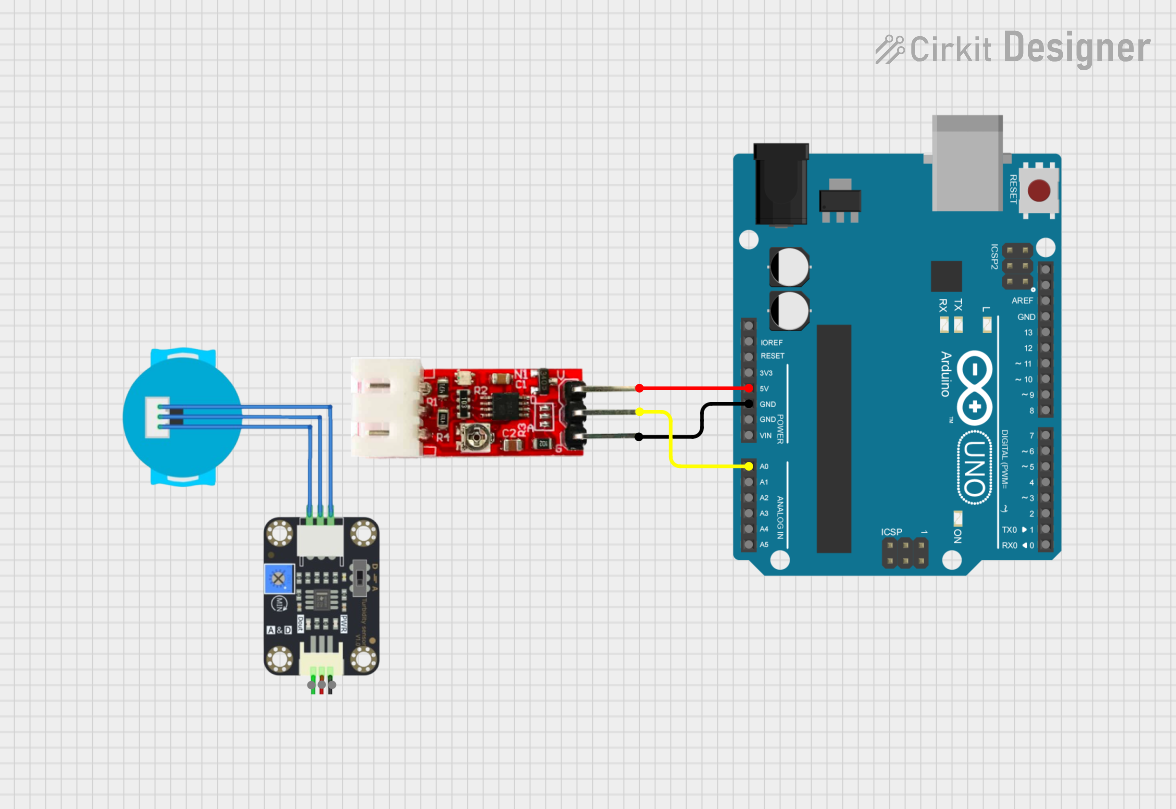
How to Use the Component in a Circuit
Connect the Sensor:
- Connect the VCC pin to the 5V pin on the Arduino UNO.
- Connect the GND pin to the GND pin on the Arduino UNO.
- Connect the Signal pin to an analog input pin (e.g., A0) on the Arduino UNO.
Calibrate the Sensor:
- Use a reference liquid with a known turbidity value (e.g., distilled water for 0 NTU).
- Record the sensor's output voltage for the reference liquid.
- Optionally, create a calibration curve by measuring the output voltage for liquids with different known turbidity values.
Write and Upload Code:
- Use the Arduino IDE to write a program that reads the analog signal and converts it to a turbidity value.
Example Arduino Code
Below is an example code snippet for using the turbidity sensor with an Arduino UNO:
// Turbidity Sensor Example Code
// Reads the analog signal from the sensor and calculates turbidity in NTU

const int sensorPin = A0; // Analog pin connected to the Signal pin of the sensor
float voltage;            // Variable to store the sensor's output voltage
float turbidity;          // Variable to store the calculated turbidity value

void setup() {
  Serial.begin(9600); // Initialize serial communication for debugging
  pinMode(sensorPin, INPUT); // Set the sensor pin as input
}

void loop() {
  // Read the analog value from the sensor (0-1023)
  int sensorValue = analogRead(sensorPin);

  // Convert the analog value to voltage (0-5V)
  voltage = sensorValue * (5.0 / 1023.0);

  // Convert the voltage to turbidity (example formula, adjust as needed)
  // This formula assumes a linear relationship between voltage and NTU
  turbidity = (voltage - 0.5) * 200.0; // Example calibration formula

  // Print the results to the Serial Monitor
  Serial.print("Voltage: ");
  Serial.print(voltage);
  Serial.print(" V, Turbidity: ");
  Serial.print(turbidity);
  Serial.println(" NTU");

  delay(1000); // Wait 1 second before the next reading
}
Important Considerations and Best Practices
- Calibration: Always calibrate the sensor before use to ensure accurate measurements.
- Liquid Compatibility: Ensure the liquid being measured does not damage the sensor. Avoid corrosive or highly viscous liquids.
- Placement: Submerge the sensor in the liquid without allowing air bubbles to interfere with the measurement.
- Power Supply: Use a stable 5V power source to avoid fluctuations in the output signal.
Troubleshooting and FAQs
Common Issues and Solutions
No Output Signal:
- Check the wiring connections to ensure the sensor is properly connected to the Arduino.
- Verify that the Arduino is powered and the code is uploaded correctly.
Inaccurate Readings:
- Ensure the sensor is calibrated using a reference liquid with a known turbidity value.
- Check for air bubbles or debris on the sensor's surface that may affect the measurement.
Fluctuating Output:
- Use a stable power supply to minimize noise in the output signal.
- Place the sensor in a stable position to avoid movement during measurement.
Sensor Not Responding:
- Verify that the operating temperature and liquid conditions are within the sensor's specifications.
- Inspect the sensor for physical damage or corrosion.
FAQs
Q: Can the sensor measure turbidity in hot liquids?
A: Yes, the sensor can operate in liquids with temperatures up to 80°C. However, ensure the liquid does not exceed this limit to avoid damage.
Q: How do I clean the sensor?
A: Rinse the sensor with clean water and gently wipe it with a soft cloth. Avoid using abrasive materials or harsh chemicals.
Q: Can I use this sensor with microcontrollers other than Arduino?
A: Yes, the sensor provides a standard analog output signal, making it compatible with most microcontrollers that support analog input.
Q: What is the lifespan of the sensor?
A: The sensor is designed for long-term use, but its lifespan may vary depending on the operating environment and maintenance practices. Regular cleaning and proper usage can extend its life.
This concludes the documentation for the Arduino Turbidity Sensor (Part ID: 1). For further assistance, refer to the Arduino support resources or community forums.