How to Use Lighting Control System: Examples, Pinouts, and Specs
Introduction
The Lighting Control System by SYD is a versatile and efficient solution for managing and automating lighting fixtures in residential, commercial, and industrial environments. This system enables users to control lighting through scheduling, remote operation, and automation, significantly improving energy efficiency and convenience. It is designed to integrate seamlessly with smart home systems and IoT platforms, making it a popular choice for modern lighting applications.
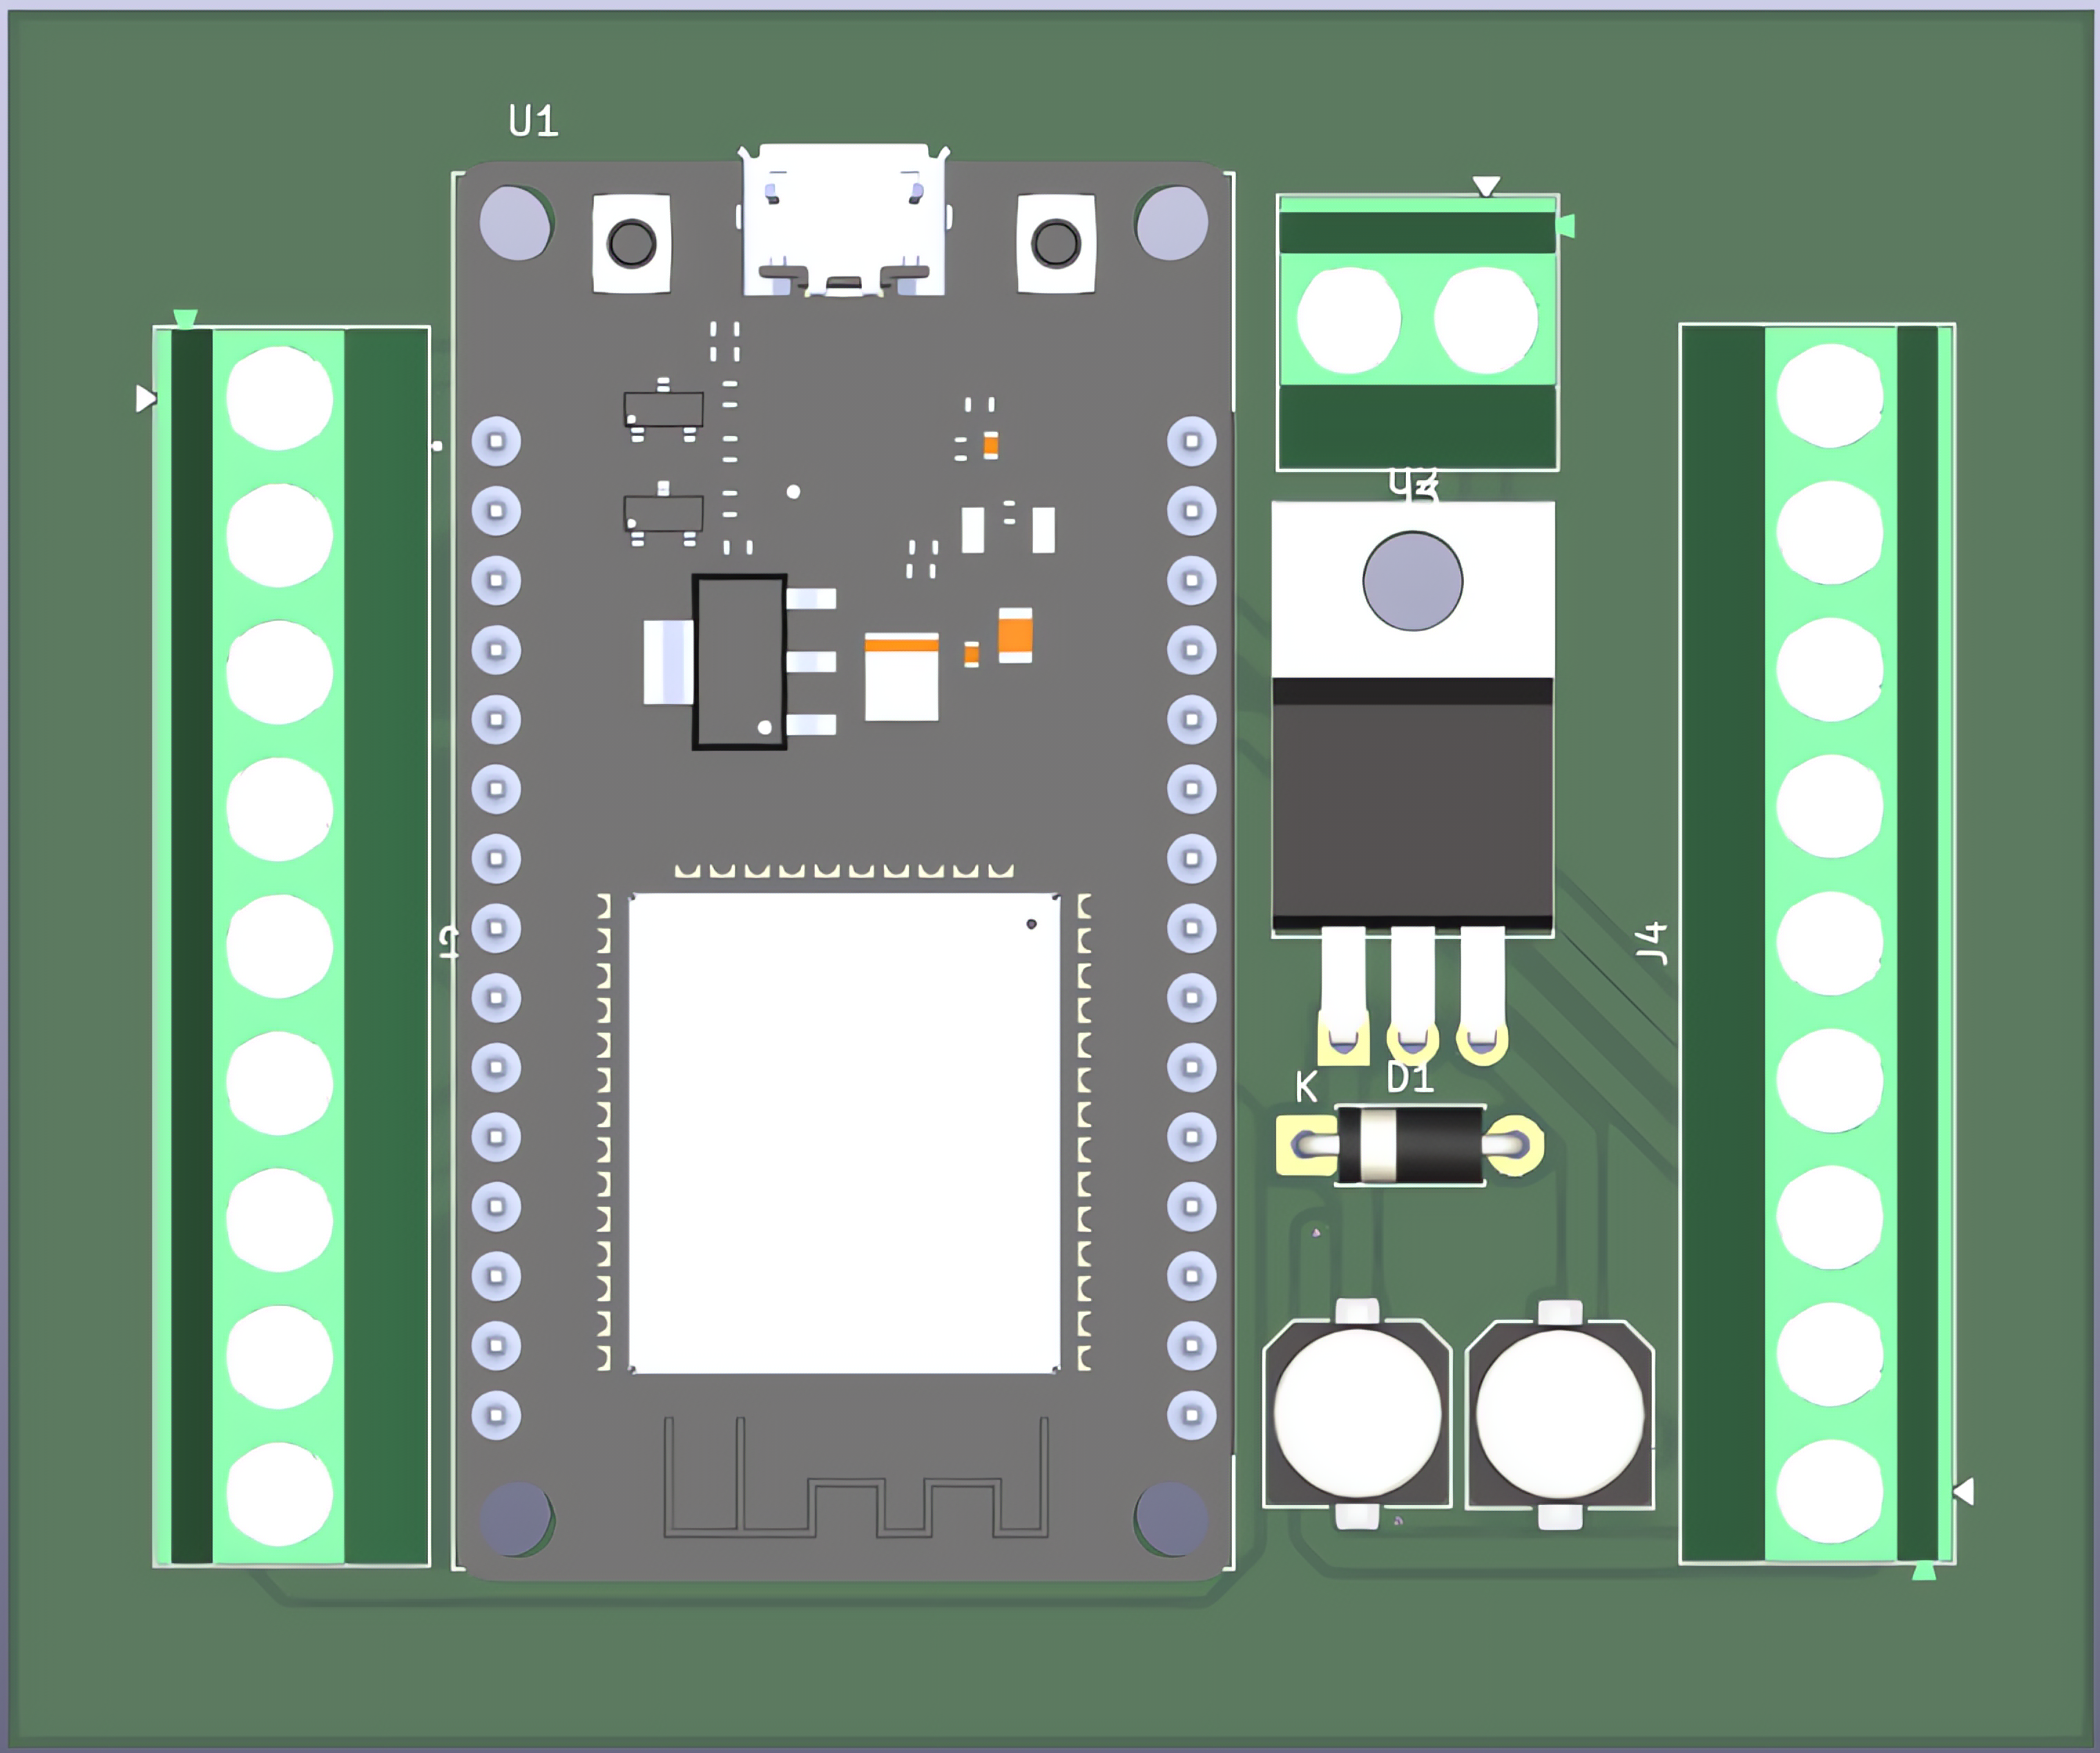
Explore Projects Built with Lighting Control System
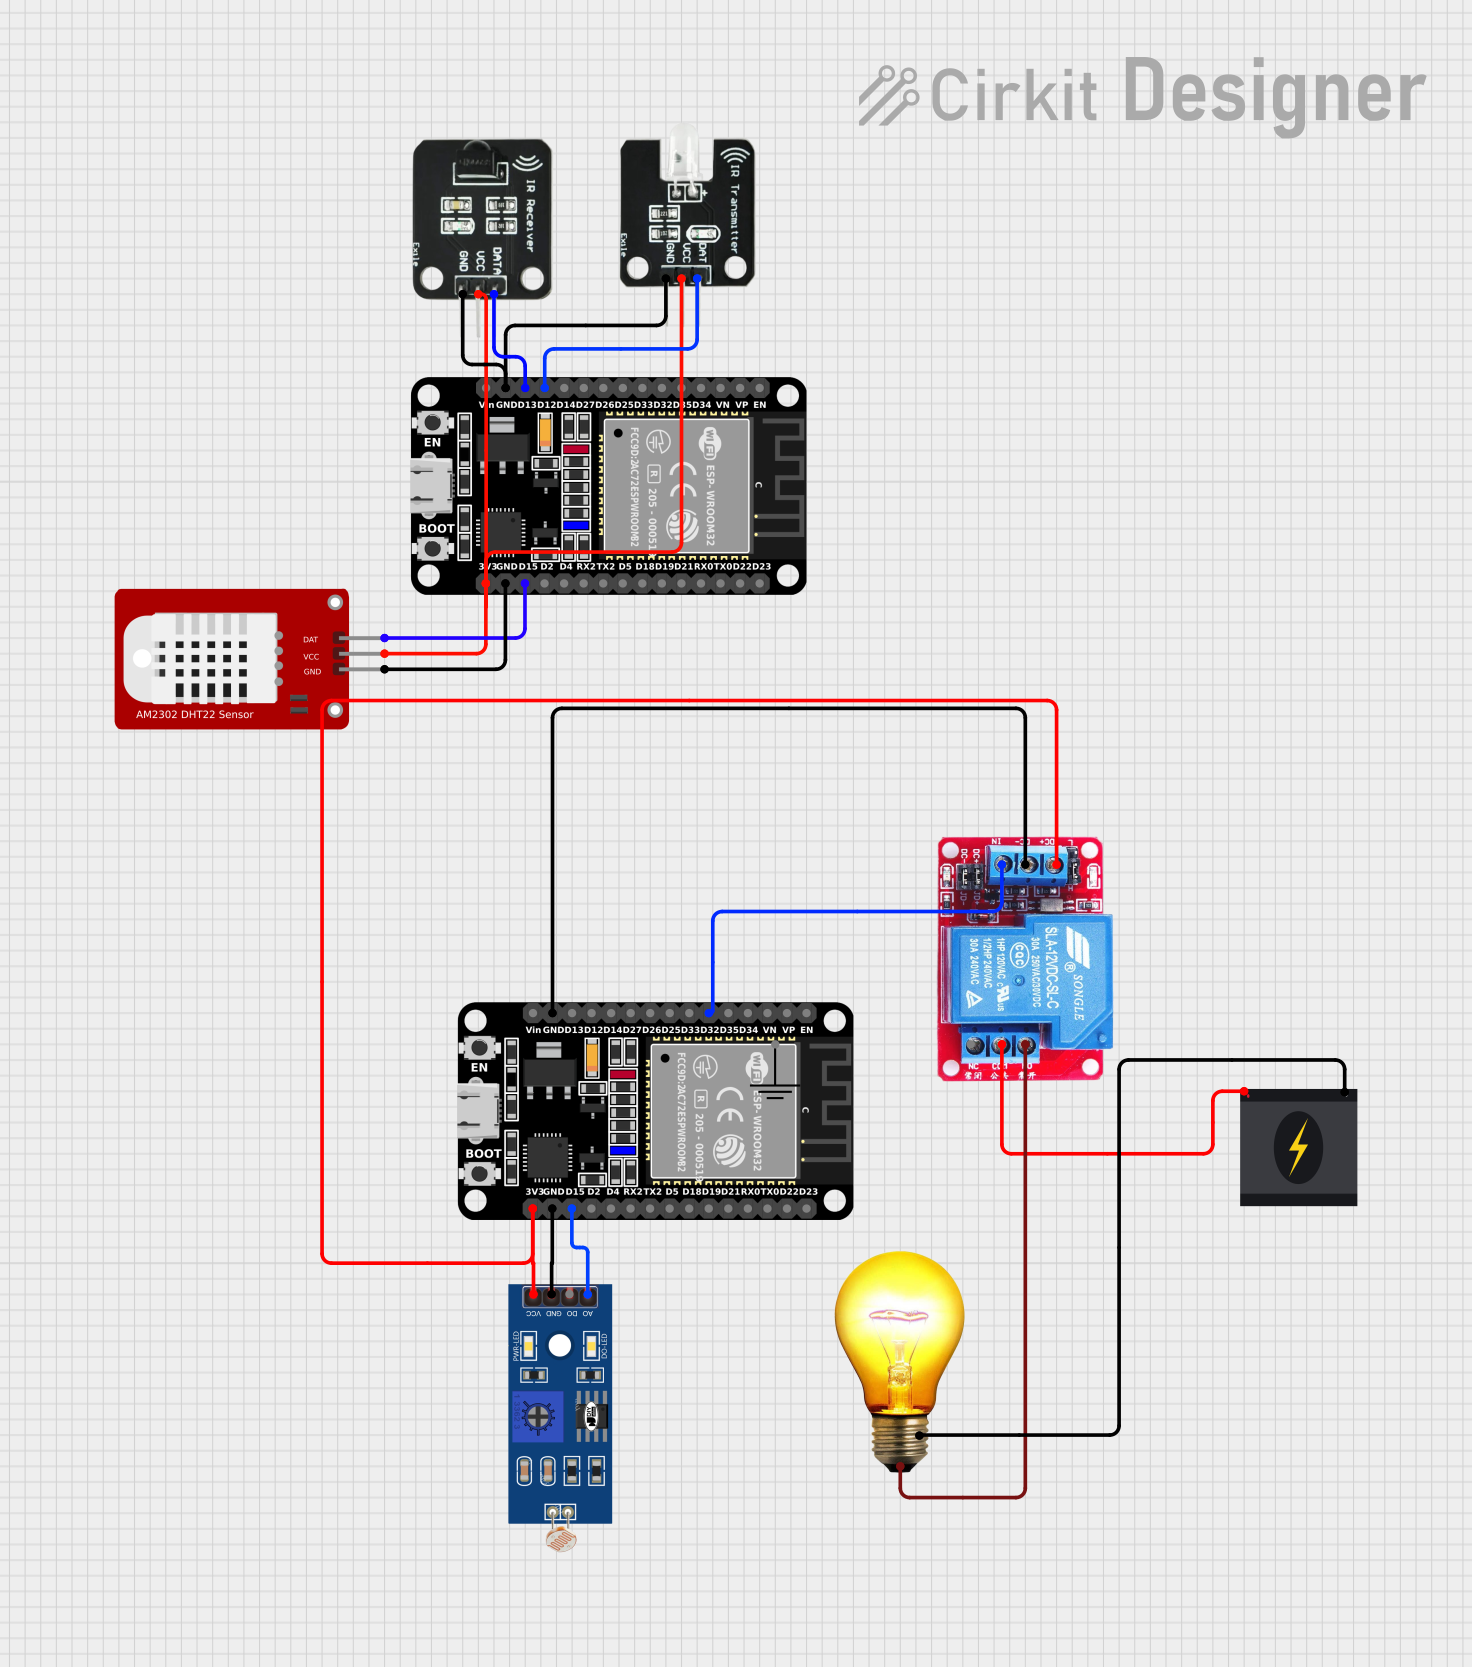
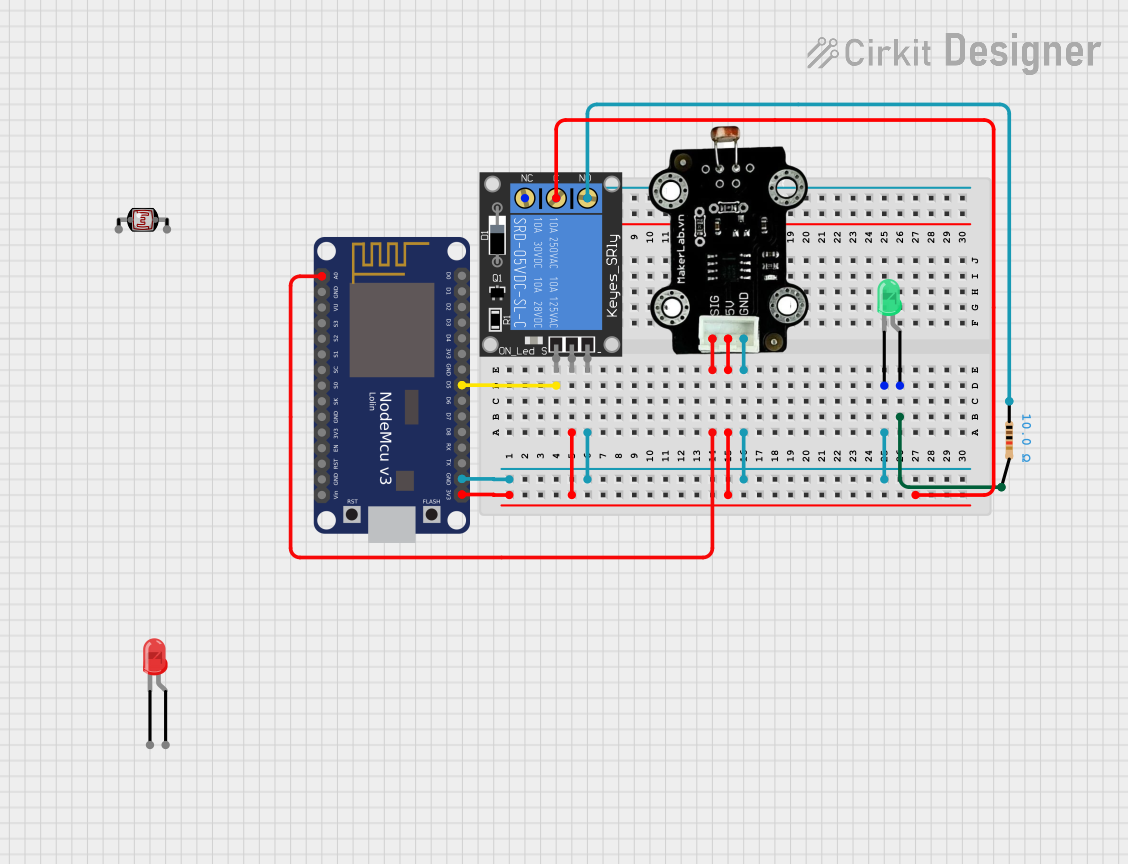
Explore Projects Built with Lighting Control System
Common Applications and Use Cases
- Residential Automation: Automate home lighting schedules for energy savings and convenience.
- Commercial Spaces: Manage lighting in offices, retail stores, and warehouses to optimize energy usage.
- Industrial Facilities: Control large-scale lighting systems in factories and outdoor areas.
- Smart Home Integration: Connect with IoT devices for voice control and remote operation.
- Event Lighting: Schedule and customize lighting for events and presentations.
Technical Specifications
The following table outlines the key technical details of the SYD Lighting Control System:
| Parameter | Specification |
|---|---|
| Operating Voltage | 12V to 24V DC |
| Maximum Load Current | 10A per channel |
| Number of Channels | 4 |
| Communication Protocol | Wi-Fi (802.11 b/g/n), Bluetooth 5.0 |
| Control Interface | Mobile App, Web Interface, Manual Switch |
| Scheduling Capability | Up to 50 programmable schedules |
| Dimming Support | Yes (PWM-based dimming) |
| Operating Temperature | -20°C to 60°C |
| Dimensions | 120mm x 80mm x 25mm |
| Certification | CE, FCC, RoHS |
Pin Configuration and Descriptions
The Lighting Control System features a terminal block for wiring and a communication interface. Below is the pin configuration:
Terminal Block Pinout
| Pin | Label | Description |
|---|---|---|
| 1 | V+ | Positive power input (12V-24V DC) |
| 2 | V- | Negative power input (Ground) |
| 3 | CH1 | Channel 1 output for lighting control |
| 4 | CH2 | Channel 2 output for lighting control |
| 5 | CH3 | Channel 3 output for lighting control |
| 6 | CH4 | Channel 4 output for lighting control |
Communication Interface
| Pin | Label | Description |
|---|---|---|
| 1 | RX | UART Receive Pin |
| 2 | TX | UART Transmit Pin |
| 3 | GND | Ground for communication interface |
Usage Instructions
How to Use the Component in a Circuit
- Power Connection: Connect the V+ and V- pins to a 12V-24V DC power supply.
- Lighting Outputs: Wire the lighting fixtures to the CH1, CH2, CH3, and CH4 pins. Ensure the total current does not exceed 10A per channel.
- Communication Setup: Use the Wi-Fi or Bluetooth interface to pair the system with the SYD mobile app or web interface.
- Programming Schedules: Use the app to set up lighting schedules, dimming levels, and automation rules.
- Manual Control: Optionally, connect a manual switch to override automated settings.
Important Considerations and Best Practices
- Power Supply: Use a regulated DC power supply within the specified voltage range to avoid damage.
- Load Capacity: Ensure the connected lighting fixtures do not exceed the maximum load current per channel.
- Heat Management: Install the system in a well-ventilated area to prevent overheating.
- Firmware Updates: Regularly update the firmware via the app to access new features and security patches.
- Secure Network: Use a secure Wi-Fi network to prevent unauthorized access to the system.
Arduino UNO Integration Example
The Lighting Control System can be controlled via UART communication with an Arduino UNO. Below is an example code snippet to send commands to the system:
#include <SoftwareSerial.h>

// Define RX and TX pins for communication with the Lighting Control System
SoftwareSerial lightingControl(10, 11); // RX = Pin 10, TX = Pin 11

void setup() {
  Serial.begin(9600); // Initialize Serial Monitor
  lightingControl.begin(9600); // Initialize communication with the system

  // Send initialization command to the Lighting Control System
  lightingControl.println("INIT");
  Serial.println("Lighting Control System Initialized");
}

void loop() {
  // Example: Turn on Channel 1
  lightingControl.println("CH1 ON");
  delay(1000); // Wait for 1 second

  // Example: Turn off Channel 1
  lightingControl.println("CH1 OFF");
  delay(1000); // Wait for 1 second
}
Troubleshooting and FAQs
Common Issues and Solutions
System Not Powering On
- Cause: Incorrect power supply connection or insufficient voltage.
- Solution: Verify the power supply voltage and polarity. Ensure it is within the 12V-24V range.
Lighting Fixtures Not Responding
- Cause: Loose wiring or exceeding the maximum load current.
- Solution: Check all wiring connections and ensure the load per channel does not exceed 10A.
Wi-Fi Connection Fails
- Cause: Incorrect network credentials or weak signal.
- Solution: Re-enter the Wi-Fi credentials in the app and ensure the system is within range of the router.
Dimming Not Working
- Cause: Non-dimmable lighting fixtures connected.
- Solution: Use lighting fixtures that support PWM-based dimming.
FAQs
Q: Can I control the system without an internet connection?
A: Yes, the system supports Bluetooth for local control without internet access.Q: How many lighting fixtures can I connect?
A: You can connect up to 4 fixtures, one per channel, as long as the total current per channel does not exceed 10A.Q: Is the system compatible with voice assistants?
A: Yes, the system can be integrated with popular voice assistants like Alexa and Google Assistant via the SYD app.Q: Can I use the system outdoors?
A: The system is not waterproof. If used outdoors, ensure it is installed in a weatherproof enclosure.