How to Use humidity sensor: Examples, Pinouts, and Specs
Introduction
The AC Sensor is a humidity sensor designed to measure the amount of moisture in the air. It provides accurate and reliable readings, making it an essential component for applications requiring environmental monitoring. This sensor is commonly used in weather stations, HVAC systems, greenhouses, and other systems where humidity control is critical.
By converting the relative humidity of the surrounding air into an electrical signal, the AC Sensor enables seamless integration into various electronic systems. Its compact design and ease of use make it suitable for both hobbyist and industrial applications.
Explore Projects Built with humidity sensor
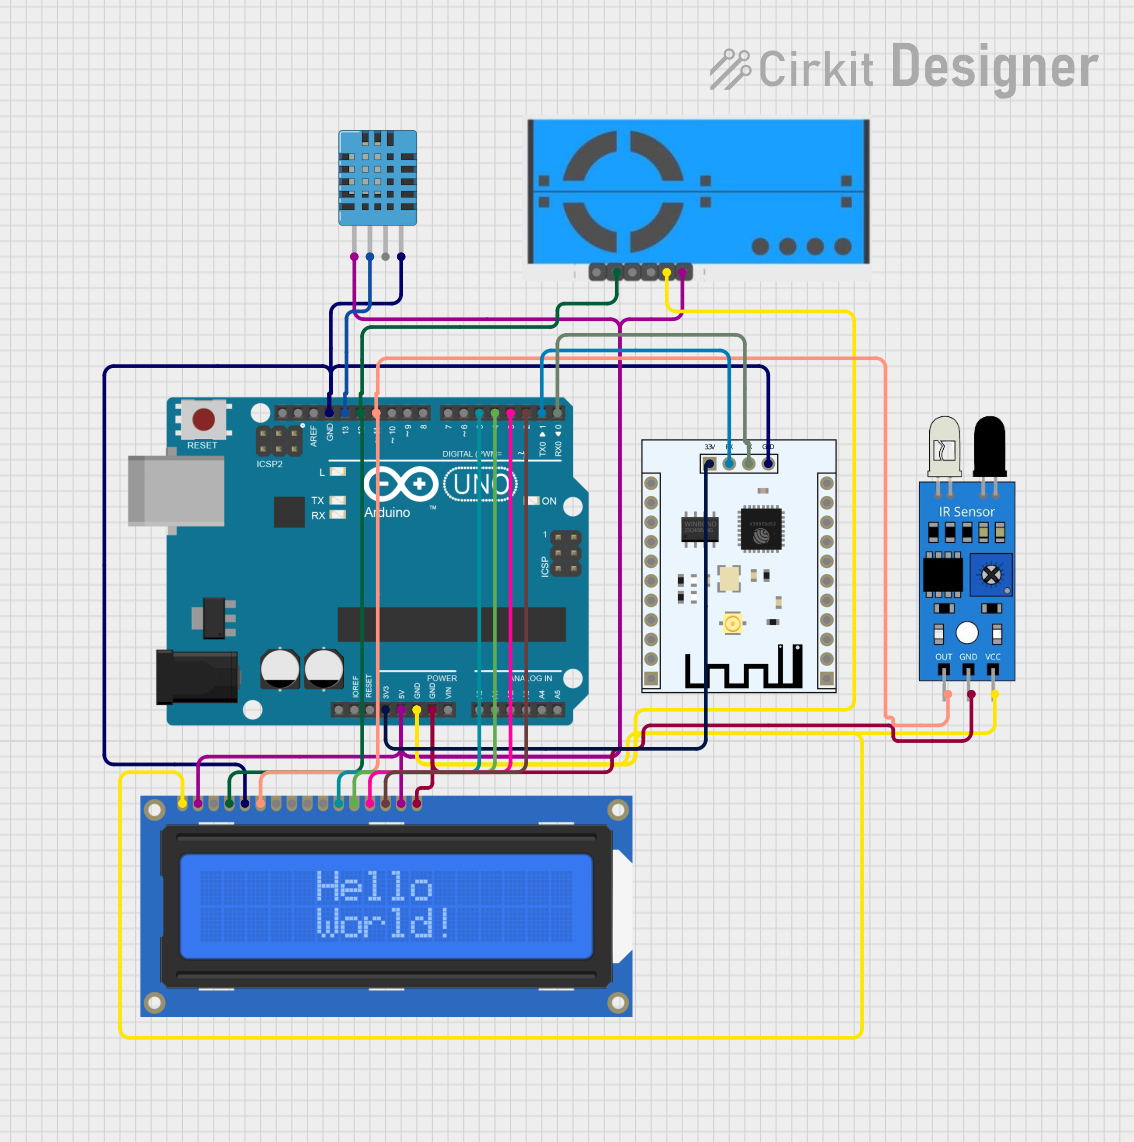
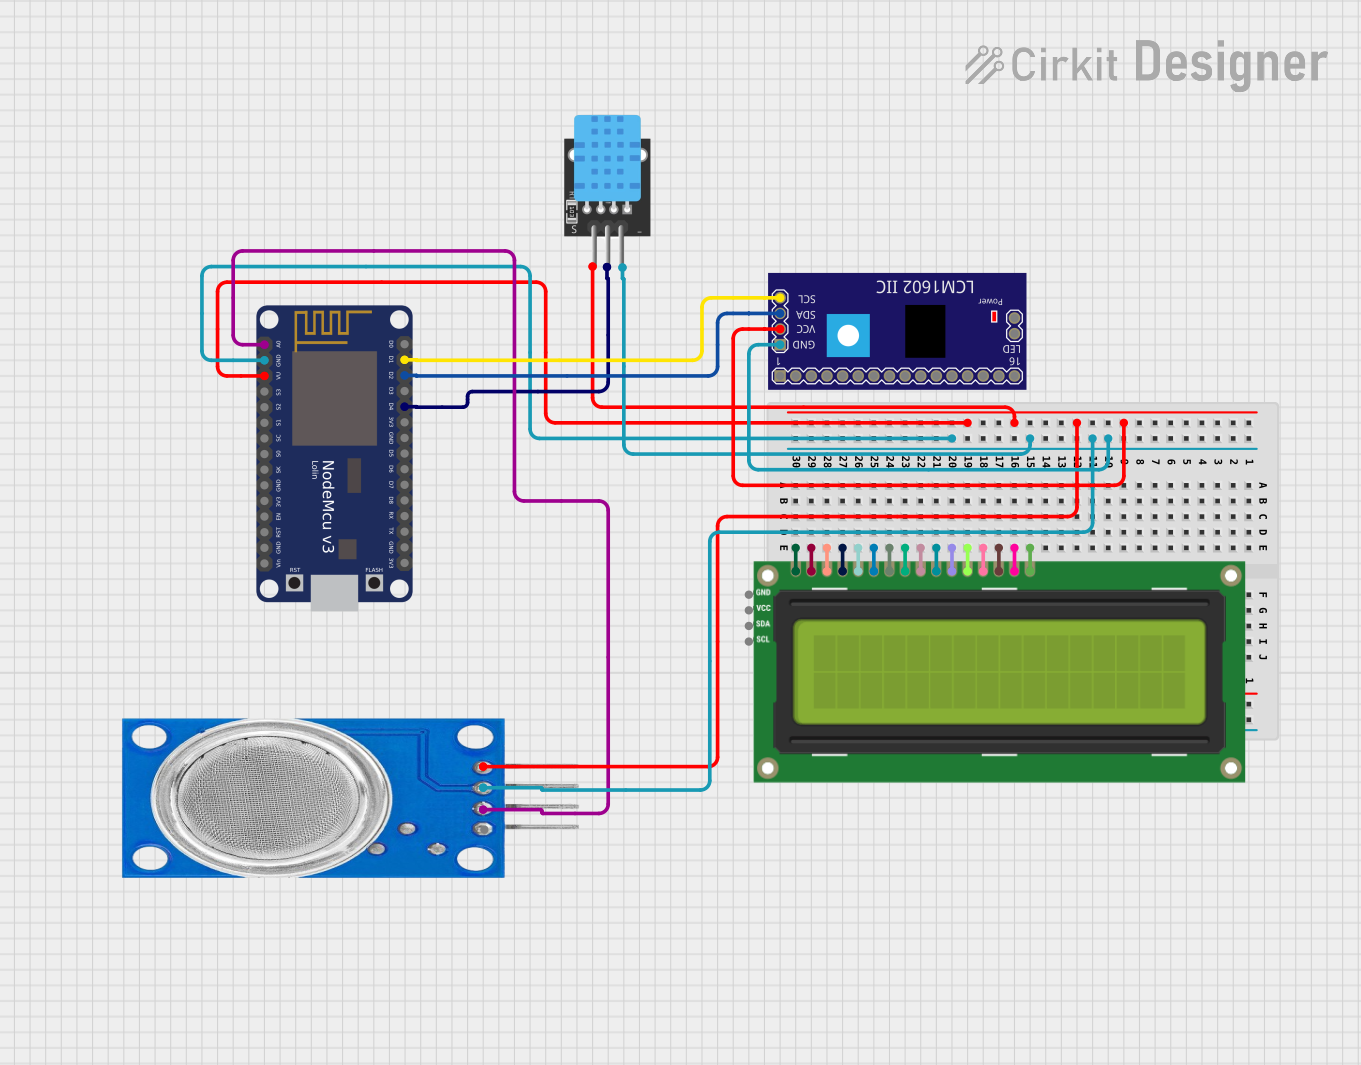

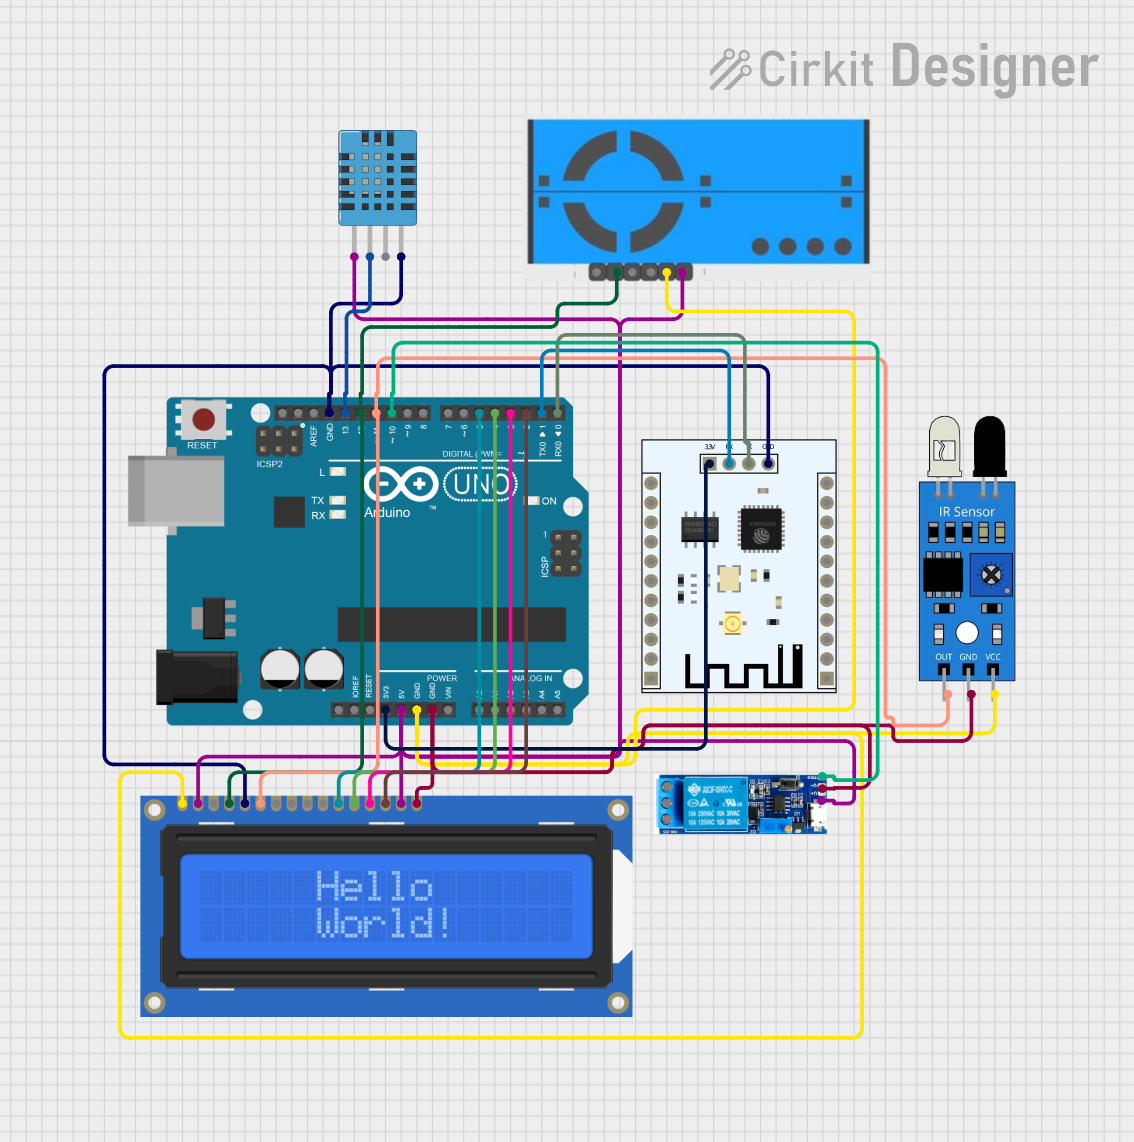
Explore Projects Built with humidity sensor
Technical Specifications
Below are the key technical details of the AC Sensor:
| Parameter | Value |
|---|---|
| Manufacturer | AC |
| Part ID | Sensor |
| Measurement Range | 0% to 100% Relative Humidity |
| Accuracy | ±2% RH |
| Operating Voltage | 3.3V to 5.5V |
| Operating Current | ≤2 mA |
| Output Signal | Analog or Digital (depending on model) |
| Response Time | ≤5 seconds |
| Operating Temperature | -40°C to 85°C |
| Storage Temperature | -50°C to 125°C |
| Dimensions | 15mm x 10mm x 5mm |
Pin Configuration and Descriptions
The AC Sensor typically comes with three or four pins, depending on the model. Below is the pin configuration:
For 3-Pin Model:
| Pin | Name | Description |
|---|---|---|
| 1 | VCC | Power supply (3.3V to 5.5V) |
| 2 | GND | Ground |
| 3 | OUT | Output signal (Analog or Digital) |
For 4-Pin Model:
| Pin | Name | Description |
|---|---|---|
| 1 | VCC | Power supply (3.3V to 5.5V) |
| 2 | GND | Ground |
| 3 | DATA | Digital data output |
| 4 | NC | Not connected (leave unconnected) |
Usage Instructions
How to Use the AC Sensor in a Circuit
- Power the Sensor: Connect the VCC pin to a 3.3V or 5V power source and the GND pin to the ground of your circuit.
- Read the Output:
- For analog models, connect the OUT pin to an analog input pin of your microcontroller.
- For digital models, connect the DATA pin to a digital input pin.
- Pull-Up Resistor (if required): For digital models, use a pull-up resistor (typically 10kΩ) on the DATA line to ensure proper communication.
- Code Integration: Use the appropriate library or write custom code to read the sensor's output and convert it into relative humidity values.
Important Considerations and Best Practices
- Placement: Avoid placing the sensor in direct sunlight or near heat sources, as this can affect accuracy.
- Calibration: While the sensor is factory-calibrated, periodic calibration may be required for critical applications.
- Protection: Use a protective cover or enclosure to shield the sensor from dust, water, or other contaminants.
- Power Supply: Ensure a stable power supply to avoid fluctuations in readings.
Example Code for Arduino UNO
Below is an example of how to use the AC Sensor with an Arduino UNO:
// Example code to read humidity from the AC Sensor
// Connect VCC to 5V, GND to GND, and OUT to A0 (analog pin)

// Define the analog pin connected to the sensor
const int sensorPin = A0;

void setup() {
  Serial.begin(9600); // Initialize serial communication at 9600 baud
  Serial.println("Humidity Sensor Test");
}

void loop() {
  // Read the analog value from the sensor
  int sensorValue = analogRead(sensorPin);

  // Convert the analog value to a percentage (0-100% RH)
  // Assuming a 10-bit ADC and a linear sensor output
  float humidity = (sensorValue / 1023.0) * 100.0;

  // Print the humidity value to the Serial Monitor
  Serial.print("Humidity: ");
  Serial.print(humidity);
  Serial.println("%");

  delay(1000); // Wait for 1 second before the next reading
}
Troubleshooting and FAQs
Common Issues and Solutions
No Output or Incorrect Readings:
- Cause: Incorrect wiring or loose connections.
- Solution: Double-check the wiring and ensure all connections are secure.
Fluctuating Readings:
- Cause: Unstable power supply or electrical noise.
- Solution: Use a decoupling capacitor (e.g., 0.1µF) across the VCC and GND pins.
Sensor Not Responding:
- Cause: Damaged sensor or incorrect pin configuration.
- Solution: Verify the pin configuration and replace the sensor if necessary.
Slow Response Time:
- Cause: Sensor exposed to extreme environmental conditions.
- Solution: Allow the sensor to stabilize in the environment before taking readings.
FAQs
Q: Can the AC Sensor measure humidity in liquids?
A: No, the sensor is designed for air humidity measurement only.Q: How often should I calibrate the sensor?
A: Calibration frequency depends on the application. For critical systems, calibrate every 6-12 months.Q: Can I use the sensor outdoors?
A: Yes, but ensure it is protected from direct exposure to rain, dust, and extreme conditions.Q: What is the lifespan of the sensor?
A: The sensor typically lasts for several years under normal operating conditions.
This documentation provides all the necessary details to get started with the AC Sensor and troubleshoot common issues effectively.