
How to Use Adafruit 7 Segment FeatherWing - White: Examples, Pinouts, and Specs
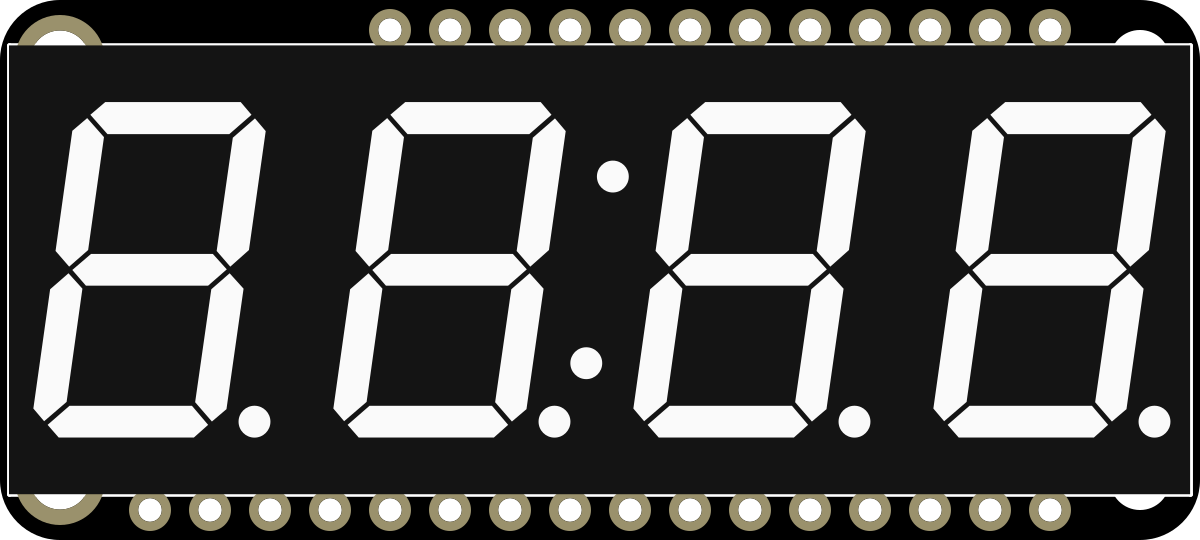
 Design with Adafruit 7 Segment FeatherWing - White in Cirkit Designer
Introduction
The Adafruit 7 Segment FeatherWing - White (Manufacturer Part ID: 3109) is a compact display module featuring seven-segment LEDs. It is specifically designed to integrate seamlessly with Adafruit Feather boards, providing a simple and efficient way to display numerical data. This module is ideal for applications requiring visual output, such as counters, timers, clocks, and sensor data displays.
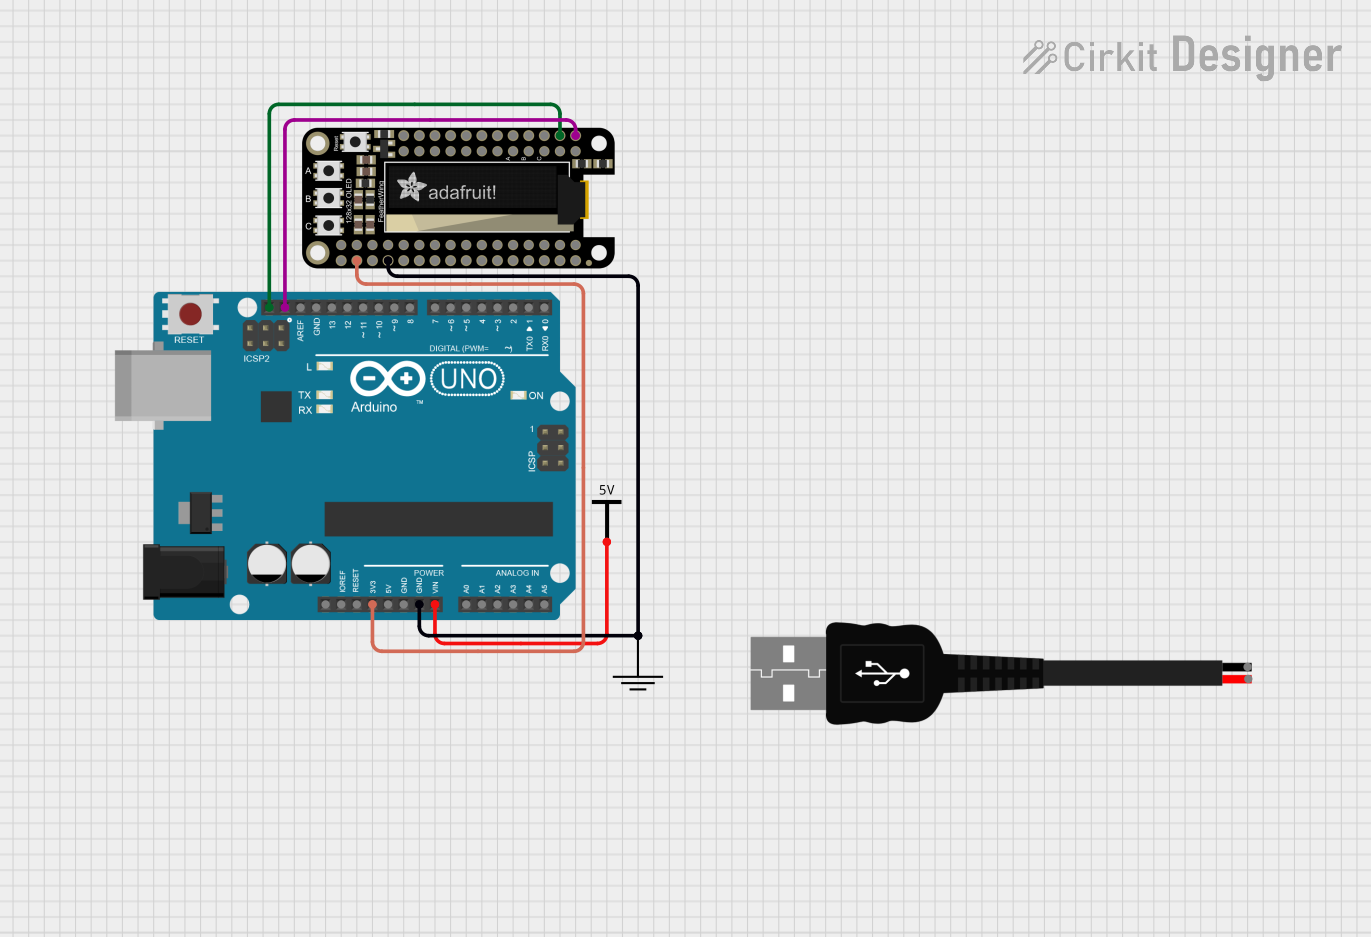
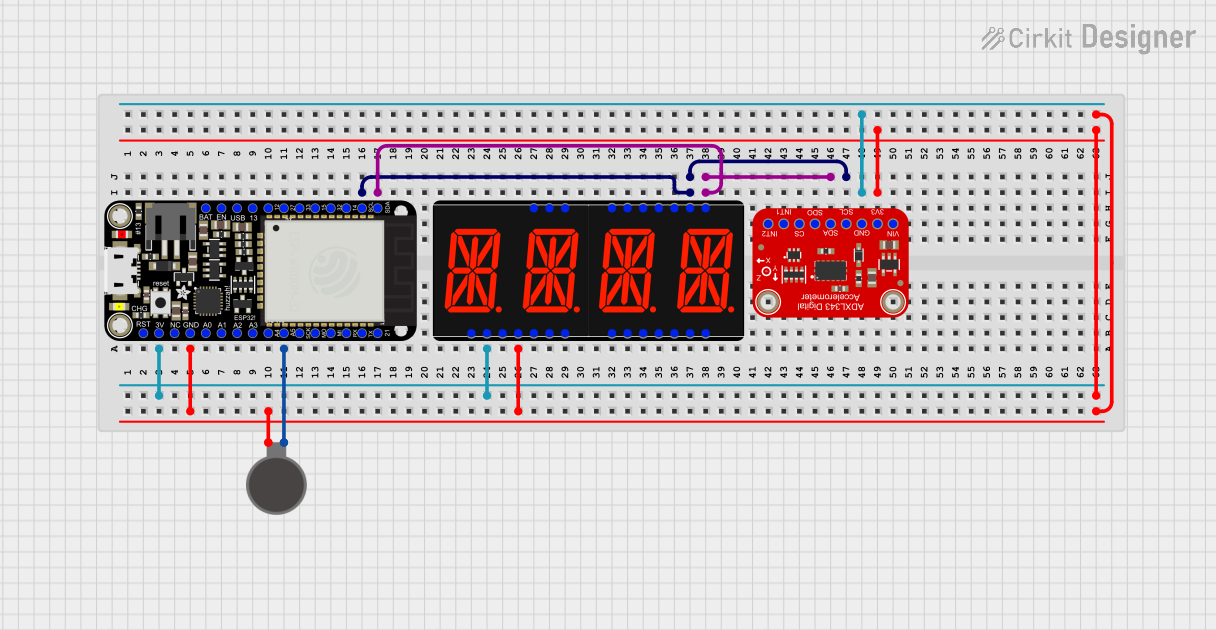
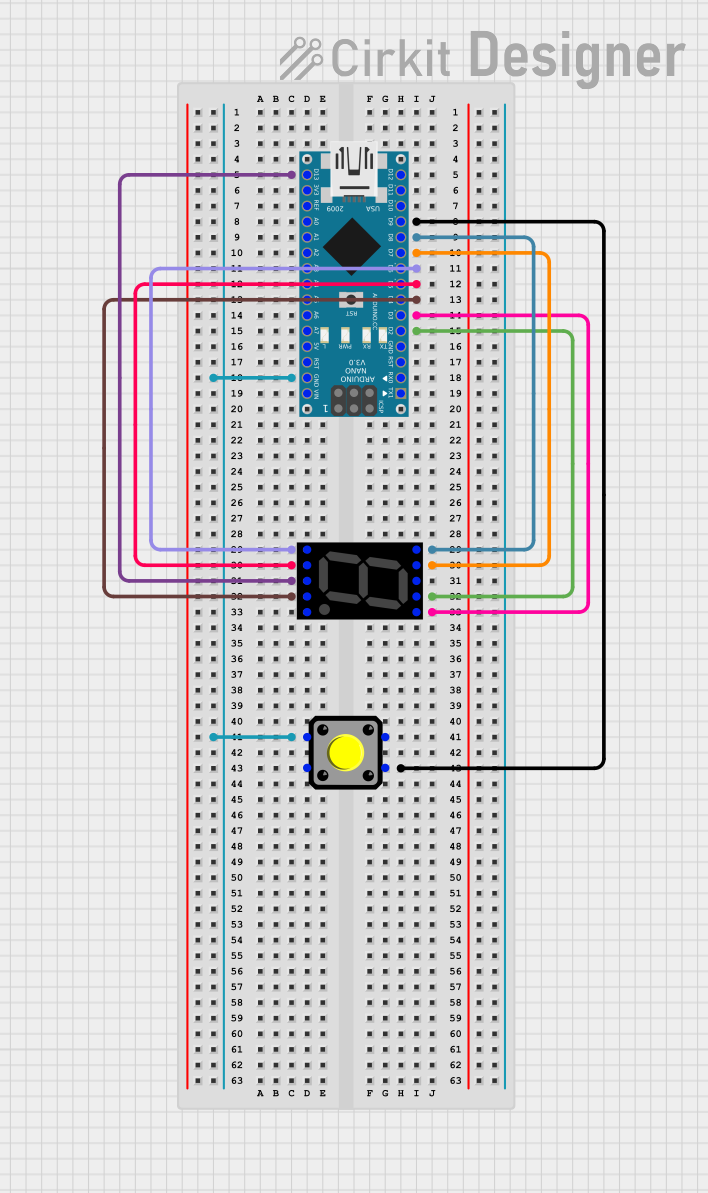
Explore Projects Built with Adafruit 7 Segment FeatherWing - White
 Open Project in Cirkit Designer
 Open Project in Cirkit Designer
 Open Project in Cirkit Designer
 Open Project in Cirkit Designer
Explore Projects Built with Adafruit 7 Segment FeatherWing - White
Open Project in Cirkit DesignerOpen Project in Cirkit DesignerOpen Project in Cirkit DesignerOpen Project in Cirkit DesignerCommon Applications
- Digital clocks and timers
- Sensor data visualization
- Numerical counters
- Battery voltage or current displays
- Debugging and testing for Feather-based projects
Technical Specifications
Key Technical Details
- Manufacturer: Adafruit
- Part ID: 3109
- Display Type: 7-segment LED
- LED Color: White
- Driver Chip: HT16K33 I2C LED driver
- Input Voltage: 3.3V or 5V (compatible with Feather boards)
- Communication Protocol: I2C
- Default I2C Address:
0x70(configurable via solder jumpers) - Dimensions: 50.8mm x 22.8mm x 7.2mm (2.0" x 0.9" x 0.3")
- Weight: 5.4g
Pin Configuration and Descriptions
The FeatherWing connects directly to the Feather board via its headers. However, the following table describes the key pins and their functions:
| Pin Name | Description |
|---|---|
| SDA | I2C data line for communication with the HT16K33 driver chip. |
| SCL | I2C clock line for communication with the HT16K33 driver chip. |
| 3V/5V | Power input pin (3.3V or 5V, depending on the Feather board used). |
| GND | Ground connection. |
| A0, A1, A2 | Address selection jumpers for configuring the I2C address (default: 0x70). |
Usage Instructions
How to Use the Component in a Circuit
Hardware Setup:
- Plug the Adafruit 7 Segment FeatherWing directly into the Feather board's headers.
- Ensure the Feather board is powered via USB or a battery.
- If using multiple FeatherWings, configure unique I2C addresses by soldering the A0, A1, or A2 jumpers.
Software Setup:
- Install the Adafruit HT16K33 library in your Arduino IDE:
- Open the Arduino IDE.
- Go to Sketch > Include Library > Manage Libraries.
- Search for "Adafruit LED Backpack Library" and install it.
- Include the library in your Arduino sketch.
- Install the Adafruit HT16K33 library in your Arduino IDE:
Basic Arduino Code Example: Below is an example code snippet to display numbers on the FeatherWing:
// Include the Adafruit LED Backpack library
#include <Wire.h>
#include <Adafruit_GFX.h>
#include <Adafruit_LEDBackpack.h>

// Create an instance of the 7-segment display
Adafruit_7segment display = Adafruit_7segment();

void setup() {
  // Initialize the display with the default I2C address (0x70)
  display.begin(0x70);

  // Display a startup message
  display.print(1234); // Display "1234" on the 7-segment
  display.writeDisplay();
  delay(2000); // Wait for 2 seconds
}

void loop() {
  // Example: Display a counter that increments every second
  static int counter = 0;

  display.print(counter); // Display the current counter value
  display.writeDisplay(); // Update the display
  delay(1000); // Wait for 1 second
  counter++; // Increment the counter
}
Important Considerations and Best Practices
- Power Supply: Ensure the Feather board provides sufficient power for the display. If using multiple FeatherWings, consider external power sources.
- I2C Address Conflicts: If using multiple I2C devices, ensure each has a unique address by adjusting the A0, A1, and A2 jumpers.
- Viewing Angle: The white LEDs are bright and clear, but ensure the display is positioned for optimal visibility in your application.
- Heat Management: While the module is efficient, prolonged use at high brightness may generate heat. Avoid excessive brightness settings if unnecessary.
Troubleshooting and FAQs
Common Issues and Solutions
| Issue | Possible Cause | Solution |
|---|---|---|
| Display does not light up | - Incorrect wiring or loose connections. | - Check all connections and ensure the FeatherWing is securely seated. |
| - Feather board not powered. | - Verify the Feather board is powered via USB or battery. | |
| - Incorrect I2C address in the code. | - Ensure the address in display.begin() matches the configured address. |
|
| Display shows incorrect or garbled numbers | - I2C communication issue. | - Check SDA and SCL connections. |
| - Software bug or incorrect code. | - Verify the code logic and ensure the library is correctly installed. | |
| Multiple FeatherWings not working together | - I2C address conflict. | - Configure unique addresses for each FeatherWing using the A0, A1, A2 jumpers. |
| LEDs are dim or flickering | - Insufficient power supply. | - Use a stable power source and ensure the Feather board can handle the load. |
FAQs
Can I use this FeatherWing with non-Adafruit boards?
- Yes, as long as the board supports I2C communication and provides 3.3V or 5V power, you can use this module. However, you may need to use jumper wires instead of directly plugging it in.
How do I change the I2C address?
- Solder the A0, A1, or A2 jumpers on the back of the FeatherWing to configure a new address. Refer to the HT16K33 datasheet for address mapping.
What is the maximum number of FeatherWings I can use simultaneously?
- Up to 8 FeatherWings can be used on the same I2C bus, provided each has a unique address.
Can I dim the LEDs?
- Yes, the HT16K33 driver supports brightness control. Use the
display.setBrightness()function in your code to adjust the brightness level (0-15).
- Yes, the HT16K33 driver supports brightness control. Use the
By following this documentation, you can effectively integrate and utilize the Adafruit 7 Segment FeatherWing - White in your projects.