
How to Use Barometric Pressure Sensor - BMP180 Breakout (GY-68): Examples, Pinouts, and Specs
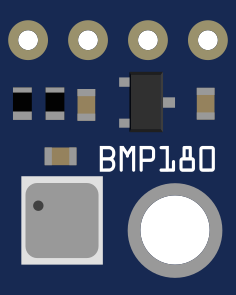
 Design with Barometric Pressure Sensor - BMP180 Breakout (GY-68) in Cirkit Designer
Introduction
The BMP180 is a digital barometric pressure sensor designed for high-precision atmospheric pressure and temperature measurements. It is widely used in applications such as weather stations, altimeters, GPS navigation systems, and environmental monitoring devices. The BMP180 is compact, energy-efficient, and communicates via I2C or SPI interfaces, making it easy to integrate into microcontroller-based projects.
The GY-68 breakout board simplifies the use of the BMP180 by providing necessary supporting components, such as pull-up resistors and a voltage regulator, allowing it to operate with a wide range of microcontrollers, including the Arduino UNO.
Explore Projects Built with Barometric Pressure Sensor - BMP180 Breakout (GY-68)
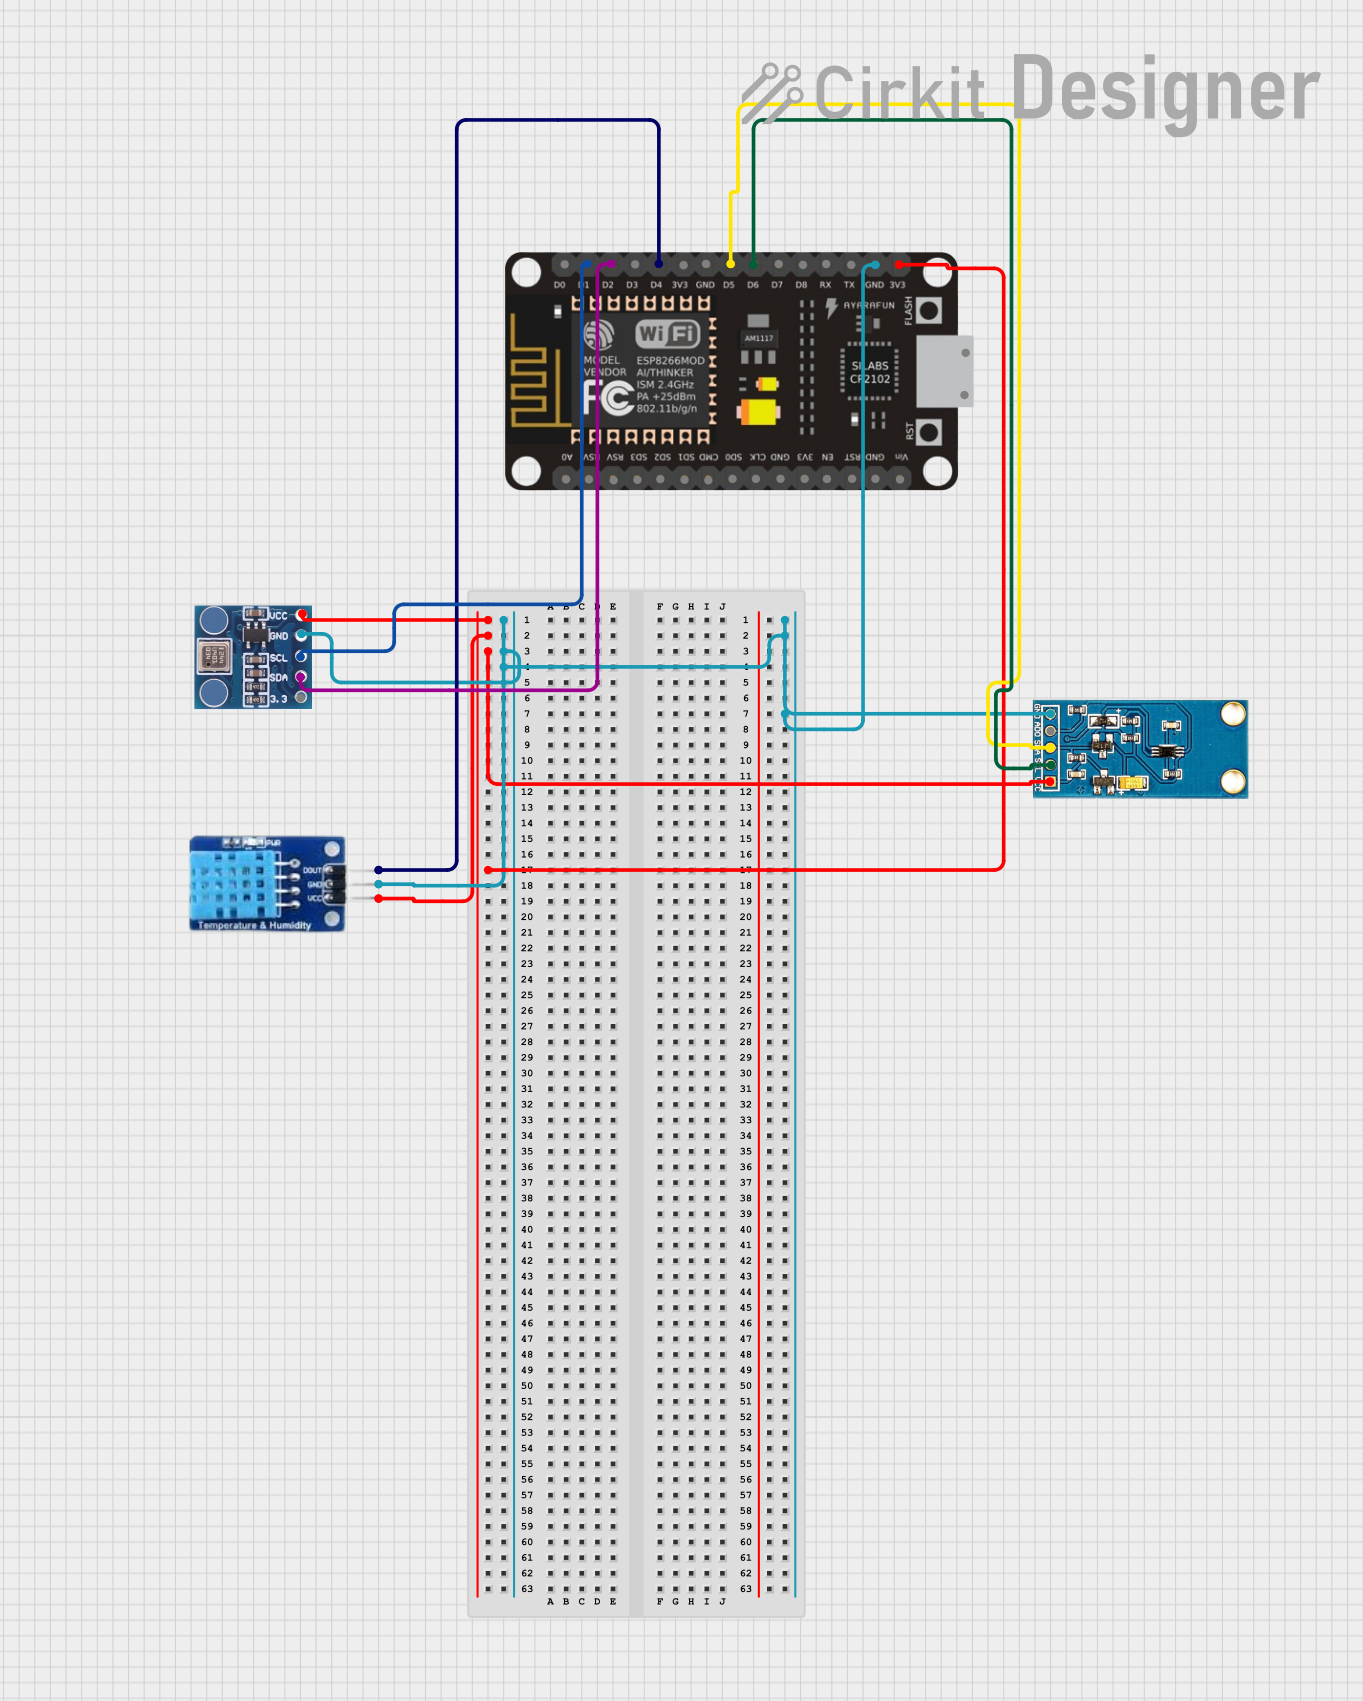 Open Project in Cirkit Designer
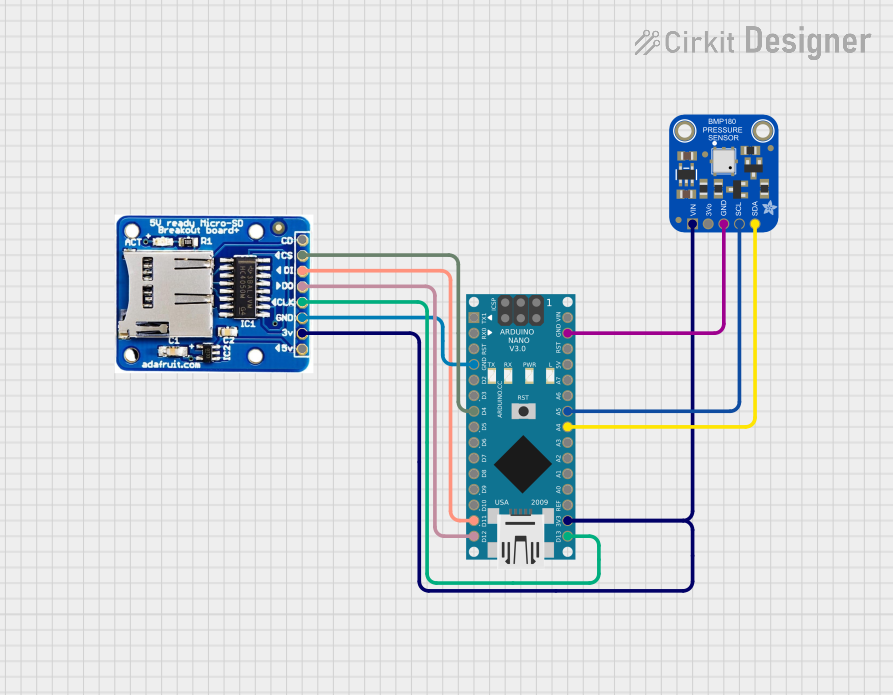 Open Project in Cirkit Designer
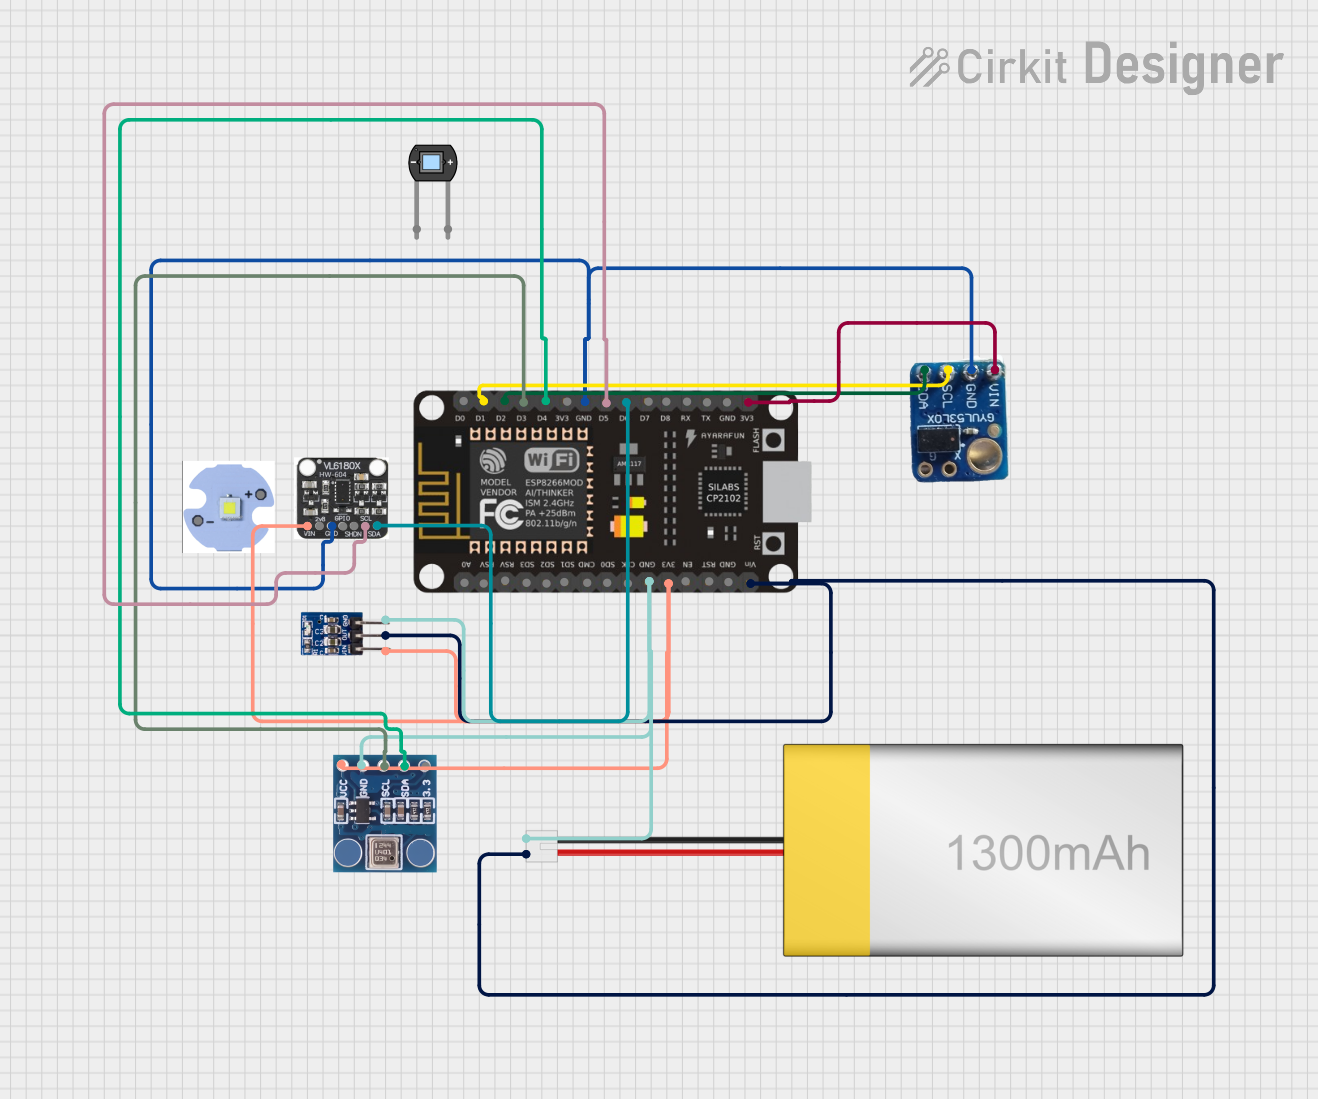 Open Project in Cirkit Designer
 Open Project in Cirkit Designer
Explore Projects Built with Barometric Pressure Sensor - BMP180 Breakout (GY-68)
Open Project in Cirkit DesignerOpen Project in Cirkit DesignerOpen Project in Cirkit DesignerOpen Project in Cirkit DesignerTechnical Specifications
Key Technical Details
- Operating Voltage: 1.8V to 3.6V (3.3V recommended for BMP180; GY-68 supports 5V input)
- Communication Interface: I2C (default) or SPI
- Pressure Measurement Range: 300 hPa to 1100 hPa (altitude: -500m to 9000m)
- Pressure Resolution: 0.01 hPa
- Temperature Measurement Range: -40°C to +85°C
- Temperature Resolution: 0.1°C
- Power Consumption: 12 µA (typical in ultra-low power mode)
- Dimensions: 21mm x 18mm (GY-68 breakout board)
Pin Configuration and Descriptions
The GY-68 breakout board has 4 pins for easy interfacing:
| Pin | Name | Description |
|---|---|---|
| 1 | VIN | Power input (3.3V or 5V). The onboard regulator steps down 5V to 3.3V for BMP180. |
| 2 | GND | Ground connection. |
| 3 | SCL | I2C clock line. Connect to the microcontroller's I2C clock pin. |
| 4 | SDA | I2C data line. Connect to the microcontroller's I2C data pin. |
Note: The BMP180's I2C address is
0x77by default.
Usage Instructions
How to Use the BMP180 in a Circuit
Wiring:
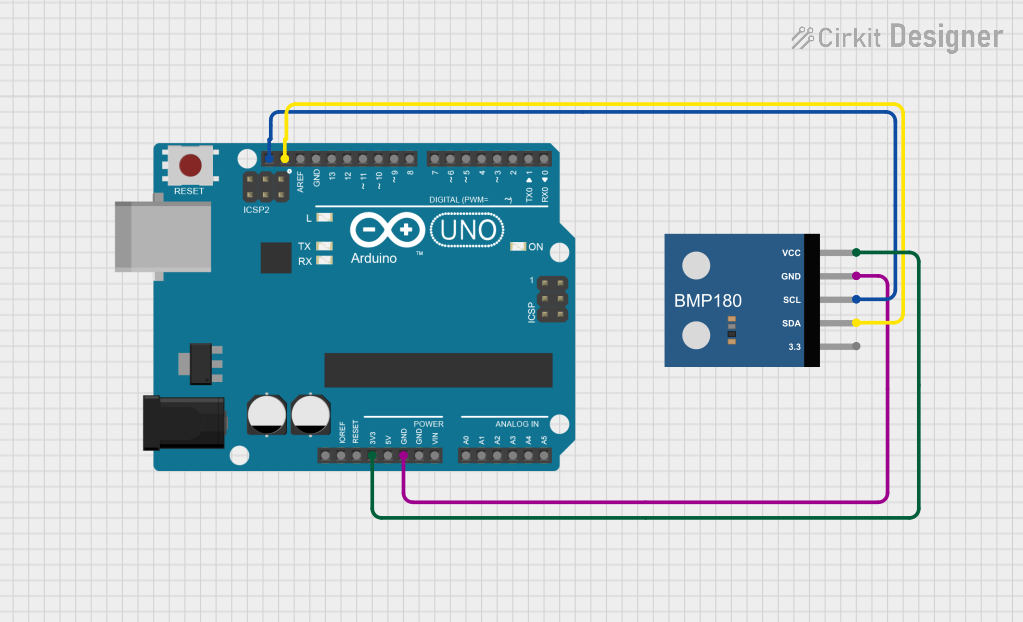
- Connect the VIN pin to the 5V output of your microcontroller (e.g., Arduino UNO).
- Connect the GND pin to the ground of your microcontroller.
- Connect the SCL pin to the I2C clock pin of your microcontroller (A5 on Arduino UNO).
- Connect the SDA pin to the I2C data pin of your microcontroller (A4 on Arduino UNO).
Install Required Libraries:
- Use the Adafruit BMP085/BMP180 library for Arduino. Install it via the Arduino Library Manager:
- Go to Sketch > Include Library > Manage Libraries.
- Search for "Adafruit BMP085 Unified" and install it.
- Use the Adafruit BMP085/BMP180 library for Arduino. Install it via the Arduino Library Manager:
Arduino Code Example: Below is an example code to read pressure and temperature data from the BMP180:
#include <Wire.h>
#include <Adafruit_Sensor.h>
#include <Adafruit_BMP085_U.h>

// Create an instance of the BMP180 sensor
Adafruit_BMP085_Unified bmp = Adafruit_BMP085_Unified(10085);

void setup() {
  Serial.begin(9600);
  // Initialize the BMP180 sensor
  if (!bmp.begin()) {
    Serial.println("Could not find a valid BMP180 sensor, check wiring!");
    while (1); // Halt the program if the sensor is not detected
  }
}

void loop() {
  sensors_event_t event;
  bmp.getEvent(&event);

  if (event.pressure) {
    // Display pressure in hPa
    Serial.print("Pressure: ");
    Serial.print(event.pressure);
    Serial.println(" hPa");

    // Calculate and display altitude (assuming sea level pressure = 1013.25 hPa)
    float seaLevelPressure = 1013.25;
    Serial.print("Altitude: ");
    Serial.print(bmp.pressureToAltitude(seaLevelPressure, event.pressure));
    Serial.println(" m");

    // Display temperature
    float temperature;
    bmp.getTemperature(&temperature);
    Serial.print("Temperature: ");
    Serial.print(temperature);
    Serial.println(" °C");
  }

  delay(2000); // Wait 2 seconds before the next reading
}
Important Considerations and Best Practices
- Power Supply: Ensure the GY-68 breakout board is powered with 3.3V or 5V. Do not exceed 5V input.
- Pull-Up Resistors: The GY-68 includes onboard pull-up resistors for the I2C lines. Avoid adding external pull-ups unless necessary.
- Altitude Calculation: The altitude calculation assumes a standard sea-level pressure of 1013.25 hPa. Adjust this value for more accurate results in your location.
- Temperature Compensation: The BMP180 internally compensates for temperature variations, ensuring accurate pressure readings.
Troubleshooting and FAQs
Common Issues and Solutions
Sensor Not Detected:
- Cause: Incorrect wiring or I2C address mismatch.
- Solution: Verify the connections and ensure the I2C address is set to
0x77.
Inaccurate Readings:
- Cause: Incorrect sea-level pressure value or environmental interference.
- Solution: Update the sea-level pressure value in the code to match your location. Minimize electrical noise near the sensor.
Temperature Readings Seem Off:
- Cause: Heat from nearby components affecting the sensor.
- Solution: Place the sensor away from heat sources and ensure proper ventilation.
No Output on Serial Monitor:
- Cause: Serial communication not initialized or incorrect baud rate.
- Solution: Ensure
Serial.begin(9600);is called in thesetup()function and the Serial Monitor is set to 9600 baud.
FAQs
Can the BMP180 measure altitude directly?
- No, the BMP180 measures pressure, and altitude is calculated based on the pressure and a reference sea-level pressure.
What is the maximum cable length for I2C communication?
- The maximum length depends on the pull-up resistor values and the I2C clock speed. For standard setups, keep the cable length under 1 meter to avoid signal degradation.
Can I use the BMP180 with a 5V microcontroller?
- Yes, the GY-68 breakout board includes a voltage regulator and level shifters, allowing it to interface with 5V systems.
By following this documentation, you can successfully integrate the BMP180 sensor into your projects for accurate pressure and temperature measurements.