Cirkit Designer Logo
Cirkit Designer
Your all-in-one circuit design IDE
Home / 
Component Documentation

How to Use Adafruit CAP1188 - 8-Key Capacitive Touch Sensor Breakout: Examples, Pinouts, and Specs

Image of Adafruit CAP1188 - 8-Key Capacitive Touch Sensor Breakout
Cirkit Designer LogoDesign with Adafruit CAP1188 - 8-Key Capacitive Touch Sensor Breakout in Cirkit Designer

Introduction

The Adafruit CAP1188 is a versatile capacitive touch sensor breakout board that provides an easy way to integrate touch-sensitive input into your electronic projects. With eight individual touch sensors, it is ideal for creating touch-sensitive buttons, sliders, and proximity sensing applications. The CAP1188 can be used in a wide range of projects, from simple DIY crafts to complex interactive installations.

Explore Projects Built with Adafruit CAP1188 - 8-Key Capacitive Touch Sensor Breakout

Use Cirkit Designer to design, explore, and prototype these projects online. Some projects support real-time simulation. Click "Open Project" to start designing instantly!
Capacitive Touch and Ultrasonic Sensor Interface with Adafruit Feather nRF52840 Sense
Image of Senior Design Project: A project utilizing Adafruit CAP1188 - 8-Key Capacitive Touch Sensor Breakout in a practical application
This circuit features an Adafruit Feather nRF52840 Sense microcontroller connected to an ultrasonic sensor for distance measurement and an Adafruit AT42QT1010 capacitive touch sensor for touch input. The ultrasonic sensor's Trigger and Echo pins are interfaced with the microcontroller's digital pins D6 and D9, respectively, to send and receive ultrasonic signals. Additionally, a pressure-sensitive conductive sheet (Velostat) is connected in series with a 10k Ohm resistor to the microcontroller's analog pin A0, likely forming a pressure sensor.
Cirkit Designer LogoOpen Project in Cirkit Designer
Touch-Sensitive Interface with Adafruit MPR121 and Feather 32u4 Bluefruit
Image of MPR121: A project utilizing Adafruit CAP1188 - 8-Key Capacitive Touch Sensor Breakout in a practical application
This circuit integrates an Adafruit MPR121 capacitive touch sensor with an Adafruit Feather 32u4 Bluefruit microcontroller. The MPR121 is powered by the Feather and communicates via I2C (SCL and SDA) to detect touch inputs, which can be processed or transmitted wirelessly by the Feather.
Cirkit Designer LogoOpen Project in Cirkit Designer
Arduino 101 Based Touch-Controlled LED Matrix with DHT22 Sensor Integration
Image of PROJECT TOUCH SENSOR: A project utilizing Adafruit CAP1188 - 8-Key Capacitive Touch Sensor Breakout in a practical application
This circuit features an Arduino 101 microcontroller connected to a touch sensor, an 8x8 LED matrix, and a DHT22 temperature and humidity sensor. The Arduino provides power to all components and interfaces with the touch sensor via a digital I/O pin and the DHT22 sensor via another digital I/O pin. It controls the 8x8 LED matrix using SPI communication, with dedicated pins for data, clock, and chip select.
Cirkit Designer LogoOpen Project in Cirkit Designer
Arduino UNO Capacitive Touch Sensor Interface
Image of P7Ej2: A project utilizing Adafruit CAP1188 - 8-Key Capacitive Touch Sensor Breakout in a practical application
This circuit consists of an Arduino UNO microcontroller connected to a capacitive touch sensor. The sensor's VCC and GND pins are powered by the Arduino's 5V and GND pins, respectively, and the sensor's output is connected to the Arduino's digital pin D10. The Arduino can read touch inputs from the sensor to perform various actions based on the provided code.
Cirkit Designer LogoOpen Project in Cirkit Designer

Explore Projects Built with Adafruit CAP1188 - 8-Key Capacitive Touch Sensor Breakout

Use Cirkit Designer to design, explore, and prototype these projects online. Some projects support real-time simulation. Click "Open Project" to start designing instantly!
Image of Senior Design Project: A project utilizing Adafruit CAP1188 - 8-Key Capacitive Touch Sensor Breakout in a practical application
Capacitive Touch and Ultrasonic Sensor Interface with Adafruit Feather nRF52840 Sense
This circuit features an Adafruit Feather nRF52840 Sense microcontroller connected to an ultrasonic sensor for distance measurement and an Adafruit AT42QT1010 capacitive touch sensor for touch input. The ultrasonic sensor's Trigger and Echo pins are interfaced with the microcontroller's digital pins D6 and D9, respectively, to send and receive ultrasonic signals. Additionally, a pressure-sensitive conductive sheet (Velostat) is connected in series with a 10k Ohm resistor to the microcontroller's analog pin A0, likely forming a pressure sensor.
Cirkit Designer LogoOpen Project in Cirkit Designer
Image of MPR121: A project utilizing Adafruit CAP1188 - 8-Key Capacitive Touch Sensor Breakout in a practical application
Touch-Sensitive Interface with Adafruit MPR121 and Feather 32u4 Bluefruit
This circuit integrates an Adafruit MPR121 capacitive touch sensor with an Adafruit Feather 32u4 Bluefruit microcontroller. The MPR121 is powered by the Feather and communicates via I2C (SCL and SDA) to detect touch inputs, which can be processed or transmitted wirelessly by the Feather.
Cirkit Designer LogoOpen Project in Cirkit Designer
Image of PROJECT TOUCH SENSOR: A project utilizing Adafruit CAP1188 - 8-Key Capacitive Touch Sensor Breakout in a practical application
Arduino 101 Based Touch-Controlled LED Matrix with DHT22 Sensor Integration
This circuit features an Arduino 101 microcontroller connected to a touch sensor, an 8x8 LED matrix, and a DHT22 temperature and humidity sensor. The Arduino provides power to all components and interfaces with the touch sensor via a digital I/O pin and the DHT22 sensor via another digital I/O pin. It controls the 8x8 LED matrix using SPI communication, with dedicated pins for data, clock, and chip select.
Cirkit Designer LogoOpen Project in Cirkit Designer
Image of P7Ej2: A project utilizing Adafruit CAP1188 - 8-Key Capacitive Touch Sensor Breakout in a practical application
Arduino UNO Capacitive Touch Sensor Interface
This circuit consists of an Arduino UNO microcontroller connected to a capacitive touch sensor. The sensor's VCC and GND pins are powered by the Arduino's 5V and GND pins, respectively, and the sensor's output is connected to the Arduino's digital pin D10. The Arduino can read touch inputs from the sensor to perform various actions based on the provided code.
Cirkit Designer LogoOpen Project in Cirkit Designer

Technical Specifications

Key Technical Details

  • Operating Voltage: 2.7V - 5.5V
  • Interface: I2C (up to 400 kHz) and SPI (up to 2 MHz)
  • Sensitivity: Adjustable via registers
  • Features: Automatic recalibration, multiple touch detection, power button management
  • Temperature Range: -40°C to +85°C

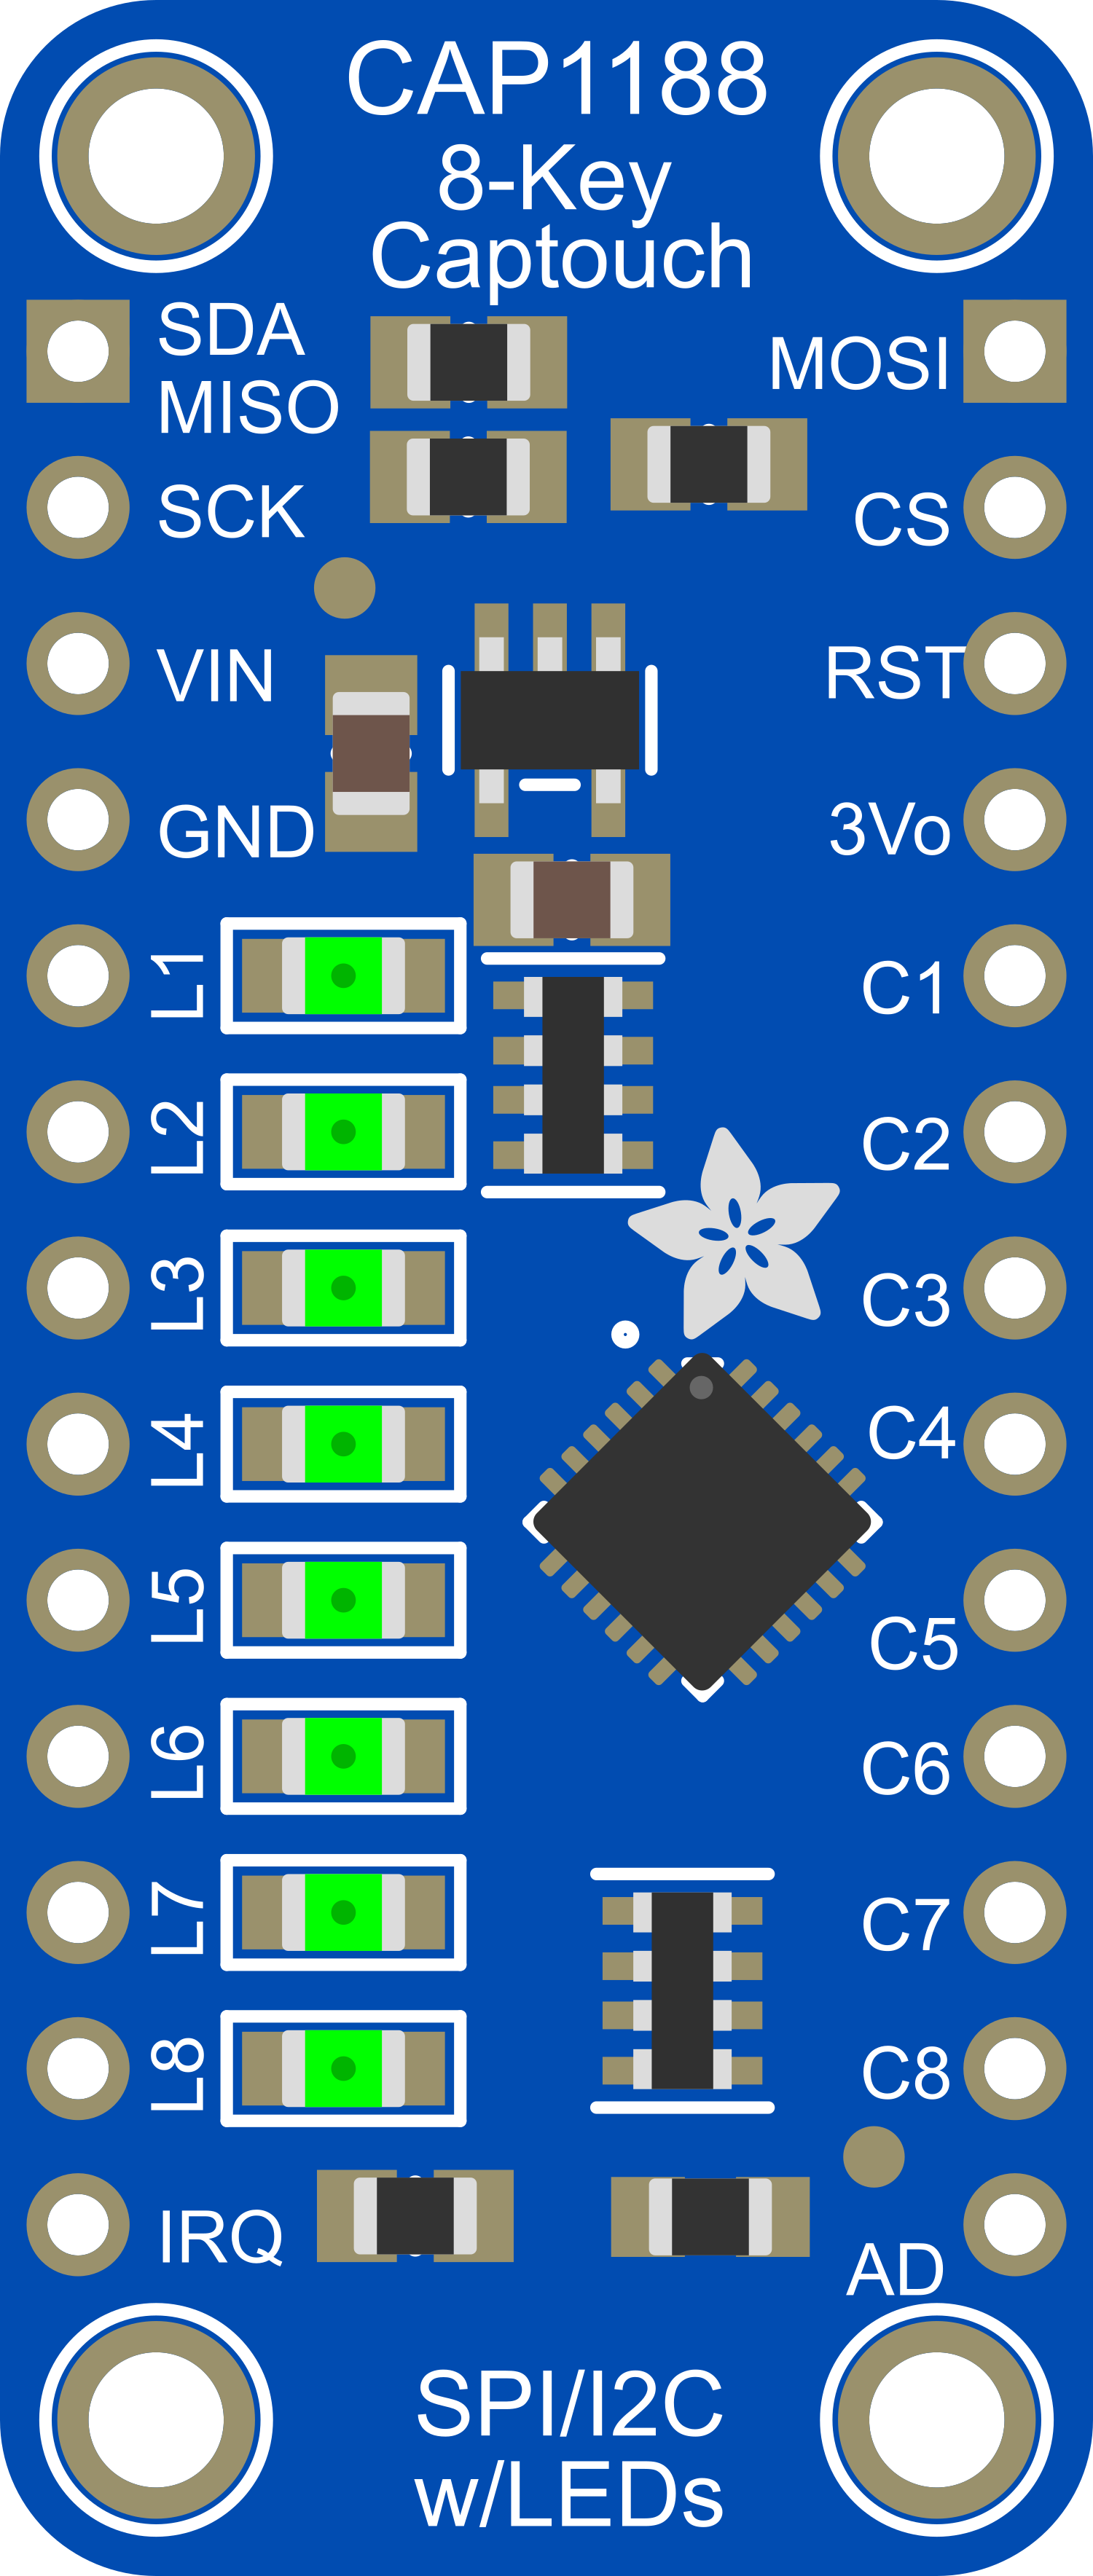
Pin Configuration and Descriptions

Pin Number Name Description
1 VIN Power supply (2.7V - 5.5V)
2 GND Ground connection
3 SDA I2C Data line
4 SCL I2C Clock line
5 MISO SPI Data Out (Master In, Slave Out)
6 SCK SPI Clock line
7 MOSI SPI Data In (Master Out, Slave In)
8 CS SPI Chip Select
9-16 C1-C8 Capacitive touch sensor inputs

Usage Instructions

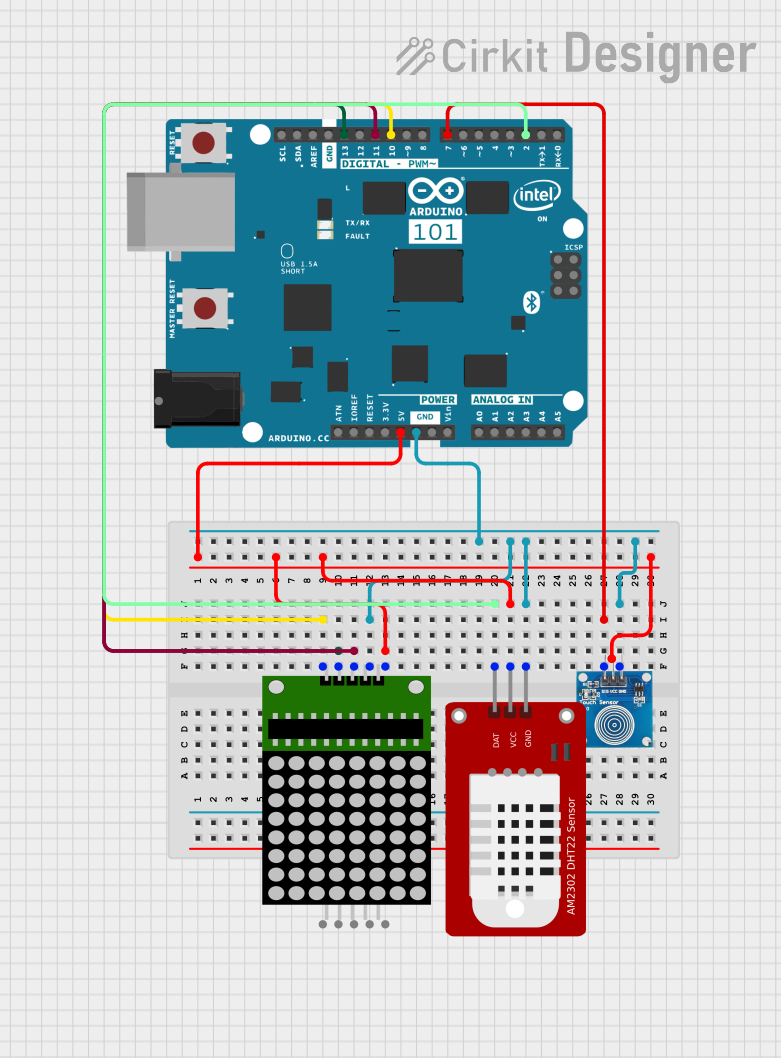
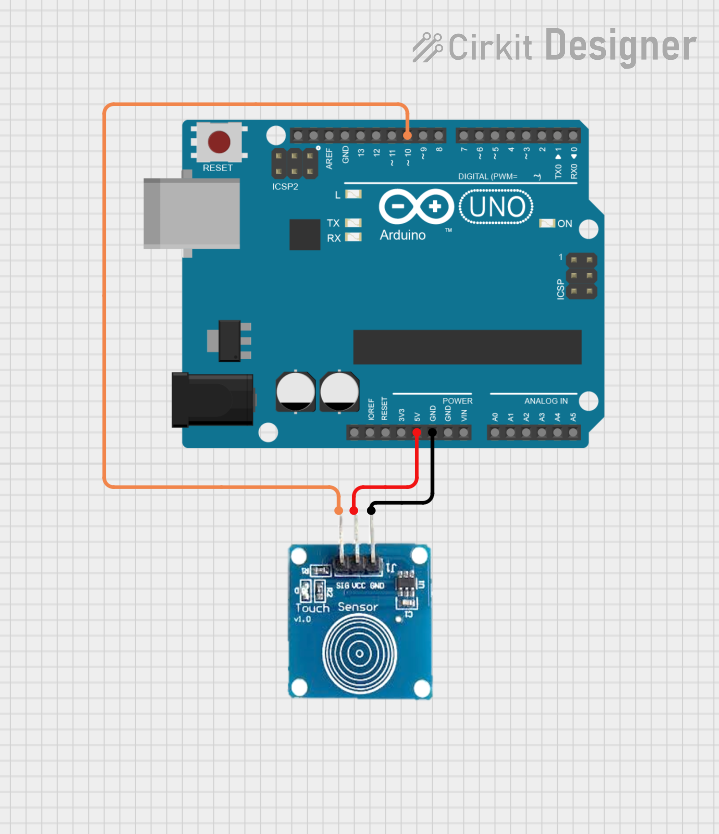
Integrating with a Circuit

  1. Powering the CAP1188: Connect the VIN pin to a 2.7V to 5.5V power supply and the GND pin to the ground.
  2. I2C Communication: Connect the SDA and SCL pins to your microcontroller's I2C data and clock lines, respectively.
  3. SPI Communication: Alternatively, use the MISO, MOSI, SCK, and CS pins for SPI communication.
  4. Touch Sensor Inputs: Connect conductive materials or touch pads to the C1-C8 pins to create touch-sensitive interfaces.

Important Considerations and Best Practices

  • Pull-up Resistors: Ensure that pull-up resistors are connected to the I2C lines if your microcontroller does not have built-in pull-ups.
  • Decoupling Capacitor: Place a 0.1 µF capacitor close to the power pins of the CAP1188 to filter out power supply noise.
  • Touch Pad Design: Use conductive materials with a large surface area for the touch pads to improve sensitivity.
  • Calibration: Use the CAP1188's automatic recalibration feature or manually calibrate the sensitivity for each touch sensor through the configuration registers.

Example Code for Arduino UNO

#include <Wire.h>
#include <Adafruit_CAP1188.h>

// Create CAP1188 instance
Adafruit_CAP1188 cap = Adafruit_CAP1188();

void setup() {
  Serial.begin(9600);
  // Initialize the CAP1188 using I2C communication
  if (!cap.begin(0x28)) {
    Serial.println("CAP1188 not found");
    while (1);
  }
  Serial.println("CAP1188 found!");
}

void loop() {
  // Read touched status
  uint8_t touched = cap.touched();
  
  for (uint8_t i = 0; i < 8; i++) {
    // Check if each sensor is touched
    if (touched & (1 << i)) {
      Serial.print("C"); Serial.print(i+1); Serial.println(" touched!");
    }
  }
  
  // Small delay to avoid flooding the serial output
  delay(100);
}

Troubleshooting and FAQs

Common Issues

  • Sensor Not Responding: Ensure that the power supply is within the specified range and that all connections are secure.
  • Inaccurate Touch Detection: Check for proper grounding and recalibrate the sensitivity if necessary.
  • Communication Errors: Verify that the correct communication protocol (I2C/SPI) is selected and that the wiring matches the chosen protocol.

Solutions and Tips for Troubleshooting

  • Power Cycle: If the CAP1188 is unresponsive, try power cycling the device.
  • I2C Address Conflict: Ensure that no other devices on the I2C bus have a conflicting address.
  • SPI Timing Issues: Adjust the SPI clock speed if you encounter communication issues.

FAQs

Q: Can I use the CAP1188 with a 3.3V system? A: Yes, the CAP1188 operates between 2.7V and 5.5V, making it compatible with both 3.3V and 5V systems.

Q: How do I increase the sensitivity of the touch sensors? A: Sensitivity can be adjusted through the CAP1188's configuration registers. Refer to the datasheet for detailed register settings.

Q: Can the CAP1188 detect multiple touches at the same time? A: Yes, the CAP1188 can detect multiple simultaneous touches, allowing for more complex touch interfaces.

Q: What should I do if the touch sensors are too sensitive or not sensitive enough? A: Adjust the sensitivity settings in the configuration registers, and ensure that the touch pads are designed with an appropriate surface area for your application.