How to Use Battery Power Display: Examples, Pinouts, and Specs

Introduction
A Battery Power Display is an electronic component designed to visually indicate the remaining charge level of a battery. It typically uses LED lights, bar graphs, or digital readouts to display the voltage or percentage of power left in the battery. This component is widely used in portable electronics, power banks, electric vehicles, and renewable energy systems to monitor battery health and prevent over-discharge.
Explore Projects Built with Battery Power Display

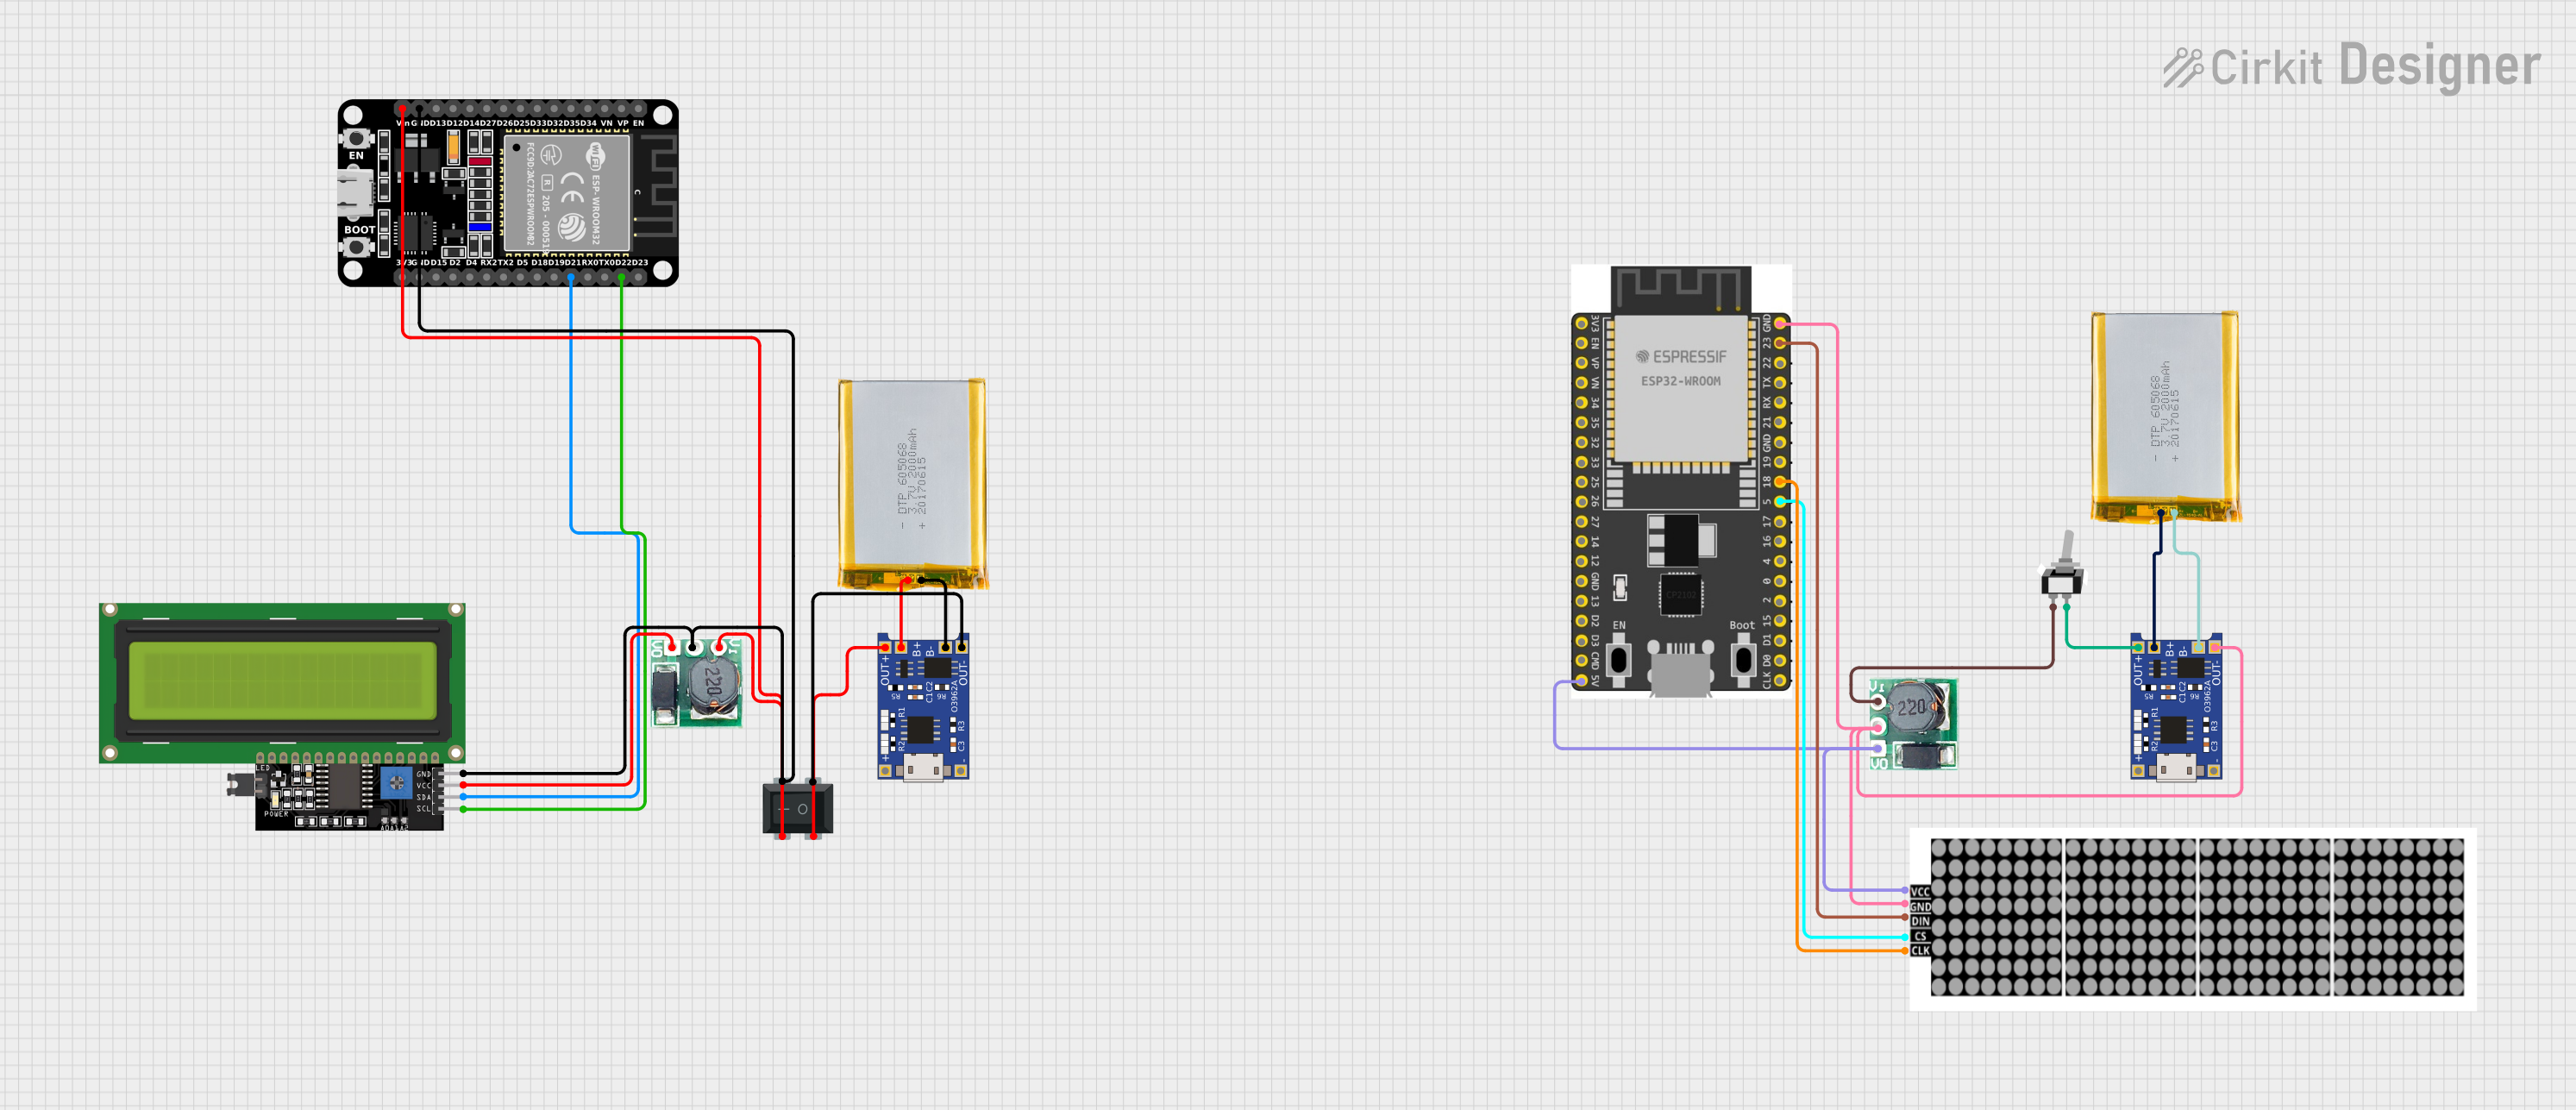

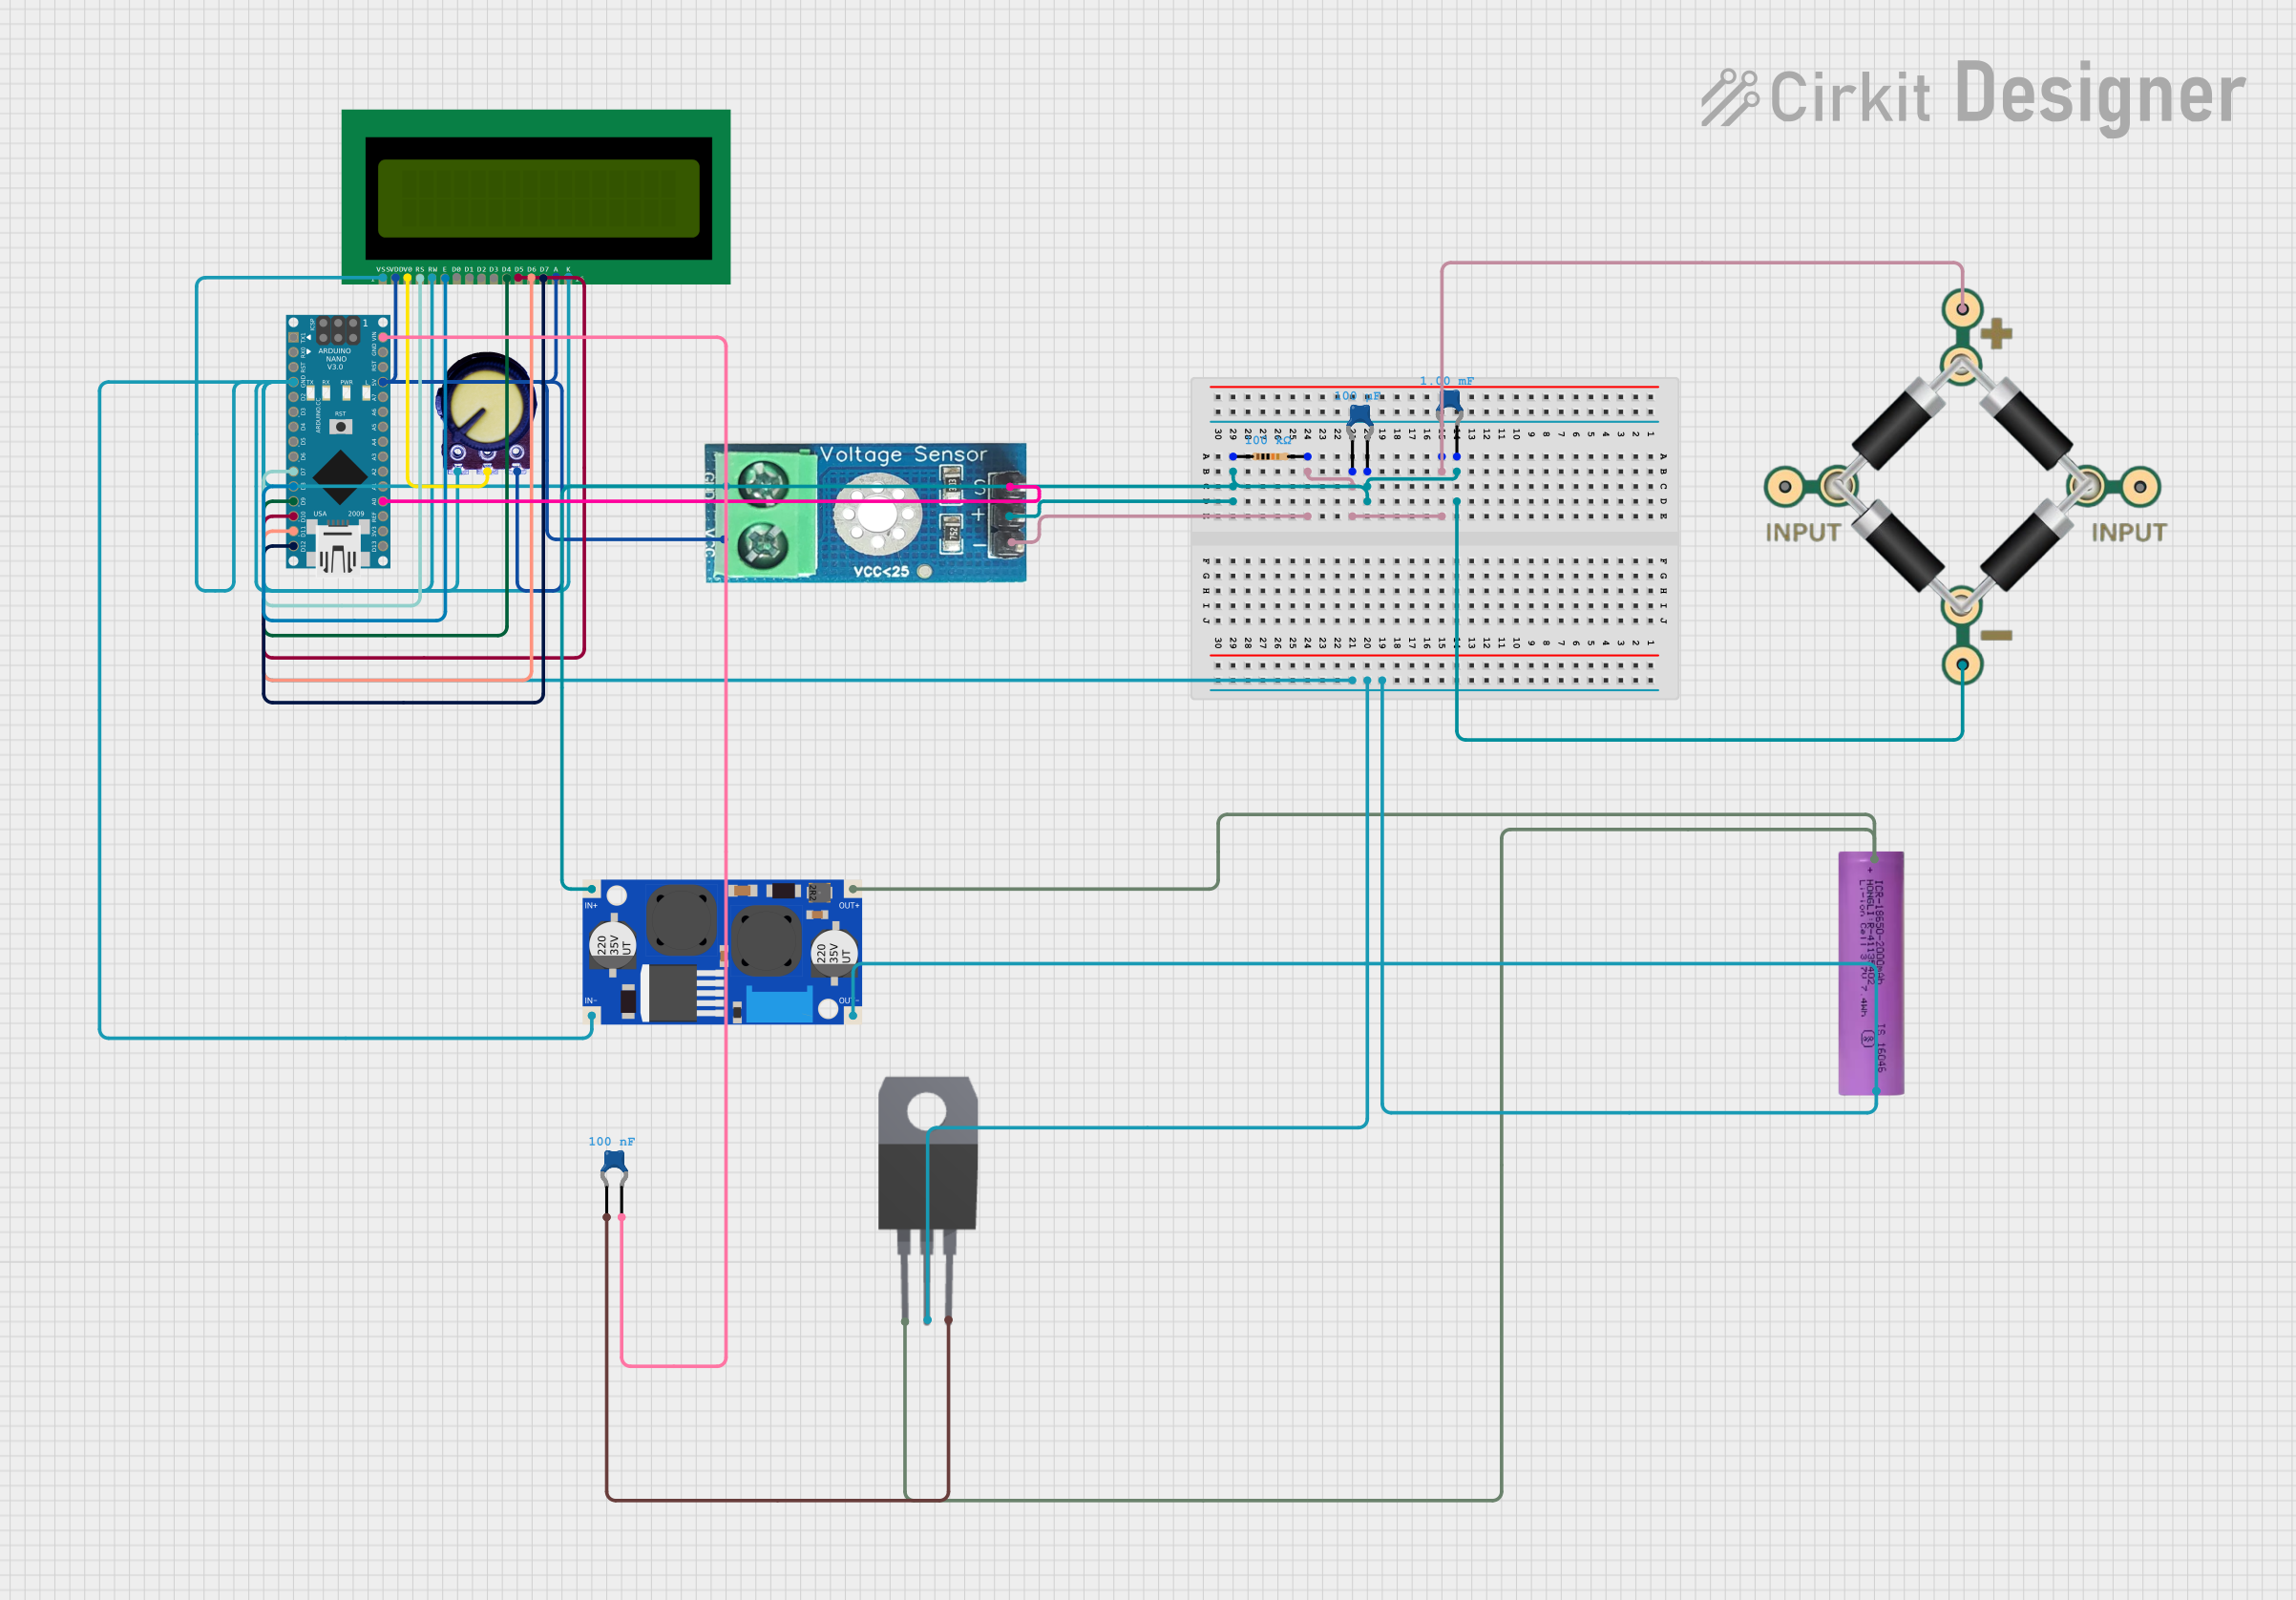
Explore Projects Built with Battery Power Display
Common Applications and Use Cases
- Portable electronic devices (e.g., power banks, flashlights)
- Electric vehicles and e-bikes
- Solar power systems
- Uninterruptible Power Supplies (UPS)
- DIY electronics projects
- Battery management systems
Technical Specifications
Below are the general technical specifications for a typical Battery Power Display. Note that specific models may vary slightly in their ratings and features.
Key Technical Details
- Operating Voltage: 3.7V to 24V (depending on the model)
- Current Consumption: Typically 10mA to 30mA
- Display Type: LED bar graph, 7-segment display, or LCD
- Voltage Measurement Range: 0V to 30V
- Accuracy: ±1% (typical)
- Operating Temperature: -10°C to 60°C
- Dimensions: Varies by model (e.g., 30mm x 15mm x 10mm)
Pin Configuration and Descriptions
The pin configuration for a Battery Power Display module typically includes three or four pins. Below is a table describing the pinout:
| Pin Name | Description | Notes |
|---|---|---|
| VCC | Positive power supply input | Connect to the positive terminal of the battery or power source. |
| GND | Ground connection | Connect to the negative terminal of the battery or power source. |
| IN+ | Voltage measurement input (optional) | For some models, this pin is used to measure the battery voltage. |
| IN- | Voltage measurement ground (optional) | Used in differential measurement setups. |
Usage Instructions
How to Use the Component in a Circuit
- Power Connection: Connect the
VCCpin to the positive terminal of the battery and theGNDpin to the negative terminal. - Voltage Measurement: If the module has
IN+andIN-pins, connect them to the battery terminals for voltage sensing. Ensure proper polarity to avoid damage. - Mounting: Secure the module in a visible location for easy monitoring. Use screws or adhesive as needed.
- Testing: Power on the circuit and verify that the display shows the correct battery level. Adjust any calibration settings if available.
Important Considerations and Best Practices
- Voltage Range: Ensure the battery voltage is within the operating range of the display module. Exceeding the maximum voltage can damage the component.
- Polarity: Double-check the polarity of connections to avoid short circuits or damage.
- Current Draw: The module consumes a small amount of current. For low-capacity batteries, consider disconnecting the display when not in use to conserve power.
- Calibration: Some models may require calibration to accurately display the battery level. Refer to the manufacturer's instructions for details.
Example: Using with an Arduino UNO
The Battery Power Display can be used with an Arduino UNO to monitor and display battery voltage. Below is an example code snippet:
// Example code to read battery voltage and display it on the Serial Monitor
// Connect the battery to the Arduino's analog input pin (e.g., A0).

const int batteryPin = A0;  // Analog pin connected to the battery
const float voltageDividerRatio = 2.0;  // Adjust based on your resistor divider

void setup() {
  Serial.begin(9600);  // Initialize Serial communication
}

void loop() {
  int sensorValue = analogRead(batteryPin);  // Read the analog input
  float batteryVoltage = sensorValue * (5.0 / 1023.0) * voltageDividerRatio;

  // Print the battery voltage to the Serial Monitor
  Serial.print("Battery Voltage: ");
  Serial.print(batteryVoltage);
  Serial.println(" V");

  delay(1000);  // Wait for 1 second before the next reading
}
Note: Use a voltage divider circuit if the battery voltage exceeds the Arduino's input voltage range (5V for most models). For example, use two resistors in series to divide the voltage by a factor of 2.
Troubleshooting and FAQs
Common Issues and Solutions
Display Not Turning On:
- Cause: Incorrect wiring or insufficient power supply.
- Solution: Verify the connections and ensure the battery voltage is within the operating range.
Incorrect Voltage Reading:
- Cause: Calibration error or incorrect voltage divider ratio.
- Solution: Check the calibration settings and verify the resistor values in the voltage divider circuit.
Flickering Display:
- Cause: Unstable power supply or loose connections.
- Solution: Ensure a stable power source and secure all connections.
Overheating:
- Cause: Exceeding the maximum voltage or current rating.
- Solution: Use a voltage regulator or step-down converter to limit the input voltage.
FAQs
Q: Can I use this module with a lithium-ion battery?
A: Yes, most Battery Power Displays are compatible with lithium-ion batteries. Ensure the voltage range matches the battery's specifications.
Q: How do I know if the display is accurate?
A: Use a multimeter to measure the battery voltage and compare it with the display reading. Adjust calibration if necessary.
Q: Can I use this module for a 24V battery system?
A: Yes, as long as the module's operating voltage range supports 24V. Check the specifications before use.
Q: Is it safe to leave the display connected to the battery?
A: Yes, but keep in mind that the module consumes a small amount of current, which may drain the battery over time. Disconnect it if the device will not be used for an extended period.