How to Use DFPlayer Mini: Examples, Pinouts, and Specs
Introduction
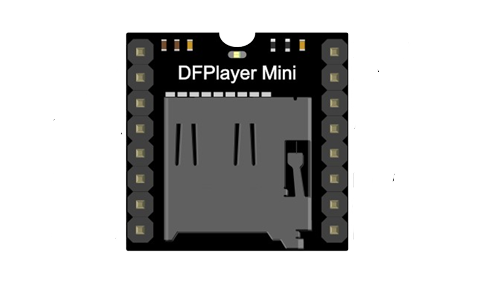
The DFPlayer Mini (Manufacturer: LOA, Part ID: Mini) is a compact and cost-effective MP3 player module designed for embedded systems. It can play audio files directly from a micro SD card and is controlled via serial communication. This module is widely used in projects requiring audio playback, such as interactive displays, voice alerts, and IoT devices.
Explore Projects Built with DFPlayer Mini

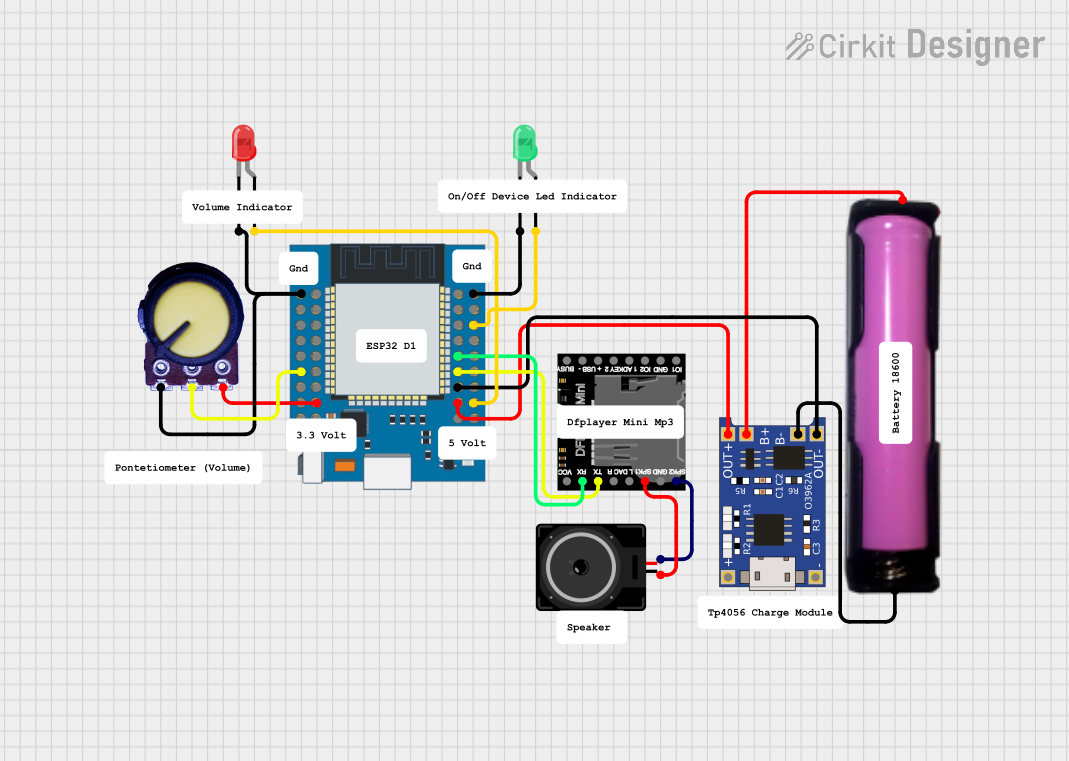
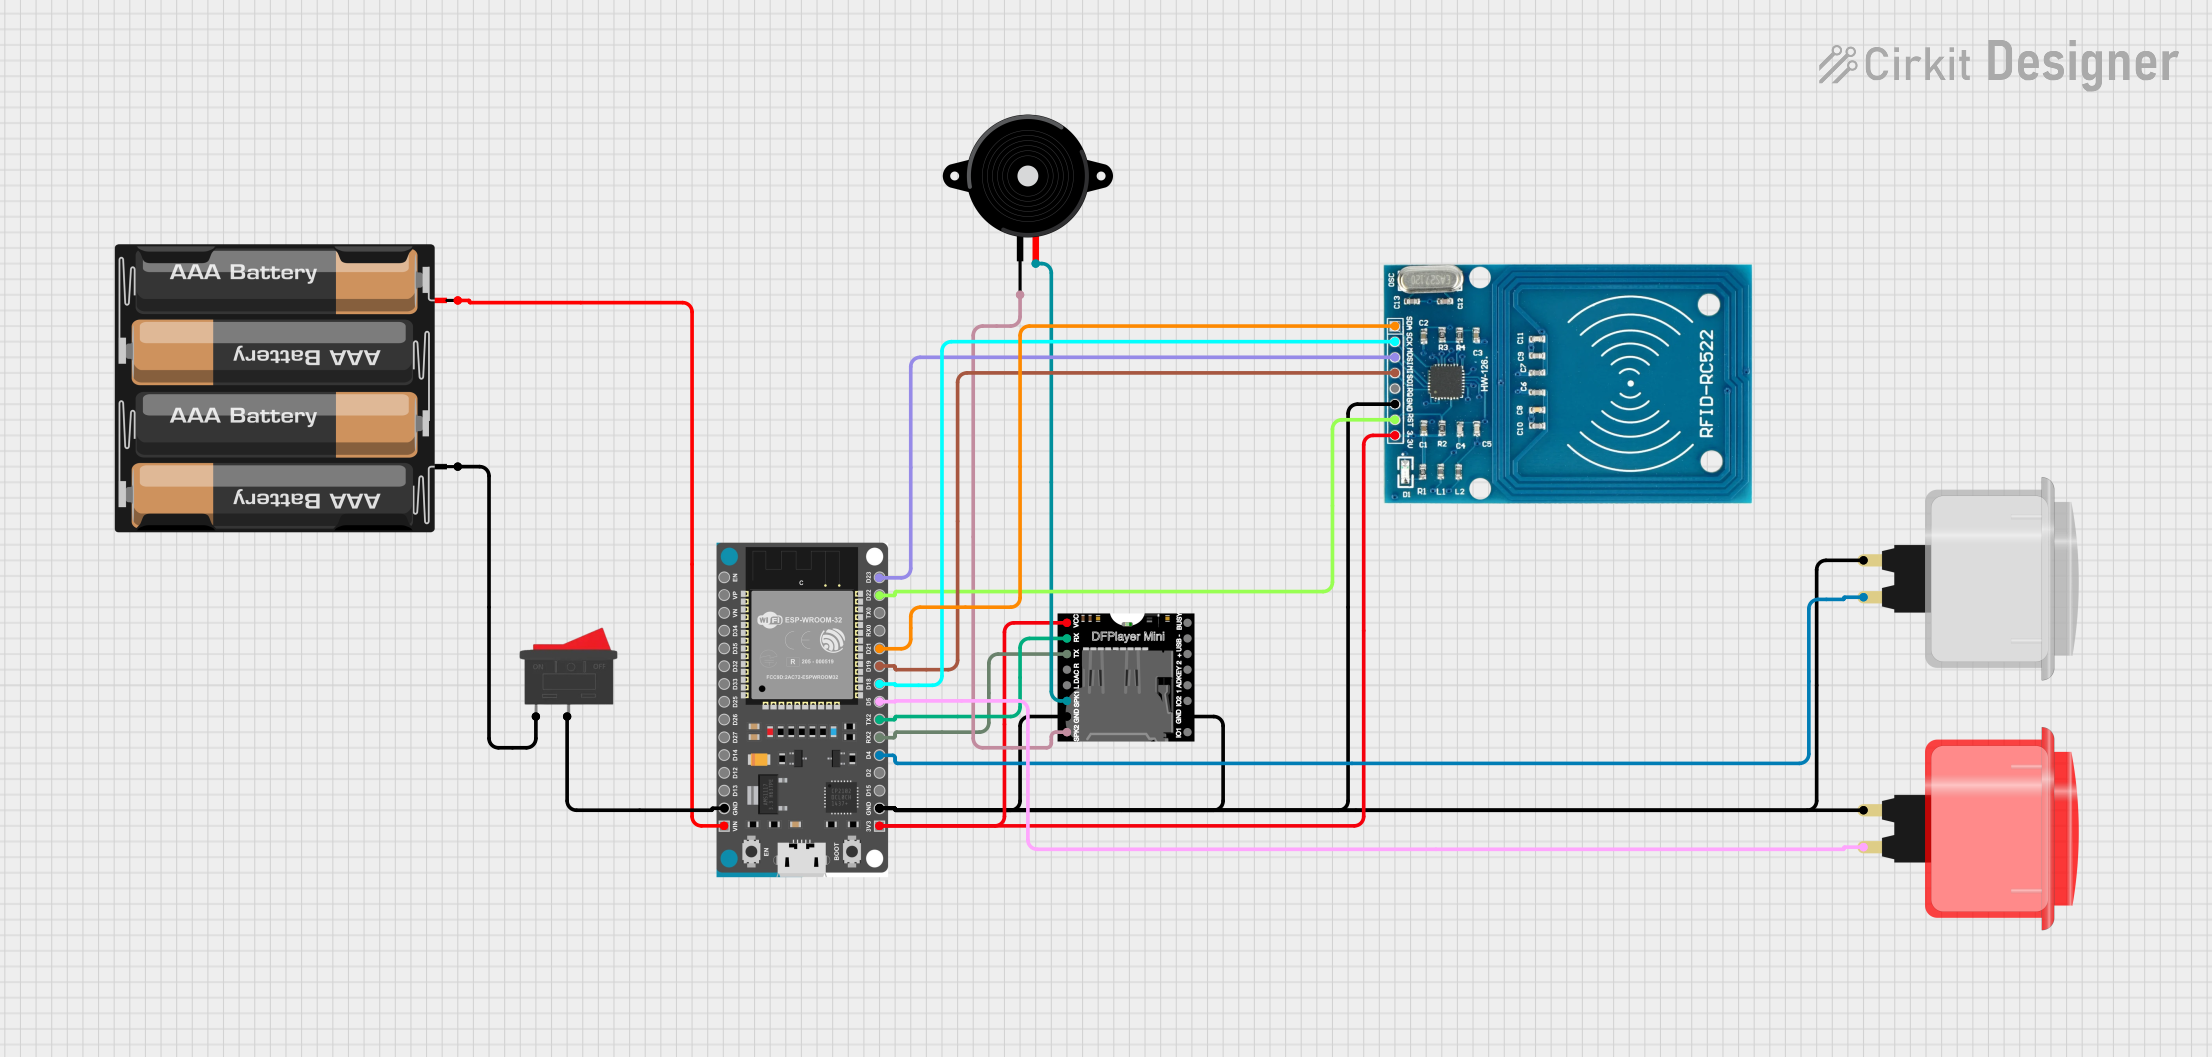
Explore Projects Built with DFPlayer Mini
Common Applications
- Audio playback in embedded systems
- Voice prompts in IoT devices
- Interactive kiosks and displays
- Alarm systems with voice alerts
- Educational and DIY electronics projects
Technical Specifications
Key Technical Details
- Power Supply Voltage: 3.2V to 5.0V DC
- Operating Current: 20mA to 30mA (idle), up to 100mA (playback)
- Audio Formats Supported: MP3, WAV, WMA
- Storage: Supports micro SD cards (up to 32GB, FAT16/FAT32 format)
- Control Modes: Serial communication (UART), AD key control, or GPIO
- Output:
- Stereo audio output via DAC (to external amplifier or headphones)
- Mono speaker output (up to 3W with onboard amplifier)
- Baud Rate: Default 9600 bps (configurable)
- Dimensions: 22mm x 20mm x 3.3mm
Pin Configuration and Descriptions
The DFPlayer Mini has 16 pins, but only a subset is commonly used in most applications. Below is the pinout:
| Pin | Name | Description |
|---|---|---|
| 1 | VCC | Power supply input (3.2V to 5.0V DC). |
| 2 | GND | Ground connection. |
| 3 | RX | UART serial data input (connect to microcontroller TX pin). |
| 4 | TX | UART serial data output (connect to microcontroller RX pin). |
| 5 | SPK_1 | Positive terminal for mono speaker output. |
| 6 | SPK_2 | Negative terminal for mono speaker output. |
| 7 | DAC_R | Right channel audio output (for external amplifier or headphones). |
| 8 | DAC_L | Left channel audio output (for external amplifier or headphones). |
| 9 | ADKEY1 | Analog input for AD key control (optional). |
| 10 | IO_1 | General-purpose input/output pin (optional). |
| 11 | IO_2 | General-purpose input/output pin (optional). |
| 12 | BUSY | Output pin that indicates playback status (LOW = playing, HIGH = idle). |
| 13-16 | NC | Not connected (reserved for internal use). |
Usage Instructions
How to Use the DFPlayer Mini in a Circuit
- Power Supply: Connect the VCC pin to a 3.2V-5.0V DC power source and GND to ground.
- Serial Communication: Connect the RX pin of the DFPlayer Mini to the TX pin of your microcontroller (e.g., Arduino UNO) and the TX pin of the DFPlayer Mini to the RX pin of the microcontroller.
- Speaker or Audio Output:
- For mono speaker output, connect a speaker (4Ω or 8Ω, up to 3W) to the SPK_1 and SPK_2 pins.
- For stereo output, connect the DAC_R and DAC_L pins to an external amplifier or headphones.
- Micro SD Card: Insert a micro SD card formatted as FAT16 or FAT32, containing audio files named in the format
0001.mp3,0002.mp3, etc. - Control: Use serial commands to control playback, volume, and other functions.
Important Considerations
- Ensure the micro SD card is properly formatted and contains supported audio files.
- Use a decoupling capacitor (e.g., 100µF) across the VCC and GND pins to stabilize the power supply.
- Avoid connecting both the mono speaker output and stereo DAC outputs simultaneously.
- Use a logic level shifter if your microcontroller operates at 3.3V logic levels.
Example: Using DFPlayer Mini with Arduino UNO
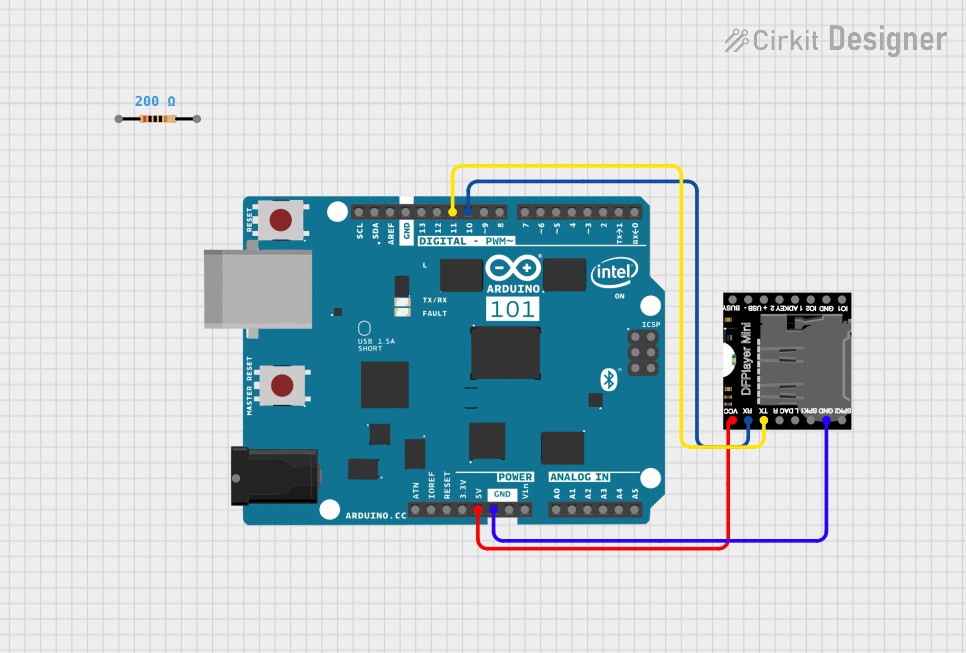
Below is an example of how to connect and control the DFPlayer Mini using an Arduino UNO:
Circuit Diagram
- VCC → 5V on Arduino
- GND → GND on Arduino
- RX → Pin 10 on Arduino (via a 1kΩ resistor for protection)
- TX → Pin 11 on Arduino
Arduino Code
#include "SoftwareSerial.h"

// Define RX and TX pins for SoftwareSerial
SoftwareSerial mySerial(10, 11); // RX = Pin 10, TX = Pin 11

void setup() {
  mySerial.begin(9600); // Initialize SoftwareSerial at 9600 baud
  Serial.begin(9600);   // Initialize hardware serial for debugging

  delay(1000); // Allow time for DFPlayer Mini to initialize
  sendCommand(0x3F, 0, 0); // Send initialization command
  Serial.println("DFPlayer Mini initialized.");
}

void loop() {
  playTrack(1); // Play the first track (0001.mp3)
  delay(5000);  // Wait for 5 seconds
  stopPlayback(); // Stop playback
  delay(2000);  // Wait for 2 seconds
}

// Function to send a command to the DFPlayer Mini
void sendCommand(uint8_t command, uint16_t param1, uint16_t param2) {
  uint8_t packet[10] = {0x7E, 0xFF, 0x06, command, 0x00,
                        (uint8_t)(param1 >> 8), (uint8_t)param1,
                        (uint8_t)(param2 >> 8), (uint8_t)param2, 0xEF};
  for (uint8_t i = 0; i < 10; i++) {
    mySerial.write(packet[i]);
  }
}

// Function to play a specific track
void playTrack(uint16_t trackNumber) {
  sendCommand(0x03, 0, trackNumber); // Command 0x03: Play track
  Serial.print("Playing track: ");
  Serial.println(trackNumber);
}

// Function to stop playback
void stopPlayback() {
  sendCommand(0x16, 0, 0); // Command 0x16: Stop playback
  Serial.println("Playback stopped.");
}
Troubleshooting and FAQs
Common Issues
No Sound Output:
- Ensure the speaker or audio output is properly connected.
- Verify the audio file format and naming convention on the micro SD card.
- Check the power supply voltage (3.2V-5.0V DC).
Module Not Responding:
- Confirm the RX and TX connections between the DFPlayer Mini and the microcontroller.
- Ensure the baud rate is set to 9600 bps (default).
Distorted Audio:
- Use a speaker with the correct impedance (4Ω or 8Ω).
- Avoid exceeding the maximum power rating of the onboard amplifier.
FAQs
Q: Can I use a 3.3V microcontroller with the DFPlayer Mini?
A: Yes, but use a logic level shifter for the RX pin to avoid damaging the module.Q: How many audio files can the DFPlayer Mini handle?
A: The module supports up to 3000 audio files, provided they are named sequentially (e.g.,0001.mp3,0002.mp3).Q: Can I control the volume?
A: Yes, you can adjust the volume using serial commands (range: 0-30).Q: Does the DFPlayer Mini support stereo output?
A: Yes, stereo output is available via the DAC_R and DAC_L pins for external amplifiers or headphones.