
How to Use MPPT: Examples, Pinouts, and Specs
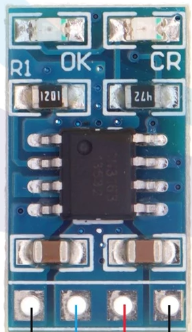
 Design with MPPT in Cirkit Designer
Introduction
Maximum Power Point Tracking (MPPT) is a technology designed to maximize the power output of solar panels by dynamically adjusting their electrical operating point. Solar panels have a unique power curve, and the MPPT algorithm ensures that the system operates at the point where the panel delivers maximum power, regardless of environmental conditions such as temperature, shading, or sunlight intensity.
Explore Projects Built with MPPT
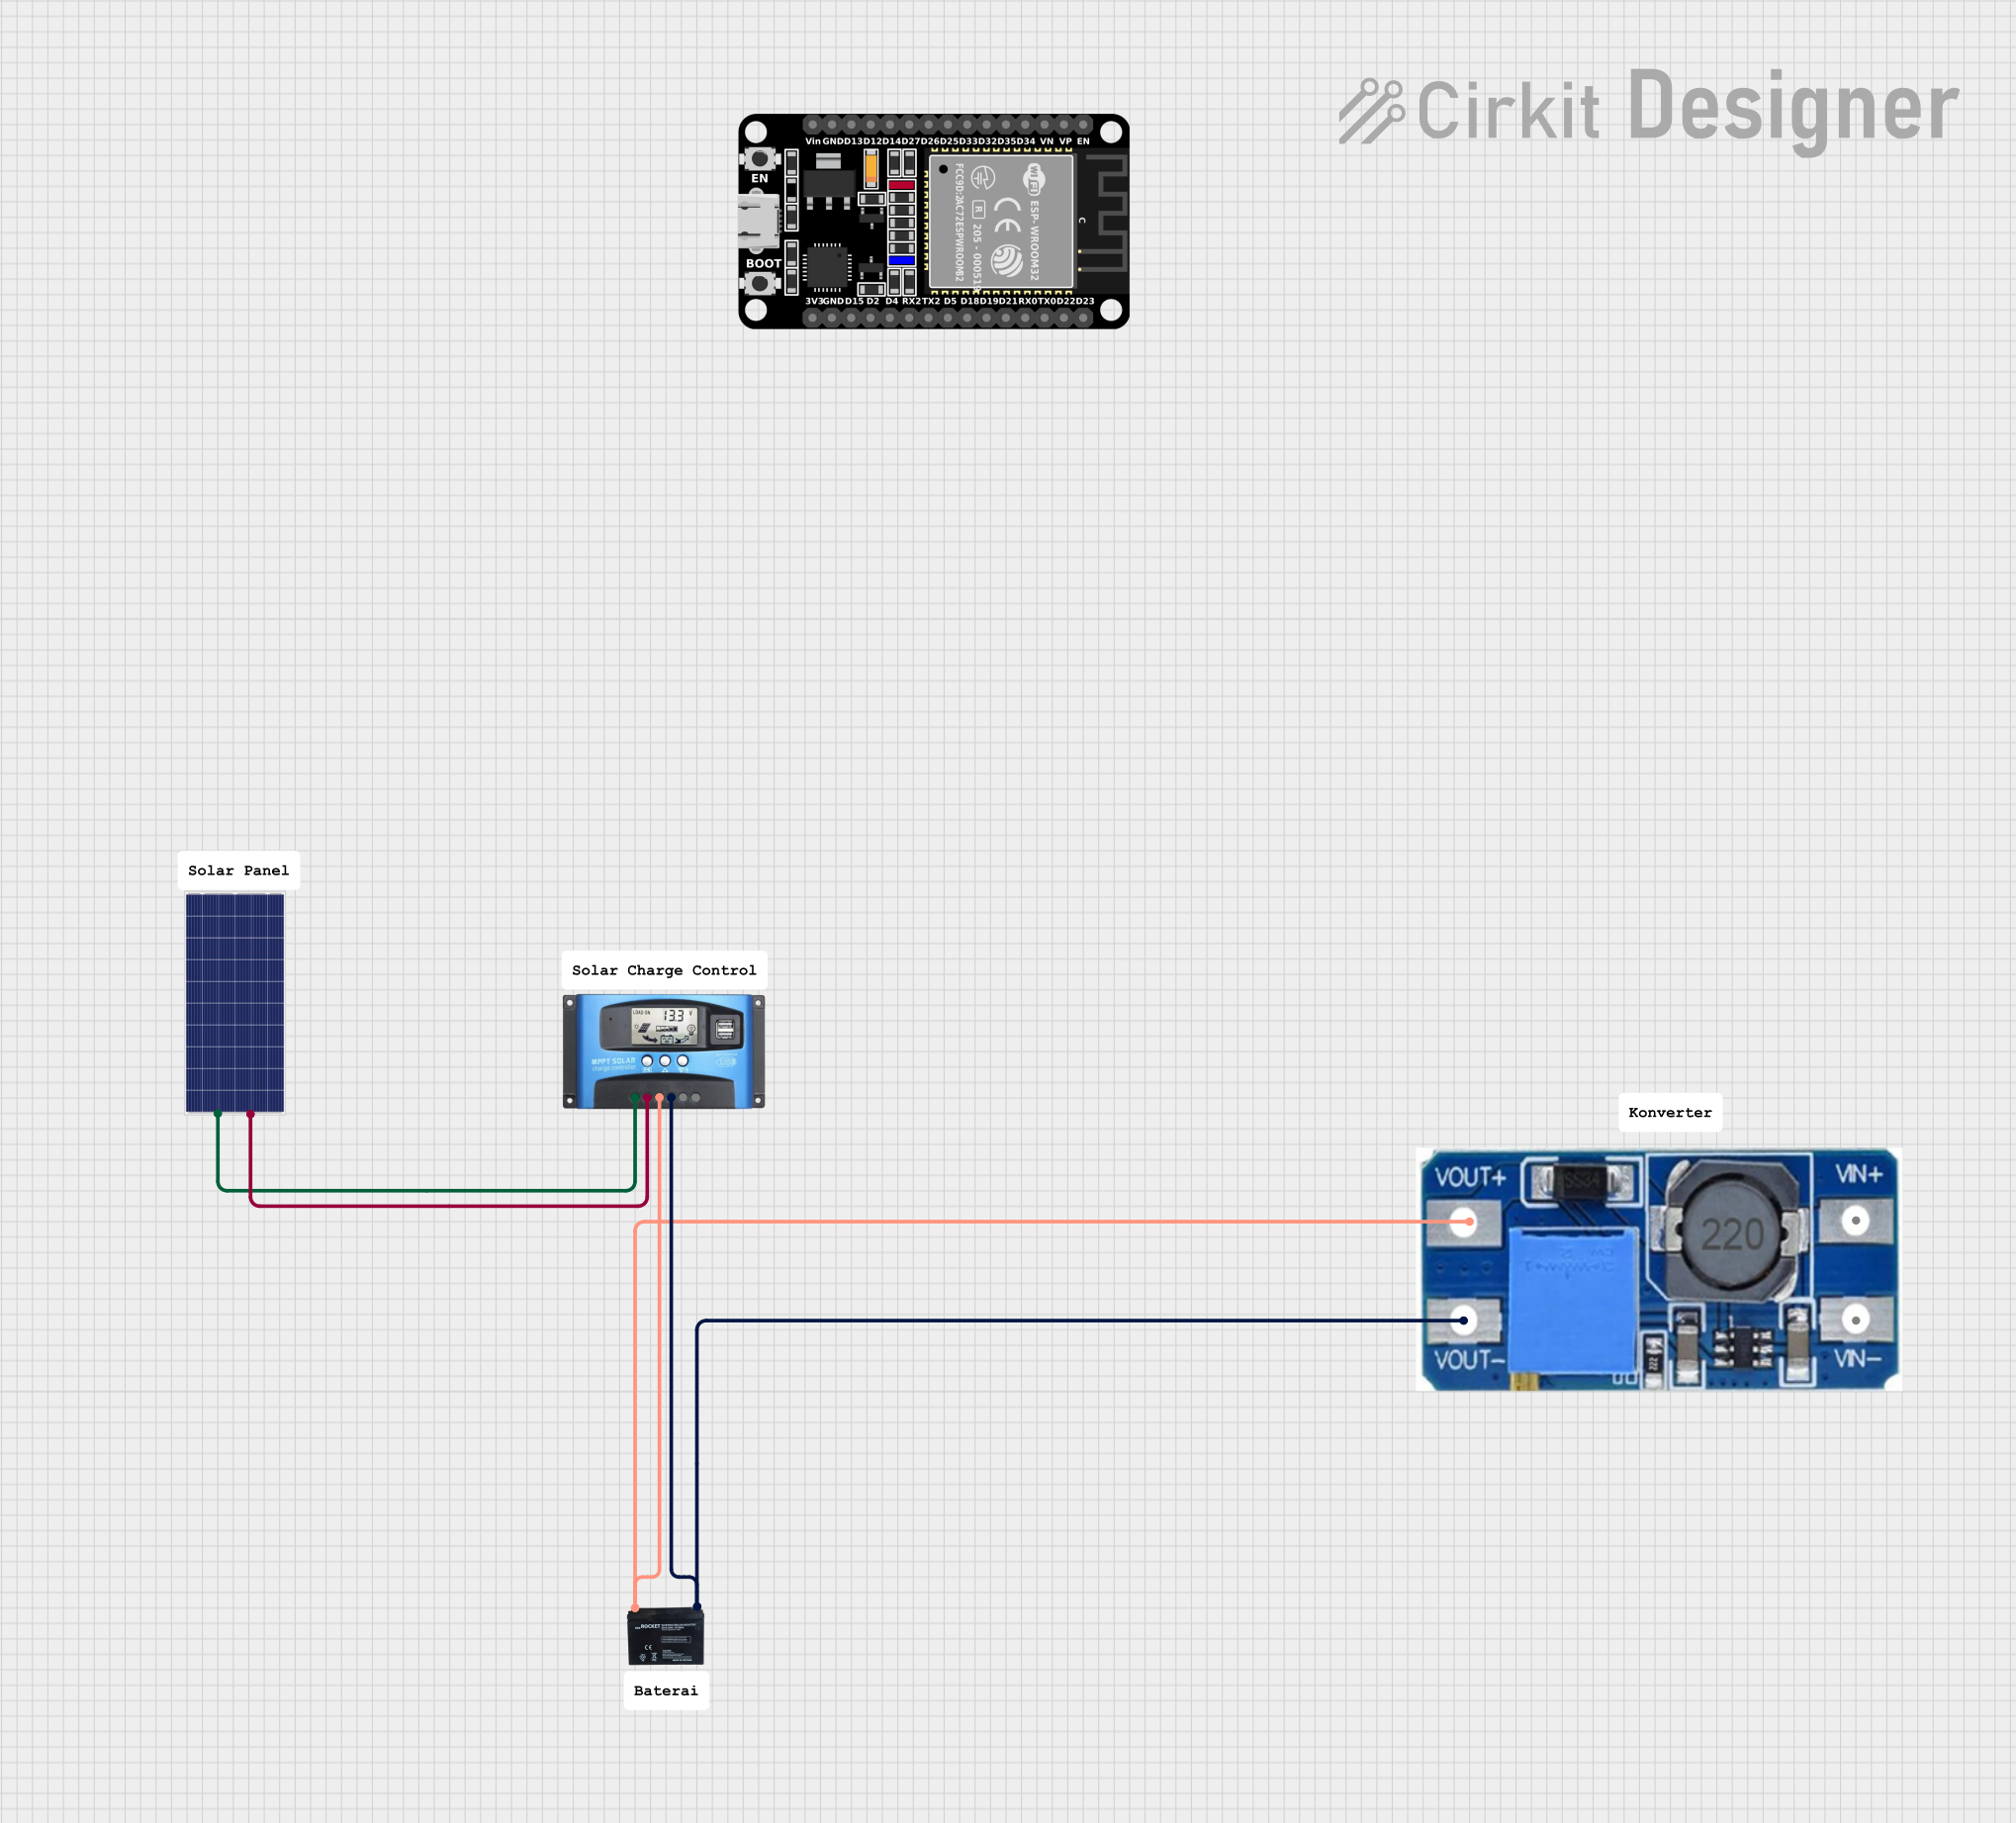
 Open Project in Cirkit Designer
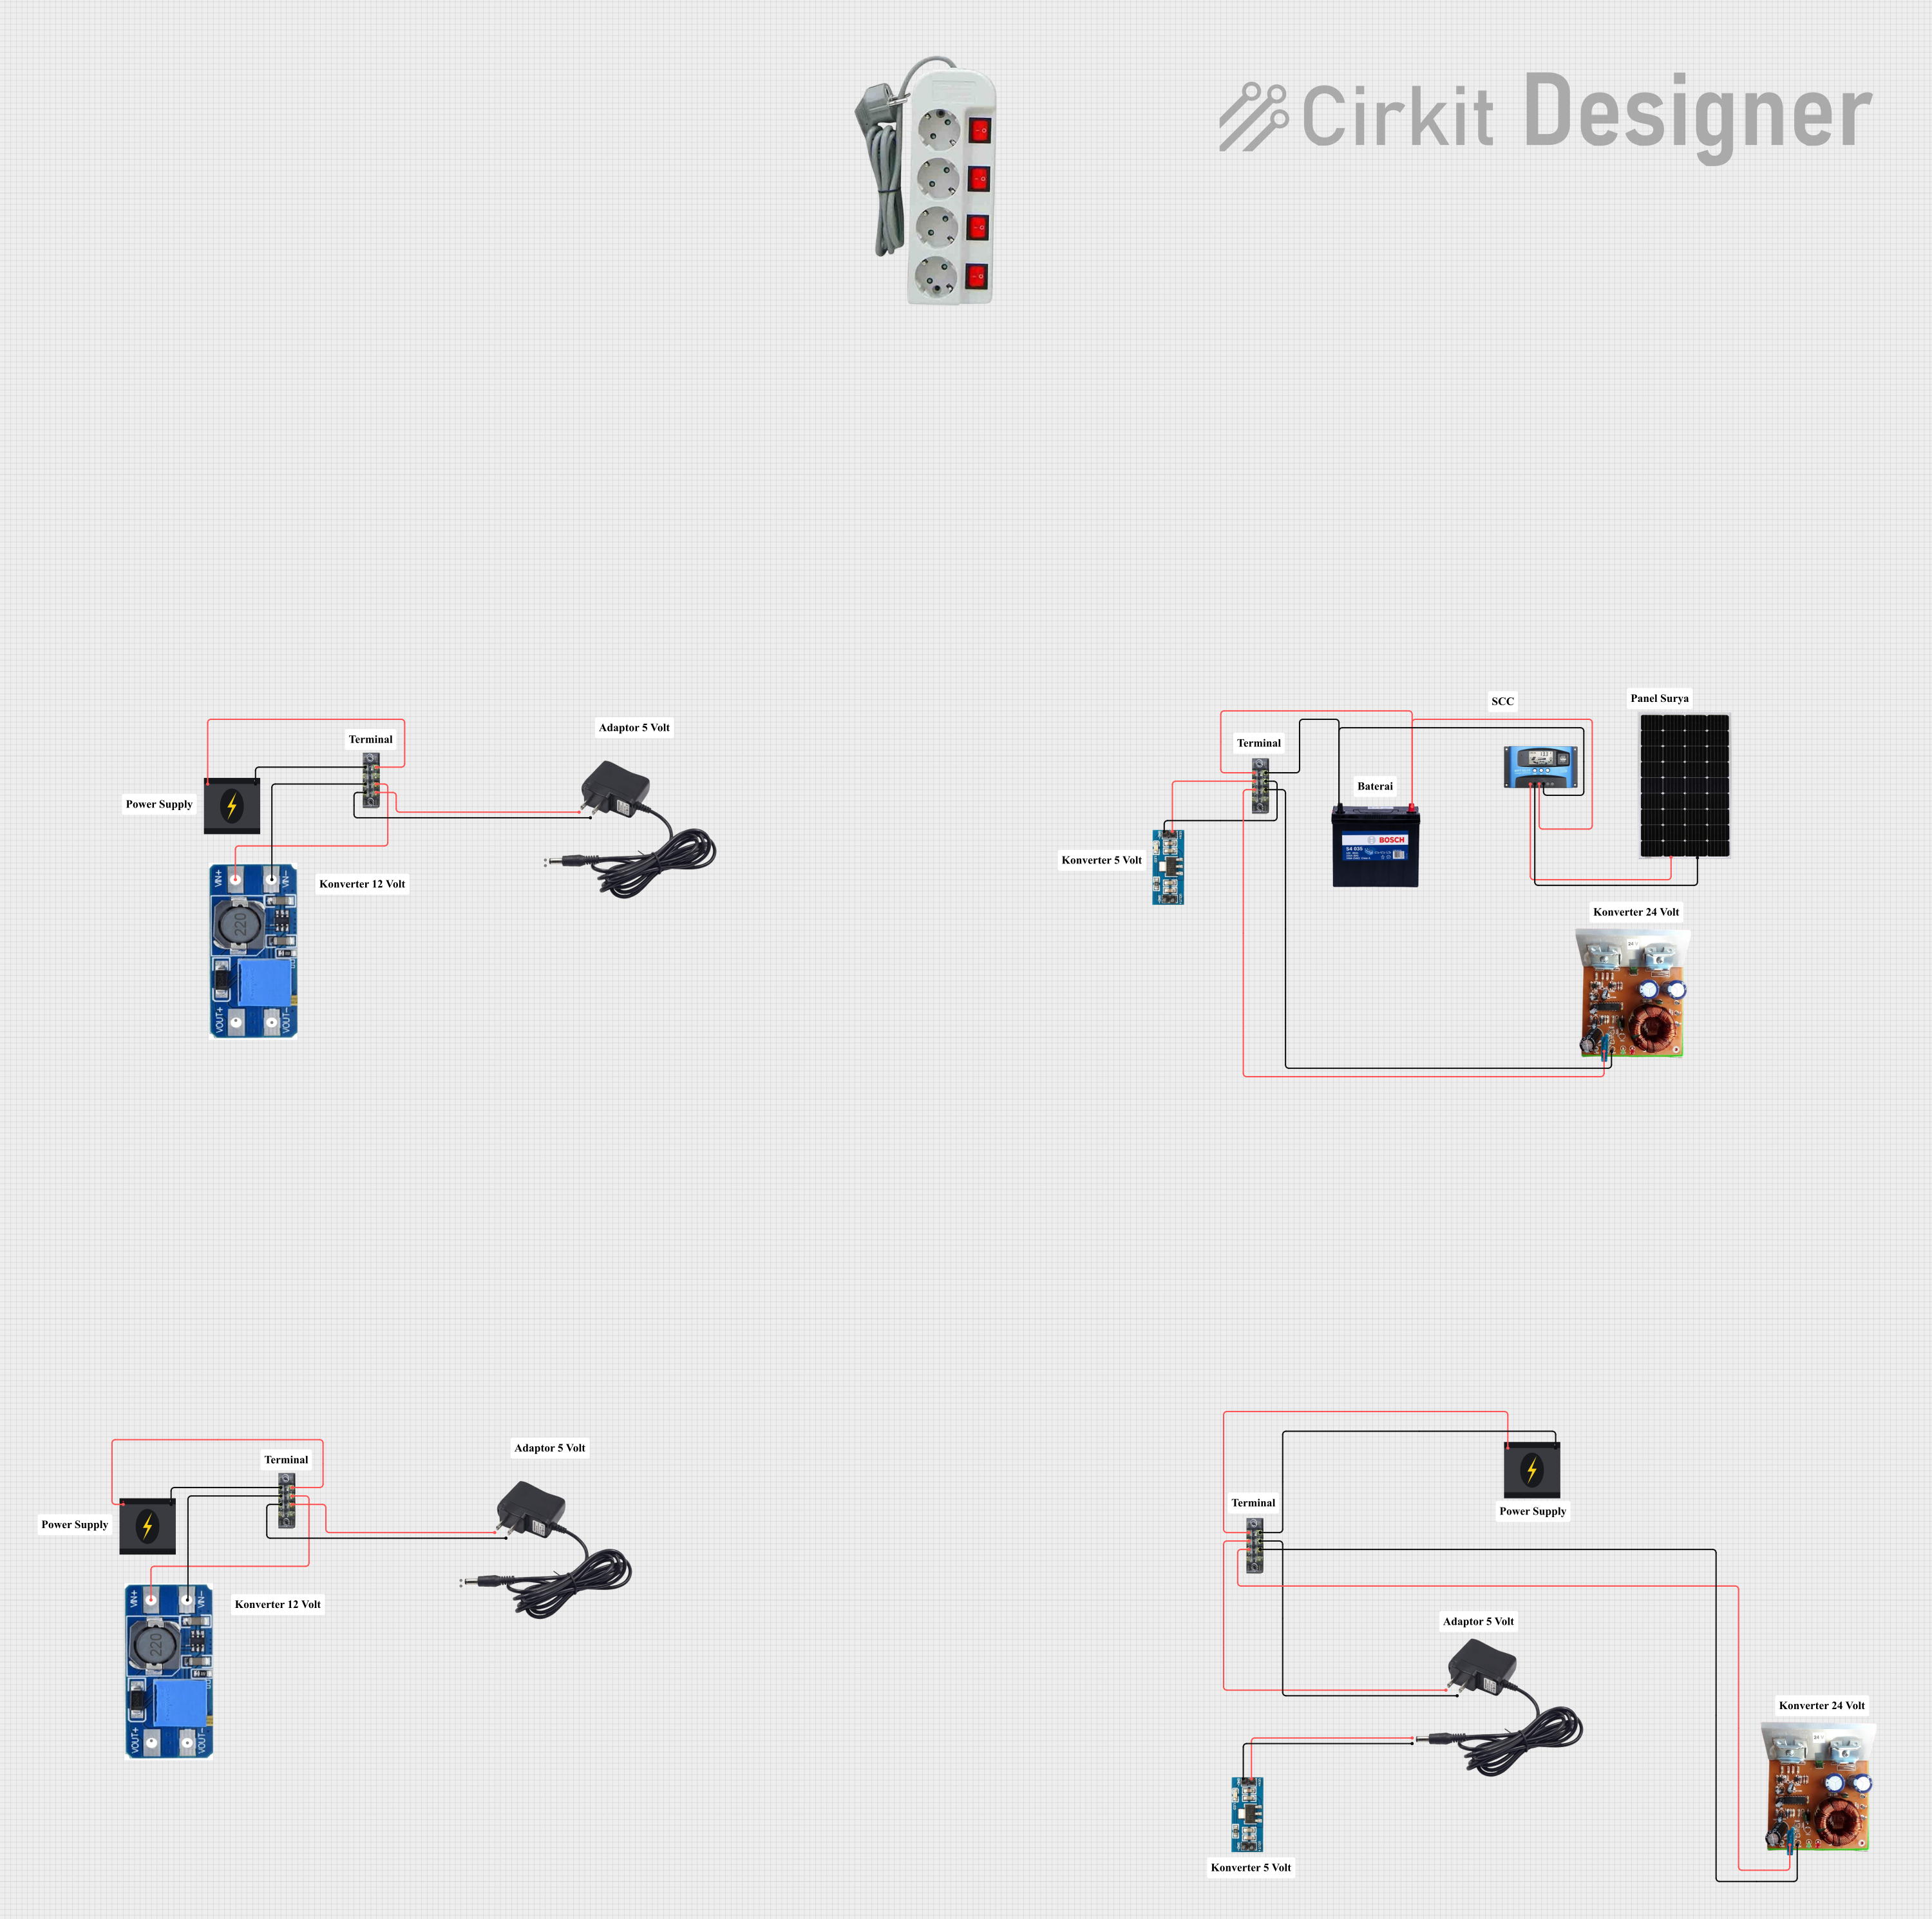
 Open Project in Cirkit Designer
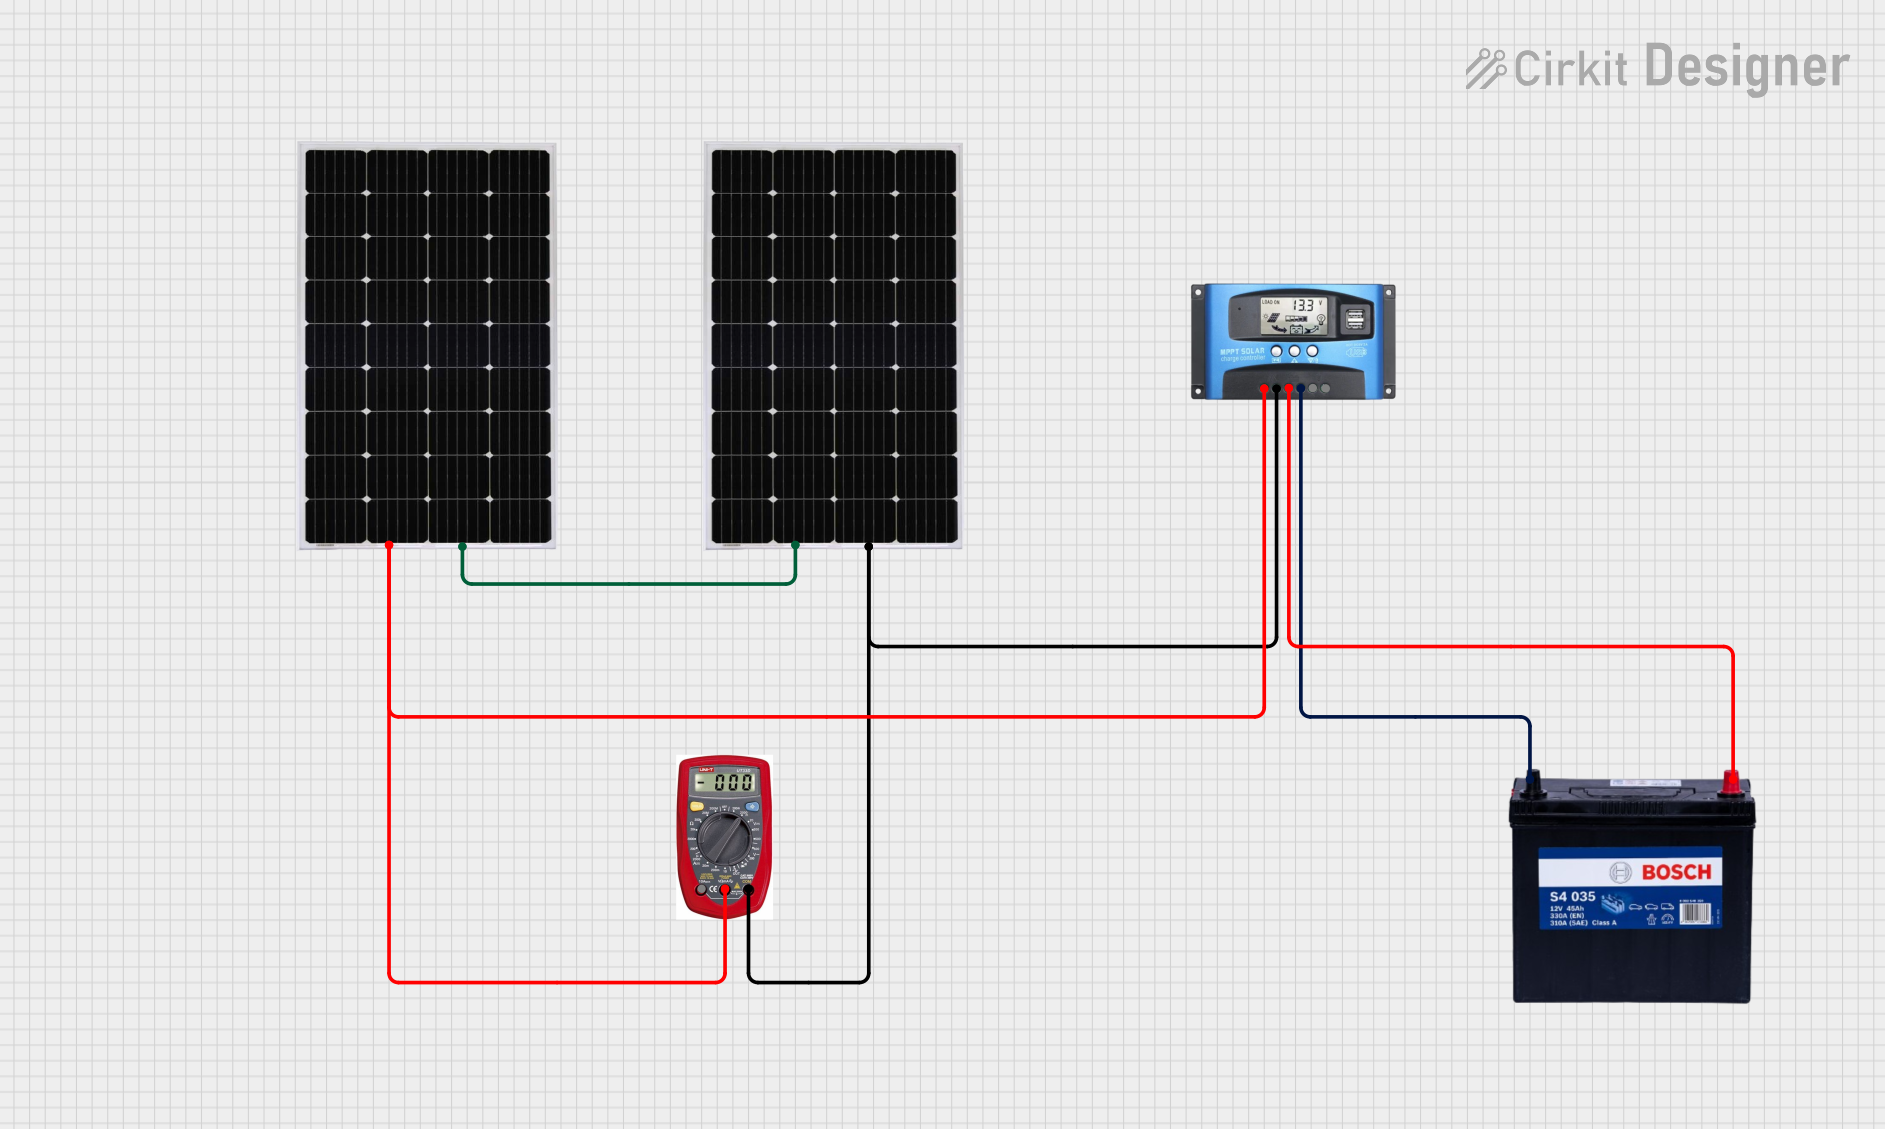
 Open Project in Cirkit Designer
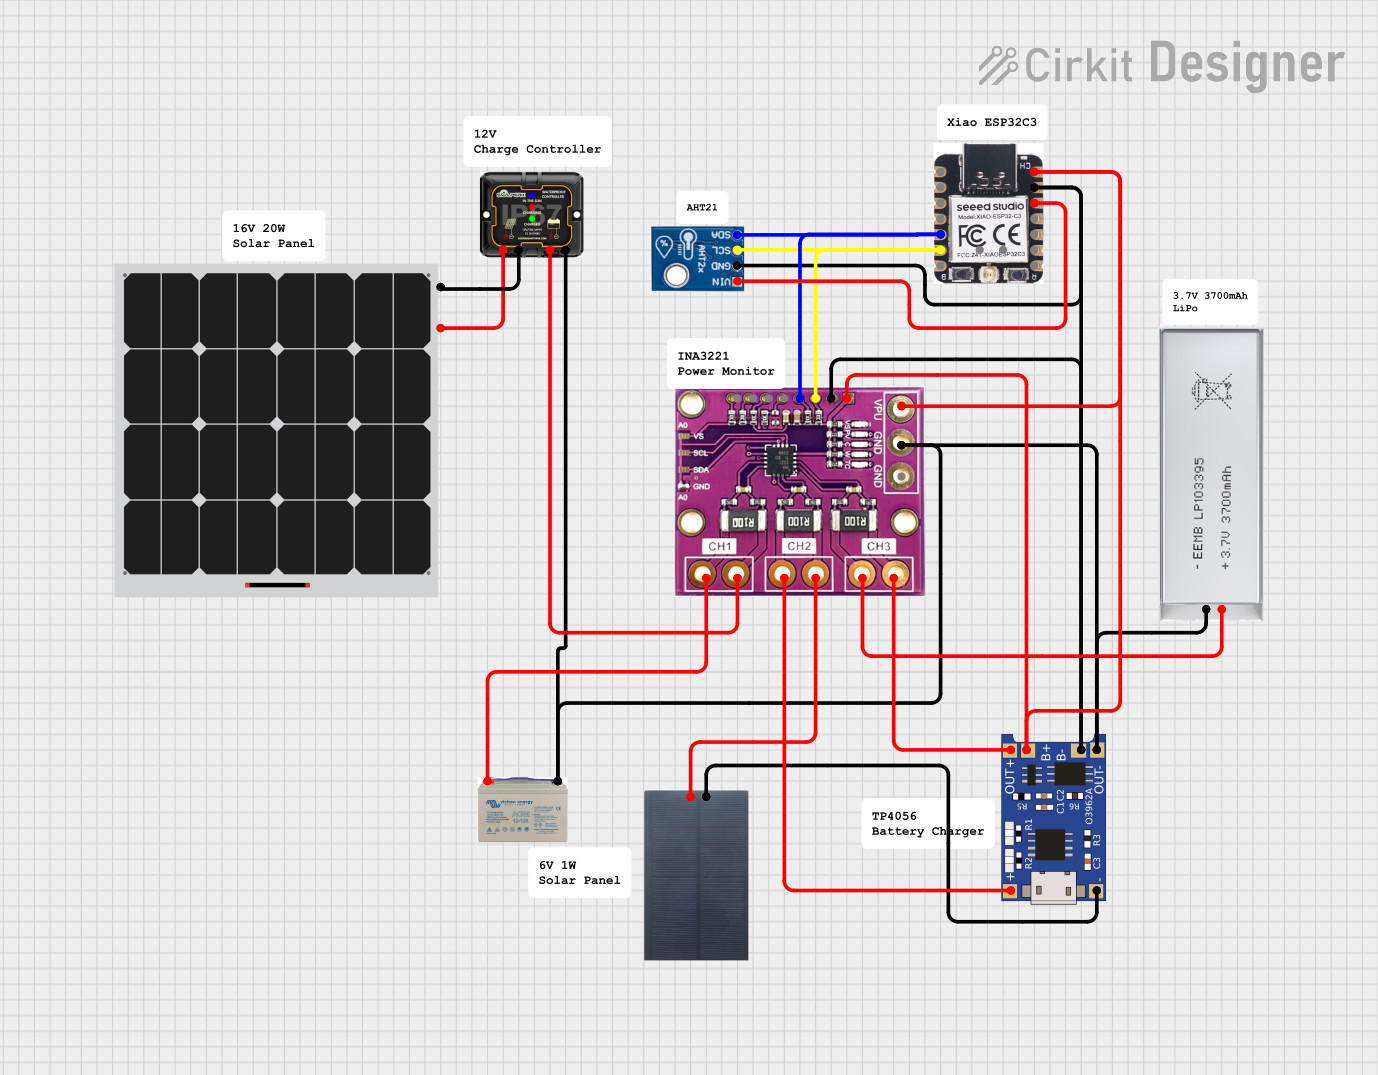
 Open Project in Cirkit Designer
Explore Projects Built with MPPT

 Open Project in Cirkit Designer
 Open Project in Cirkit Designer
 Open Project in Cirkit Designer
 Open Project in Cirkit Designer
Common Applications and Use Cases
- Solar inverters for residential, commercial, and industrial solar power systems
- Off-grid solar charge controllers for battery charging
- Hybrid solar systems combining grid and battery storage
- Electric vehicle (EV) charging stations powered by solar energy
- Remote power systems for telecommunications and monitoring stations
Technical Specifications
The technical specifications of an MPPT controller can vary depending on the model and application. Below are typical specifications for a solar charge controller with MPPT technology:
| Parameter | Specification |
|---|---|
| Input Voltage Range | 12V to 150V DC (varies by model) |
| Output Voltage Range | 12V, 24V, 48V DC (auto or manual selection) |
| Maximum Input Current | 10A to 60A (varies by model) |
| Efficiency | Up to 98% |
| Operating Temperature | -20°C to 60°C |
| Communication Interface | RS485, CAN, or Bluetooth (optional) |
| Protection Features | Overvoltage, overcurrent, short circuit, |
| reverse polarity, and over-temperature |
Pin Configuration and Descriptions
MPPT controllers typically have the following input and output terminals:
| Pin/Terminal | Description |
|---|---|
| PV+ | Positive terminal for solar panel input |
| PV- | Negative terminal for solar panel input |
| BAT+ | Positive terminal for battery connection |
| BAT- | Negative terminal for battery connection |
| LOAD+ | Positive terminal for DC load connection (optional) |
| LOAD- | Negative terminal for DC load connection (optional) |
| COM | Communication port for monitoring and control |
Usage Instructions
How to Use the MPPT in a Circuit
- Connect the Solar Panel:
- Connect the positive terminal of the solar panel to the PV+ input and the negative terminal to the PV- input of the MPPT controller.
- Connect the Battery:
- Attach the positive terminal of the battery to the BAT+ output and the negative terminal to the BAT- output.
- Ensure the battery voltage matches the MPPT controller's output voltage range.
- Optional Load Connection:
- If the MPPT controller supports load output, connect the DC load to the LOAD+ and LOAD- terminals.
- Power On:
- Once all connections are secure, power on the system. The MPPT controller will automatically detect the maximum power point of the solar panel and adjust the operating parameters accordingly.
Important Considerations and Best Practices
- Match Voltage Ratings: Ensure the solar panel's voltage and current ratings are within the MPPT controller's input range.
- Battery Compatibility: Use batteries with compatible voltage and chemistry (e.g., lead-acid, lithium-ion).
- Avoid Reverse Polarity: Double-check connections to prevent damage to the controller or other components.
- Monitor Performance: Use the communication interface (if available) to monitor system performance and troubleshoot issues.
- Environmental Protection: Install the MPPT controller in a dry, well-ventilated area to prevent overheating and moisture damage.
Example Code for Arduino UNO
If you are using an MPPT controller with a communication interface (e.g., RS485), you can monitor its performance using an Arduino UNO. Below is an example code snippet for reading data from an MPPT controller via RS485:
#include <ModbusMaster.h> // Include Modbus library for RS485 communication

ModbusMaster node; // Create Modbus object

void setup() {
  Serial.begin(9600); // Initialize serial communication for debugging
  node.begin(1, Serial); // Set Modbus slave ID to 1 and use Serial for communication
}

void loop() {
  uint8_t result;
  uint16_t data[2];

  // Read voltage and current from MPPT controller (example register addresses)
  result = node.readInputRegisters(0x3100, 2); // Read 2 registers starting at 0x3100
  if (result == node.ku8MBSuccess) {
    data[0] = node.getResponseBuffer(0); // Voltage in register 0x3100
    data[1] = node.getResponseBuffer(1); // Current in register 0x3101

    // Print voltage and current to the serial monitor
    Serial.print("Voltage: ");
    Serial.print(data[0] / 100.0); // Convert to volts
    Serial.println(" V");

    Serial.print("Current: ");
    Serial.print(data[1] / 100.0); // Convert to amps
    Serial.println(" A");
  } else {
    Serial.println("Failed to read data from MPPT controller.");
  }

  delay(1000); // Wait 1 second before the next read
}
Troubleshooting and FAQs
Common Issues and Solutions
No Output from MPPT Controller:
- Cause: Incorrect wiring or insufficient solar input.
- Solution: Verify all connections and ensure the solar panel is receiving adequate sunlight.
Overheating:
- Cause: Poor ventilation or excessive load.
- Solution: Install the controller in a well-ventilated area and reduce the load if necessary.
Battery Not Charging:
- Cause: Battery voltage mismatch or damaged battery.
- Solution: Check the battery's voltage and condition. Ensure it is compatible with the MPPT controller.
Communication Failure:
- Cause: Incorrect communication settings or wiring.
- Solution: Verify the communication protocol, baud rate, and wiring connections.
FAQs
Q1: Can I use an MPPT controller with any type of solar panel?
A1: Yes, as long as the solar panel's voltage and current ratings are within the MPPT controller's input range.
Q2: How does MPPT improve efficiency?
A2: MPPT continuously adjusts the operating point of the solar panel to ensure it operates at its maximum power point, minimizing energy losses.
Q3: Can I connect multiple MPPT controllers in parallel?
A3: Yes, but ensure each controller is connected to its own solar panel array and battery system to avoid interference.
Q4: Is MPPT suitable for off-grid systems?
A4: Absolutely. MPPT is ideal for off-grid systems as it maximizes energy harvest and improves battery charging efficiency.