Cirkit Designer
Your all-in-one circuit design IDE
Home /
Component Documentation
How to Use Seeed Studio RP2350: Examples, Pinouts, and Specs
Introduction
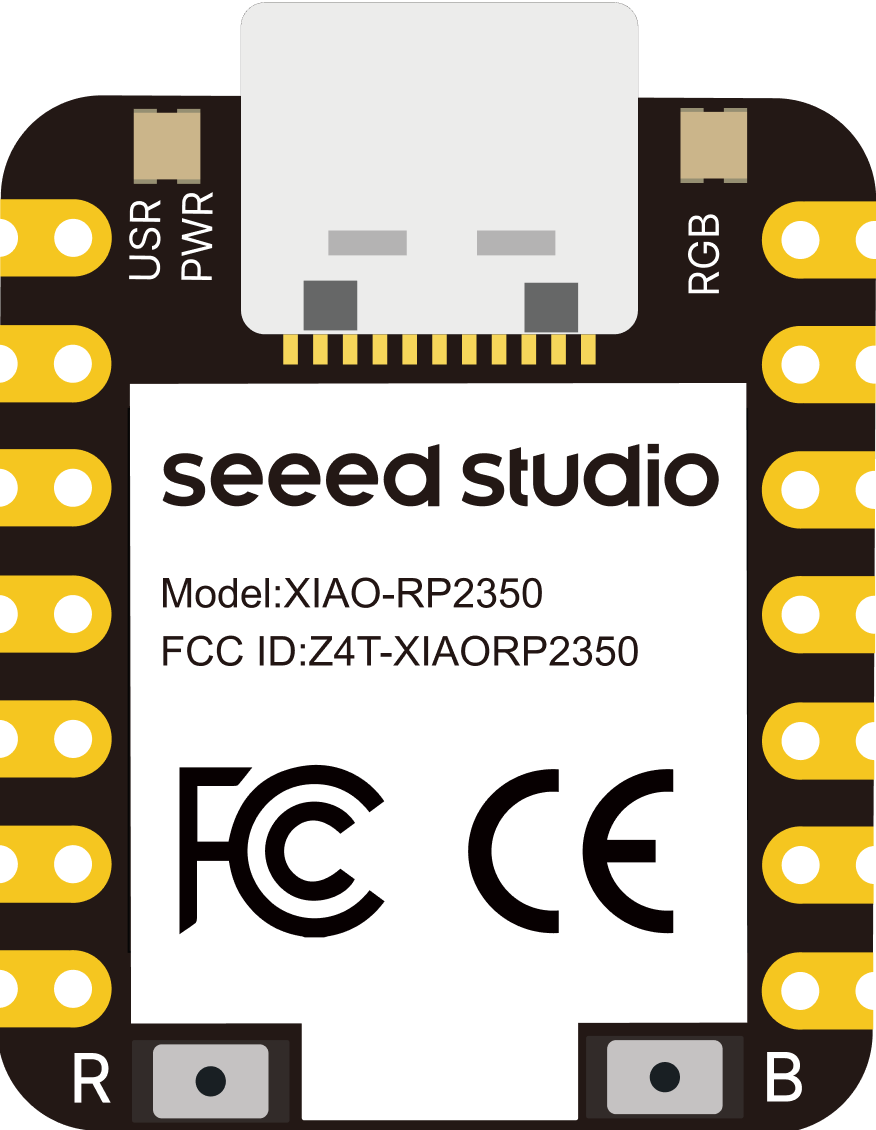
The Seeed Studio XIAO RP2350 is a compact and powerful microcontroller development board based on the Raspberry Pi RP2040 chip. It features dual ARM Cortex-M0+ processors, 264KB of SRAM, and supports various interfaces such as GPIO, I2C, SPI, and UART. This versatile board is designed for a wide range of applications including IoT, robotics, and embedded systems.
Explore Projects Built with Seeed Studio RP2350
Battery-Powered MP3 Player with Seeed Studio nRF52840 and OLED Display

This circuit is an MP3 player system controlled by a Seeed Studio nRF52840 microcontroller. It includes a DFPlayer MINI for audio playback, a 0.96" OLED display for visual feedback, and multiple pushbuttons for user interaction. The system is powered by a 3.7V LiPo battery and outputs audio through a 3.5mm audio jack.
Battery-Powered Smart Light with Proximity Sensor and OLED Display using Adafruit QT Py RP2040

This circuit is a portable, battery-powered system featuring an Adafruit QT Py RP2040 microcontroller that interfaces with an OLED display, a proximity sensor, an accelerometer, and an RGB LED strip. The system is powered by a lithium-ion battery with a step-up boost converter to provide 5V for the LED strip, and it includes a toggle switch for power control. The microcontroller communicates with the sensors and display via I2C.
Bluetooth-Controlled Multi-Function Arduino Nano Gadget

This is a portable, microcontroller-driven interactive device featuring Bluetooth connectivity, visual (RGB LED), auditory (loudspeaker), and haptic (vibration motor) feedback, user input (pushbutton), and a rechargeable power system (TP4056 with Li-ion battery).
Dual-Microcontroller Audio Processing System with Visual Indicators and Battery Management

This is a portable audio-visual device featuring two Wemos microcontrollers for processing, Adafruit MAX4466 microphone amplifiers for audio input, and an LCD TFT screen for display. It includes power management with TP4056 modules and LiPo batteries, and user-controlled toggle and rocker switches.
Explore Projects Built with Seeed Studio RP2350
Battery-Powered MP3 Player with Seeed Studio nRF52840 and OLED Display
This circuit is an MP3 player system controlled by a Seeed Studio nRF52840 microcontroller. It includes a DFPlayer MINI for audio playback, a 0.96" OLED display for visual feedback, and multiple pushbuttons for user interaction. The system is powered by a 3.7V LiPo battery and outputs audio through a 3.5mm audio jack.
Battery-Powered Smart Light with Proximity Sensor and OLED Display using Adafruit QT Py RP2040
This circuit is a portable, battery-powered system featuring an Adafruit QT Py RP2040 microcontroller that interfaces with an OLED display, a proximity sensor, an accelerometer, and an RGB LED strip. The system is powered by a lithium-ion battery with a step-up boost converter to provide 5V for the LED strip, and it includes a toggle switch for power control. The microcontroller communicates with the sensors and display via I2C.
Bluetooth-Controlled Multi-Function Arduino Nano Gadget
This is a portable, microcontroller-driven interactive device featuring Bluetooth connectivity, visual (RGB LED), auditory (loudspeaker), and haptic (vibration motor) feedback, user input (pushbutton), and a rechargeable power system (TP4056 with Li-ion battery).
Dual-Microcontroller Audio Processing System with Visual Indicators and Battery Management
This is a portable audio-visual device featuring two Wemos microcontrollers for processing, Adafruit MAX4466 microphone amplifiers for audio input, and an LCD TFT screen for display. It includes power management with TP4056 modules and LiPo batteries, and user-controlled toggle and rocker switches.
Technical Specifications
Key Technical Details
| Specification | Value |
|---|---|
| Microcontroller | Raspberry Pi RP2040 |
| CPU | Dual ARM Cortex-M0+ |
| SRAM | 264KB |
| Flash Memory | 2MB |
| Operating Voltage | 3.3V |
| Input Voltage | 5V (via USB) |
| Digital I/O Pins | 11 |
| Analog Input Pins | 4 |
| PWM Pins | 11 |
| Interfaces | GPIO, I2C, SPI, UART |
| Dimensions | 21 x 17.5 mm |
Pin Configuration and Descriptions
| Pin Number | Pin Name | Description |
|---|---|---|
| 1 | 3V3 | 3.3V Power Output |
| 2 | GND | Ground |
| 3 | D0/RX | Digital I/O, UART RX |
| 4 | D1/TX | Digital I/O, UART TX |
| 5 | D2 | Digital I/O |
| 6 | D3 | Digital I/O |
| 7 | D4 | Digital I/O |
| 8 | D5 | Digital I/O |
| 9 | D6 | Digital I/O |
| 10 | D7 | Digital I/O |
| 11 | D8 | Digital I/O |
| 12 | D9 | Digital I/O |
| 13 | D10 | Digital I/O |
| 14 | A0 | Analog Input |
| 15 | A1 | Analog Input |
| 16 | A2 | Analog Input |
| 17 | A3 | Analog Input |
| 18 | SCL | I2C Clock |
| 19 | SDA | I2C Data |
| 20 | SCK | SPI Clock |
| 21 | MISO | SPI Master In Slave Out |
| 22 | MOSI | SPI Master Out Slave In |
| 23 | RST | Reset |
| 24 | USB | USB Data |
Usage Instructions
How to Use the Component in a Circuit
Powering the Board:
- Connect the XIAO RP2350 to your computer using a USB cable. This will provide the necessary 5V input voltage.
- Alternatively, you can power the board using the 3V3 pin for a 3.3V power supply.
Connecting to Peripherals:
- Use the GPIO pins to connect to various sensors, actuators, and other peripherals.
- For I2C communication, connect your I2C device to the SCL and SDA pins.
- For SPI communication, connect your SPI device to the SCK, MISO, and MOSI pins.
- For UART communication, connect your UART device to the RX and TX pins.
Programming the Board:
- The XIAO RP2350 can be programmed using the Arduino IDE. Install the necessary board support package for the RP2040.
- Select the correct board and port in the Arduino IDE.
- Write your code and upload it to the board.
Important Considerations and Best Practices
- Voltage Levels: Ensure that all connected peripherals operate at 3.3V logic levels to avoid damaging the board.
- Pin Usage: Be mindful of the pin configuration and avoid conflicts when connecting multiple peripherals.
- Heat Management: Although the board is efficient, ensure proper ventilation if used in enclosed spaces to prevent overheating.
Example Code
Here is an example code to blink an LED connected to pin D2:
// Define the pin number for the LED
const int ledPin = 2;

void setup() {
  // Initialize the digital pin as an output
  pinMode(ledPin, OUTPUT);
}

void loop() {
  // Turn the LED on (HIGH is the voltage level)
  digitalWrite(ledPin, HIGH);
  // Wait for a second
  delay(1000);
  // Turn the LED off by making the voltage LOW
  digitalWrite(ledPin, LOW);
  // Wait for a second
  delay(1000);
}
Troubleshooting and FAQs
Common Issues Users Might Face
Board Not Recognized by Computer:
- Ensure the USB cable is properly connected.
- Try a different USB cable or port.
- Check if the correct drivers are installed.
Code Not Uploading:
- Verify that the correct board and port are selected in the Arduino IDE.
- Ensure no other application is using the same COM port.
Peripheral Not Responding:
- Double-check the wiring and connections.
- Ensure the peripheral is compatible with 3.3V logic levels.
Solutions and Tips for Troubleshooting
- Reset the Board: Press the reset button on the board to restart it.
- Check Power Supply: Ensure the board is receiving adequate power.
- Consult Documentation: Refer to the official Seeed Studio documentation for additional support and resources.
By following this documentation, users can effectively utilize the Seeed Studio XIAO RP2350 for their projects, ensuring a smooth and efficient development process.