Cirkit Designer Logo
Cirkit Designer
Your all-in-one circuit design IDE
Home / 
Component Documentation

How to Use Adafruit Standalone 5-Pad Capacitive Touch Sensor Breakout - AT42QT1070: Examples, Pinouts, and Specs

Image of Adafruit Standalone 5-Pad Capacitive Touch Sensor Breakout - AT42QT1070
Cirkit Designer LogoDesign with Adafruit Standalone 5-Pad Capacitive Touch Sensor Breakout - AT42QT1070 in Cirkit Designer

Introduction

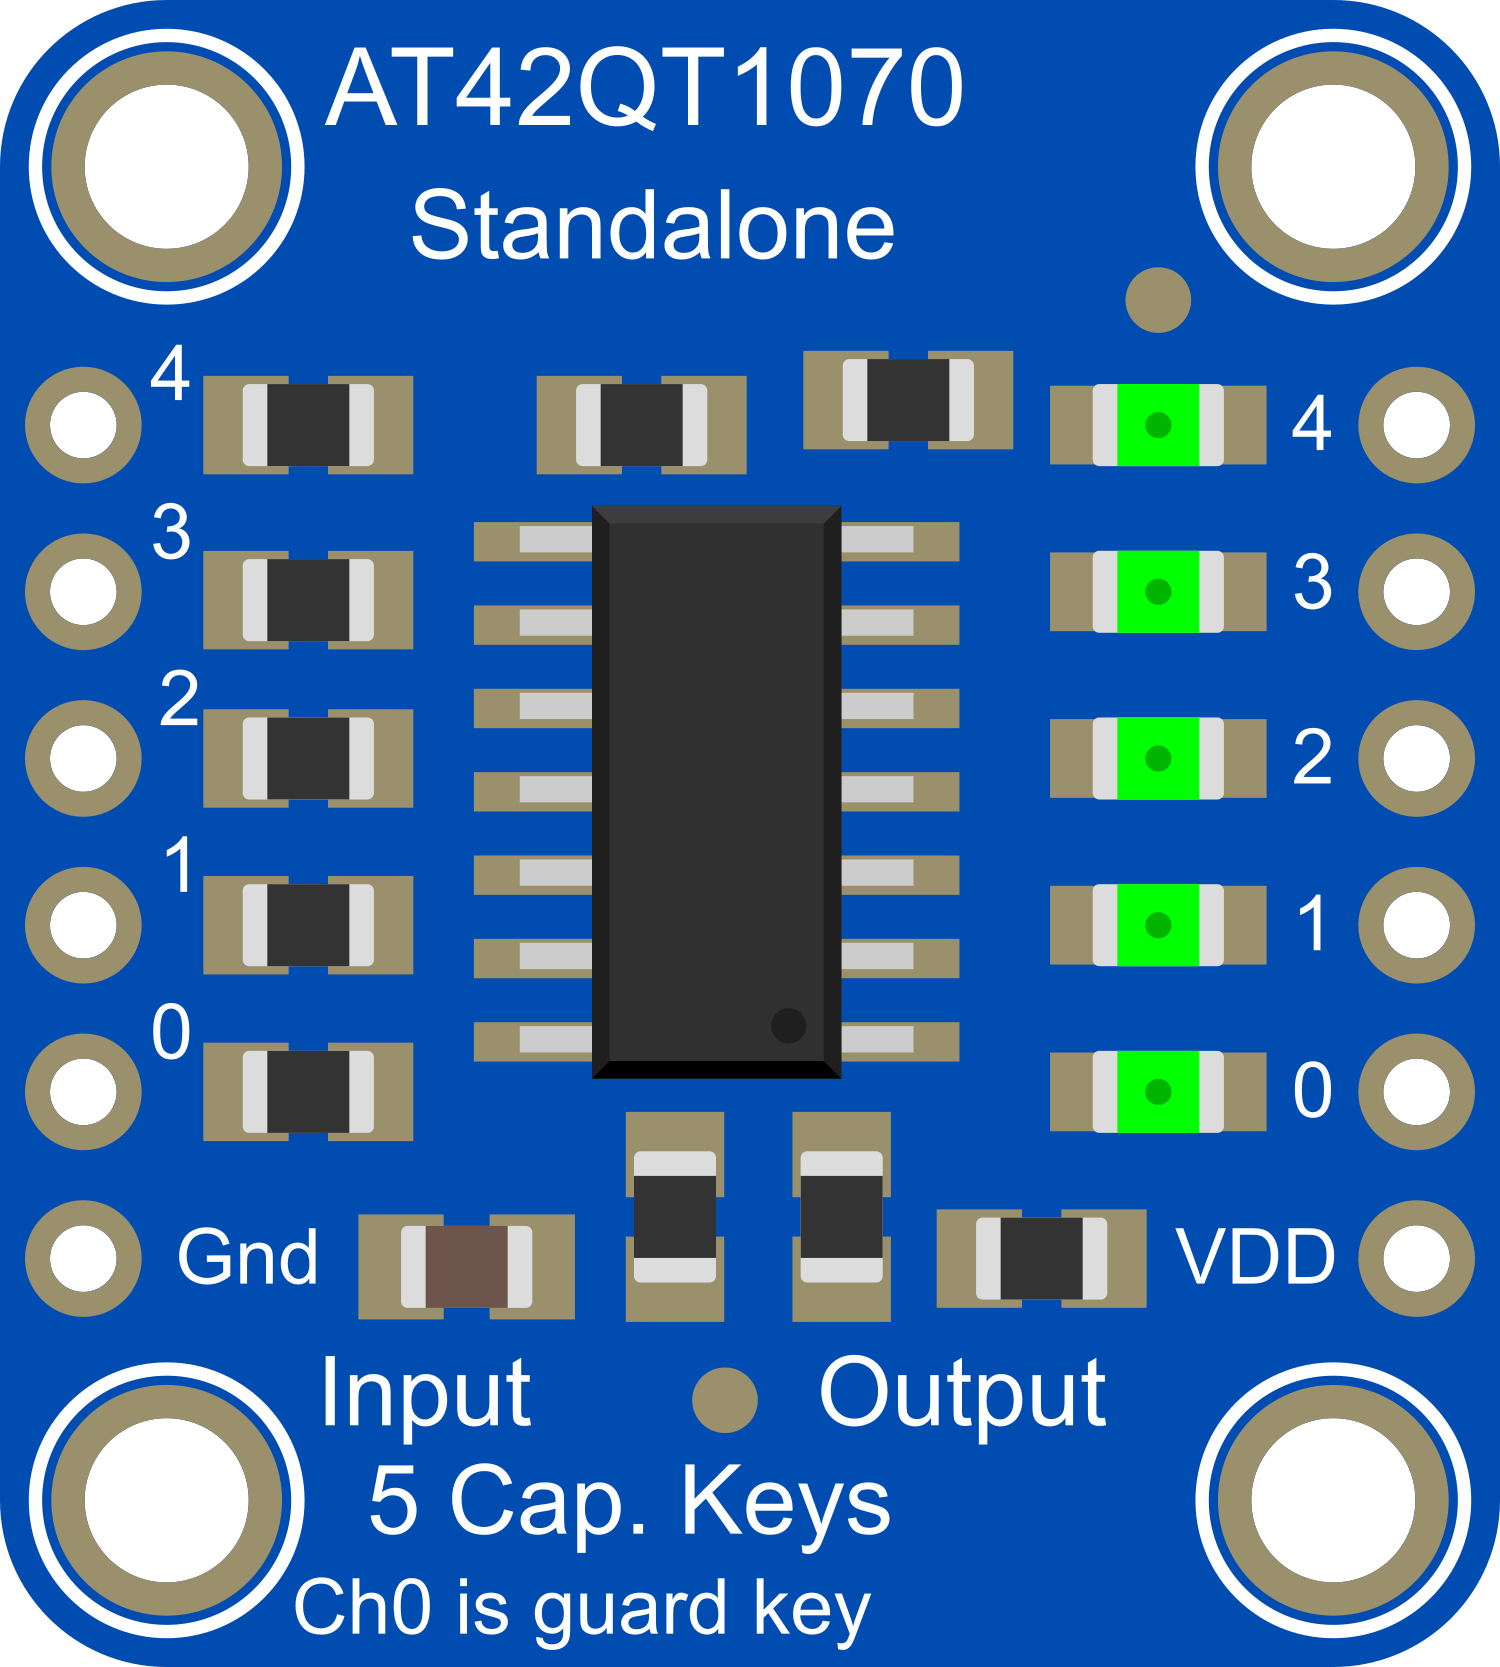
The Adafruit Standalone 5-Pad Capacitive Touch Sensor Breakout - AT42QT1070 is a versatile and user-friendly breakout board that incorporates a capacitive touch sensor controller capable of detecting touch inputs on up to five individual pads. This component is ideal for adding touch input functionality to a wide range of electronic projects, including interactive installations, custom keyboards, and control panels. Its ease of use and small form factor make it suitable for hobbyists and professionals alike.

Explore Projects Built with Adafruit Standalone 5-Pad Capacitive Touch Sensor Breakout - AT42QT1070

Use Cirkit Designer to design, explore, and prototype these projects online. Some projects support real-time simulation. Click "Open Project" to start designing instantly!
Capacitive Touch and Ultrasonic Sensor Interface with Adafruit Feather nRF52840 Sense
Image of Senior Design Project: A project utilizing Adafruit Standalone 5-Pad Capacitive Touch Sensor Breakout - AT42QT1070 in a practical application
This circuit features an Adafruit Feather nRF52840 Sense microcontroller connected to an ultrasonic sensor for distance measurement and an Adafruit AT42QT1010 capacitive touch sensor for touch input. The ultrasonic sensor's Trigger and Echo pins are interfaced with the microcontroller's digital pins D6 and D9, respectively, to send and receive ultrasonic signals. Additionally, a pressure-sensitive conductive sheet (Velostat) is connected in series with a 10k Ohm resistor to the microcontroller's analog pin A0, likely forming a pressure sensor.
Cirkit Designer LogoOpen Project in Cirkit Designer
Battery-Powered Smart Sensor Hub with Adafruit QT Py RP2040
Image of wearable final: A project utilizing Adafruit Standalone 5-Pad Capacitive Touch Sensor Breakout - AT42QT1070 in a practical application
This circuit features an Adafruit QT Py RP2040 microcontroller interfaced with an APDS9960 proximity sensor, an MPU6050 accelerometer and gyroscope, and an OLED display via I2C communication. It also includes a buzzer controlled by the microcontroller and is powered by a 3.7V LiPo battery with a toggle switch for power control.
Cirkit Designer LogoOpen Project in Cirkit Designer
Battery-Powered Smart Light with Proximity Sensor and OLED Display using Adafruit QT Py RP2040
Image of lab: A project utilizing Adafruit Standalone 5-Pad Capacitive Touch Sensor Breakout - AT42QT1070 in a practical application
This circuit is a portable, battery-powered system featuring an Adafruit QT Py RP2040 microcontroller that interfaces with an OLED display, a proximity sensor, an accelerometer, and an RGB LED strip. The system is powered by a lithium-ion battery with a step-up boost converter to provide 5V for the LED strip, and it includes a toggle switch for power control. The microcontroller communicates with the sensors and display via I2C.
Cirkit Designer LogoOpen Project in Cirkit Designer
Touch-Sensitive Interface with Adafruit MPR121 and Feather 32u4 Bluefruit
Image of MPR121: A project utilizing Adafruit Standalone 5-Pad Capacitive Touch Sensor Breakout - AT42QT1070 in a practical application
This circuit integrates an Adafruit MPR121 capacitive touch sensor with an Adafruit Feather 32u4 Bluefruit microcontroller. The MPR121 is powered by the Feather and communicates via I2C (SCL and SDA) to detect touch inputs, which can be processed or transmitted wirelessly by the Feather.
Cirkit Designer LogoOpen Project in Cirkit Designer

Explore Projects Built with Adafruit Standalone 5-Pad Capacitive Touch Sensor Breakout - AT42QT1070

Use Cirkit Designer to design, explore, and prototype these projects online. Some projects support real-time simulation. Click "Open Project" to start designing instantly!
Image of Senior Design Project: A project utilizing Adafruit Standalone 5-Pad Capacitive Touch Sensor Breakout - AT42QT1070 in a practical application
Capacitive Touch and Ultrasonic Sensor Interface with Adafruit Feather nRF52840 Sense
This circuit features an Adafruit Feather nRF52840 Sense microcontroller connected to an ultrasonic sensor for distance measurement and an Adafruit AT42QT1010 capacitive touch sensor for touch input. The ultrasonic sensor's Trigger and Echo pins are interfaced with the microcontroller's digital pins D6 and D9, respectively, to send and receive ultrasonic signals. Additionally, a pressure-sensitive conductive sheet (Velostat) is connected in series with a 10k Ohm resistor to the microcontroller's analog pin A0, likely forming a pressure sensor.
Cirkit Designer LogoOpen Project in Cirkit Designer
Image of wearable final: A project utilizing Adafruit Standalone 5-Pad Capacitive Touch Sensor Breakout - AT42QT1070 in a practical application
Battery-Powered Smart Sensor Hub with Adafruit QT Py RP2040
This circuit features an Adafruit QT Py RP2040 microcontroller interfaced with an APDS9960 proximity sensor, an MPU6050 accelerometer and gyroscope, and an OLED display via I2C communication. It also includes a buzzer controlled by the microcontroller and is powered by a 3.7V LiPo battery with a toggle switch for power control.
Cirkit Designer LogoOpen Project in Cirkit Designer
Image of lab: A project utilizing Adafruit Standalone 5-Pad Capacitive Touch Sensor Breakout - AT42QT1070 in a practical application
Battery-Powered Smart Light with Proximity Sensor and OLED Display using Adafruit QT Py RP2040
This circuit is a portable, battery-powered system featuring an Adafruit QT Py RP2040 microcontroller that interfaces with an OLED display, a proximity sensor, an accelerometer, and an RGB LED strip. The system is powered by a lithium-ion battery with a step-up boost converter to provide 5V for the LED strip, and it includes a toggle switch for power control. The microcontroller communicates with the sensors and display via I2C.
Cirkit Designer LogoOpen Project in Cirkit Designer
Image of MPR121: A project utilizing Adafruit Standalone 5-Pad Capacitive Touch Sensor Breakout - AT42QT1070 in a practical application
Touch-Sensitive Interface with Adafruit MPR121 and Feather 32u4 Bluefruit
This circuit integrates an Adafruit MPR121 capacitive touch sensor with an Adafruit Feather 32u4 Bluefruit microcontroller. The MPR121 is powered by the Feather and communicates via I2C (SCL and SDA) to detect touch inputs, which can be processed or transmitted wirelessly by the Feather.
Cirkit Designer LogoOpen Project in Cirkit Designer

Technical Specifications

Key Features

  • Operating Voltage: 2.0V to 5.5V
  • Number of Channels: 5 capacitive touch pads
  • Communication: I2C interface
  • Response Time: 80 ms (max)
  • Power Consumption: Low power mode
  • Dimensions: 20mm x 28mm x 2mm

Pin Configuration and Descriptions

Pin Number Name Description
1 VDD Power supply (2.0V to 5.5V)
2 GND Ground connection
3 SDA I2C Data line
4 SCL I2C Clock line
5 OUT Interrupt output (active low)
6-10 KEY0-KEY4 Capacitive touch input pads

Usage Instructions

Integration with a Circuit

  1. Power Connections: Connect the VDD pin to a 2.0V to 5.5V power supply and the GND pin to the ground of your circuit.
  2. I2C Communication: Connect the SDA and SCL pins to the I2C data and clock lines of your microcontroller, respectively.
  3. Touch Pads: Connect conductive material or objects to the KEY0-KEY4 pins to act as touch sensors.
  4. Interrupts (Optional): The OUT pin can be connected to an interrupt pin on your microcontroller to signal when a touch event occurs.

Best Practices

  • Ensure that the power supply is within the specified range to prevent damage.
  • Use pull-up resistors on the I2C lines if they are not provided by the microcontroller.
  • Avoid placing the touch pads close to conductive surfaces that may interfere with touch detection.
  • Calibrate the sensitivity of the touch pads according to the environment and application.

Example Code for Arduino UNO

#include <Wire.h>

// AT42QT1070 I2C address
#define AT42QT1070_I2C_ADDR 0x1B

// Register addresses
#define KEY_STATUS 0x03

void setup() {
  Wire.begin(); // Initialize I2C
  Serial.begin(9600); // Start serial communication
}

void loop() {
  Wire.beginTransmission(AT42QT1070_I2C_ADDR);
  Wire.write(KEY_STATUS); // Point to the key status register
  Wire.endTransmission();
  Wire.requestFrom(AT42QT1070_I2C_ADDR, 1); // Request 1 byte

  if(Wire.available()) {
    byte status = Wire.read(); // Read the key status
    Serial.print("Touch Status: ");
    Serial.println(status, BIN); // Print the status in binary format
  }

  delay(100); // Wait for 100 ms
}

Troubleshooting and FAQs

Common Issues

  • No response from the touch pads: Ensure that the power supply is correctly connected and within the specified voltage range. Check the I2C connections and pull-up resistors.
  • Intermittent touch detection: This may be due to electrical noise or interference. Ensure that the touch pads are not too close to other conductive materials and that the environment is free from significant electrical noise.
  • Inaccurate touch detection: Calibrate the sensitivity settings of the AT42QT1070 to match the application and environment.

FAQs

Q: Can I use this sensor with a 3.3V microcontroller? A: Yes, the AT42QT1070 can operate at voltages as low as 2.0V, making it compatible with 3.3V systems.

Q: How do I calibrate the touch sensitivity? A: The AT42QT1070 has built-in calibration capabilities. Refer to the datasheet for detailed calibration procedures.

Q: What should I do if the I2C communication is not working? A: Check the connections and ensure that the correct pull-up resistors are in place. Also, verify that no other device on the I2C bus has a conflicting address.

Q: Can I use the OUT pin without an interrupt on my microcontroller? A: Yes, the OUT pin can be polled in your main loop to detect touch events, but using it as an interrupt allows for more efficient and responsive designs.

Remember to consult the AT42QT1070 datasheet for more detailed information and advanced configurations.