How to Use Renesas R9A02G021: Examples, Pinouts, and Specs
Introduction
The Renesas R9A02G021 is a low-power microcontroller built around a 32-bit ARM Cortex-M0 core. It is designed for a wide range of embedded applications, offering a balance of performance, power efficiency, and integrated features. This microcontroller includes a variety of peripherals, such as timers, ADCs, and communication interfaces, making it ideal for Internet of Things (IoT) devices, consumer electronics, and industrial control systems.
Explore Projects Built with Renesas R9A02G021
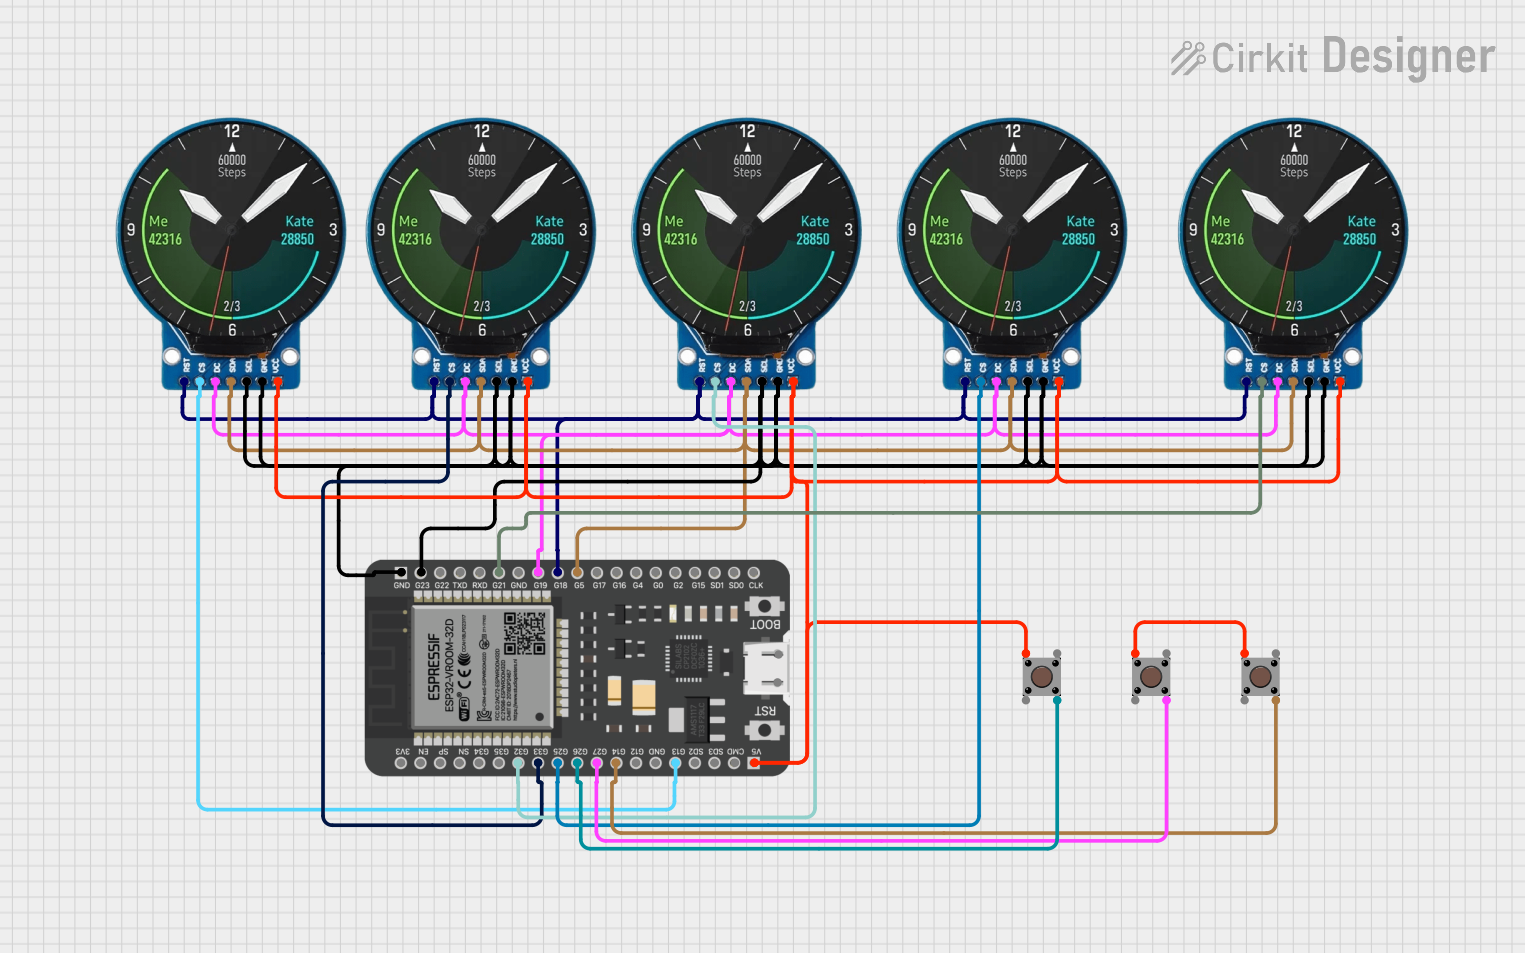


Explore Projects Built with Renesas R9A02G021
Common Applications and Use Cases
- IoT devices and smart home applications
- Consumer electronics, such as wearables and remote controls
- Industrial automation and control systems
- Low-power data acquisition and processing
- Communication gateways and protocol converters
Technical Specifications
Key Technical Details
- Core: 32-bit ARM Cortex-M0
- Operating Voltage: 1.8V to 3.6V
- Clock Speed: Up to 32 MHz
- Flash Memory: 64 KB
- RAM: 8 KB
- Communication Interfaces: UART, I2C, SPI
- GPIO Pins: Up to 18 configurable pins
- ADC: 10-bit, up to 8 channels
- Timers: 16-bit and 32-bit timers
- Power Consumption: Ultra-low power in sleep mode (<1 µA)
- Package: 32-pin QFN
Pin Configuration and Descriptions
The Renesas R9A02G021 comes in a 32-pin QFN package. Below is the pin configuration and description:
| Pin Number | Pin Name | Function | Description |
|---|---|---|---|
| 1 | VDD | Power Supply | Main power supply (1.8V to 3.6V) |
| 2 | GND | Ground | Ground connection |
| 3 | PA0 | GPIO/ADC Channel 0 | General-purpose I/O or ADC input |
| 4 | PA1 | GPIO/ADC Channel 1 | General-purpose I/O or ADC input |
| 5 | PA2 | GPIO/ADC Channel 2 | General-purpose I/O or ADC input |
| 6 | PA3 | GPIO/ADC Channel 3 | General-purpose I/O or ADC input |
| 7 | PB0 | GPIO/UART TX | General-purpose I/O or UART transmit |
| 8 | PB1 | GPIO/UART RX | General-purpose I/O or UART receive |
| 9 | PB2 | GPIO/SPI SCK | General-purpose I/O or SPI clock |
| 10 | PB3 | GPIO/SPI MOSI | General-purpose I/O or SPI data out |
| 11 | PB4 | GPIO/SPI MISO | General-purpose I/O or SPI data in |
| 12 | PB5 | GPIO/I2C SCL | General-purpose I/O or I2C clock |
| 13 | PB6 | GPIO/I2C SDA | General-purpose I/O or I2C data |
| 14 | RESET | Reset Input | Active-low reset input |
| 15 | XTAL_IN | Crystal Oscillator Input | External clock input |
| 16 | XTAL_OUT | Crystal Oscillator Output | External clock output |
| 17-32 | GPIO | General-purpose I/O | Configurable GPIO pins |
Usage Instructions
How to Use the Component in a Circuit
- Power Supply: Connect the VDD pin to a stable power source (1.8V to 3.6V) and the GND pin to ground.
- Clock Configuration: Use an external crystal oscillator connected to XTAL_IN and XTAL_OUT for precise timing, or configure the internal clock.
- GPIO Configuration: Configure the GPIO pins as input or output based on your application. Use pull-up or pull-down resistors if necessary.
- Communication Interfaces:
- For UART communication, connect the TX and RX pins to the corresponding pins on the other device.
- For SPI, connect SCK, MOSI, and MISO to the SPI master or slave device.
- For I2C, connect SCL and SDA to the I2C bus with appropriate pull-up resistors.
- Programming: Use a compatible programmer/debugger to upload firmware to the microcontroller via the debug interface.
Important Considerations and Best Practices
- Ensure the operating voltage is within the specified range to avoid damage.
- Use decoupling capacitors (e.g., 0.1 µF) near the VDD pin to stabilize the power supply.
- Avoid leaving unused pins floating; configure them as inputs with pull-up/down resistors or as outputs.
- For low-power applications, utilize the sleep modes to minimize power consumption.
- Follow the recommended PCB layout guidelines for the QFN package to ensure proper thermal dissipation and signal integrity.
Example Code for Arduino UNO
The Renesas R9A02G021 can communicate with an Arduino UNO via UART. Below is an example of how to send and receive data:
// Example: UART communication between Arduino UNO and Renesas R9A02G021

void setup() {
  Serial.begin(9600); // Initialize UART at 9600 baud rate
  delay(1000);        // Wait for the serial connection to stabilize
  Serial.println("Arduino ready to communicate with R9A02G021");
}

void loop() {
  // Send data to R9A02G021
  Serial.println("Hello from Arduino!");
  delay(1000); // Wait 1 second before sending the next message

  // Check if data is available from R9A02G021
  if (Serial.available() > 0) {
    String receivedData = Serial.readString(); // Read incoming data
    Serial.print("Received: ");
    Serial.println(receivedData); // Print the received data
  }
}
Troubleshooting and FAQs
Common Issues and Solutions
Microcontroller Not Powering On
- Cause: Incorrect power supply voltage or missing connections.
- Solution: Verify that the VDD and GND pins are properly connected and the voltage is within the 1.8V to 3.6V range.
Communication Failure
- Cause: Incorrect baud rate or wiring.
- Solution: Ensure the baud rate matches on both devices and check the connections for UART, SPI, or I2C.
Unstable Operation
- Cause: Missing decoupling capacitors or noisy power supply.
- Solution: Add a 0.1 µF capacitor near the VDD pin and ensure a stable power source.
GPIO Pins Not Responding
- Cause: Incorrect pin configuration.
- Solution: Double-check the pin mode (input/output) and ensure the pins are not left floating.
FAQs
Q: Can I use the internal clock instead of an external crystal oscillator?
- A: Yes, the R9A02G021 supports an internal clock, but an external crystal is recommended for applications requiring precise timing.
Q: How do I program the R9A02G021?
- A: Use a compatible programmer/debugger, such as the Renesas E2 Lite, to upload firmware via the debug interface.
Q: What is the maximum current draw of the microcontroller?
- A: The maximum current draw depends on the operating conditions but is typically in the range of a few milliamps during active operation.
Q: Can I use this microcontroller for battery-powered applications?
- A: Yes, the R9A02G021 is designed for low-power applications and includes sleep modes to minimize power consumption.