
How to Use Arduino Leonardo (Rev3b): Examples, Pinouts, and Specs
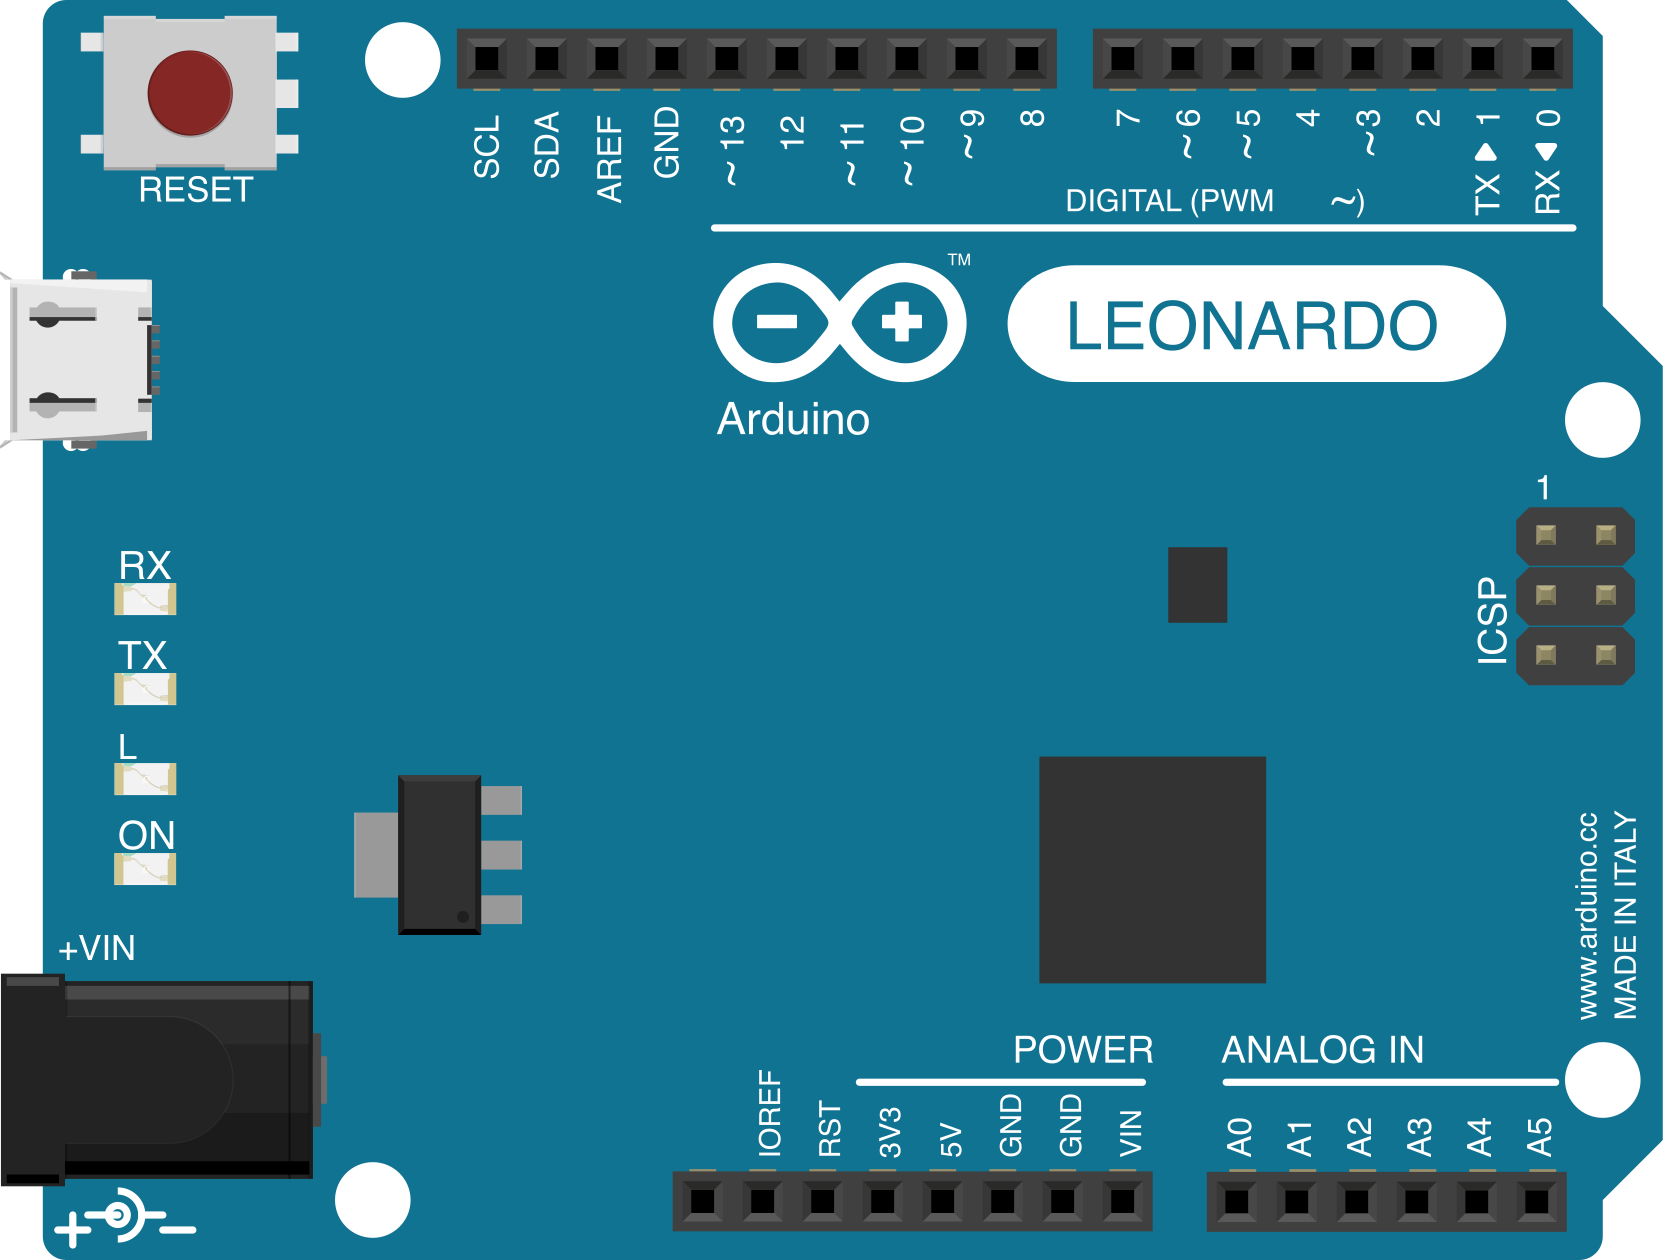
 Design with Arduino Leonardo (Rev3b) in Cirkit Designer
Introduction
The Arduino Leonardo (Rev3b), manufactured by Arduino (Part ID: A000057), is a microcontroller board based on the ATmega32u4. Unlike other Arduino boards, the Leonardo features built-in USB communication, enabling it to emulate a keyboard, mouse, or other HID (Human Interface Device). This unique capability makes it ideal for projects requiring direct interaction with a computer, such as custom input devices, automation tools, or creative installations.
Explore Projects Built with Arduino Leonardo (Rev3b)
 Open Project in Cirkit Designer
 Open Project in Cirkit Designer
 Open Project in Cirkit Designer
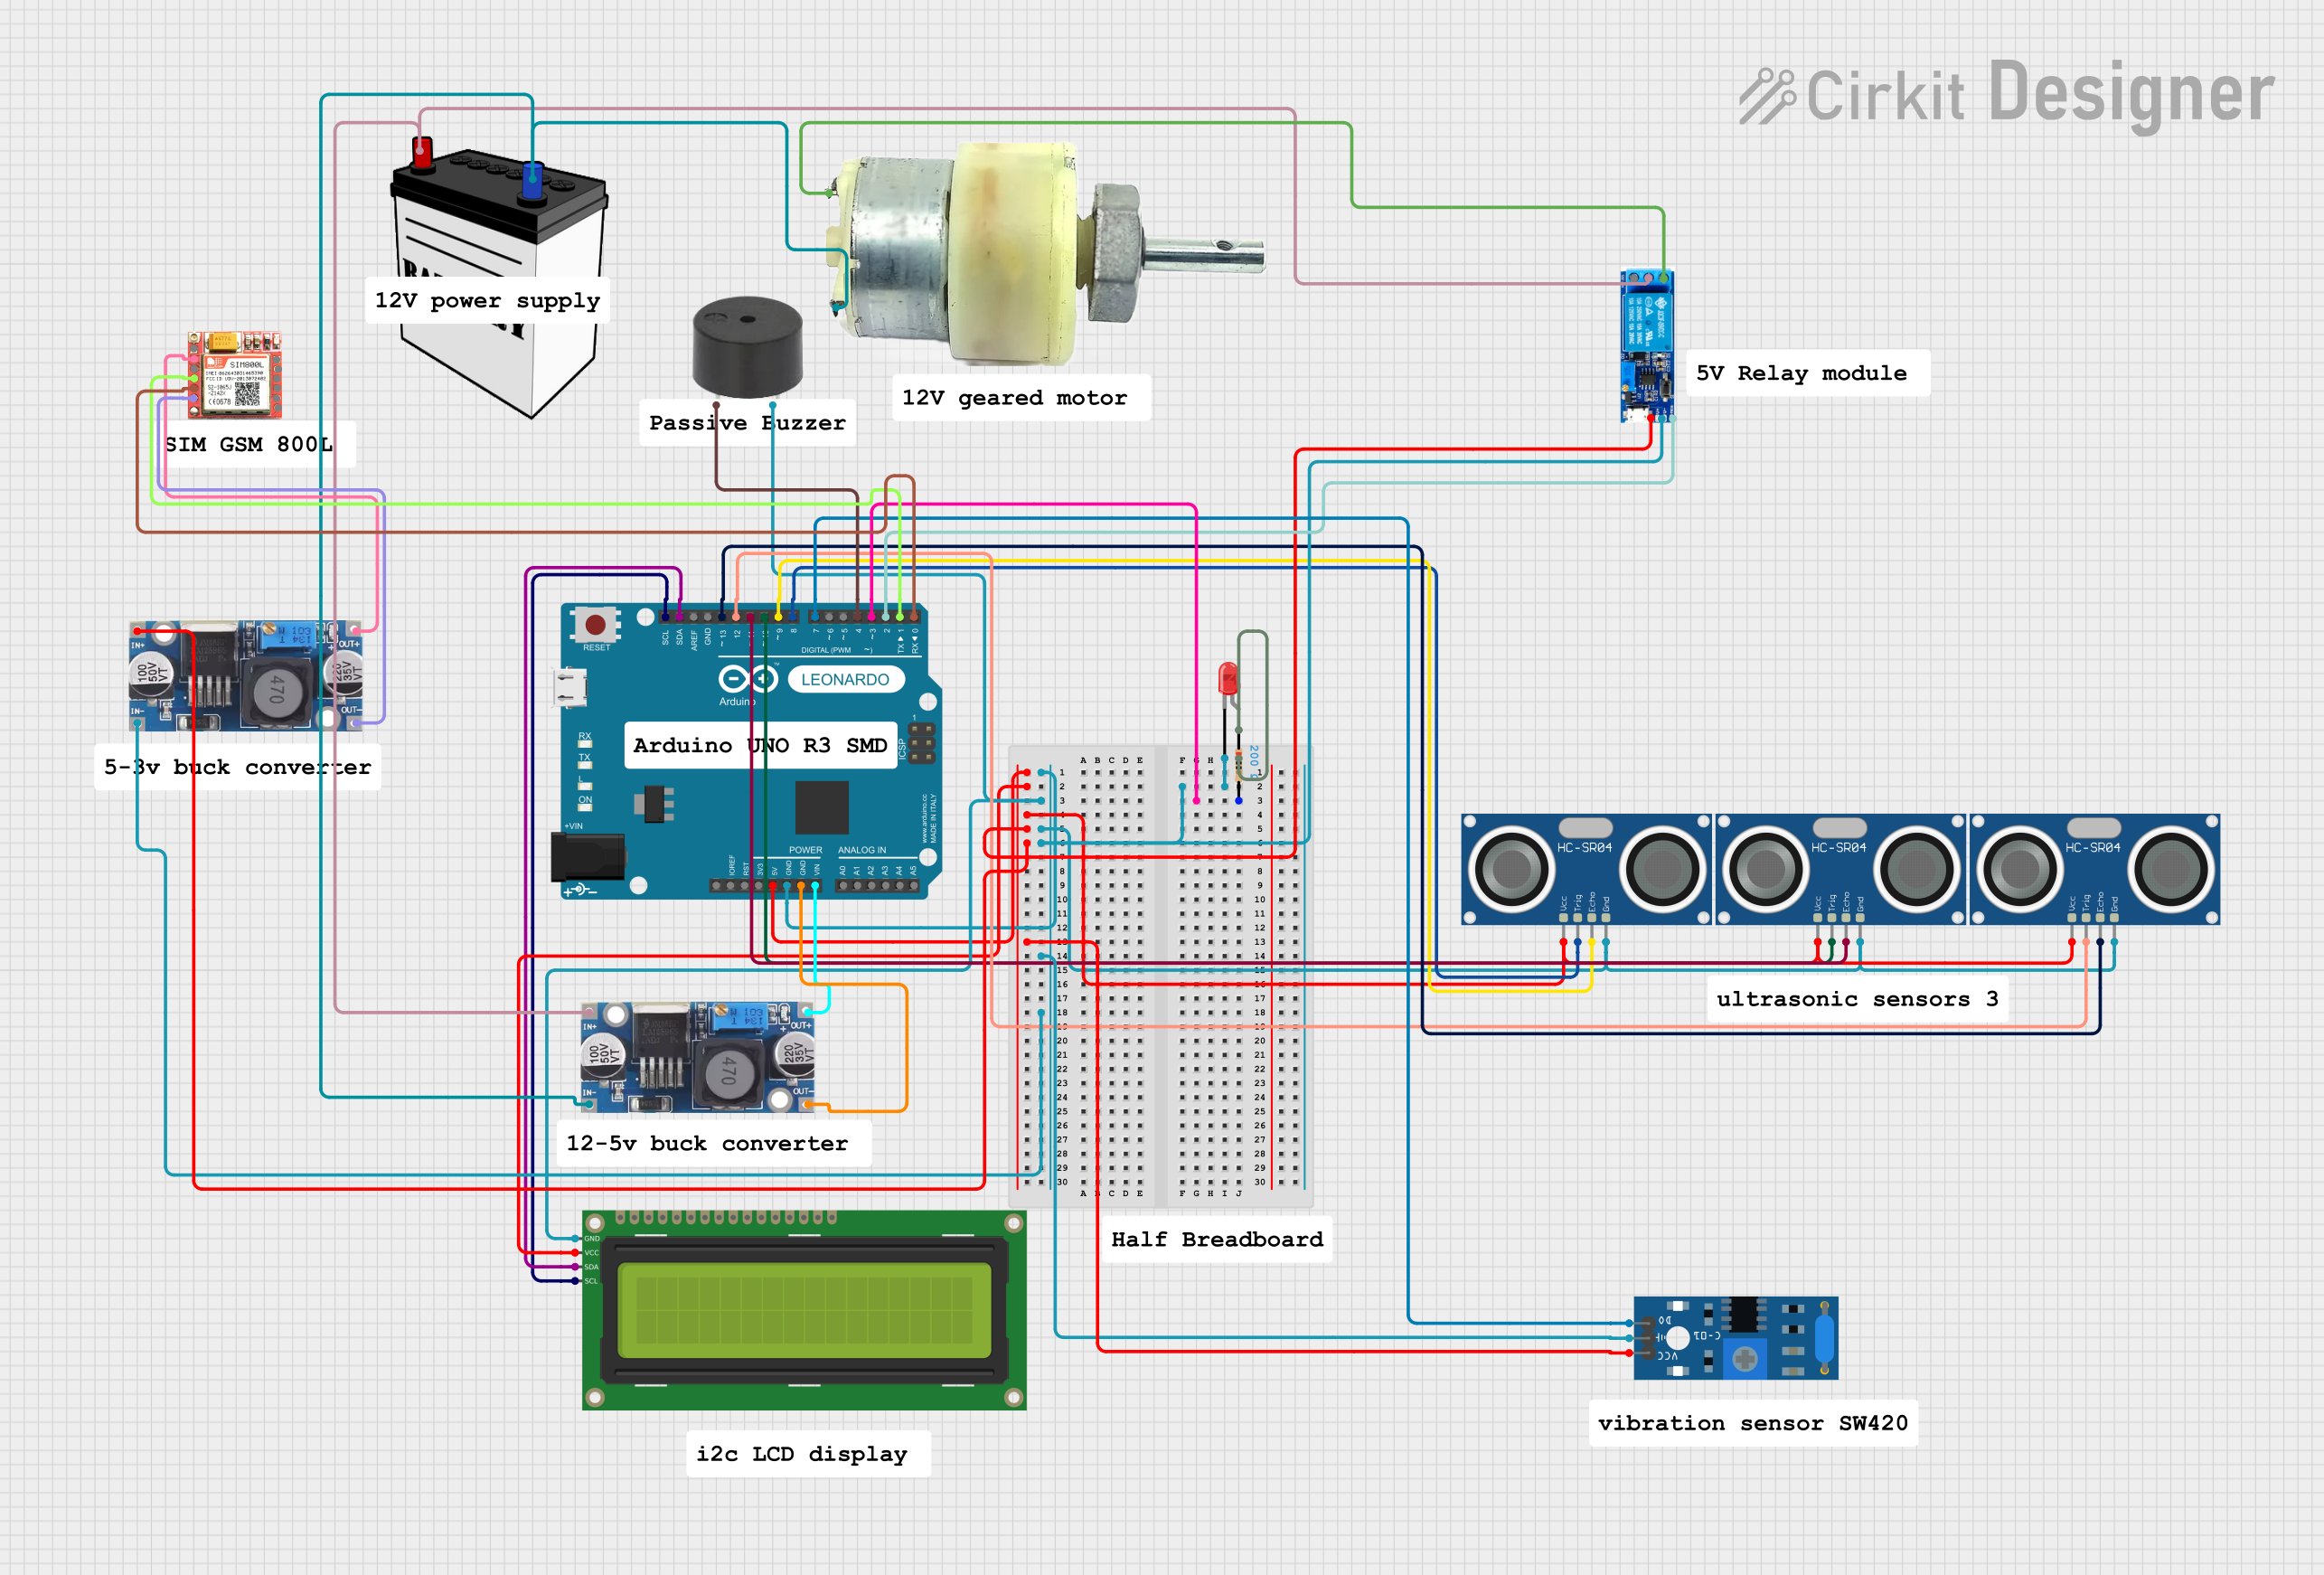 Open Project in Cirkit Designer
Explore Projects Built with Arduino Leonardo (Rev3b)
Open Project in Cirkit DesignerOpen Project in Cirkit DesignerOpen Project in Cirkit DesignerOpen Project in Cirkit DesignerCommon Applications and Use Cases
- Custom keyboards and mice
- Game controllers
- Automation scripts for repetitive tasks
- Data logging and communication with a PC
- Interactive art installations
Technical Specifications
Key Technical Details
| Specification | Value |
|---|---|
| Microcontroller | ATmega32u4 |
| Operating Voltage | 5V |
| Input Voltage (recommended) | 7-12V |
| Input Voltage (limit) | 6-20V |
| Digital I/O Pins | 20 (7 PWM outputs) |
| Analog Input Pins | 12 |
| DC Current per I/O Pin | 40 mA |
| Flash Memory | 32 KB (4 KB used by bootloader) |
| SRAM | 2.5 KB |
| EEPROM | 1 KB |
| Clock Speed | 16 MHz |
| USB Interface | Native USB (HID support) |
| Dimensions | 68.6 mm x 53.3 mm |
| Weight | 20 g |
Pin Configuration and Descriptions
The Arduino Leonardo has a total of 26 pins, including digital, analog, and power pins. Below is a detailed breakdown:
Digital Pins
| Pin Number | Functionality | Description |
|---|---|---|
| 0-1 | RX/TX | Serial communication (UART) |
| 2-13 | Digital I/O | General-purpose digital input/output |
| 3, 5, 6, 9, 10, 11, 13 | PWM Output | Pulse Width Modulation (PWM) capable |
| 7 | External Interrupt | Can trigger an interrupt on a signal |
Analog Pins
| Pin Number | Functionality | Description |
|---|---|---|
| A0-A5 | Analog Input | Read analog signals (0-5V) |
| A6-A11 | Additional Analog Input | Accessible via code (not on headers) |
Power Pins
| Pin Name | Functionality | Description |
|---|---|---|
| VIN | Input Voltage | External power input (7-12V recommended) |
| 5V | Regulated 5V Output | Powers external components |
| 3.3V | Regulated 3.3V Output | Powers low-voltage components |
| GND | Ground | Common ground for the circuit |
| IOREF | I/O Reference Voltage | Voltage reference for I/O pins |
| RESET | Reset | Resets the microcontroller |
Usage Instructions
How to Use the Arduino Leonardo in a Circuit
Powering the Board:
- Connect the board to your computer via a USB cable for both power and programming.
- Alternatively, use an external power supply (7-12V) connected to the VIN pin or the DC power jack.
Programming the Board:
- Open the Arduino IDE on your computer.
- Select Arduino Leonardo under
Tools > Board. - Choose the correct COM port under
Tools > Port. - Write or load your sketch and click the Upload button.
Using the USB HID Feature:
- The Leonardo can emulate a keyboard or mouse. Use the
KeyboardorMouselibraries in the Arduino IDE to send keystrokes or mouse movements to your computer.
- The Leonardo can emulate a keyboard or mouse. Use the
Connecting Components:
- Use the digital and analog pins to connect sensors, actuators, and other peripherals.
- Ensure that the total current drawn by all components does not exceed the board's limits (40 mA per pin).
Example Code: Emulating a Keyboard
The following example demonstrates how to use the Arduino Leonardo to send a keystroke to your computer when a button is pressed.
#include <Keyboard.h> // Include the Keyboard library

const int buttonPin = 2; // Pin connected to the button
int buttonState = 0;     // Variable to store the button state

void setup() {
  pinMode(buttonPin, INPUT_PULLUP); // Set button pin as input with pull-up resistor
  Keyboard.begin();                // Initialize the Keyboard library
}

void loop() {
  buttonState = digitalRead(buttonPin); // Read the button state

  if (buttonState == LOW) { // Check if the button is pressed
    Keyboard.print("Hello, World!"); // Send "Hello, World!" to the computer
    delay(500); // Add a delay to prevent multiple keystrokes
  }
}
Important Considerations and Best Practices
- USB HID Behavior: When using the USB HID feature, the Leonardo may appear as a keyboard or mouse to your computer. Be cautious when uploading sketches that send continuous keystrokes or mouse movements, as they can make your computer difficult to control.
- Power Supply: Avoid exceeding the recommended input voltage (7-12V) to prevent damage to the board.
- Pin Current Limits: Ensure that no single pin draws more than 40 mA, and the total current does not exceed 500 mA when powered via USB.
Troubleshooting and FAQs
Common Issues and Solutions
The board is not recognized by the computer:
- Ensure the USB cable is properly connected and functional.
- Check that the correct COM port is selected in the Arduino IDE.
- Try pressing the reset button on the board before uploading a sketch.
Sketch upload fails:
- Verify that the correct board and port are selected in the Arduino IDE.
- Ensure no other program is using the COM port.
- Double-tap the reset button to enter the bootloader mode and try uploading again.
USB HID functionality is unresponsive:
- Ensure the
KeyboardorMouselibrary is included in your sketch. - Check that the board is properly powered and connected to the computer.
- Ensure the
FAQs
Q: Can the Leonardo be powered via USB and an external power supply simultaneously?
A: Yes, the board automatically selects the appropriate power source.
Q: How do I reset the Leonardo if it becomes unresponsive?
A: Press the reset button on the board. If the issue persists, double-tap the reset button to enter bootloader mode.
Q: Can I use the Leonardo with shields designed for other Arduino boards?
A: Yes, the Leonardo is compatible with most Arduino shields, but ensure the shield does not rely on specific pins used differently on the Leonardo.
Q: How do I stop a sketch that continuously sends keystrokes?
A: Disconnect the board, press and hold the reset button, reconnect it, and upload a new sketch without USB HID functionality.
This concludes the documentation for the Arduino Leonardo (Rev3b).