How to Use Touch Sensor: Examples, Pinouts, and Specs
Introduction
A touch sensor is an electronic component designed to detect physical touch or pressure and convert it into an electrical signal. It is widely used in user interfaces, control systems, and interactive devices. Touch sensors are highly responsive and can be used to replace traditional mechanical buttons, offering a sleek and modern design.
Explore Projects Built with Touch Sensor


Explore Projects Built with Touch Sensor
Common Applications and Use Cases
- Capacitive touch buttons for home appliances
- Touch-sensitive light switches
- Interactive kiosks and displays
- Wearable devices and smart gadgets
- Robotics and automation systems
- Gaming controllers and touchpads
Technical Specifications
The following specifications apply to the Arduino UNO-compatible touch sensor:
Key Technical Details
- Operating Voltage: 2.0V to 5.5V
- Operating Current: < 20 µA (low power consumption)
- Response Time: < 60 ms
- Output Type: Digital (High/Low)
- Interface: Single digital output pin
- Touch Sensitivity: Adjustable (depending on the sensor model)
- Operating Temperature: -20°C to 70°C
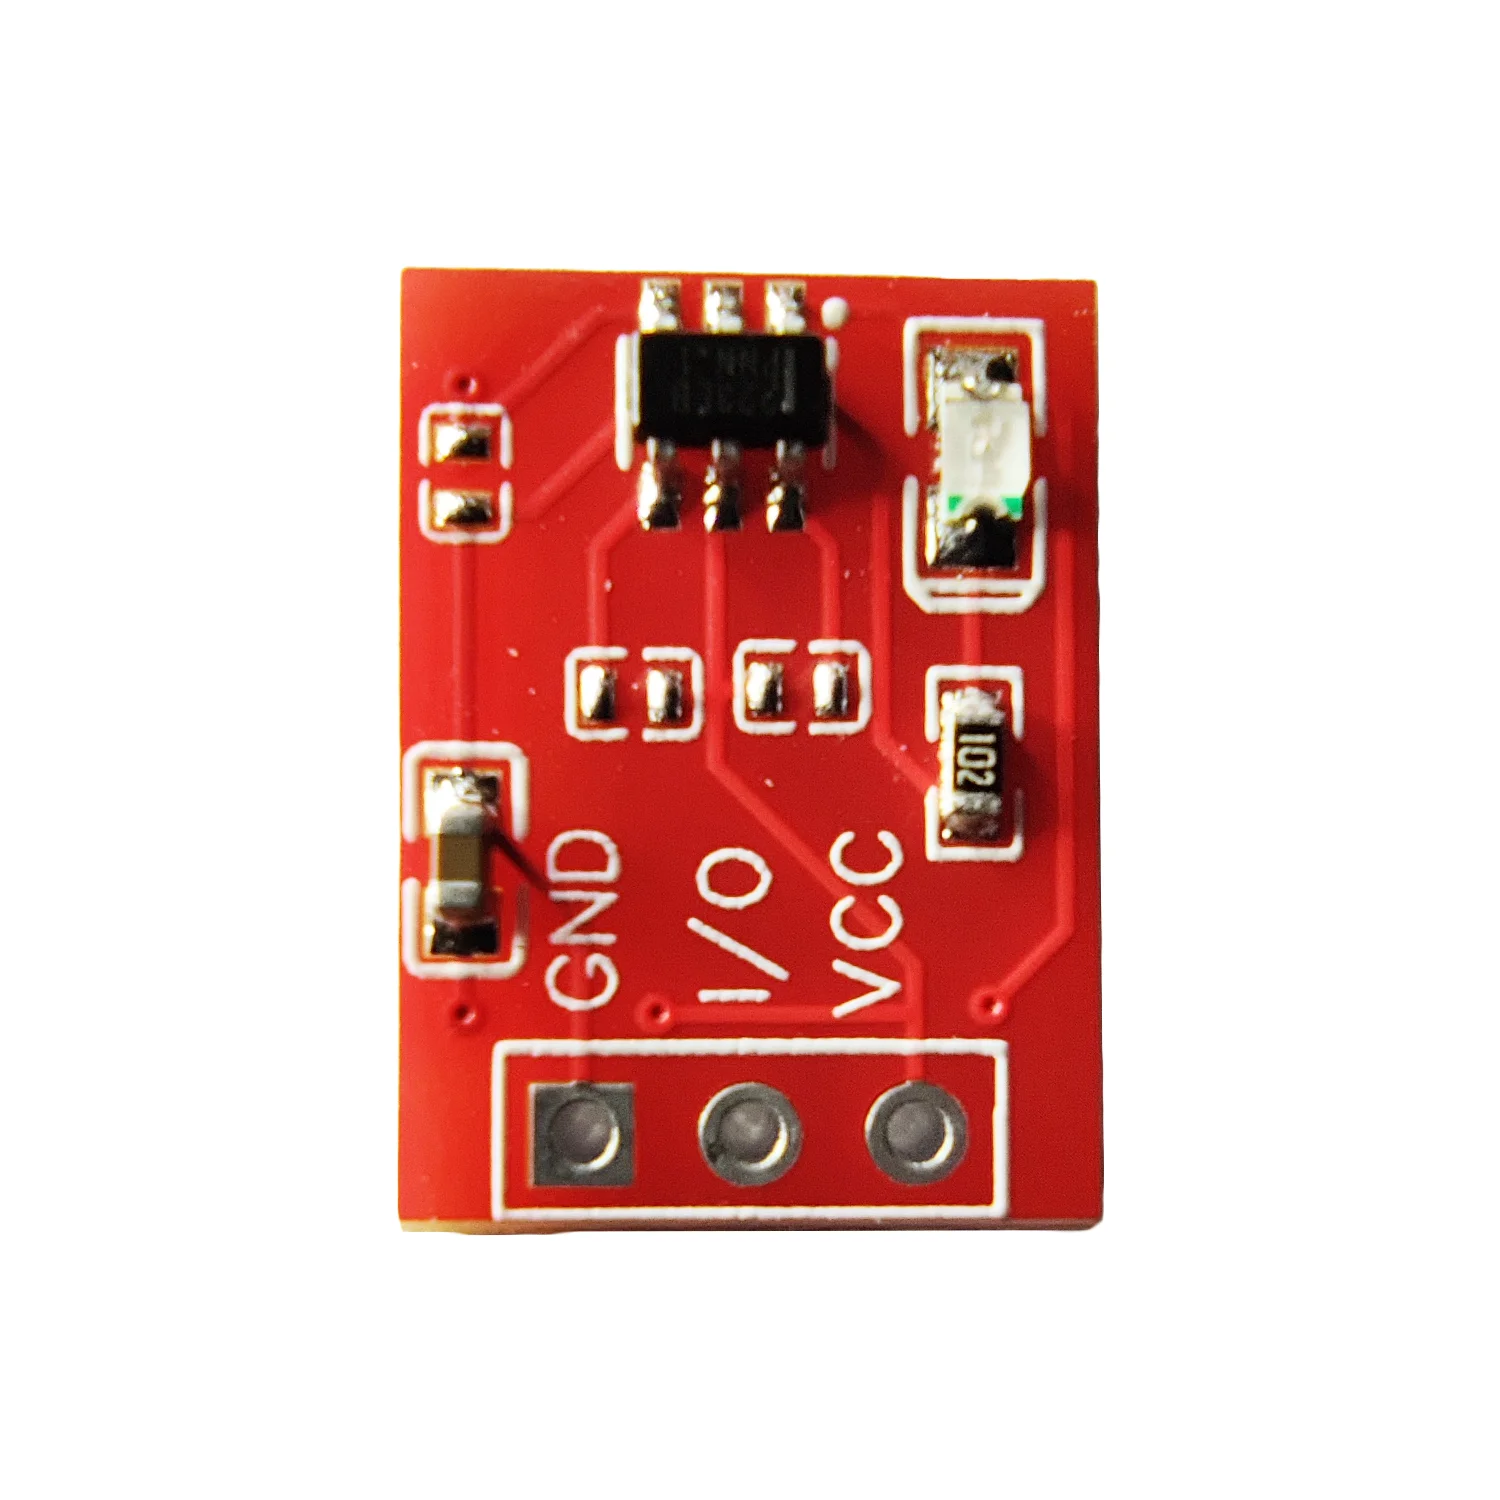
Pin Configuration and Descriptions
The touch sensor typically has three pins. Below is the pinout description:
| Pin Name | Description |
|---|---|
| VCC | Power supply input (2.0V to 5.5V) |
| GND | Ground connection |
| OUT | Digital output signal (High/Low) |
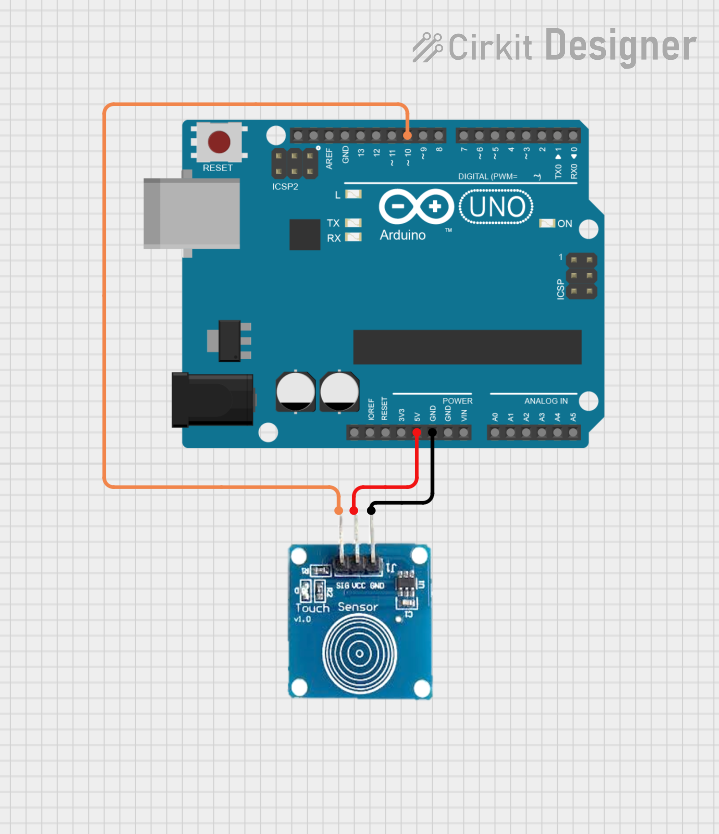
Usage Instructions
How to Use the Touch Sensor in a Circuit
Connect the Pins:
- Connect the VCC pin of the touch sensor to the 5V pin on the Arduino UNO.
- Connect the GND pin of the touch sensor to the GND pin on the Arduino UNO.
- Connect the OUT pin of the touch sensor to a digital input pin on the Arduino UNO (e.g., pin 7).
Write the Code:
- Use the Arduino IDE to write a program that reads the sensor's output and performs an action (e.g., turning on an LED).
Upload the Code:
- Upload the code to the Arduino UNO using a USB cable.
Test the Circuit:
- Touch the sensor to observe the output (e.g., LED turns on or a message is displayed in the serial monitor).
Example Code for Arduino UNO
// Example code to use a touch sensor with Arduino UNO
// Connect the touch sensor's OUT pin to digital pin 7 on the Arduino UNO
// Connect an LED to digital pin 13 for visual feedback

const int touchPin = 7;  // Pin connected to the touch sensor's OUT pin
const int ledPin = 13;   // Pin connected to the LED

void setup() {
  pinMode(touchPin, INPUT);  // Set the touch sensor pin as input
  pinMode(ledPin, OUTPUT);   // Set the LED pin as output
  Serial.begin(9600);        // Initialize serial communication for debugging
}

void loop() {
  int touchState = digitalRead(touchPin);  // Read the touch sensor's state

  if (touchState == HIGH) {
    // If the sensor is touched, turn on the LED
    digitalWrite(ledPin, HIGH);
    Serial.println("Touch detected!");  // Print message to serial monitor
  } else {
    // If no touch is detected, turn off the LED
    digitalWrite(ledPin, LOW);
  }

  delay(100);  // Small delay to stabilize readings
}
Important Considerations and Best Practices
- Power Supply: Ensure the sensor operates within its specified voltage range (2.0V to 5.5V).
- Debouncing: If the sensor output fluctuates, consider adding software debouncing in your code.
- Environmental Factors: Avoid using the sensor in environments with high humidity or extreme temperatures, as this may affect performance.
- Sensitivity Adjustment: Some touch sensors allow sensitivity adjustment via a potentiometer or configuration pin. Refer to the sensor's datasheet for details.
Troubleshooting and FAQs
Common Issues and Solutions
Sensor Not Responding:
- Cause: Incorrect wiring or loose connections.
- Solution: Double-check the wiring and ensure all connections are secure.
False Triggers:
- Cause: Electrical noise or interference.
- Solution: Use shorter wires and add a pull-down resistor to the output pin if necessary.
Output Always HIGH or LOW:
- Cause: Faulty sensor or incorrect pin configuration.
- Solution: Test the sensor with a multimeter and verify the pin configuration in the code.
Slow Response:
- Cause: Excessive delay in the code or sensor limitations.
- Solution: Reduce delays in the code and ensure the sensor is operating within its specifications.
FAQs
Q1: Can I use the touch sensor with a 3.3V microcontroller?
A1: Yes, the touch sensor is compatible with 3.3V systems as long as the operating voltage is within the 2.0V to 5.5V range.
Q2: How do I increase the sensitivity of the touch sensor?
A2: Some touch sensors have an adjustable sensitivity feature. Check the datasheet or look for a potentiometer on the sensor module.
Q3: Can the touch sensor detect multiple touches simultaneously?
A3: No, most basic touch sensors can only detect a single touch at a time. For multi-touch functionality, consider using a capacitive touchpad.
Q4: Is the touch sensor waterproof?
A4: Standard touch sensors are not waterproof. If you need waterproof functionality, look for a sensor specifically designed for such applications.
By following this documentation, you can effectively integrate the touch sensor into your projects and troubleshoot common issues with ease.