How to Use Ammonia Nitrogen Sensor: Examples, Pinouts, and Specs
Introduction
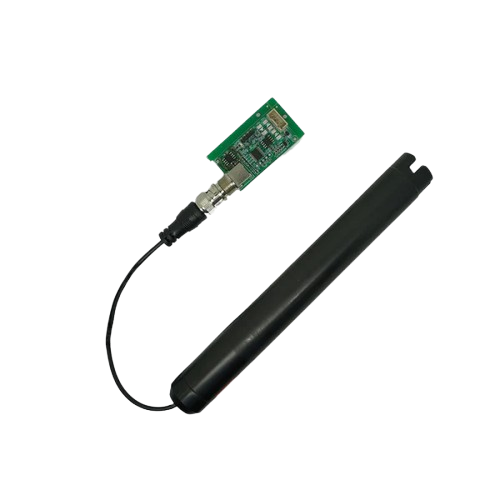
The Ammonia Nitrogen Sensor is a specialized electronic component designed to detect and measure the concentration of ammonia (NH₃) in the environment. It is widely used in agricultural, industrial, and environmental monitoring applications to ensure air quality, optimize processes, and maintain safety standards. This sensor is particularly valuable in applications such as livestock farming, fertilizer production, wastewater treatment, and chemical manufacturing.
By providing real-time ammonia concentration data, the sensor helps users make informed decisions to improve efficiency and reduce environmental impact.
Explore Projects Built with Ammonia Nitrogen Sensor
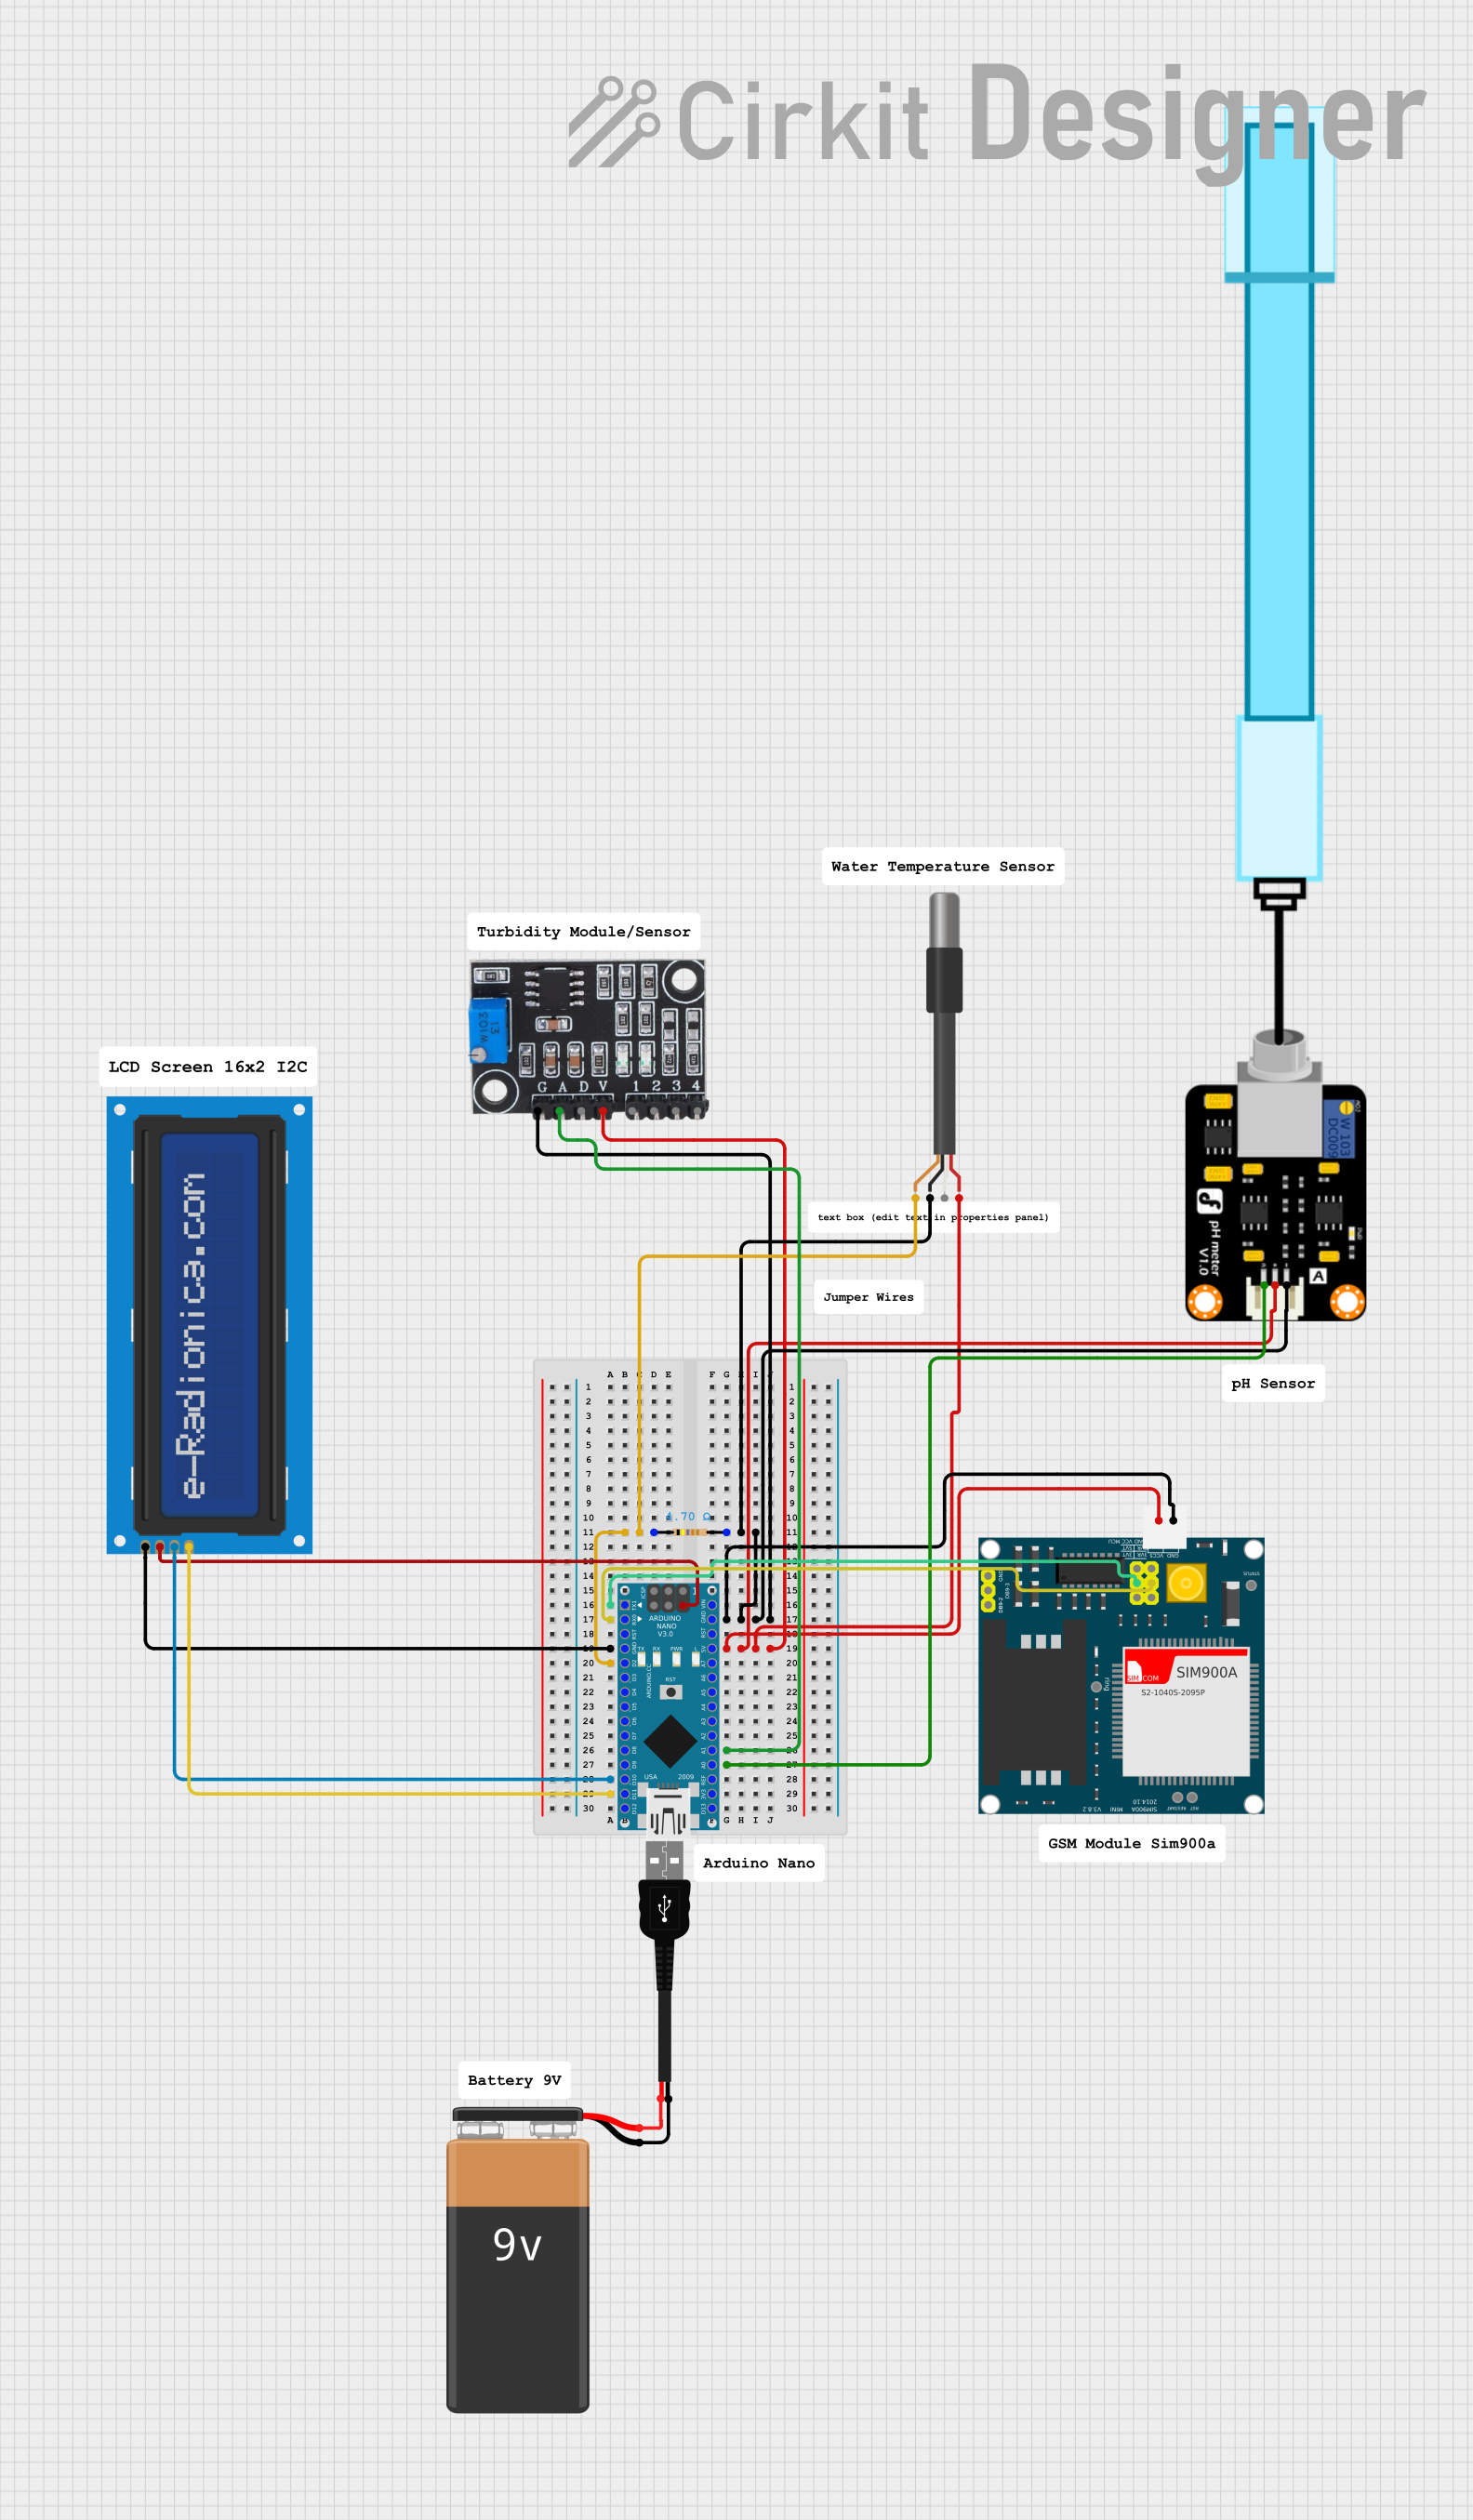
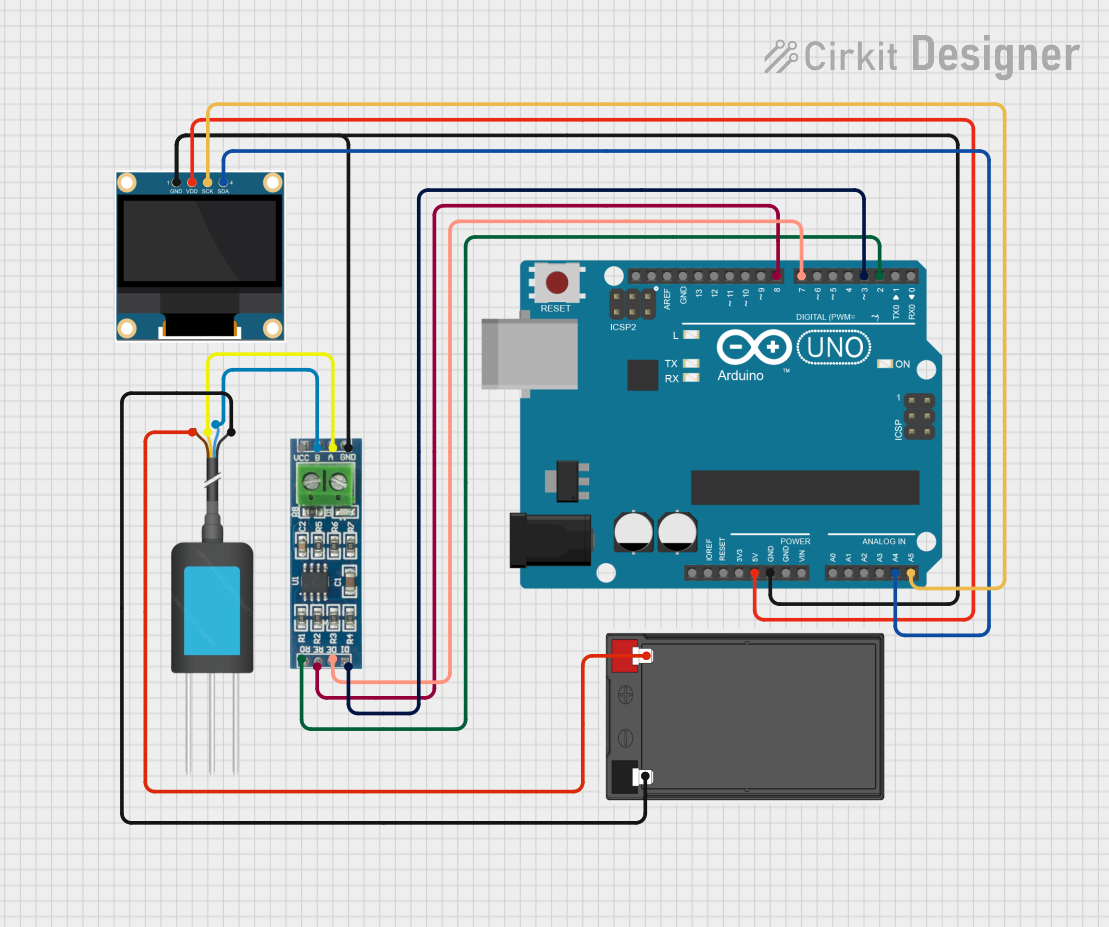
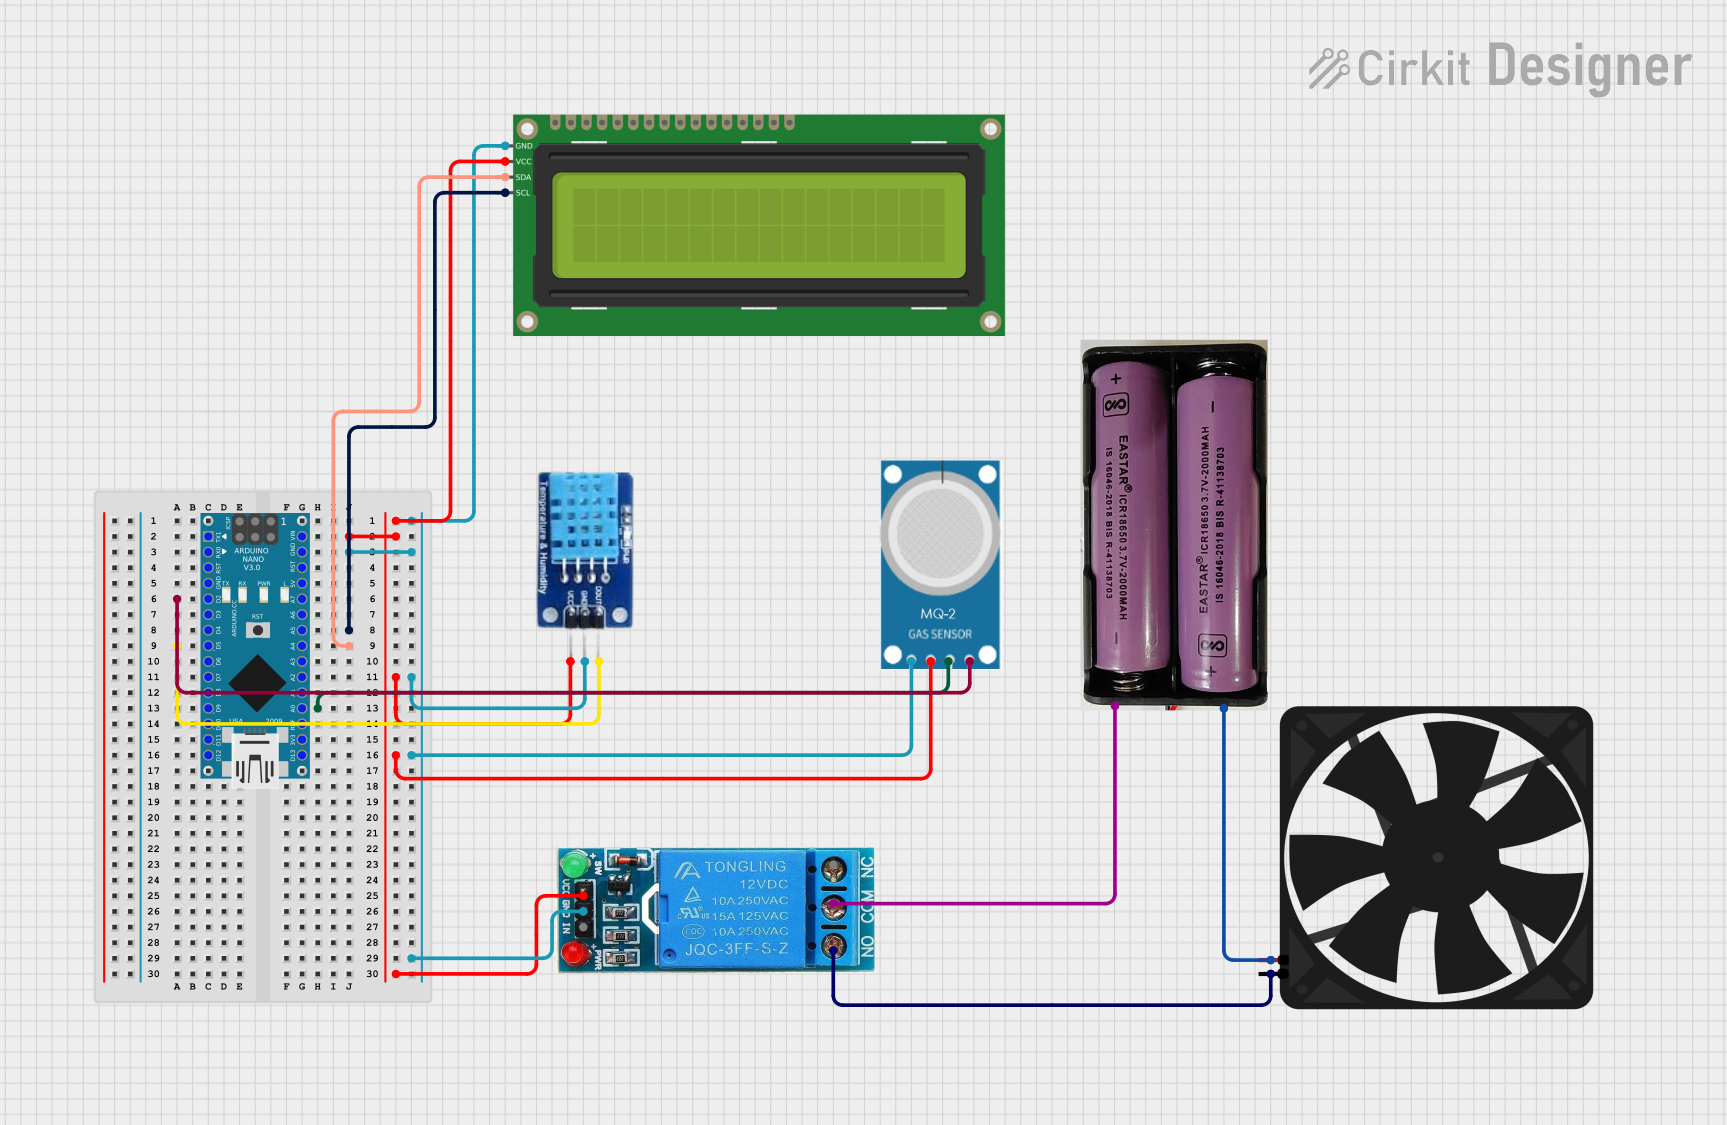
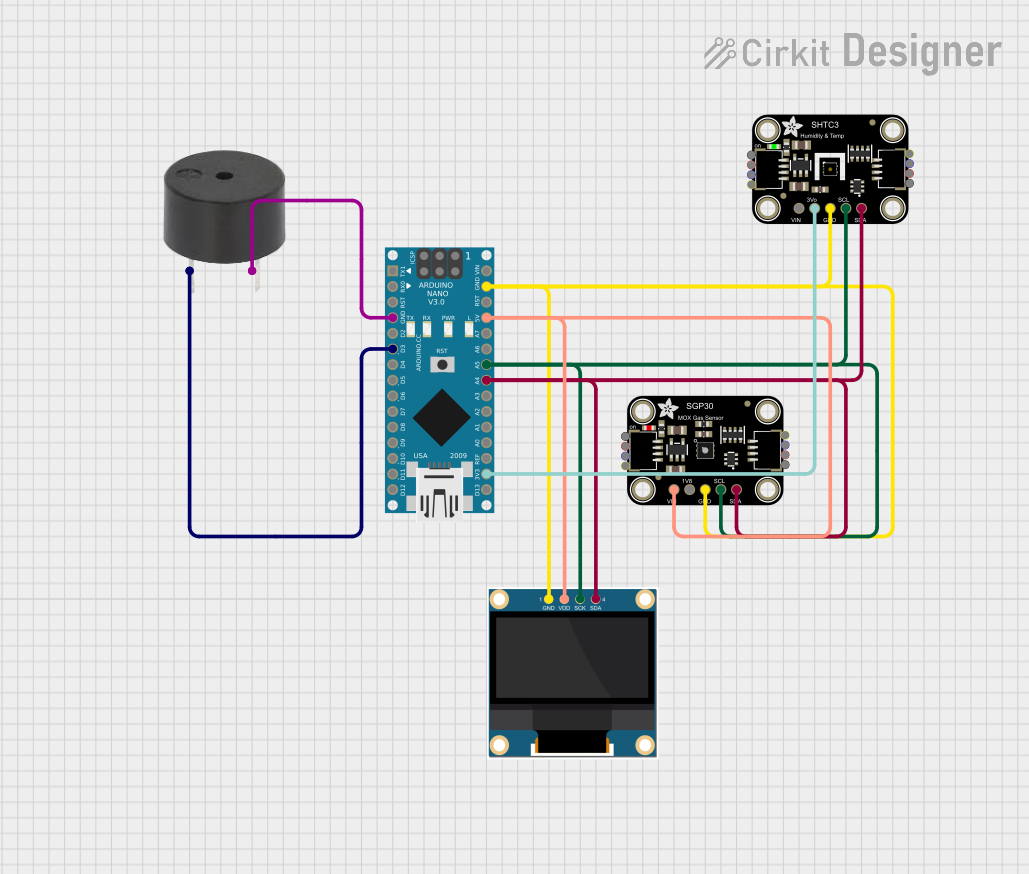
Explore Projects Built with Ammonia Nitrogen Sensor
Technical Specifications
Below are the key technical details of the Ammonia Nitrogen Sensor:
| Parameter | Value |
|---|---|
| Measurement Range | 0–100 ppm (parts per million) |
| Sensitivity | ±2% of full scale |
| Operating Voltage | 5V DC |
| Operating Current | ≤ 50 mA |
| Output Signal | Analog voltage (0–5V) |
| Response Time | ≤ 30 seconds |
| Operating Temperature | -20°C to 50°C |
| Humidity Range | 15%–90% RH (non-condensing) |
| Lifespan | Approximately 2 years |
Pin Configuration and Descriptions
The Ammonia Nitrogen Sensor typically comes with a 4-pin interface. The pinout is as follows:
| Pin | Name | Description |
|---|---|---|
| 1 | VCC | Power supply input (5V DC) |
| 2 | GND | Ground connection |
| 3 | AOUT | Analog output signal proportional to ammonia level |
| 4 | DOUT | Digital output signal (threshold-based, optional) |
Usage Instructions
How to Use the Sensor in a Circuit
- Power the Sensor: Connect the VCC pin to a 5V DC power source and the GND pin to the ground of your circuit.
- Read the Output:
- Use the AOUT pin to read the analog voltage output, which corresponds to the ammonia concentration.
- Optionally, use the DOUT pin for a digital signal if the sensor includes a threshold adjustment feature.
- Connect to a Microcontroller: The sensor can be interfaced with microcontrollers like Arduino UNO for data acquisition and processing.
Example Circuit with Arduino UNO
Below is an example of how to connect the Ammonia Nitrogen Sensor to an Arduino UNO:
- Connections:
- VCC → 5V on Arduino
- GND → GND on Arduino
- AOUT → A0 (Analog Pin 0) on Arduino
Sample Arduino Code
// Ammonia Nitrogen Sensor Example Code
// This code reads the analog output of the sensor and prints the ammonia level
// to the Serial Monitor. Ensure the sensor is properly connected to the Arduino.

const int sensorPin = A0; // Analog pin connected to AOUT of the sensor
float sensorValue;        // Variable to store the sensor reading
float ammoniaPPM;         // Variable to store the calculated ammonia concentration

void setup() {
  Serial.begin(9600); // Initialize serial communication at 9600 baud
  pinMode(sensorPin, INPUT); // Set the sensor pin as input
}

void loop() {
  sensorValue = analogRead(sensorPin); // Read the analog value from the sensor
  // Convert the sensor value to a concentration in ppm
  // Assuming a linear relationship between 0-5V and 0-100 ppm
  ammoniaPPM = (sensorValue / 1023.0) * 100.0;

  // Print the ammonia concentration to the Serial Monitor
  Serial.print("Ammonia Concentration: ");
  Serial.print(ammoniaPPM);
  Serial.println(" ppm");

  delay(1000); // Wait for 1 second before the next reading
}
Important Considerations and Best Practices
- Preheat the Sensor: Allow the sensor to warm up for 2–3 minutes after powering it on to ensure accurate readings.
- Avoid Condensation: Operate the sensor in a non-condensing environment to prevent damage.
- Calibration: Periodically calibrate the sensor using a known ammonia concentration for optimal accuracy.
- Placement: Install the sensor in a location where it can effectively sample the air without obstructions.
Troubleshooting and FAQs
Common Issues and Solutions
No Output Signal:
- Check the power supply connections (VCC and GND).
- Ensure the sensor is receiving 5V DC.
Inaccurate Readings:
- Verify that the sensor has been preheated for at least 2–3 minutes.
- Check for environmental factors such as high humidity or condensation.
Fluctuating Output:
- Ensure stable power supply voltage.
- Avoid placing the sensor near strong electromagnetic interference sources.
Sensor Not Responding:
- Confirm that the sensor is within its operating temperature and humidity range.
- Inspect the wiring for loose or damaged connections.
FAQs
Q: Can the sensor detect ammonia in liquids?
A: No, this sensor is designed for detecting ammonia in the air. For liquid ammonia detection, specialized probes are required.
Q: How often should the sensor be replaced?
A: The sensor has an approximate lifespan of 2 years. Replace it if readings become unreliable or after the recommended lifespan.
Q: Can the sensor be used outdoors?
A: Yes, but ensure it is protected from direct exposure to rain or extreme humidity to prevent damage.
Q: How do I calibrate the sensor?
A: Use a reference gas with a known ammonia concentration and adjust the sensor's output to match the reference value.
By following this documentation, users can effectively integrate and utilize the Ammonia Nitrogen Sensor in their projects.