
How to Use UCSC Nucleo I/O Shield: Examples, Pinouts, and Specs
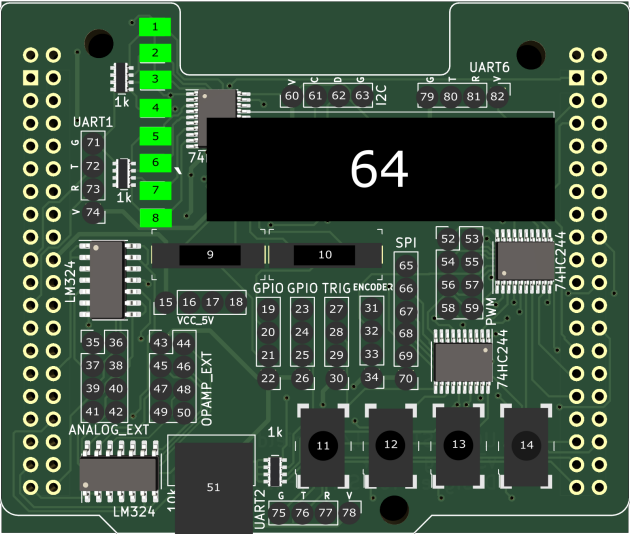
 Design with UCSC Nucleo I/O Shield in Cirkit Designer
Introduction
The UCSC Nucleo I/O Shield is a versatile expansion board designed to enhance the functionality of the Nucleo development platform. It provides additional input/output capabilities, including a variety of connectors and interfaces for sensors, actuators, and other peripherals. This shield simplifies prototyping and development by offering a plug-and-play solution for extending the Nucleo board's capabilities.
Explore Projects Built with UCSC Nucleo I/O Shield
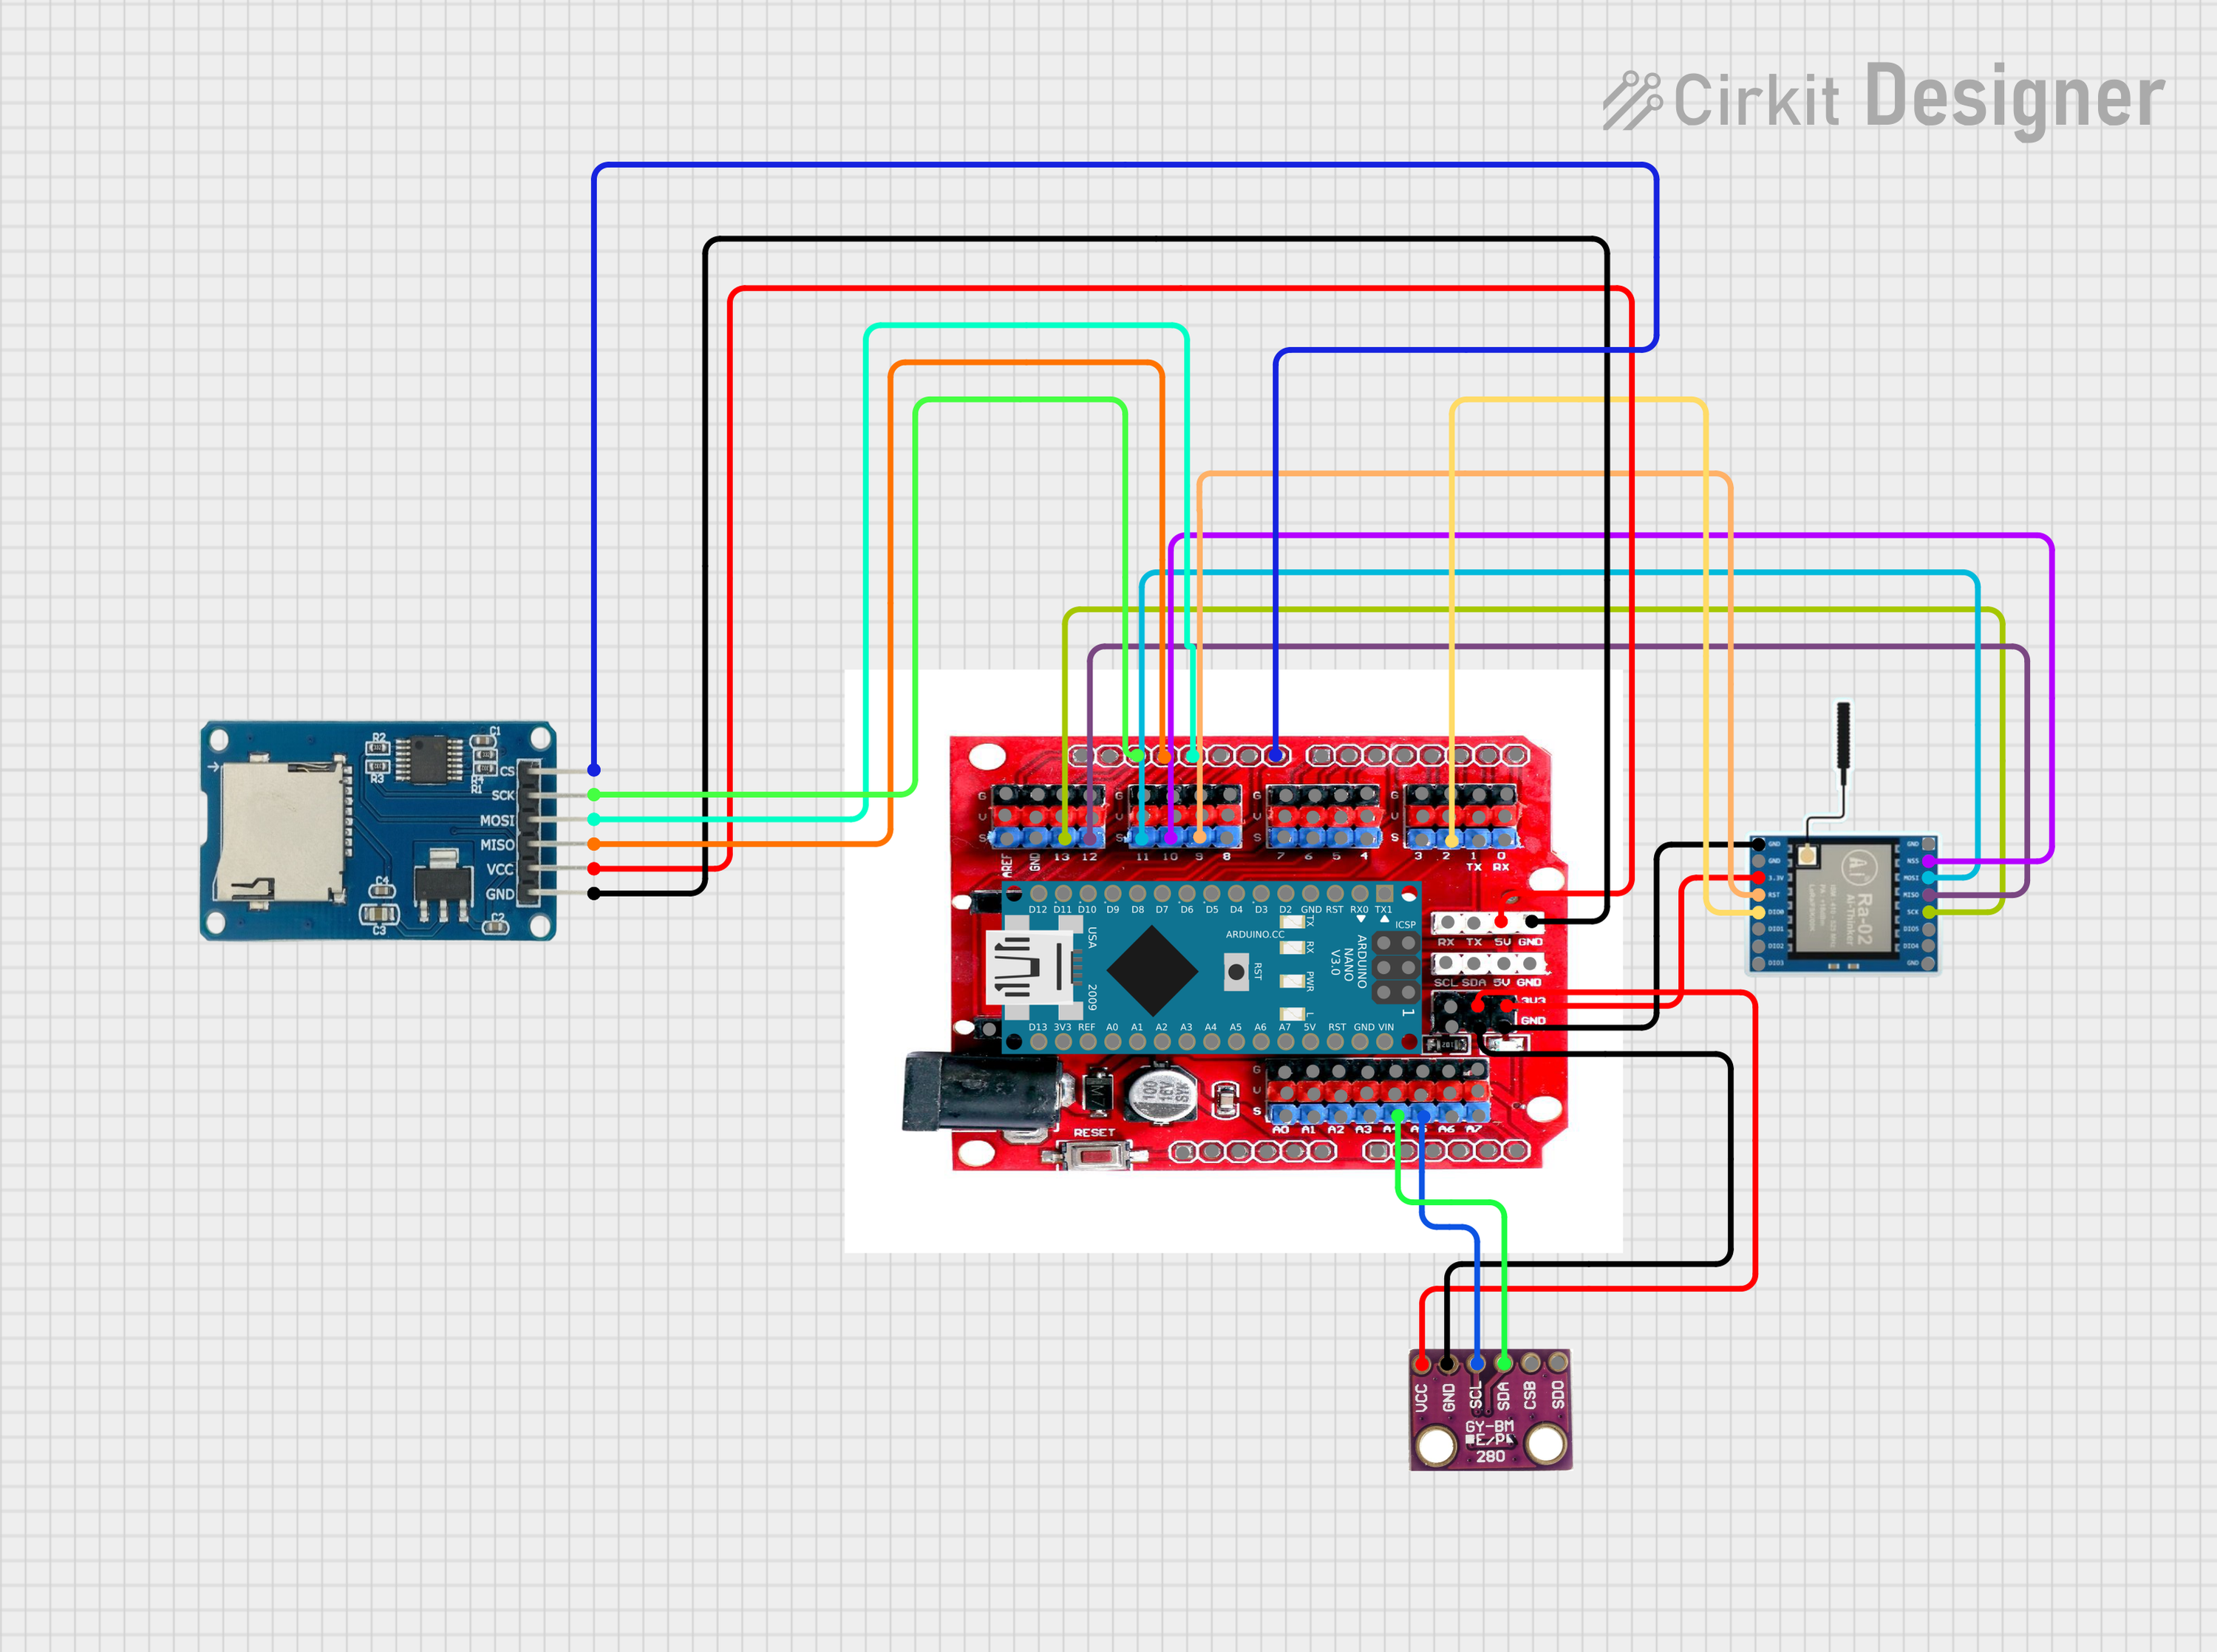
 Open Project in Cirkit Designer
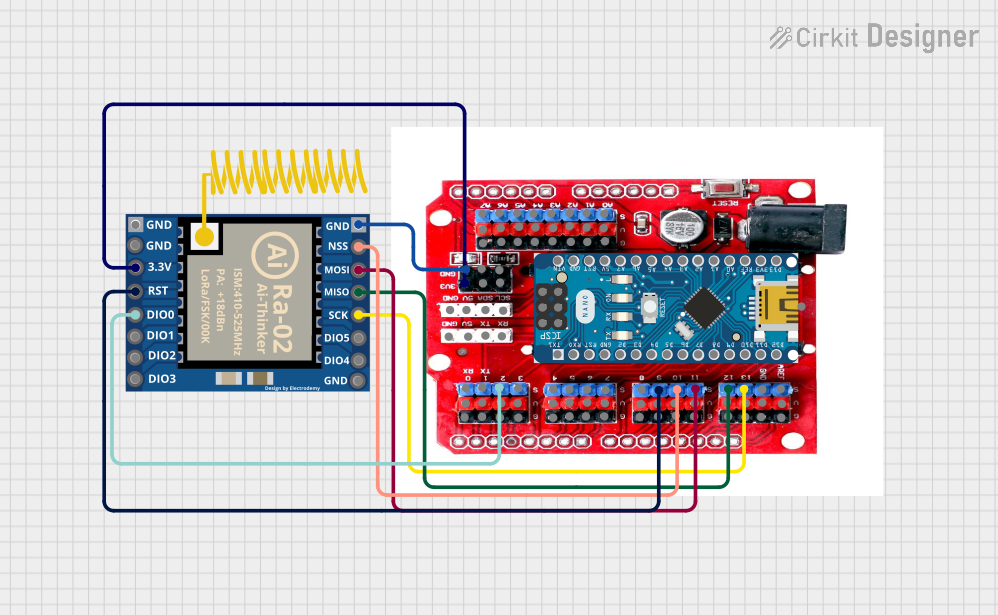
 Open Project in Cirkit Designer
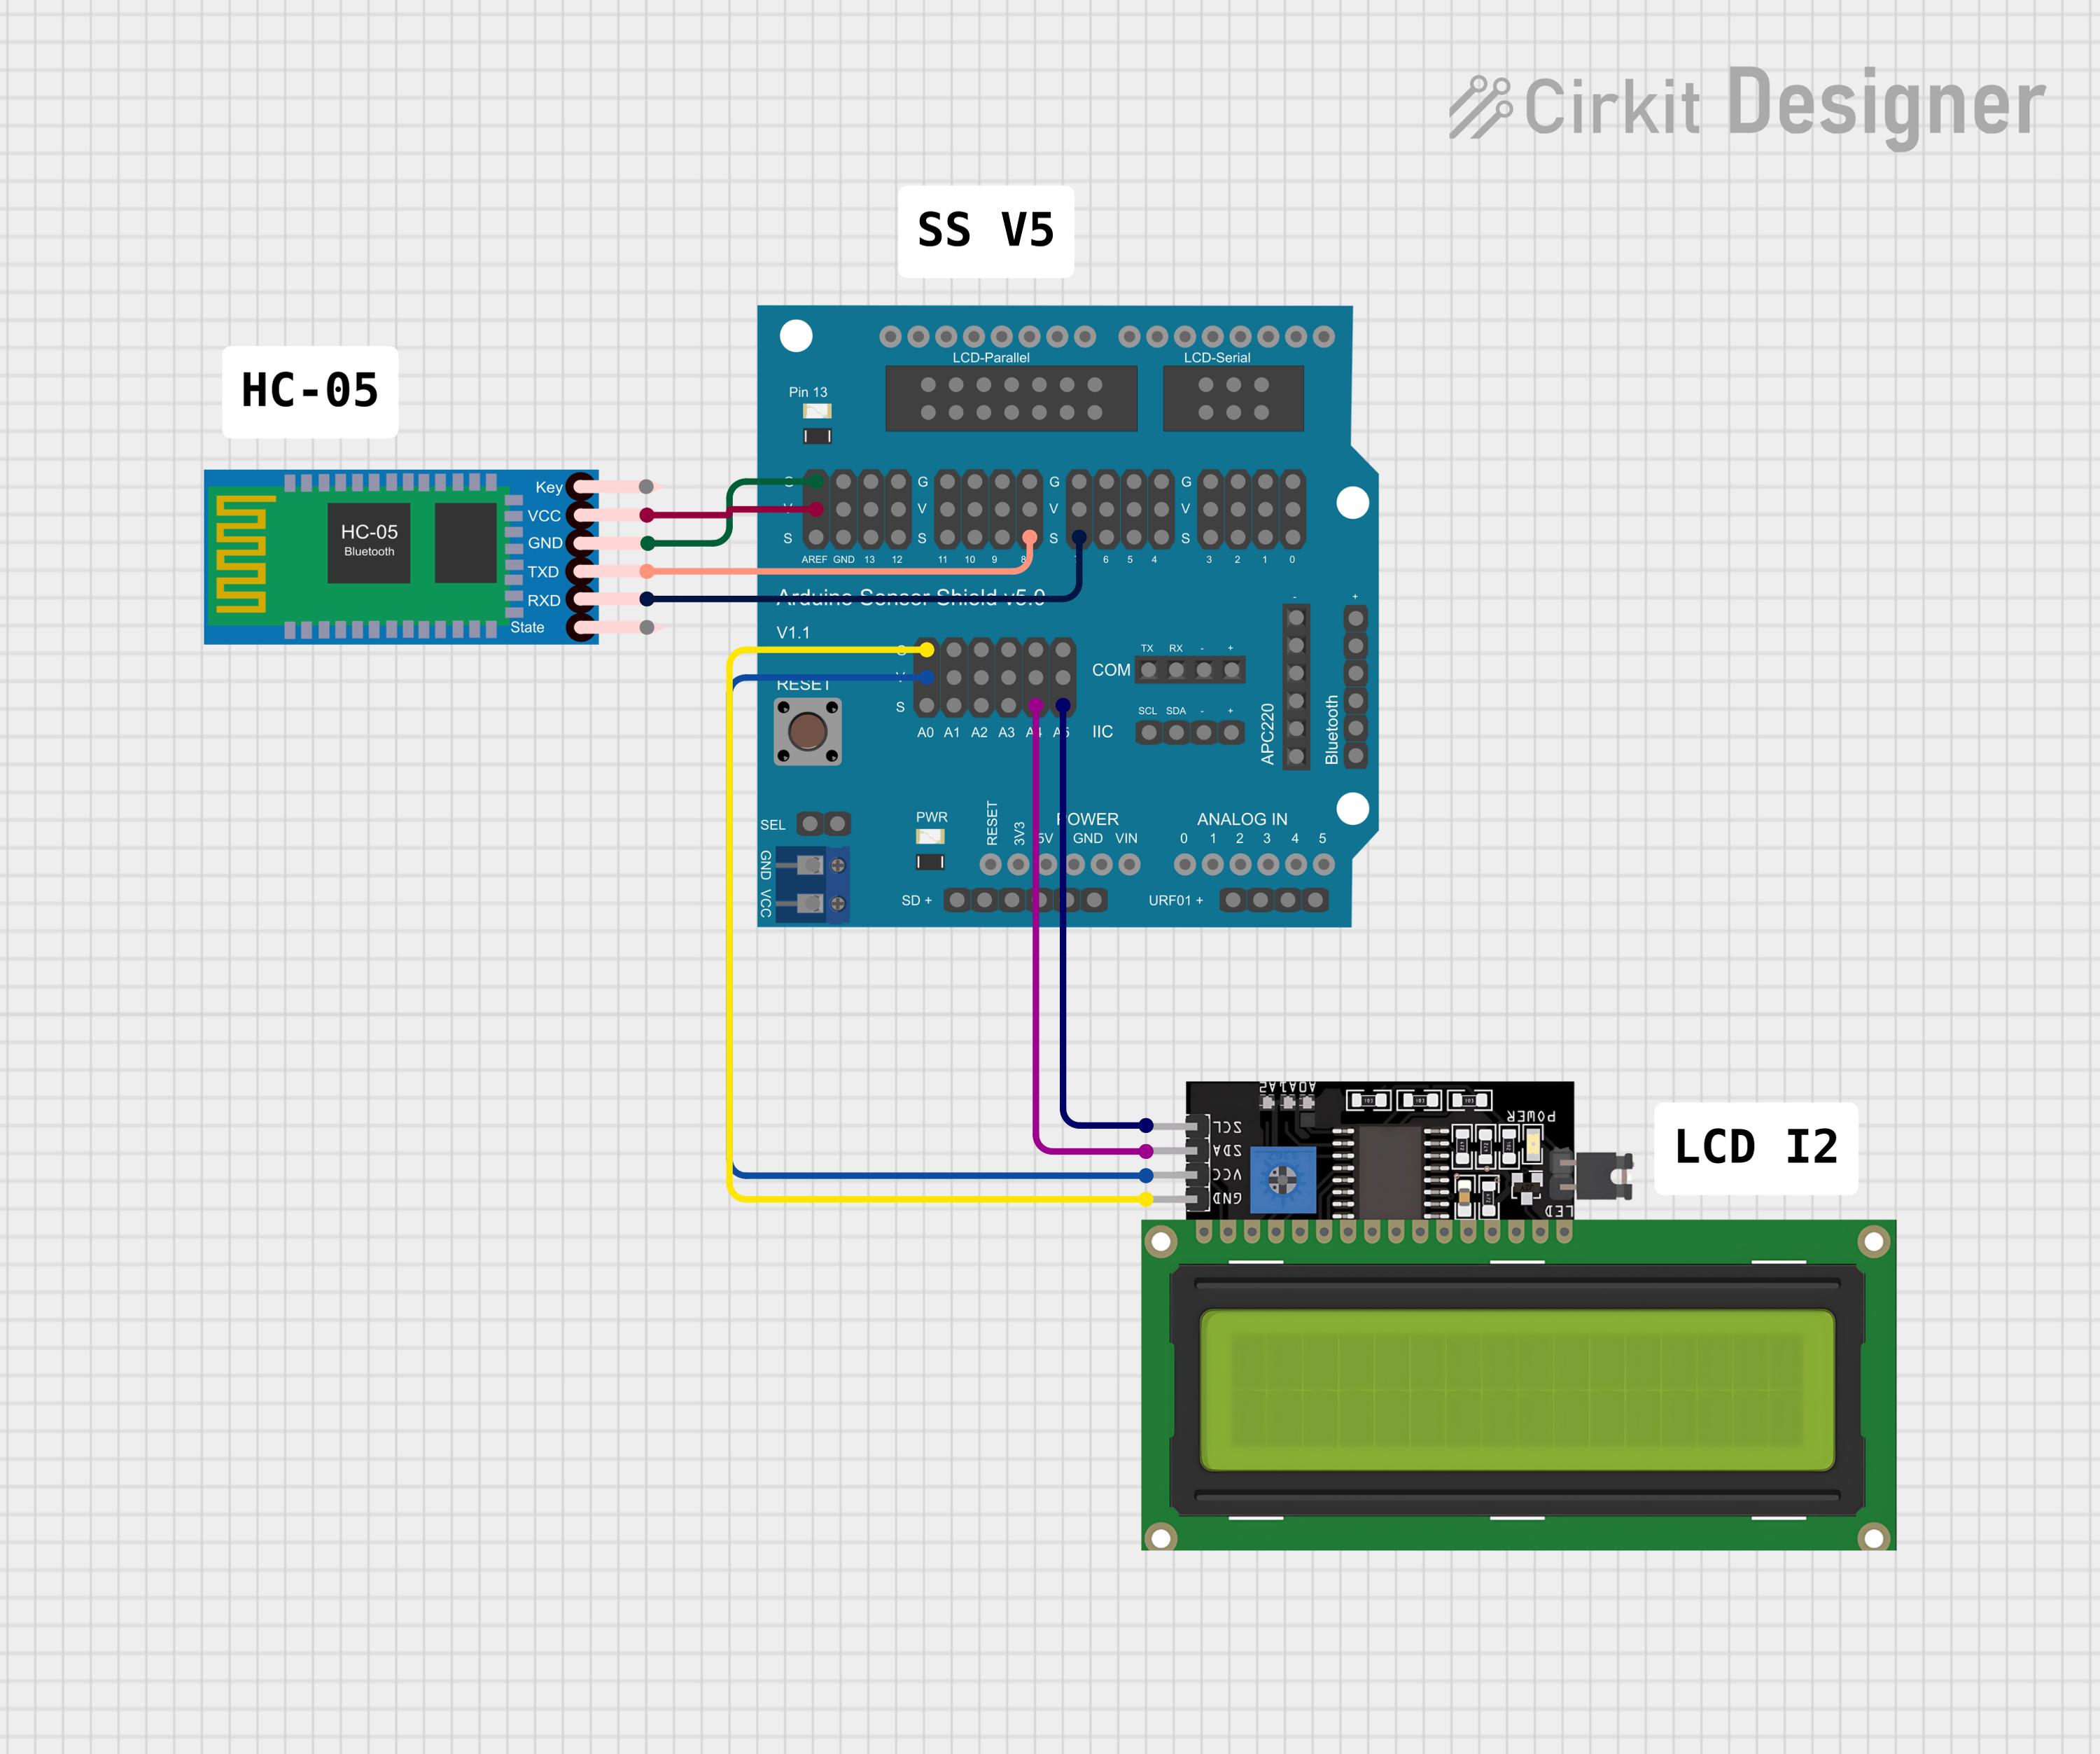
 Open Project in Cirkit Designer
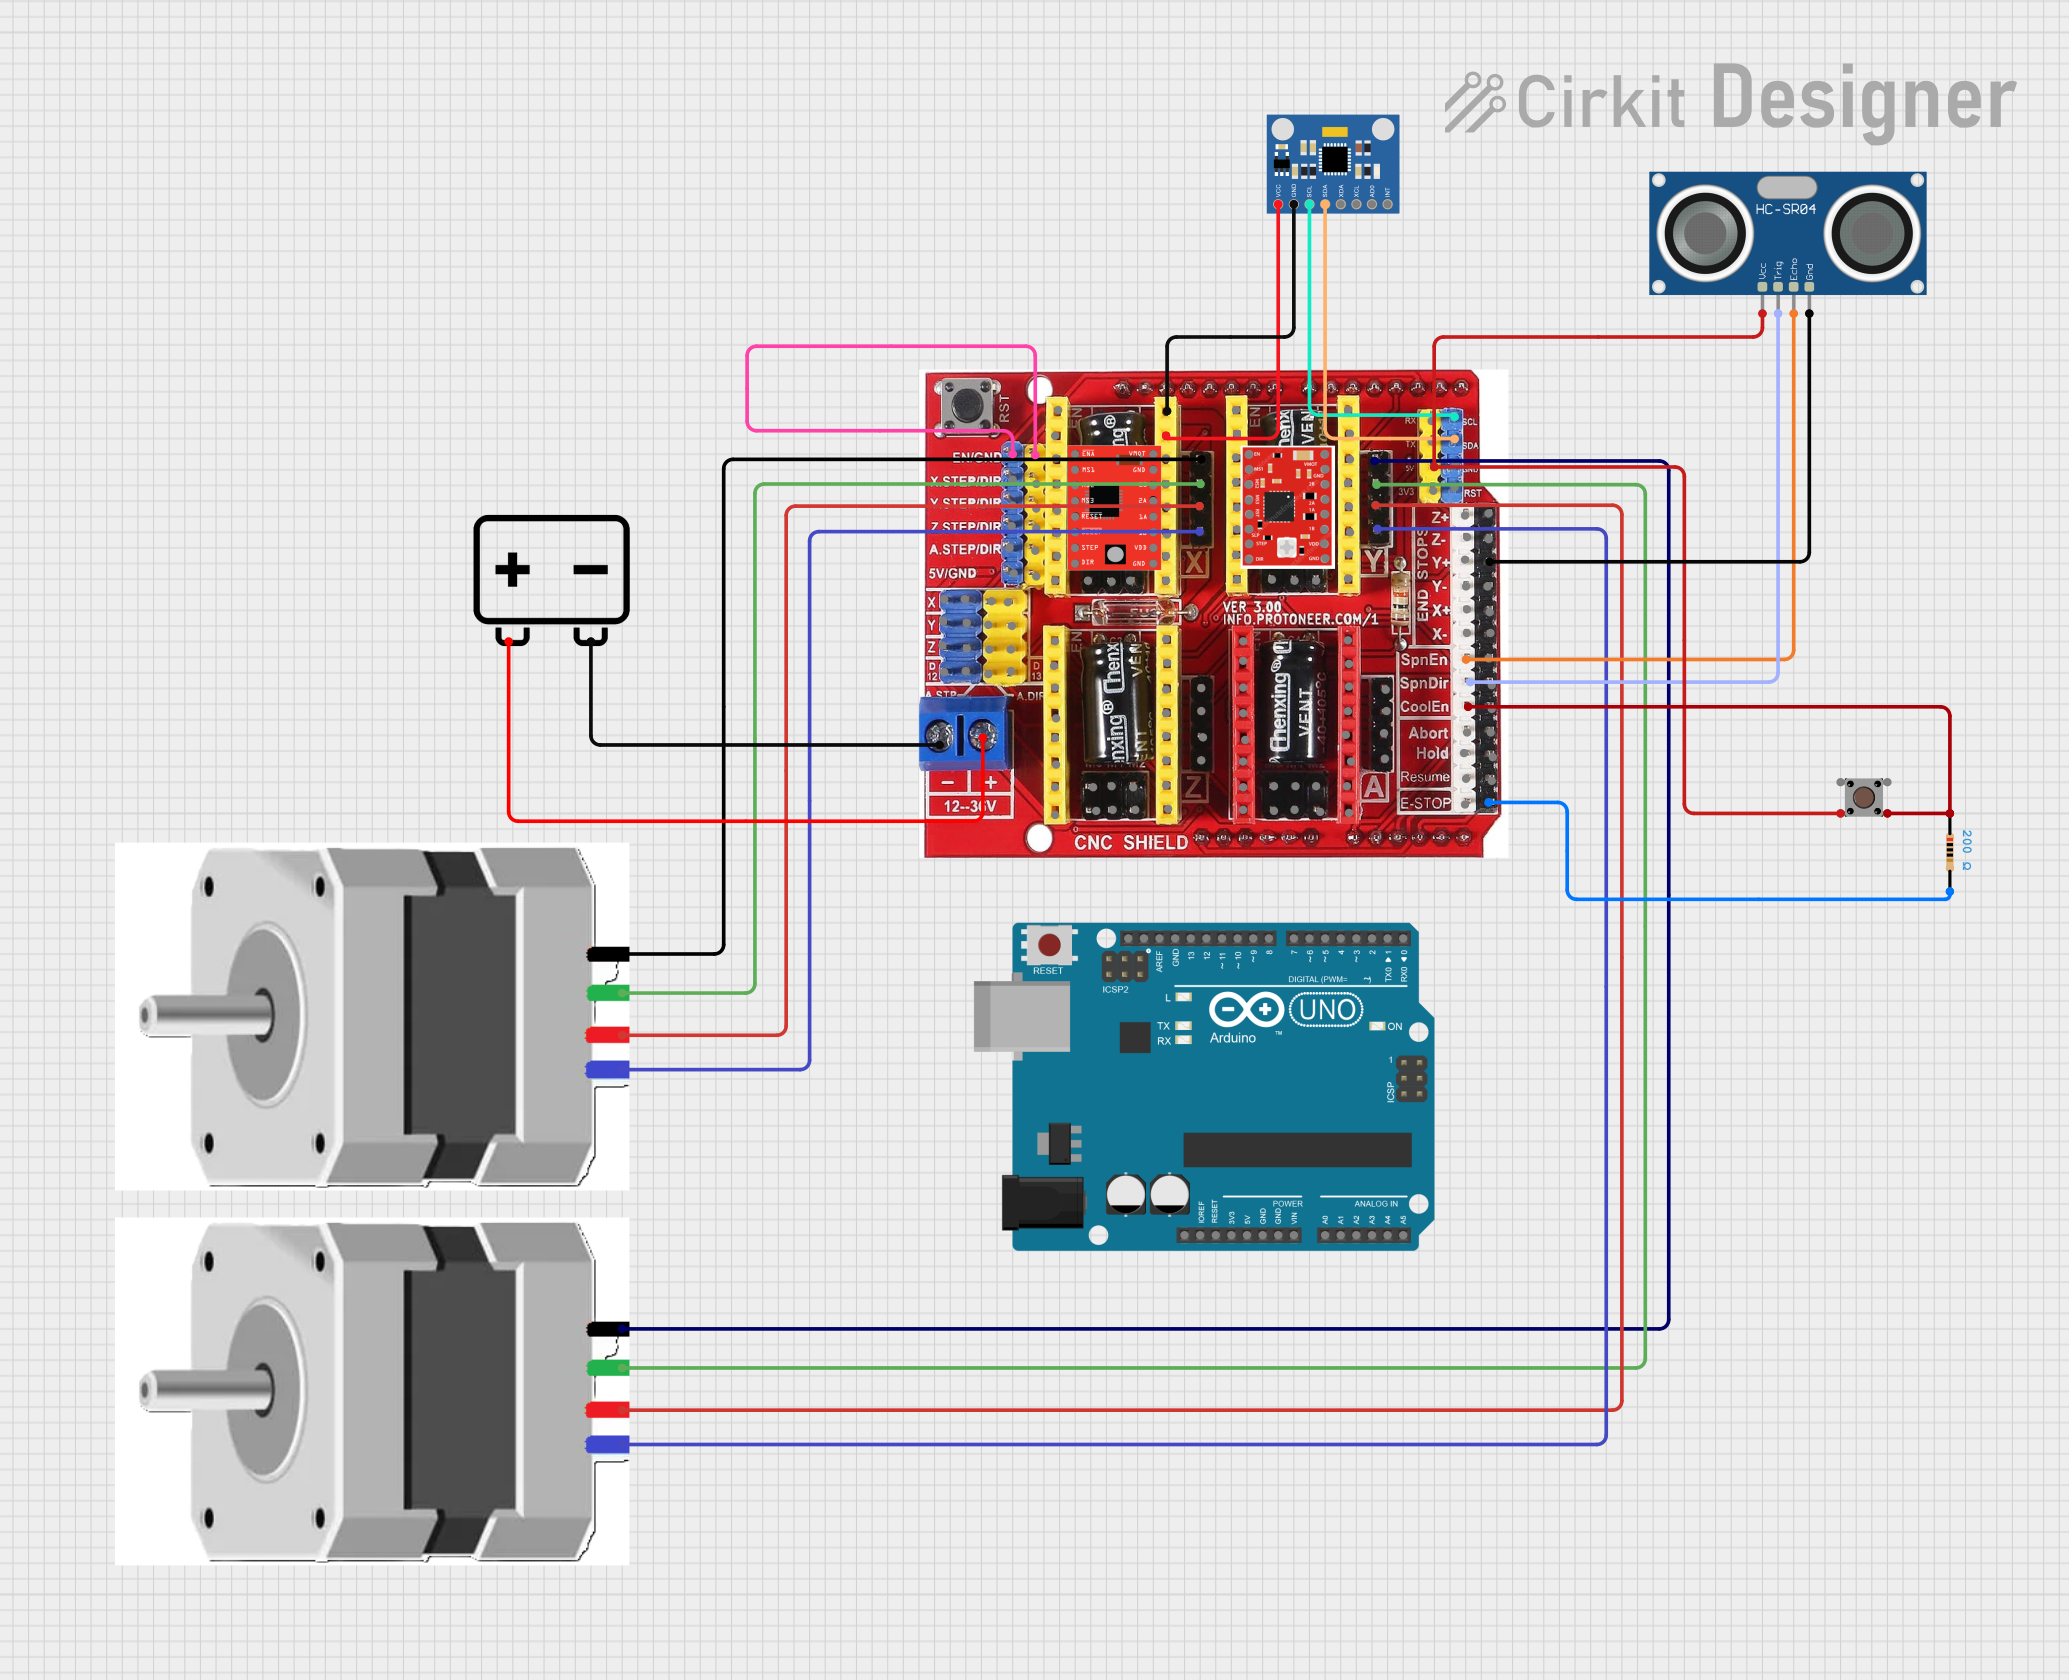
 Open Project in Cirkit Designer
Explore Projects Built with UCSC Nucleo I/O Shield

 Open Project in Cirkit Designer
 Open Project in Cirkit Designer
 Open Project in Cirkit Designer
 Open Project in Cirkit Designer
Common Applications and Use Cases
- Prototyping IoT devices with multiple sensors and actuators
- Robotics projects requiring motor drivers and sensor integration
- Educational projects for learning embedded systems
- Rapid development of industrial control systems
- Home automation and smart device prototyping
Technical Specifications
Key Technical Details
- Input Voltage: 3.3V or 5V (compatible with Nucleo board power supply)
- Interfaces:
- I2C, SPI, UART
- Analog and digital I/O
- Connectors:
- Grove connectors for sensors and actuators
- Standard headers for GPIO access
- Servo motor connectors
- Dimensions: Matches the Nucleo board form factor
- Compatibility: Supports all Nucleo development boards with Arduino-compatible headers
Pin Configuration and Descriptions
The UCSC Nucleo I/O Shield provides access to the following pins and connectors:
| Pin/Connector | Description |
|---|---|
| I2C (SCL, SDA) | I2C communication pins for connecting sensors and peripherals |
| SPI (MOSI, MISO, SCK, CS) | SPI communication pins for high-speed data transfer with external devices |
| UART (TX, RX) | UART communication pins for serial communication |
| Analog Pins (A0-A5) | Analog input pins for reading sensor data |
| Digital Pins (D0-D13) | Digital I/O pins for controlling actuators or reading digital sensors |
| Grove Connectors | Plug-and-play connectors for Grove-compatible modules |
| Servo Connectors | Dedicated connectors for driving servo motors |
| Power Pins (3.3V, 5V, GND) | Power supply pins for external modules and peripherals |
Usage Instructions
How to Use the Component in a Circuit
- Attach the Shield: Plug the UCSC Nucleo I/O Shield onto the Nucleo development board, ensuring proper alignment of the headers.
- Connect Peripherals: Use the Grove connectors, servo connectors, or GPIO headers to attach sensors, actuators, or other peripherals.
- Power the System: Power the Nucleo board via USB or an external power source. The shield will draw power from the Nucleo board.
- Program the Nucleo Board: Write and upload your code to the Nucleo board using an IDE like STM32CubeIDE or Arduino IDE (if supported).
Important Considerations and Best Practices
- Voltage Compatibility: Ensure that the connected peripherals are compatible with the shield's voltage levels (3.3V or 5V).
- Pin Conflicts: Avoid using the same pins for multiple peripherals to prevent conflicts.
- Current Limits: Do not exceed the current limits of the Nucleo board and shield when powering external devices.
- Secure Connections: Ensure all connectors and headers are securely attached to avoid intermittent connections.
Example Code for Arduino-Compatible Nucleo Boards
The following example demonstrates how to use the I2C interface to read data from a temperature sensor connected to the shield.
#include <Wire.h> // Include the Wire library for I2C communication

#define TEMP_SENSOR_ADDR 0x48 // I2C address of the temperature sensor

void setup() {
  Wire.begin(); // Initialize I2C communication
  Serial.begin(9600); // Start serial communication for debugging
  Serial.println("UCSC Nucleo I/O Shield - Temperature Sensor Example");
}

void loop() {
  Wire.beginTransmission(TEMP_SENSOR_ADDR); // Start communication with the sensor
  Wire.write(0x00); // Request temperature data (register 0x00)
  Wire.endTransmission();

  Wire.requestFrom(TEMP_SENSOR_ADDR, 2); // Request 2 bytes of data from the sensor
  if (Wire.available() == 2) { // Check if 2 bytes are available
    int tempData = Wire.read() << 8 | Wire.read(); // Combine the two bytes
    float temperature = tempData * 0.0625; // Convert to temperature in Celsius
    Serial.print("Temperature: ");
    Serial.print(temperature);
    Serial.println(" °C");
  } else {
    Serial.println("Error: No data received from sensor");
  }

  delay(1000); // Wait 1 second before the next reading
}
Troubleshooting and FAQs
Common Issues and Solutions
Shield Not Detected by Nucleo Board:
- Ensure the shield is properly aligned and securely attached to the Nucleo board.
- Verify that the Nucleo board is powered on and functioning correctly.
Peripherals Not Responding:
- Check the wiring and connections to the shield.
- Confirm that the peripheral's voltage and current requirements are within the shield's limits.
- Verify that the correct pins and communication protocols are used in the code.
I2C/SPI Communication Fails:
- Ensure the correct I2C address or SPI settings (e.g., clock speed) are used in the code.
- Check for conflicting devices on the same bus.
Servo Motors Not Moving:
- Verify that the servo motor is connected to the correct servo connector.
- Ensure the power supply can handle the current requirements of the servo motor.
FAQs
Q: Can I use the UCSC Nucleo I/O Shield with non-Nucleo boards?
A: The shield is designed for Nucleo boards with Arduino-compatible headers. It may work with other boards that have the same header layout, but compatibility is not guaranteed.
Q: How many Grove modules can I connect simultaneously?
A: The shield provides multiple Grove connectors, but the exact number of modules depends on the available GPIO pins and communication buses.
Q: Is the shield compatible with 5V sensors?
A: Yes, the shield supports both 3.3V and 5V peripherals. Ensure the correct voltage is selected for your application.
Q: Can I stack multiple shields on a single Nucleo board?
A: Stacking is possible if there are no pin conflicts between the shields. Check the pin usage of each shield before stacking.