How to Use EmStat Pico: Examples, Pinouts, and Specs
Introduction
The EmStat Pico, manufactured by PalmSens, is a compact and versatile potentiostat module designed for electrochemical measurements. This module is ideal for integration into a wide range of devices and applications, including biosensors, environmental monitoring, and educational tools. Its small form factor and robust performance make it a popular choice for both researchers and developers.
Explore Projects Built with EmStat Pico


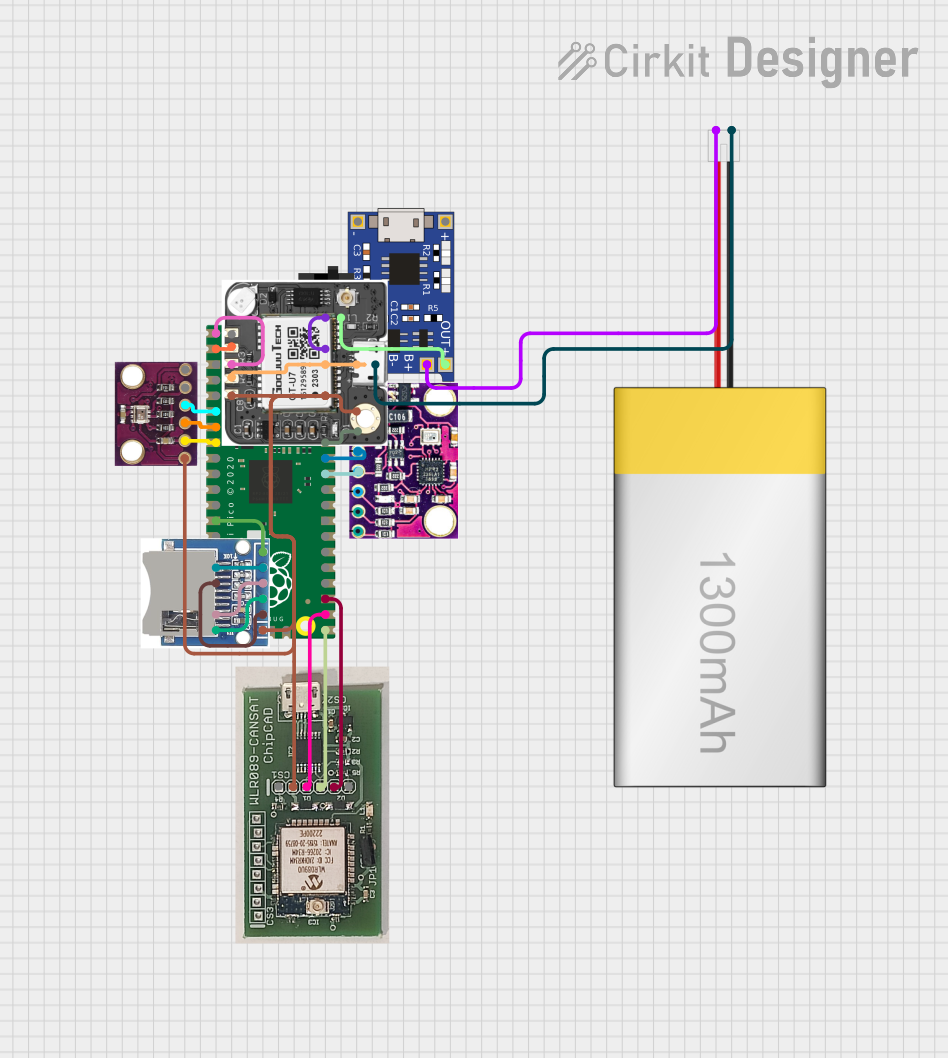

Explore Projects Built with EmStat Pico
Technical Specifications
Key Technical Details
| Parameter | Value |
|---|---|
| Manufacturer | PalmSens |
| Part ID | Pico |
| Operating Voltage | 3.3V - 5V |
| Current Range | ±1 nA to ±10 mA |
| Potential Range | ±3 V |
| Communication Interface | UART, I2C, SPI |
| Dimensions | 30 mm x 18 mm x 2.6 mm |
| Operating Temperature | -20°C to 60°C |
Pin Configuration and Descriptions
| Pin Number | Pin Name | Description |
|---|---|---|
| 1 | VCC | Power supply (3.3V - 5V) |
| 2 | GND | Ground |
| 3 | TX | UART Transmit |
| 4 | RX | UART Receive |
| 5 | SCL | I2C Clock |
| 6 | SDA | I2C Data |
| 7 | SCK | SPI Clock |
| 8 | MISO | SPI Master In Slave Out |
| 9 | MOSI | SPI Master Out Slave In |
| 10 | CS | SPI Chip Select |
| 11 | WE | Working Electrode |
| 12 | RE | Reference Electrode |
| 13 | CE | Counter Electrode |
Usage Instructions
How to Use the EmStat Pico in a Circuit
- Power Supply: Connect the VCC pin to a 3.3V or 5V power source and the GND pin to the ground.
- Communication Interface: Choose the appropriate communication interface (UART, I2C, or SPI) and connect the corresponding pins to your microcontroller or development board.
- Electrode Connections: Connect the Working Electrode (WE), Reference Electrode (RE), and Counter Electrode (CE) to your electrochemical cell.
- Initialization: Initialize the communication interface in your microcontroller's firmware.
- Measurement: Send commands to the EmStat Pico to perform electrochemical measurements and read the results.
Important Considerations and Best Practices
- Power Supply: Ensure a stable power supply to avoid measurement inaccuracies.
- Electrode Quality: Use high-quality electrodes to achieve reliable and reproducible results.
- Calibration: Regularly calibrate the EmStat Pico to maintain accuracy.
- Environmental Conditions: Operate within the specified temperature range to prevent damage and ensure optimal performance.
Example Code for Arduino UNO
#include <Wire.h> // Include Wire library for I2C communication

#define EMSTAT_PICO_ADDRESS 0x48 // I2C address of EmStat Pico

void setup() {
  Serial.begin(9600); // Initialize serial communication at 9600 baud
  Wire.begin(); // Initialize I2C communication
  initializeEmStatPico(); // Function to initialize EmStat Pico
}

void loop() {
  // Example function to read data from EmStat Pico
  readEmStatPicoData();
  delay(1000); // Wait for 1 second before next read
}

void initializeEmStatPico() {
  Wire.beginTransmission(EMSTAT_PICO_ADDRESS);
  // Send initialization commands to EmStat Pico
  Wire.write(0x01); // Example command
  Wire.endTransmission();
}

void readEmStatPicoData() {
  Wire.requestFrom(EMSTAT_PICO_ADDRESS, 2); // Request 2 bytes of data
  if (Wire.available()) {
    int data = Wire.read() << 8 | Wire.read(); // Read and combine 2 bytes
    Serial.print("EmStat Pico Data: ");
    Serial.println(data); // Print the data to serial monitor
  }
}
Troubleshooting and FAQs
Common Issues and Solutions
No Communication with EmStat Pico:
- Solution: Check the wiring connections and ensure the correct communication interface is selected. Verify the I2C address or UART/SPI settings.
Inaccurate Measurements:
- Solution: Ensure a stable power supply and high-quality electrodes. Regularly calibrate the EmStat Pico and operate within the specified temperature range.
Device Not Responding:
- Solution: Reset the EmStat Pico by cycling the power. Check for any firmware updates from PalmSens.
FAQs
Q1: Can the EmStat Pico be used with other microcontrollers besides Arduino?
- A1: Yes, the EmStat Pico can be used with any microcontroller that supports UART, I2C, or SPI communication interfaces.
Q2: What types of electrochemical measurements can the EmStat Pico perform?
- A2: The EmStat Pico can perform various electrochemical measurements, including cyclic voltammetry, chronoamperometry, and differential pulse voltammetry.
Q3: How do I calibrate the EmStat Pico?
- A3: Calibration procedures are provided in the EmStat Pico user manual. Follow the instructions to perform regular calibration for accurate measurements.
Q4: Can I use the EmStat Pico in outdoor applications?
- A4: Yes, but ensure the module is protected from extreme environmental conditions and operates within the specified temperature range.
For more detailed information and support, refer to the official PalmSens documentation and user manual for the EmStat Pico.