
How to Use Soil moisture sensor: Examples, Pinouts, and Specs
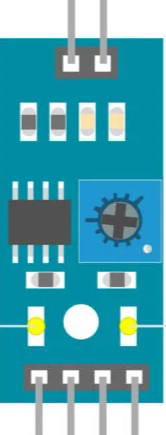
 Design with Soil moisture sensor in Cirkit Designer
Introduction
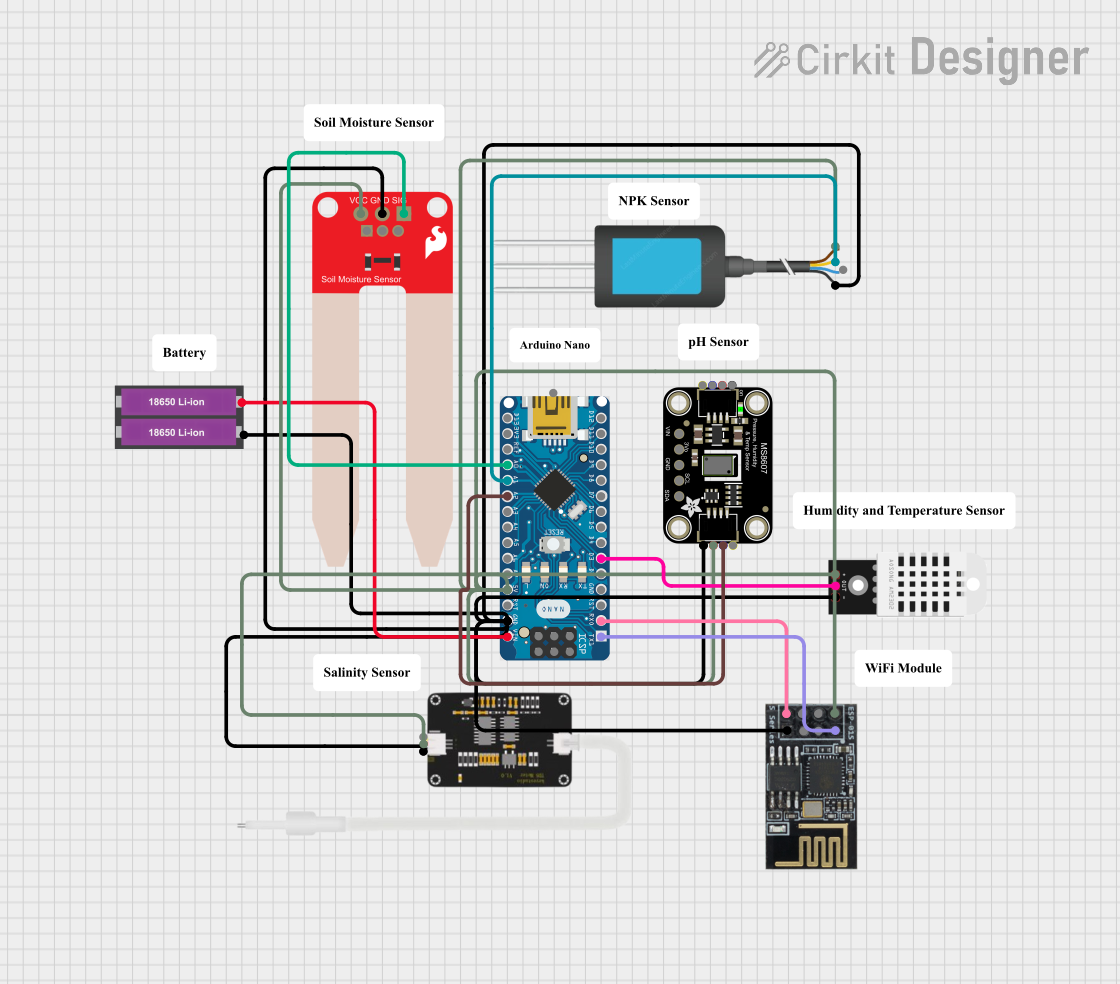
The soil moisture sensor is a device used to measure the volumetric water content in soil. It provides real-time data that is essential for irrigation management, plant health monitoring, and agricultural automation. By detecting the moisture level in the soil, this sensor helps optimize water usage, prevent overwatering, and ensure the health of plants.
Explore Projects Built with Soil moisture sensor
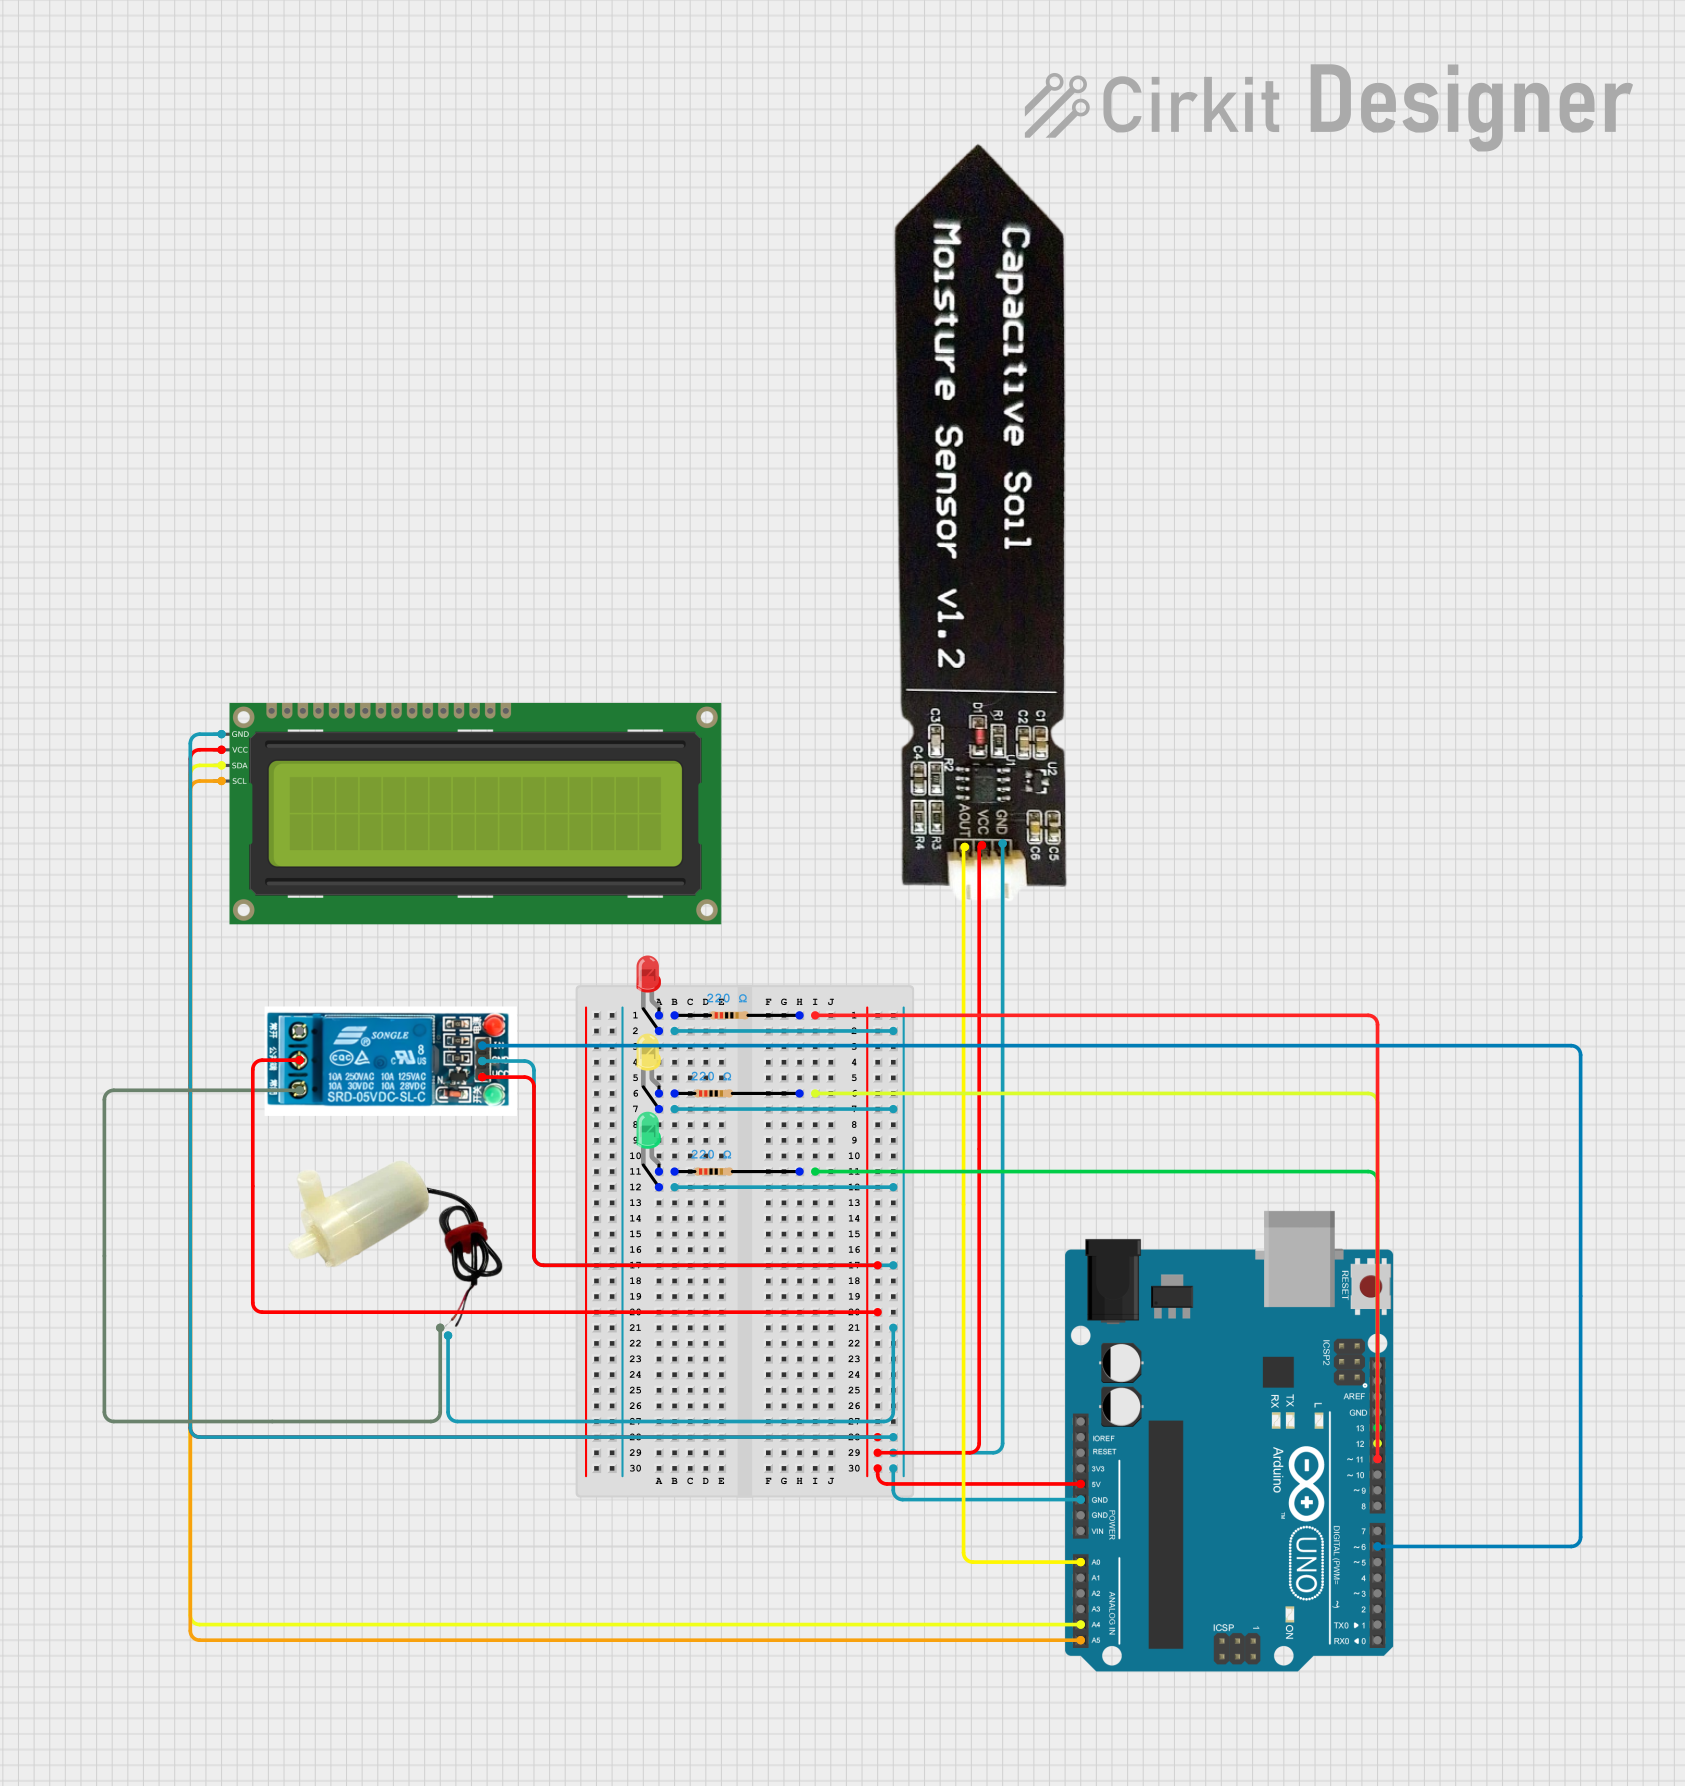
 Open Project in Cirkit Designer
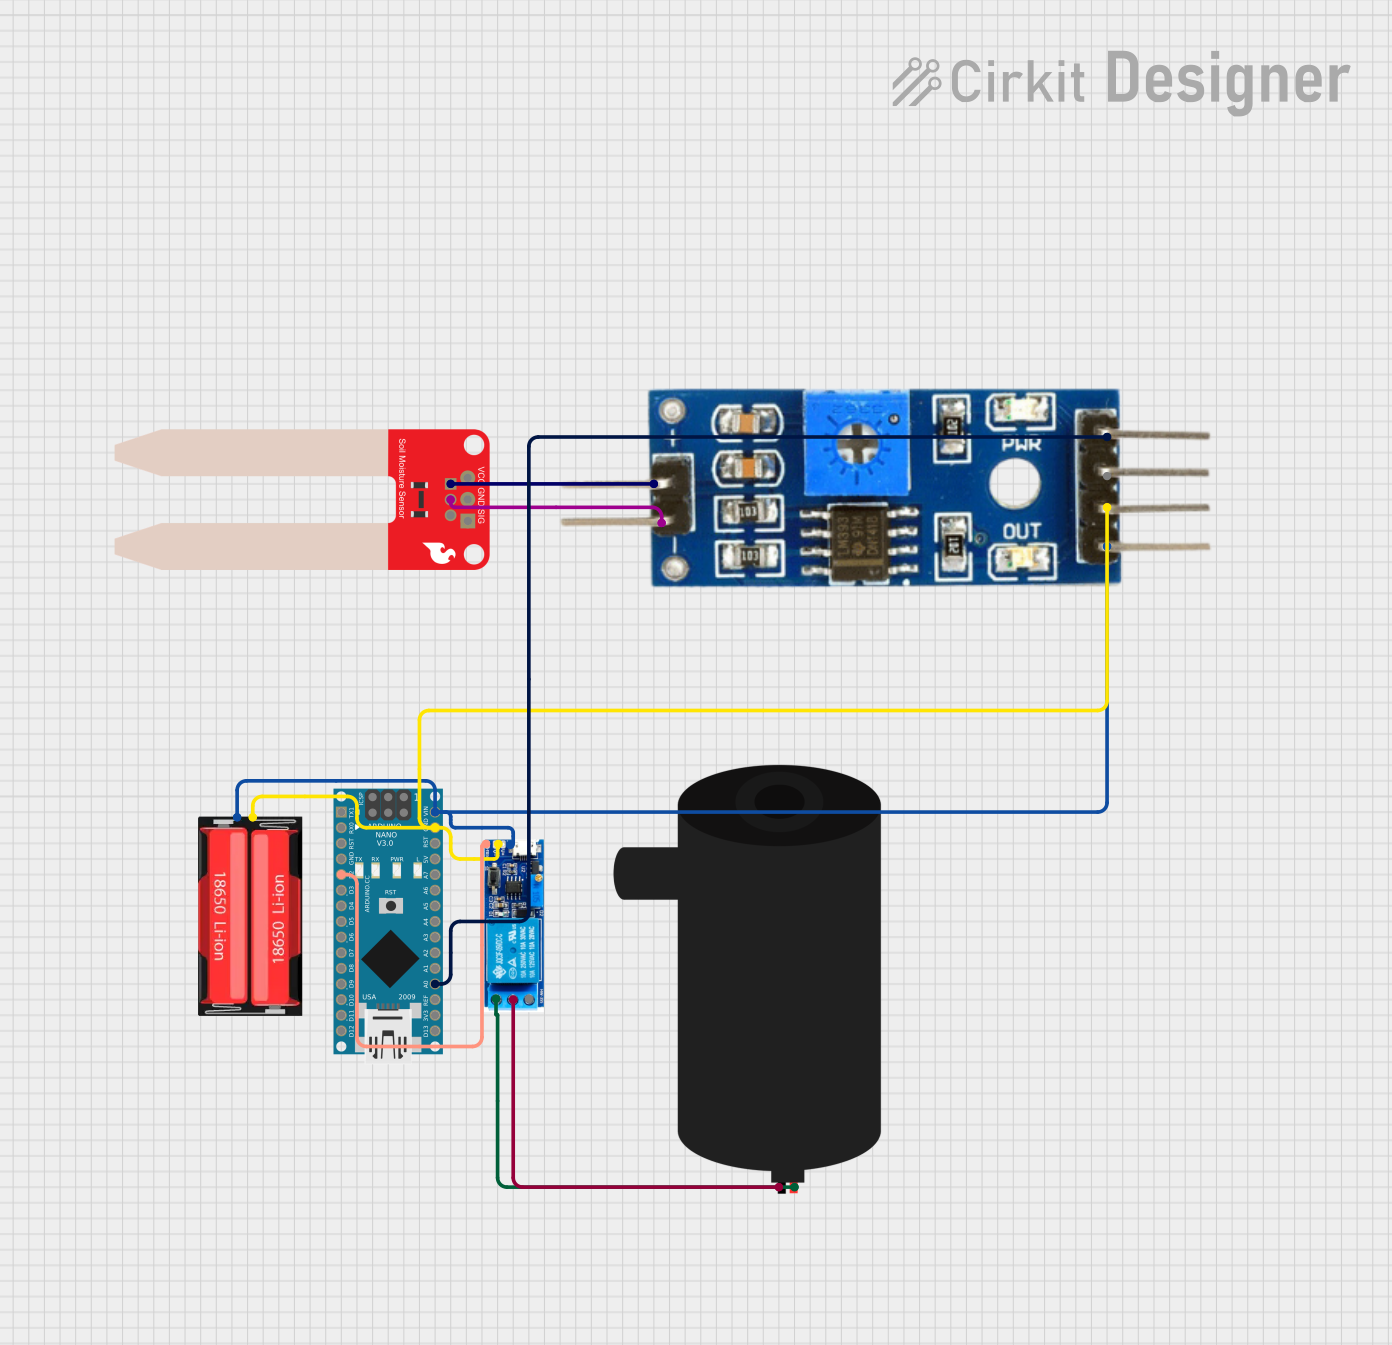
 Open Project in Cirkit Designer
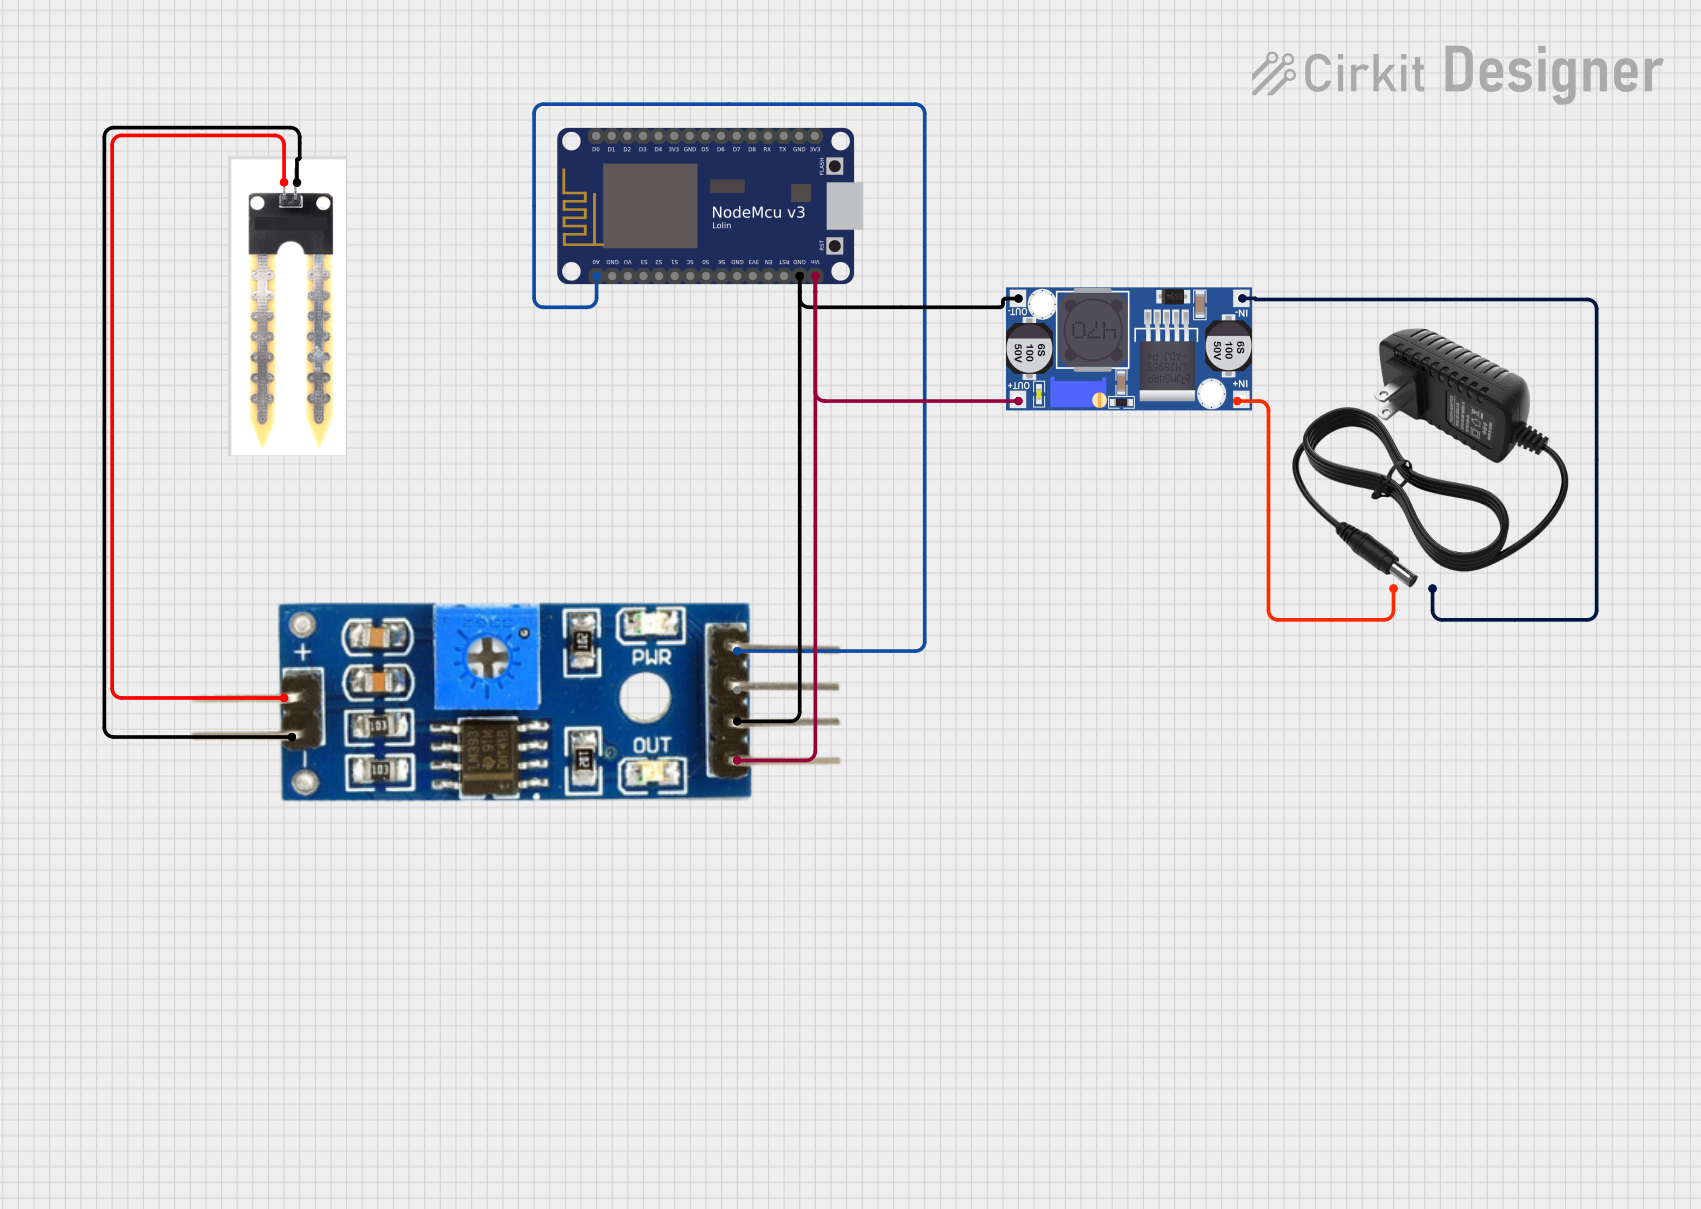
 Open Project in Cirkit Designer
 Open Project in Cirkit Designer
Explore Projects Built with Soil moisture sensor

 Open Project in Cirkit Designer
 Open Project in Cirkit Designer
 Open Project in Cirkit Designer
 Open Project in Cirkit Designer
Common Applications and Use Cases
- Smart irrigation systems
- Greenhouse automation
- Gardening and landscaping
- Agricultural research and monitoring
- Environmental studies
Technical Specifications
The soil moisture sensor typically consists of two probes that measure the resistance of the soil, which correlates to its moisture content. Below are the key technical details:
General Specifications
| Parameter | Value |
|---|---|
| Operating Voltage | 3.3V - 5V |
| Operating Current | < 20mA |
| Output Type | Analog and Digital |
| Measurement Range | 0% (dry) to 100% (wet) |
| Dimensions | Varies by model (e.g., 60mm x 20mm) |
Pin Configuration
| Pin Name | Description |
|---|---|
| VCC | Power supply pin (3.3V - 5V) |
| GND | Ground pin |
| A0 | Analog output pin (provides a voltage proportional to soil moisture level) |
| D0 | Digital output pin (provides HIGH or LOW based on a threshold setting) |
Usage Instructions
How to Use the Component in a Circuit
Connect the Sensor to a Microcontroller:
- Connect the
VCCpin to the 3.3V or 5V power supply of your microcontroller. - Connect the
GNDpin to the ground of the microcontroller. - Connect the
A0pin to an analog input pin (e.g., A0 on an Arduino UNO) to read the moisture level. - Optionally, connect the
D0pin to a digital input pin if you want to use the threshold-based digital output.
- Connect the
Insert the Probes into the Soil:
- Place the sensor's probes into the soil at the desired depth. Ensure the probes are fully inserted for accurate readings.
Calibrate the Sensor:
- For the digital output, adjust the potentiometer on the sensor module to set the desired moisture threshold.
Important Considerations and Best Practices
- Avoid prolonged exposure of the sensor to water, as it may cause corrosion. Use corrosion-resistant models for long-term applications.
- Do not power the sensor continuously for extended periods. Use a transistor or relay to control power to the sensor when not in use.
- Ensure proper insertion of the probes into the soil for consistent readings.
- For outdoor use, protect the sensor and connections from environmental factors like rain and extreme temperatures.
Example Code for Arduino UNO
Below is an example code to read the soil moisture level using the analog output (A0) of the sensor:
// Define the analog pin connected to the sensor
const int sensorPin = A0;

// Variable to store the sensor value
int sensorValue;

void setup() {
  // Initialize serial communication for debugging
  Serial.begin(9600);
}

void loop() {
  // Read the analog value from the sensor
  sensorValue = analogRead(sensorPin);

  // Map the sensor value to a percentage (0% to 100%)
  int moisturePercent = map(sensorValue, 0, 1023, 0, 100);

  // Print the moisture percentage to the Serial Monitor
  Serial.print("Soil Moisture: ");
  Serial.print(moisturePercent);
  Serial.println("%");

  // Wait for 1 second before the next reading
  delay(1000);
}
Notes:
- The
map()function in the code converts the raw analog value (0-1023) to a percentage (0-100%). - Adjust the mapping range if your sensor's output differs.
Troubleshooting and FAQs
Common Issues and Solutions
No Output or Incorrect Readings:
- Ensure the sensor is properly connected to the microcontroller.
- Verify that the power supply voltage matches the sensor's operating range.
- Check for loose or corroded connections.
Fluctuating or Unstable Readings:
- Ensure the probes are fully inserted into the soil.
- Avoid using the sensor in extremely dry or rocky soil, as this may affect accuracy.
- Use a capacitor across the power supply pins to reduce noise.
Sensor Corrosion:
- Use a corrosion-resistant sensor for long-term applications.
- Limit the sensor's exposure to water by powering it only when taking measurements.
FAQs
Q: Can the sensor be used in outdoor environments?
A: Yes, but it is recommended to use a waterproof and corrosion-resistant model. Protect the connections from rain and extreme weather.
Q: How do I know if the soil is too dry or too wet?
A: Use the analog output to measure the moisture level. A low percentage indicates dry soil, while a high percentage indicates wet soil. You can set thresholds based on your specific application.
Q: Can I use multiple sensors with one microcontroller?
A: Yes, connect each sensor to a separate analog input pin. Ensure the microcontroller has enough pins and processing capacity for multiple sensors.
Q: How often should I take readings?
A: This depends on your application. For irrigation systems, readings every 10-30 minutes are typically sufficient.