How to Use MH-RD Rain Sensor: Examples, Pinouts, and Specs
Introduction
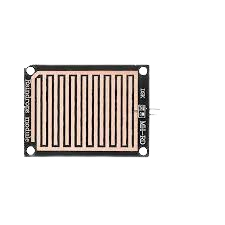
The MH-RD Rain Sensor is a simple yet effective electronic component designed to detect the presence of rain. It consists of a rain detection board and a control module. When rainwater comes into contact with the detection board, the sensor outputs a signal that can be used in various applications. This sensor is commonly used in automated irrigation systems, weather monitoring stations, and smart home projects to prevent unnecessary watering or to trigger alerts during rainfall.
Explore Projects Built with MH-RD Rain Sensor
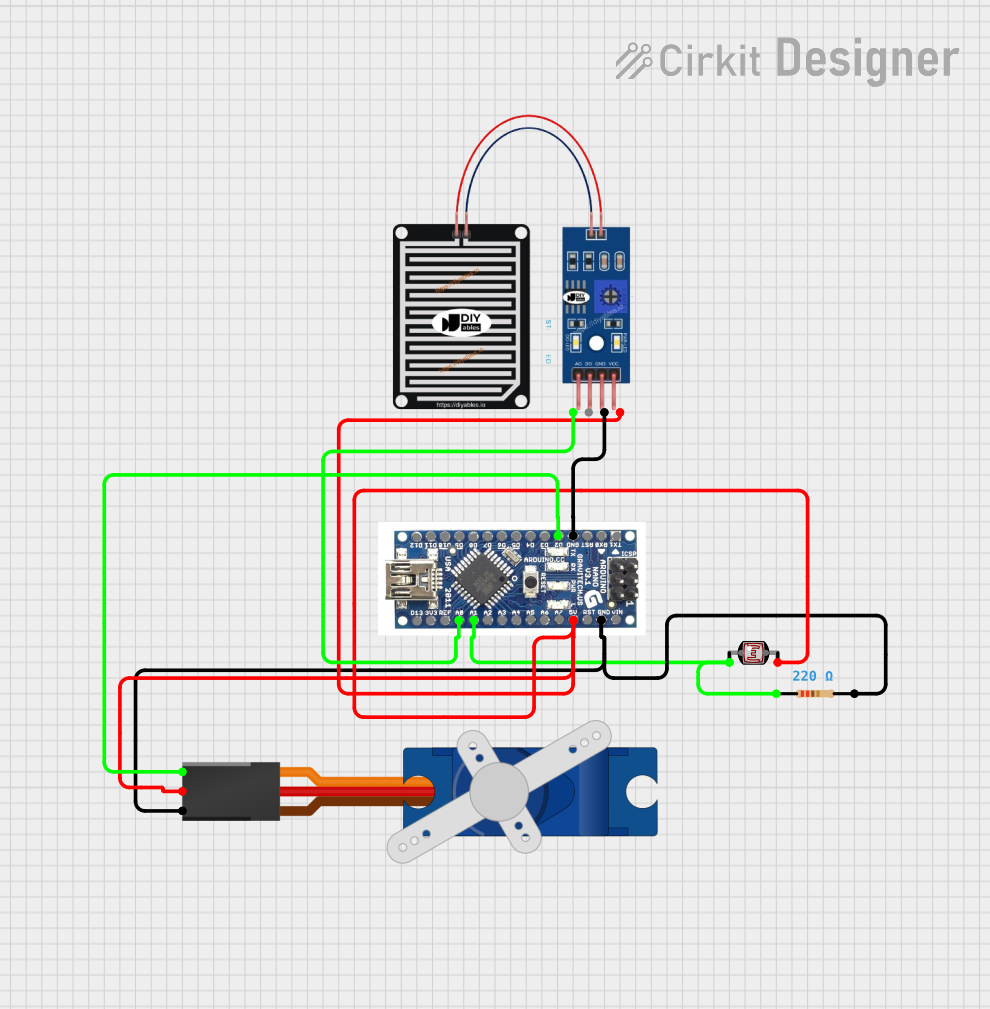
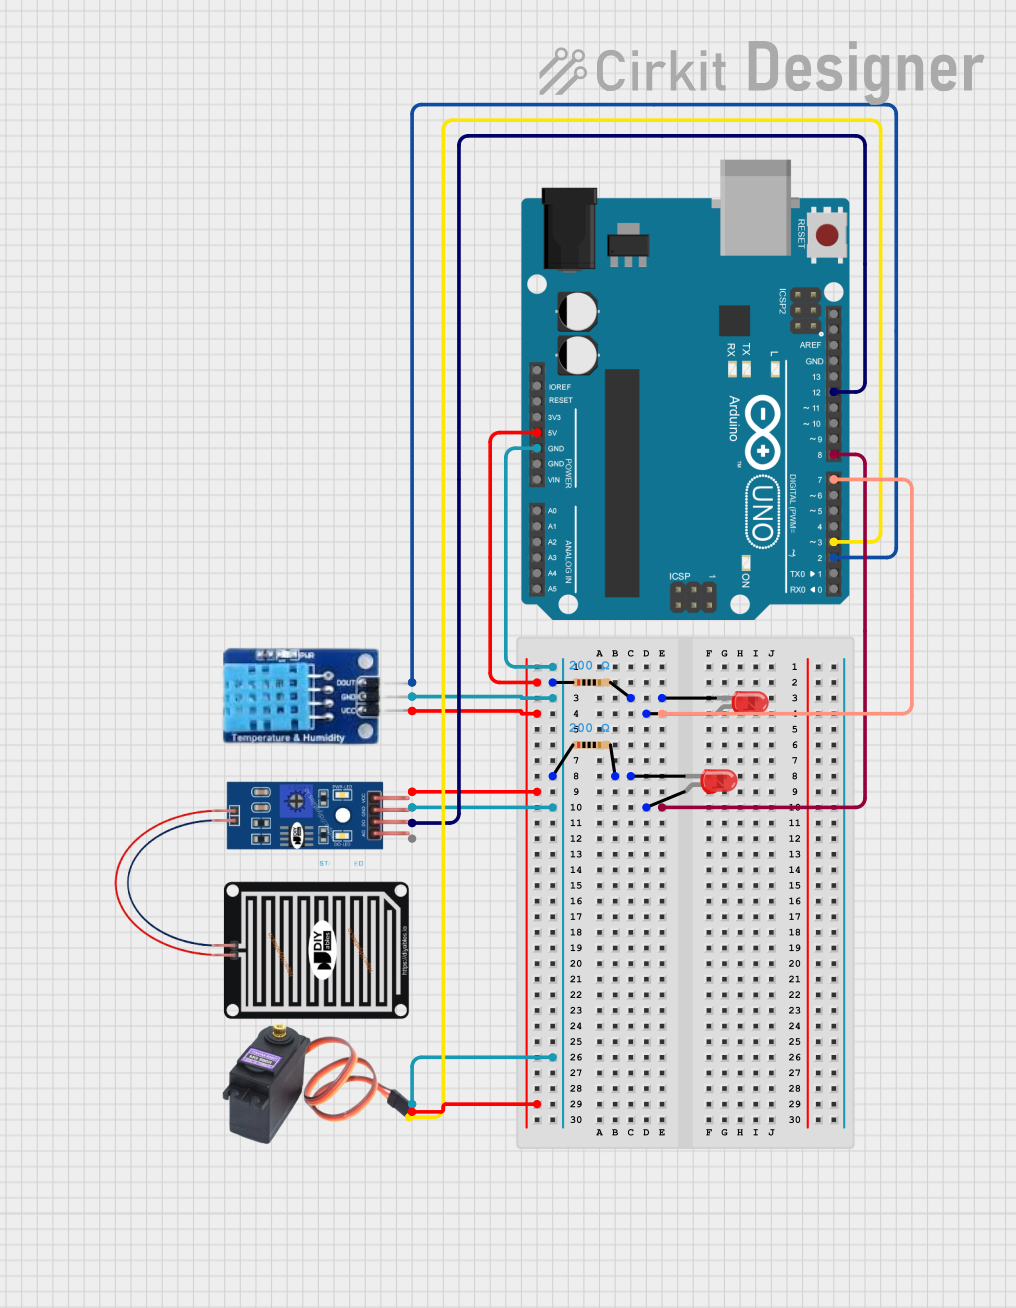
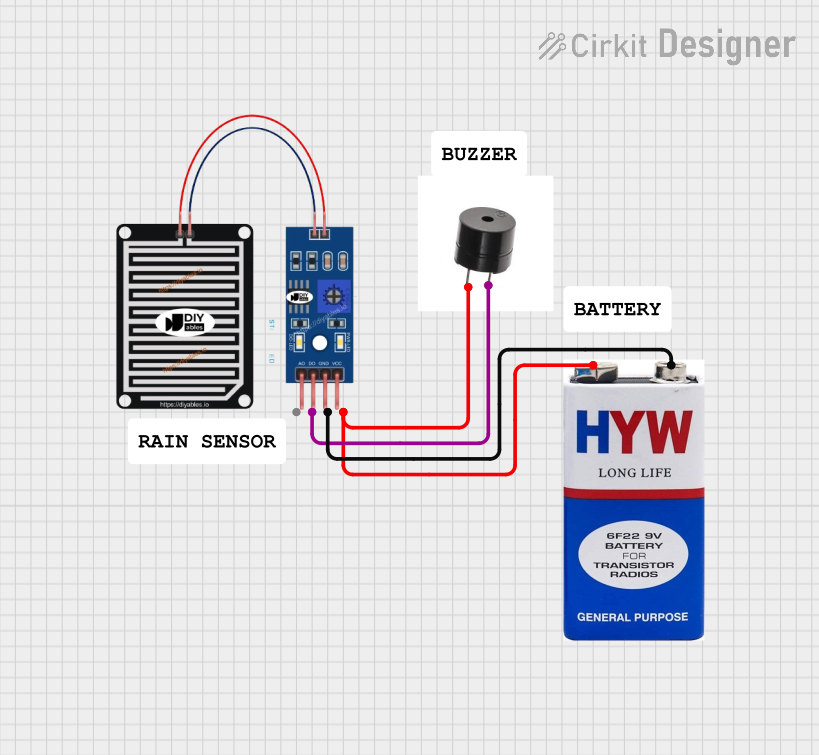
Explore Projects Built with MH-RD Rain Sensor
Technical Specifications
- Operating Voltage: 3.3V to 5V
- Output Type: Digital and Analog
- Output Voltage:
- Digital: 0V (rain detected) or 5V (no rain detected)
- Analog: Varies based on the amount of water on the detection board
- Current Consumption: < 20mA
- Dimensions:
- Control Module: 3.1cm x 1.5cm
- Detection Board: 5.4cm x 4.0cm
- Interface: 3-pin header (VCC, GND, OUT)
Pin Configuration and Descriptions
Control Module
| Pin Name | Description |
|---|---|
| VCC | Power supply input (3.3V to 5V) |
| GND | Ground connection |
| OUT | Output signal (digital or analog, depending on the connection used) |
Detection Board
| Pin Name | Description |
|---|---|
| S | Signal pin connected to the control module |
| + | Power supply input (connected to VCC on the control module) |
| - | Ground connection (connected to GND on the control module) |
Usage Instructions
How to Use the MH-RD Rain Sensor in a Circuit
- Connect the Detection Board to the Control Module:
- Use the included jumper wires to connect the
S,+, and-pins of the detection board to the corresponding pins on the control module.
- Use the included jumper wires to connect the
- Connect the Control Module to Your Microcontroller:
- Connect the
VCCpin to a 3.3V or 5V power source. - Connect the
GNDpin to the ground of your circuit. - Connect the
OUTpin to a digital or analog input pin on your microcontroller.
- Connect the
- Adjust the Sensitivity:
- Use the potentiometer on the control module to adjust the sensitivity of the sensor. Turning the potentiometer clockwise increases sensitivity, while turning it counterclockwise decreases sensitivity.
Important Considerations and Best Practices
- Placement: Ensure the detection board is placed in an open area where it can directly come into contact with rain. Avoid placing it under obstructions like roofs or tree canopies.
- Waterproofing: While the detection board is designed to detect rain, prolonged exposure to water can cause corrosion. Consider using a protective coating or regularly cleaning the board to maintain its functionality.
- Power Supply: Use a stable power source to avoid erratic readings.
- Signal Filtering: If using the analog output, consider adding a low-pass filter to smooth out noise in the signal.
Example Code for Arduino UNO
// MH-RD Rain Sensor Example Code for Arduino UNO
// This code reads both the digital and analog outputs of the sensor
// and prints the results to the Serial Monitor.

const int digitalPin = 2; // Digital output pin from the sensor
const int analogPin = A0; // Analog output pin from the sensor

void setup() {
  pinMode(digitalPin, INPUT); // Set digital pin as input
  Serial.begin(9600);         // Initialize serial communication
}

void loop() {
  int digitalValue = digitalRead(digitalPin); // Read digital output
  int analogValue = analogRead(analogPin);   // Read analog output

  // Print the sensor readings to the Serial Monitor
  Serial.print("Digital Output: ");
  Serial.print(digitalValue); // 0 = Rain detected, 1 = No rain
  Serial.print(" | Analog Output: ");
  Serial.println(analogValue); // Varies based on water level

  delay(1000); // Wait for 1 second before the next reading
}
Troubleshooting and FAQs
Common Issues and Solutions
No Output Signal:
- Cause: Loose connections or incorrect wiring.
- Solution: Double-check all connections between the detection board, control module, and microcontroller.
Erratic Readings:
- Cause: Electrical noise or unstable power supply.
- Solution: Use a decoupling capacitor (e.g., 0.1µF) across the power supply pins to stabilize the voltage.
Corrosion on the Detection Board:
- Cause: Prolonged exposure to water.
- Solution: Clean the board with isopropyl alcohol and apply a waterproof coating.
Sensor Not Detecting Rain:
- Cause: Sensitivity set too low.
- Solution: Adjust the potentiometer on the control module to increase sensitivity.
FAQs
Q: Can the sensor detect the intensity of rainfall?
A: Yes, the analog output provides a variable signal that corresponds to the amount of water on the detection board, which can be used to estimate rainfall intensity.Q: Is the sensor suitable for outdoor use?
A: The detection board is designed for outdoor use, but it is recommended to protect it from prolonged exposure to water to prevent corrosion.Q: Can I use the sensor with a 3.3V microcontroller?
A: Yes, the sensor operates at both 3.3V and 5V, making it compatible with most microcontrollers.Q: How do I clean the detection board?
A: Use a soft cloth and isopropyl alcohol to gently clean the board. Avoid using abrasive materials.