How to Use Lidar USB Adaptor: Examples, Pinouts, and Specs
Introduction
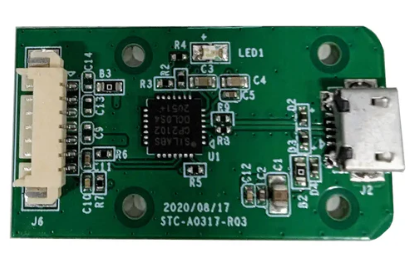
The Lidar USB Adaptor is a versatile device designed to connect a Lidar sensor to a computer via a USB interface. It facilitates seamless data transfer and communication between the Lidar sensor and software applications, enabling users to process and analyze sensor data efficiently. This adaptor is essential for applications requiring real-time Lidar data, such as robotics, autonomous vehicles, 3D mapping, and environmental monitoring.
Explore Projects Built with Lidar USB Adaptor


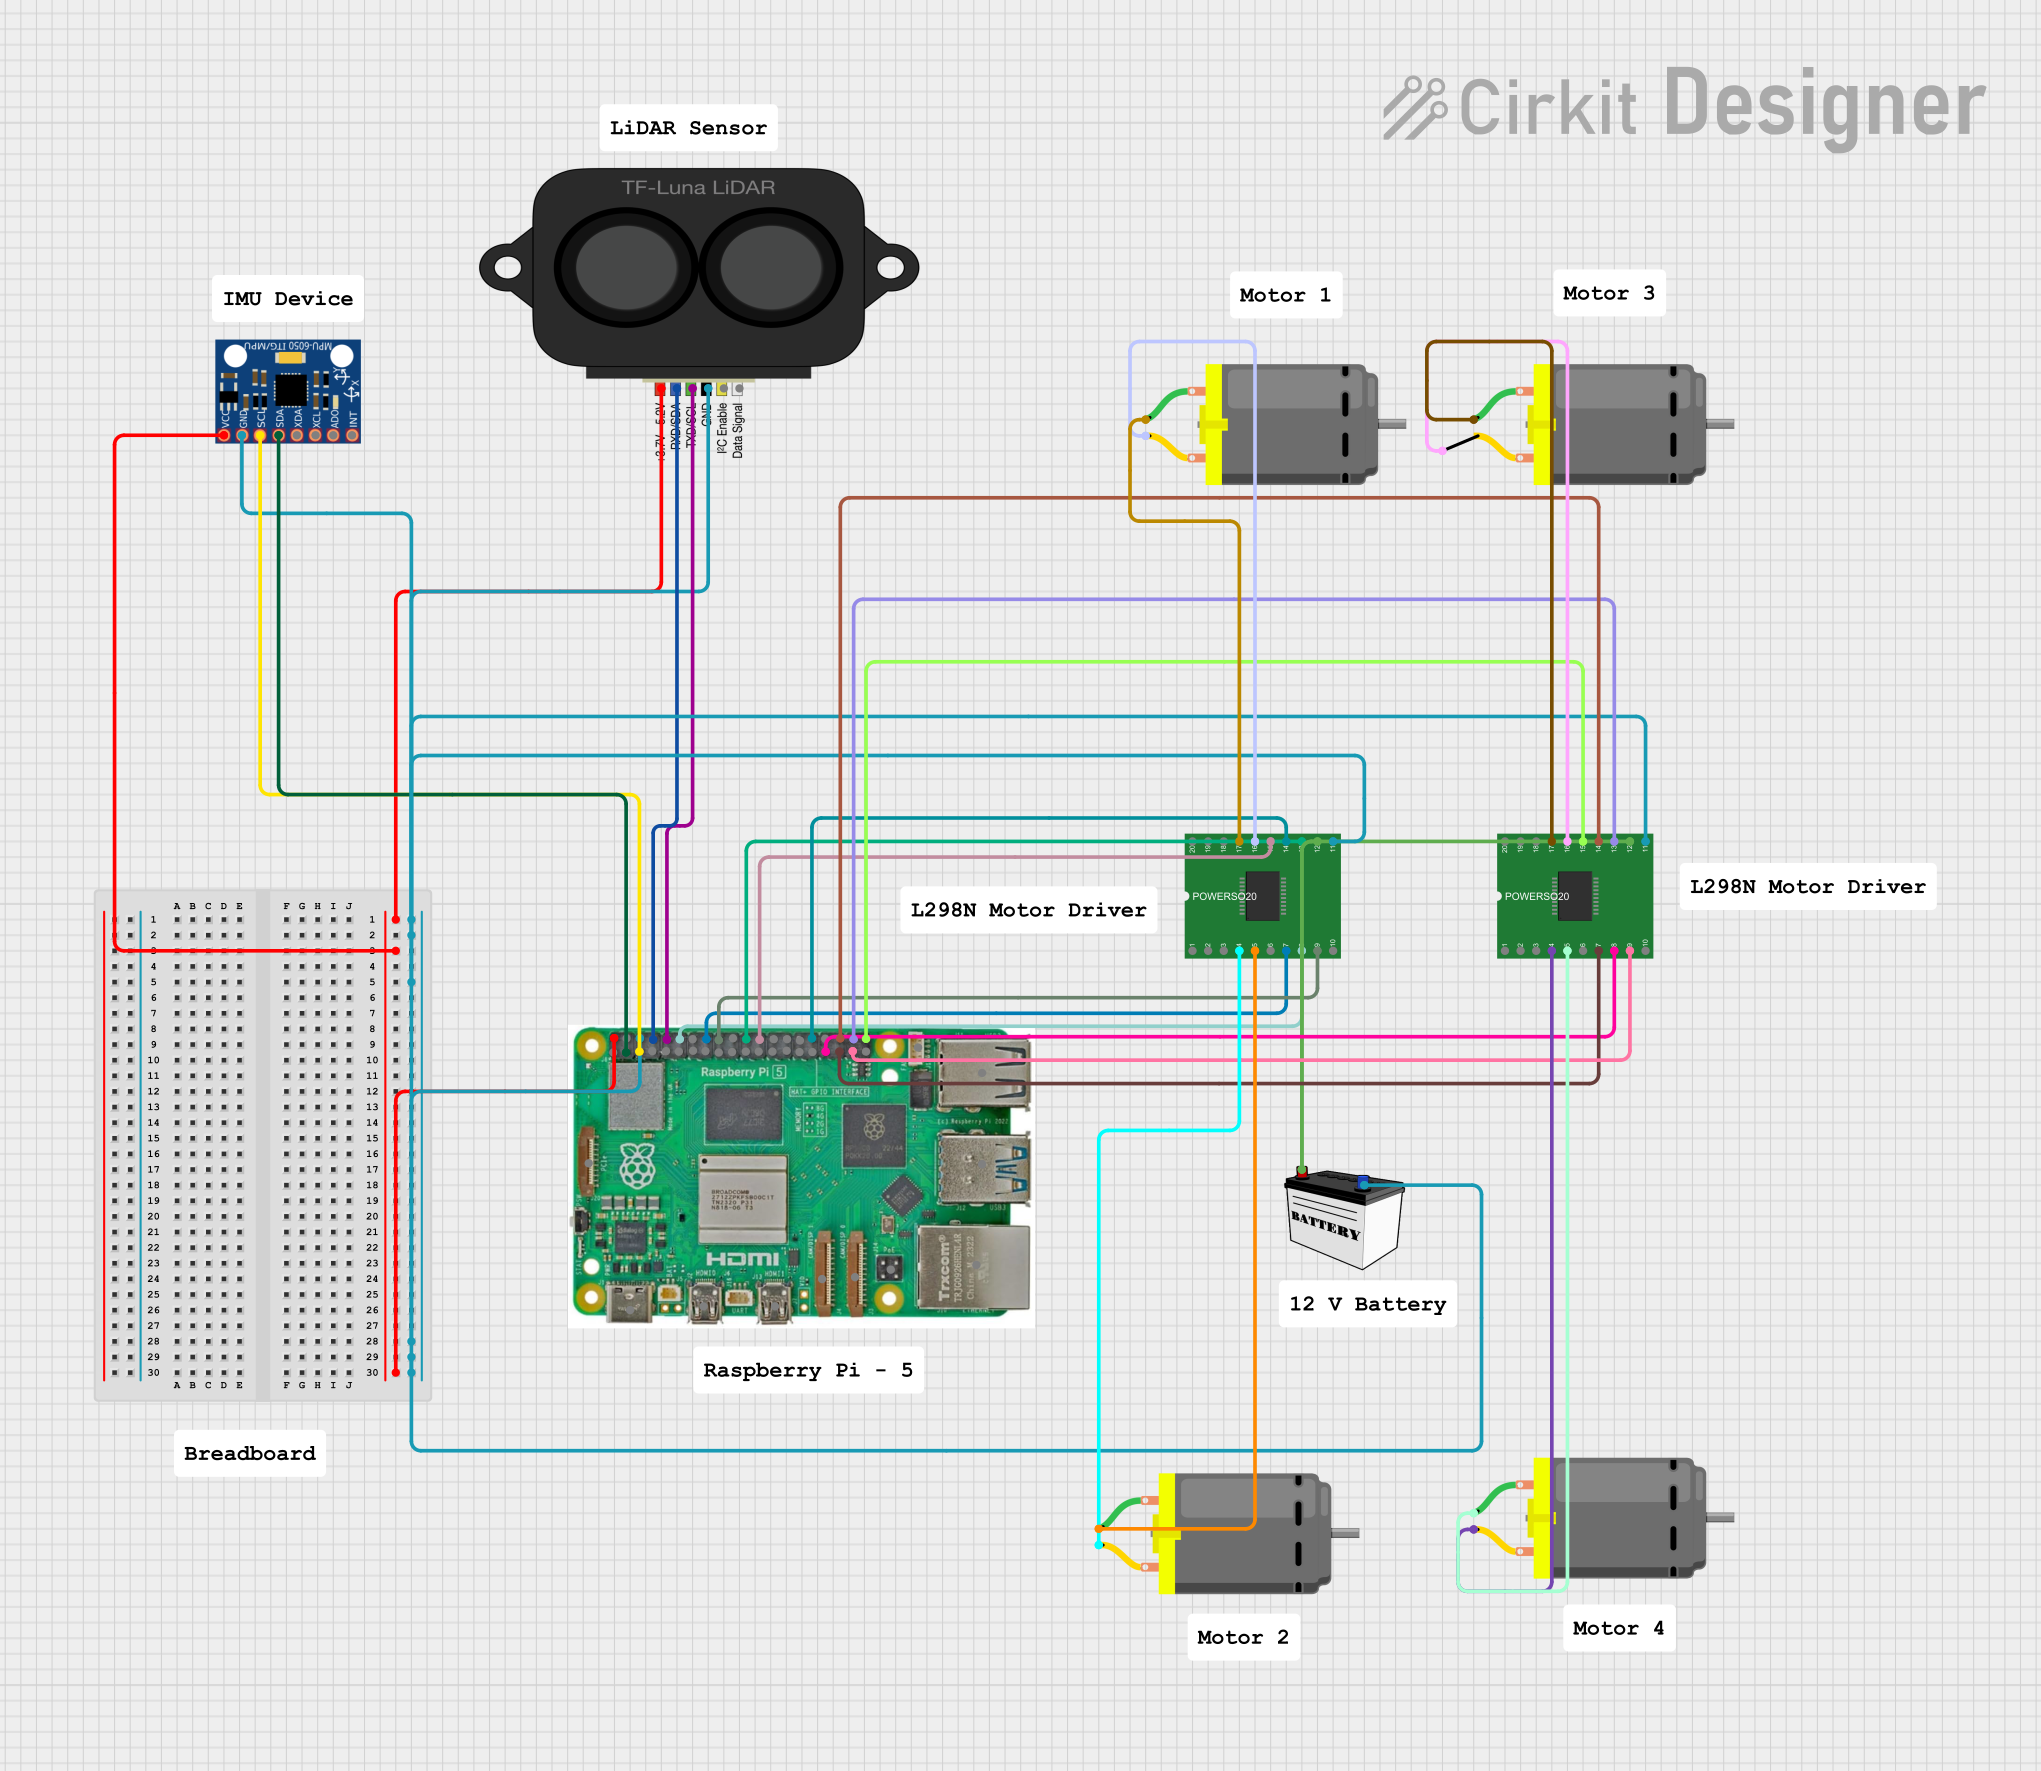
Explore Projects Built with Lidar USB Adaptor
Common Applications and Use Cases
- Robotics: Enables robots to perceive their surroundings for navigation and obstacle avoidance.
- Autonomous Vehicles: Facilitates real-time Lidar data processing for self-driving systems.
- 3D Mapping: Used in surveying and creating detailed 3D models of environments.
- Environmental Monitoring: Collects spatial data for applications like forestry, agriculture, and urban planning.
Technical Specifications
The Lidar USB Adaptor is designed to provide reliable and efficient communication between a Lidar sensor and a computer. Below are its key technical specifications:
General Specifications
| Parameter | Value |
|---|---|
| Input Voltage | 5V (via USB) |
| Communication Protocol | USB 2.0 (Full Speed) |
| Supported Lidar Models | Compatible with most UART-based Lidar sensors |
| Operating Temperature | -10°C to 50°C |
| Dimensions | 50mm x 30mm x 10mm |
| Weight | 20g |
Pin Configuration and Descriptions
The Lidar USB Adaptor typically includes a UART interface for connecting to the Lidar sensor. Below is the pin configuration:
| Pin Name | Description |
|---|---|
| VCC | Power input for the Lidar sensor (5V) |
| GND | Ground connection |
| TX | Transmit data from the adaptor to the Lidar sensor |
| RX | Receive data from the Lidar sensor to the adaptor |
Usage Instructions
How to Use the Lidar USB Adaptor in a Circuit
- Connect the Lidar Sensor:
- Use the provided UART pins (VCC, GND, TX, RX) to connect the Lidar sensor to the adaptor.
- Ensure proper alignment of the pins to avoid damage.
- Connect to a Computer:
- Plug the USB connector of the adaptor into a computer's USB port.
- The computer should recognize the adaptor as a serial device.
- Install Drivers:
- If required, install the necessary USB-to-serial drivers (e.g., CP210x or FTDI drivers) for your operating system.
- Access Lidar Data:
- Use a terminal program (e.g., PuTTY) or a software application to communicate with the Lidar sensor.
- Configure the serial port settings (baud rate, parity, stop bits) as specified by the Lidar sensor's datasheet.
Important Considerations and Best Practices
- Power Supply: Ensure the Lidar sensor's power requirements are met. The adaptor provides 5V, which is compatible with most sensors.
- Baud Rate: Match the baud rate of the adaptor with the Lidar sensor for proper communication.
- Cable Length: Use a USB cable of appropriate length to minimize signal degradation.
- Static Protection: Handle the adaptor and sensor with care to avoid static discharge damage.
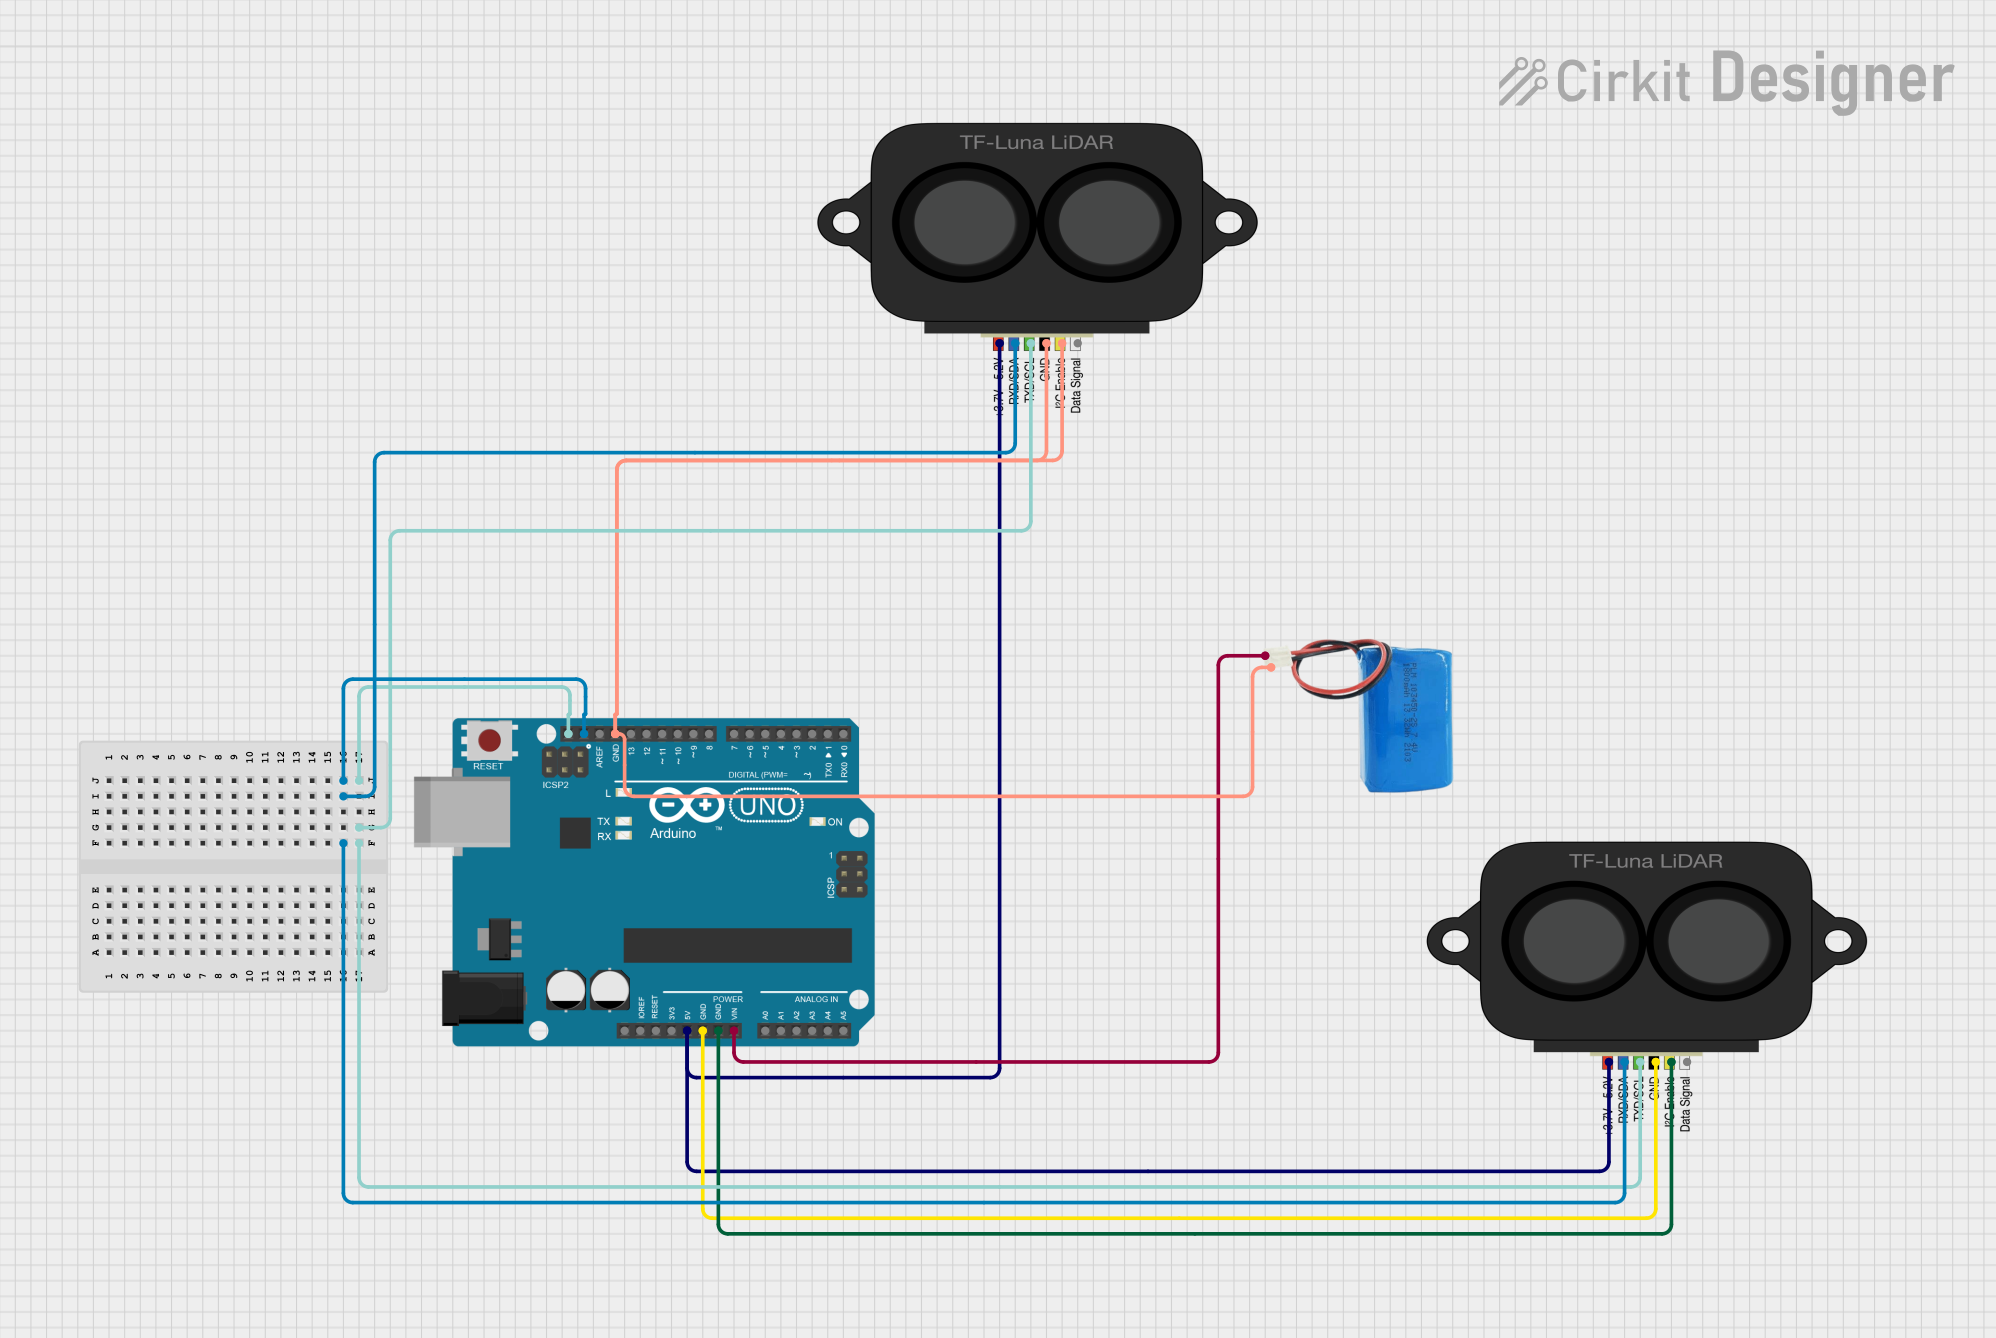
Example: Using the Lidar USB Adaptor with Arduino UNO
The Lidar USB Adaptor can also be used with an Arduino UNO for prototyping. Below is an example code snippet to read data from a Lidar sensor:
#include <SoftwareSerial.h>

// Define RX and TX pins for the Lidar sensor
SoftwareSerial lidarSerial(10, 11); // RX = Pin 10, TX = Pin 11

void setup() {
  Serial.begin(9600); // Initialize serial communication with the computer
  lidarSerial.begin(115200); // Initialize communication with the Lidar sensor
  Serial.println("Lidar USB Adaptor Example");
}

void loop() {
  // Check if data is available from the Lidar sensor
  if (lidarSerial.available()) {
    String lidarData = ""; // Variable to store Lidar data
    while (lidarSerial.available()) {
      char c = lidarSerial.read(); // Read one character at a time
      lidarData += c; // Append character to the data string
    }
    Serial.println("Lidar Data: " + lidarData); // Print Lidar data to the serial monitor
  }
}
Note: Replace the baud rate
115200with the correct value for your Lidar sensor.
Troubleshooting and FAQs
Common Issues and Solutions
Adaptor Not Recognized by Computer:
- Ensure the USB cable is properly connected.
- Install the correct USB-to-serial drivers for your operating system.
- Try a different USB port or cable.
No Data from Lidar Sensor:
- Verify the UART connections (VCC, GND, TX, RX) between the adaptor and the sensor.
- Check the baud rate and other serial settings.
- Ensure the Lidar sensor is powered on and functioning.
Data Corruption or Noise:
- Use a shorter USB cable to reduce interference.
- Ensure proper grounding between the adaptor and the Lidar sensor.
FAQs
Q1: Can I use this adaptor with any Lidar sensor?
A1: The adaptor is compatible with most UART-based Lidar sensors. Check your sensor's datasheet for compatibility.
Q2: What software can I use to read Lidar data?
A2: You can use terminal programs like PuTTY or custom software that supports serial communication.
Q3: Does the adaptor support USB 3.0?
A3: The adaptor is designed for USB 2.0 but is backward compatible with USB 3.0 ports.
Q4: Can I power the Lidar sensor directly from the adaptor?
A4: Yes, the adaptor provides a 5V power output suitable for most Lidar sensors. Ensure the sensor's power requirements match.
By following this documentation, you can effectively use the Lidar USB Adaptor for your projects and applications.