
How to Use CNC Shield V3: Examples, Pinouts, and Specs
 Design with CNC Shield V3 in Cirkit Designer
Introduction
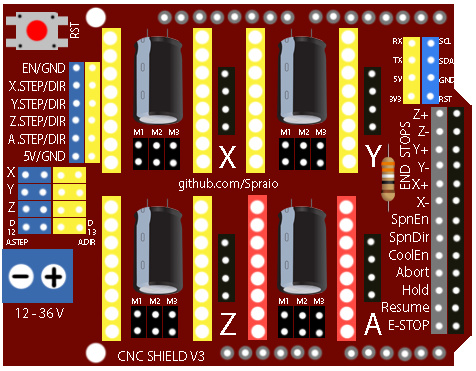
The CNC Shield V3, manufactured by Protoneer (Part ID: CNC Shield), is a versatile expansion board designed to work seamlessly with Arduino boards, particularly the Arduino UNO. It simplifies the control of stepper motors and other components in CNC machines, 3D printers, and other motion control applications. The shield supports multiple stepper motor drivers, such as A4988 and DRV8825, and provides an easy-to-use interface for configuring and operating these devices.
Explore Projects Built with CNC Shield V3
 Open Project in Cirkit Designer
 Open Project in Cirkit Designer
 Open Project in Cirkit Designer
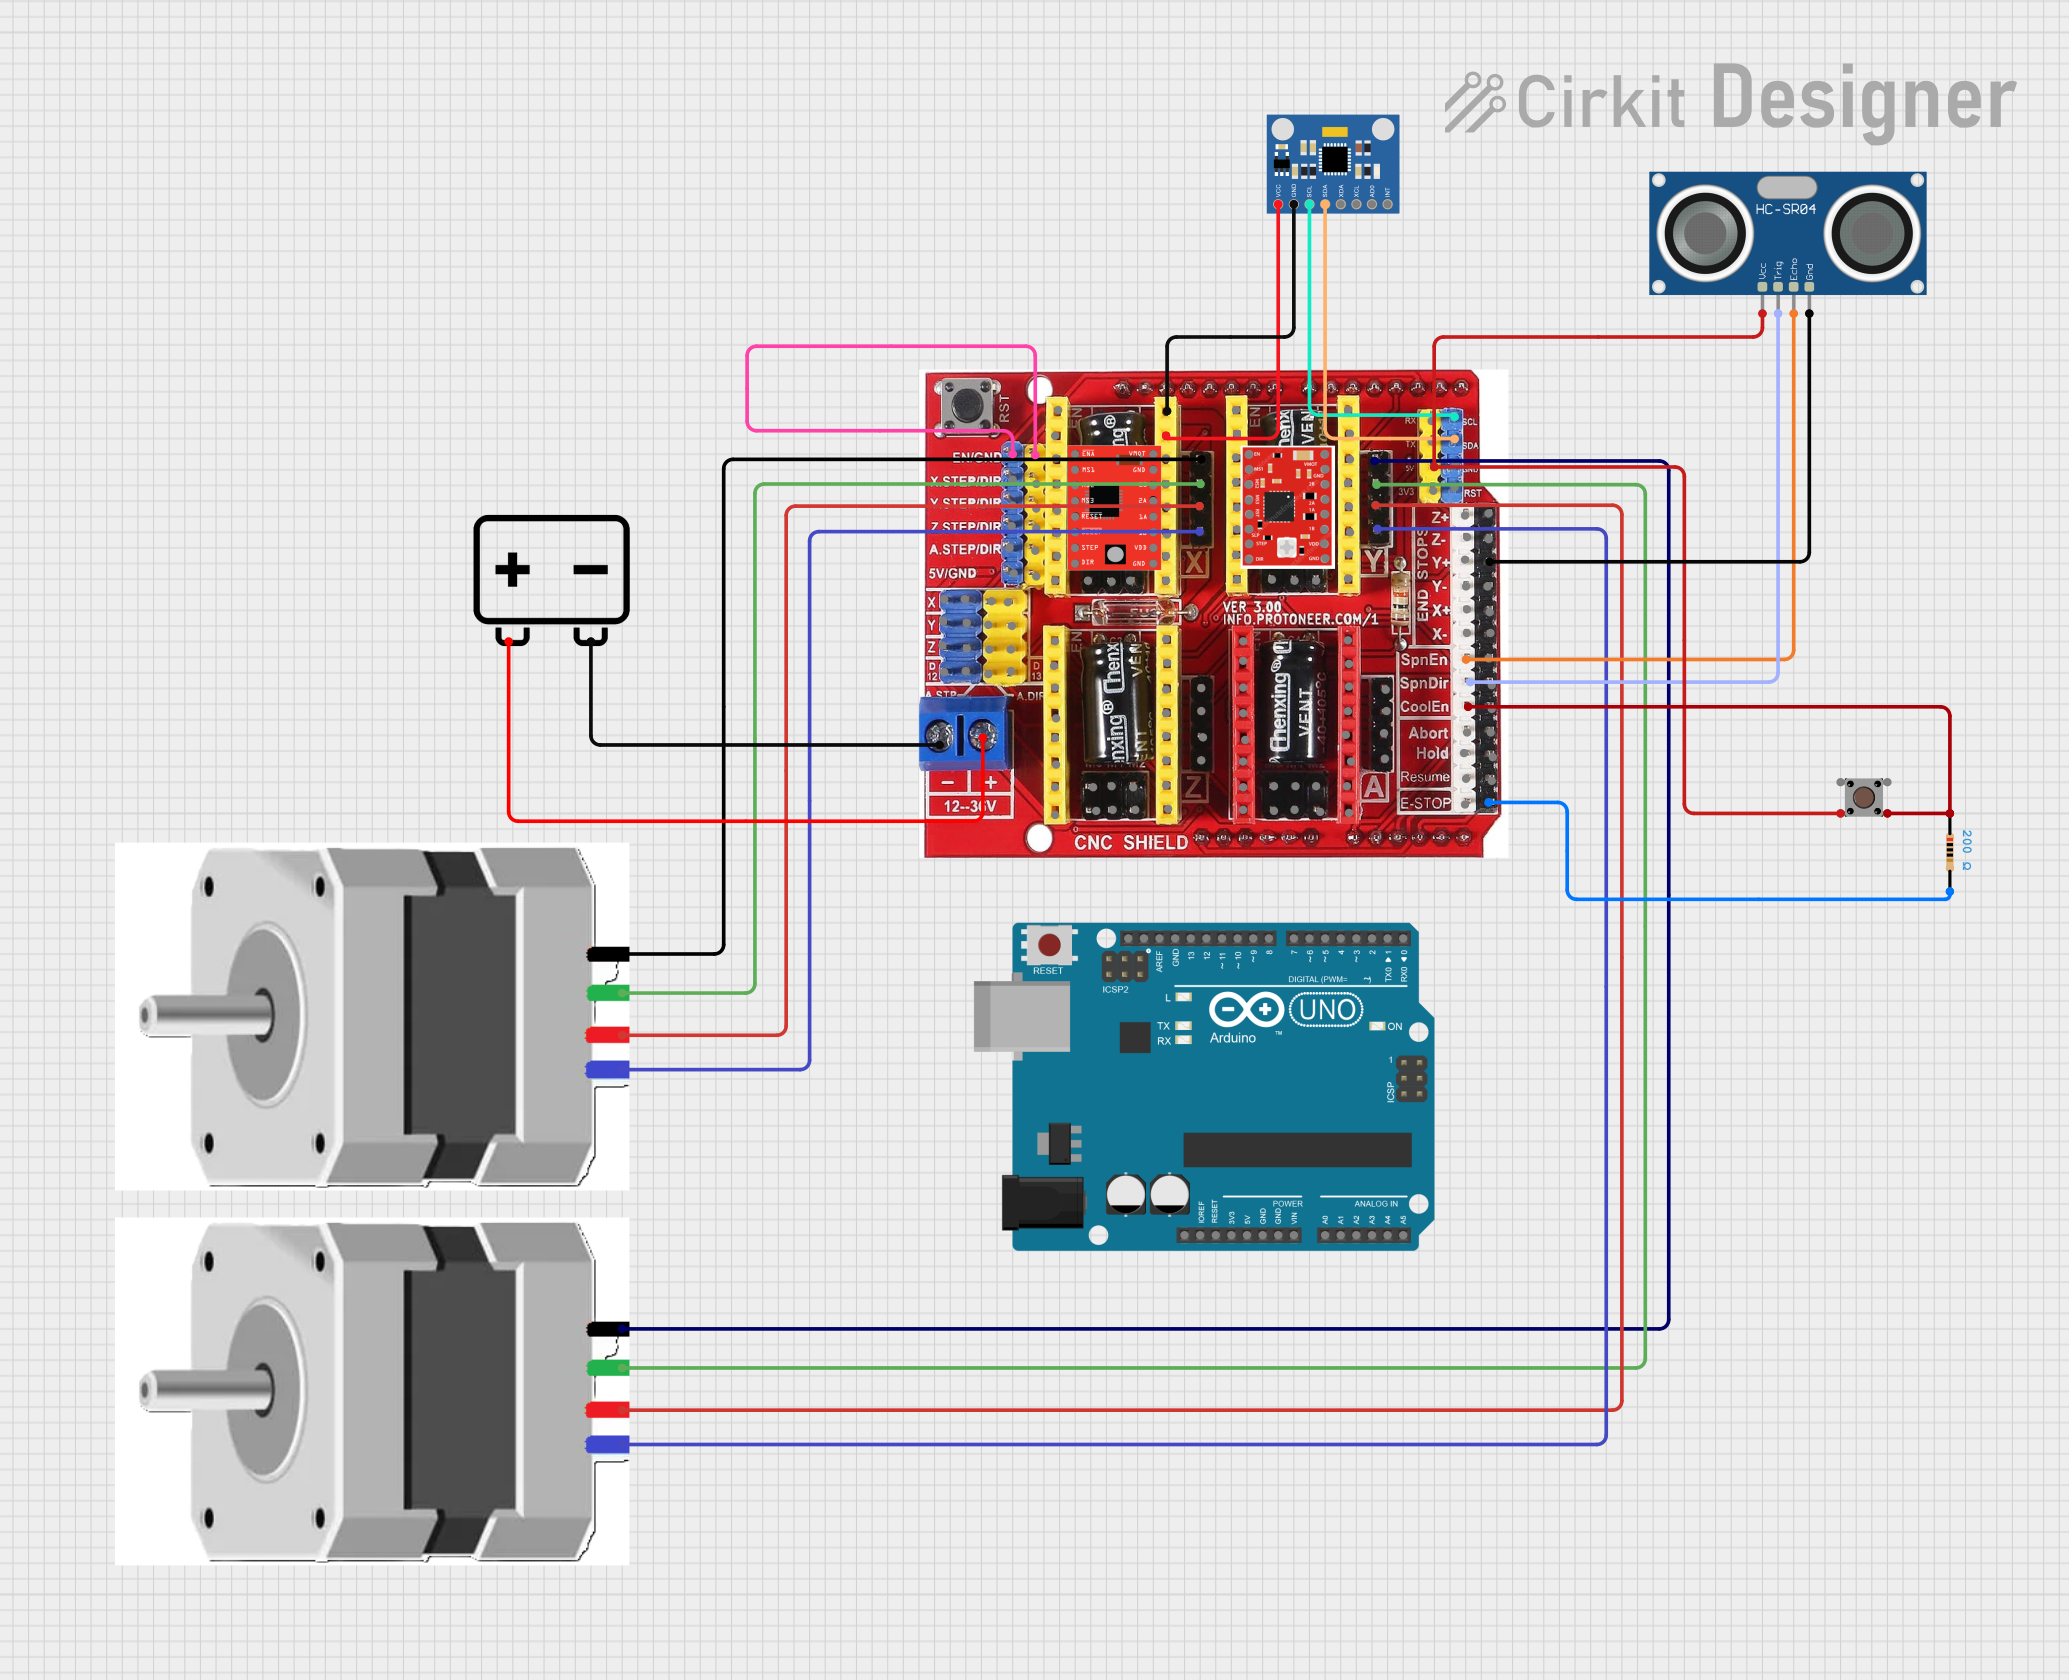 Open Project in Cirkit Designer
Explore Projects Built with CNC Shield V3
Open Project in Cirkit DesignerOpen Project in Cirkit DesignerOpen Project in Cirkit DesignerOpen Project in Cirkit DesignerCommon Applications
- CNC milling machines
- 3D printers
- Laser engravers
- Robotics and automation systems
- DIY motion control projects
Technical Specifications
The CNC Shield V3 is designed to provide a compact and efficient solution for controlling stepper motors and other peripherals. Below are its key technical details:
Key Features
- Compatible with Arduino UNO and similar boards.
- Supports up to 4 stepper motor drivers (X, Y, Z, and A axes).
- Configurable microstepping via jumpers.
- Integrated end-stop connections for all axes.
- PWM spindle control output.
- GRBL firmware compatibility for CNC applications.
- Compact design with a standard Arduino shield form factor.
Electrical Specifications
| Parameter | Value |
|---|---|
| Operating Voltage | 12V - 36V DC |
| Logic Voltage | 5V (provided by Arduino) |
| Stepper Driver Support | A4988, DRV8825, and similar |
| Number of Axes | 4 (X, Y, Z, A) |
| End-Stop Connections | 6 (2 per axis: min and max) |
| Spindle Control Output | PWM (0-5V) |
Pin Configuration
The CNC Shield V3 uses a standard Arduino UNO pinout. Below is the pin mapping for the shield:
| Arduino Pin | CNC Shield Function |
|---|---|
| D2 | X-axis Step |
| D5 | X-axis Direction |
| D3 | Y-axis Step |
| D6 | Y-axis Direction |
| D4 | Z-axis Step |
| D7 | Z-axis Direction |
| D12 | A-axis Step |
| D13 | A-axis Direction |
| D8 | Enable (Stepper Drivers) |
| A0 | X-axis End-Stop |
| A1 | Y-axis End-Stop |
| A2 | Z-axis End-Stop |
| A3 | Spindle Enable |
| A4 | Spindle Direction |
| A5 | Spindle PWM |
Usage Instructions
Connecting the CNC Shield V3
- Mount the Shield: Place the CNC Shield V3 on top of an Arduino UNO, ensuring the pins align correctly.
- Install Stepper Drivers: Insert stepper motor drivers (e.g., A4988 or DRV8825) into the designated slots for X, Y, Z, and A axes. Ensure the orientation matches the markings on the shield.
- Connect Stepper Motors: Attach the stepper motors to the corresponding motor output terminals (X, Y, Z, A).
- Configure Microstepping: Use the jumpers beneath each driver slot to set the desired microstepping mode.
- Connect End-Stops: Attach end-stop switches to the appropriate pins for each axis.
- Power the Shield: Connect a 12V-36V DC power supply to the shield's power input terminal.
Programming the Arduino
The CNC Shield V3 is designed to work with GRBL firmware, an open-source motion control software. Follow these steps to upload GRBL to your Arduino:
Install GRBL Library:
- Download the GRBL library from its official GitHub repository.
- Open the Arduino IDE, go to
Sketch > Include Library > Add .ZIP Library, and select the downloaded GRBL ZIP file.
Upload GRBL Firmware:
- Open the Arduino IDE and select
File > Examples > grbl > grblUpload. - Connect the Arduino UNO to your computer via USB.
- Select the correct board (
Arduino UNO) and port in the Arduino IDE. - Click the
Uploadbutton to flash the GRBL firmware onto the Arduino.
- Open the Arduino IDE and select
Configure GRBL Settings:
- Use a serial terminal (e.g., Arduino Serial Monitor or Universal G-Code Sender) to configure GRBL settings, such as steps per millimeter, feed rates, and acceleration.
Example Code for Testing
Below is an example Arduino sketch to test the CNC Shield V3 by moving a stepper motor on the X-axis:
// Example code to test CNC Shield V3 with a stepper motor on the X-axis
// Connect the CNC Shield to an Arduino UNO and ensure the stepper driver
// and motor are properly installed.

#define X_STEP_PIN 2  // X-axis Step pin
#define X_DIR_PIN 5   // X-axis Direction pin
#define ENABLE_PIN 8  // Enable pin for stepper drivers

void setup() {
  pinMode(X_STEP_PIN, OUTPUT);  // Set X Step pin as output
  pinMode(X_DIR_PIN, OUTPUT);   // Set X Direction pin as output
  pinMode(ENABLE_PIN, OUTPUT);  // Set Enable pin as output

  digitalWrite(ENABLE_PIN, LOW);  // Enable the stepper drivers
}

void loop() {
  digitalWrite(X_DIR_PIN, HIGH);  // Set direction to forward
  for (int i = 0; i < 200; i++) { // Move 200 steps (1 revolution for 1.8° motors)
    digitalWrite(X_STEP_PIN, HIGH);
    delayMicroseconds(500);       // Step pulse duration
    digitalWrite(X_STEP_PIN, LOW);
    delayMicroseconds(500);       // Step pulse interval
  }
  delay(1000);                    // Wait 1 second

  digitalWrite(X_DIR_PIN, LOW);   // Set direction to reverse
  for (int i = 0; i < 200; i++) { // Move 200 steps in reverse
    digitalWrite(X_STEP_PIN, HIGH);
    delayMicroseconds(500);
    digitalWrite(X_STEP_PIN, LOW);
    delayMicroseconds(500);
  }
  delay(1000);                    // Wait 1 second
}
Best Practices
- Always double-check the orientation of stepper drivers before powering the shield.
- Use heat sinks and cooling fans for stepper drivers to prevent overheating.
- Ensure the power supply voltage matches the requirements of your stepper motors and drivers.
- Securely connect all wires to avoid loose connections during operation.
Troubleshooting and FAQs
Common Issues
Stepper Motors Not Moving:
- Verify the stepper driver orientation and ensure it is properly seated.
- Check the power supply voltage and connections.
- Ensure the enable pin (D8) is set to LOW.
Overheating Stepper Drivers:
- Use heat sinks and cooling fans.
- Reduce the current limit on the stepper drivers by adjusting the potentiometer.
Erratic Motor Movement:
- Check for loose or incorrect wiring.
- Verify the microstepping jumper configuration.
GRBL Not Responding:
- Ensure the correct COM port and board are selected in the Arduino IDE.
- Re-upload the GRBL firmware if necessary.
FAQs
Q: Can I use the CNC Shield V3 with an Arduino Mega?
A: The CNC Shield V3 is designed for the Arduino UNO form factor. While it may work with an Arduino Mega using jumper wires, it is not recommended due to potential pin mapping conflicts.
Q: What stepper drivers are compatible with the CNC Shield V3?
A: The shield supports A4988, DRV8825, and similar stepper drivers. Ensure the drivers are compatible with your stepper motors and power supply.
Q: How do I configure microstepping?
A: Use the jumpers beneath each driver slot to set the microstepping mode. Refer to the stepper driver datasheet for the correct jumper configuration.
Q: Can I control a spindle with the CNC Shield V3?
A: Yes, the shield provides a PWM spindle control output (A3 pin) for controlling spindle speed.