How to Use Speaker Neodym 3W: Examples, Pinouts, and Specs
Introduction
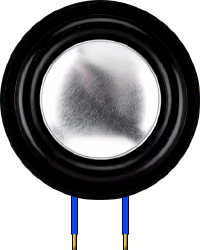
The Speaker Neodym 3W is a compact and lightweight audio output device designed for high efficiency and sound quality. It utilizes neodymium magnets, which are known for their strong magnetic properties, enabling the speaker to deliver clear and powerful audio in a small form factor. With a power handling capacity of up to 3 watts, this speaker is ideal for portable audio devices, DIY electronics projects, and embedded systems.
Explore Projects Built with Speaker Neodym 3W
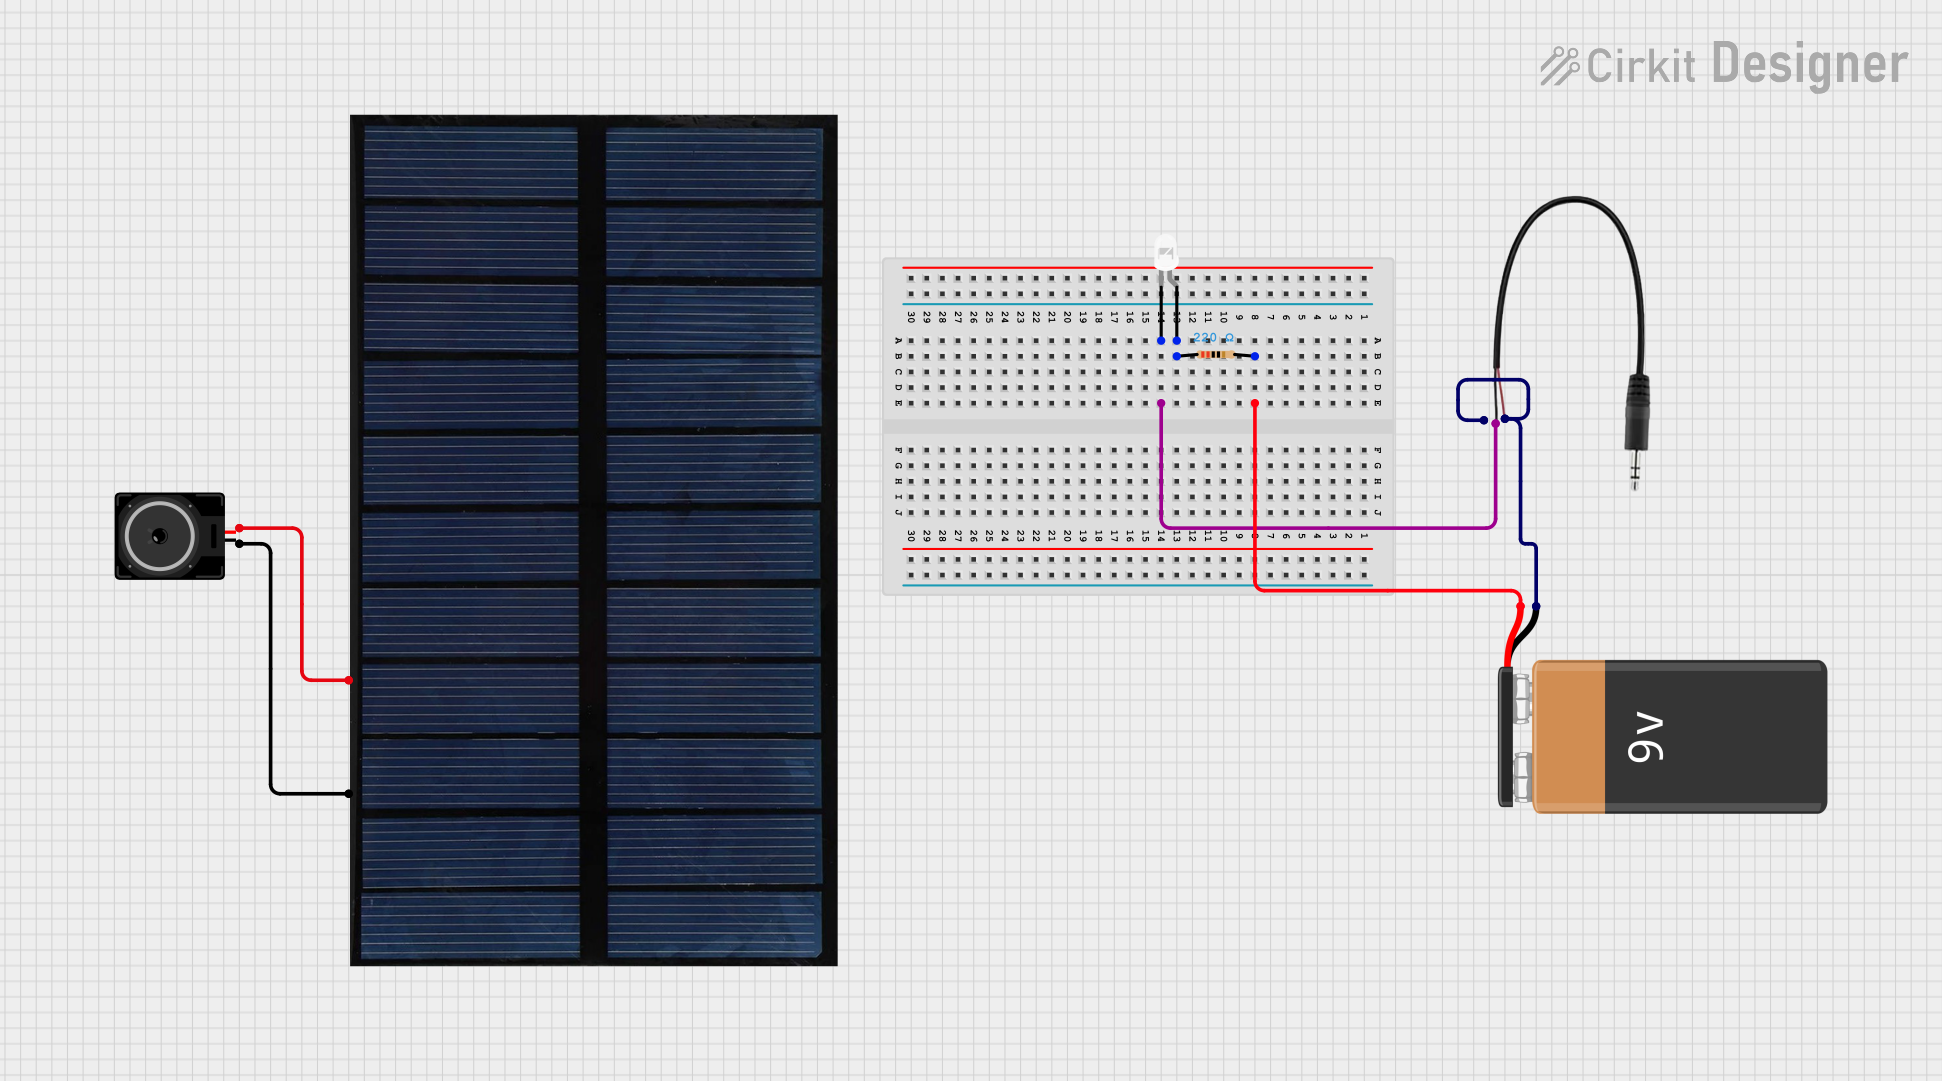

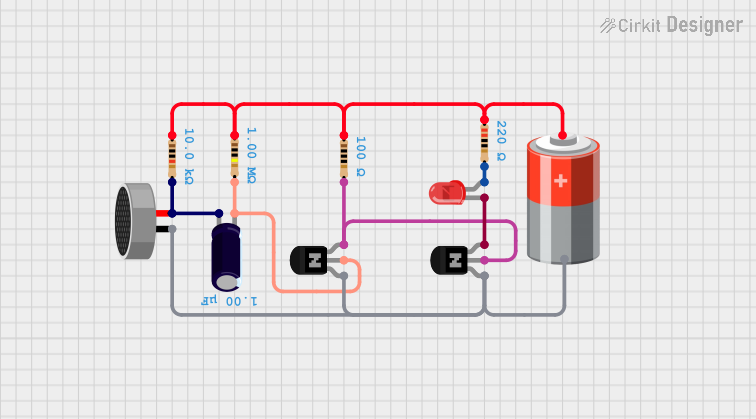

Explore Projects Built with Speaker Neodym 3W
Common Applications and Use Cases
- Portable audio systems
- DIY electronics projects
- Embedded systems and microcontroller-based projects
- Voice output for smart devices
- Educational and prototyping purposes
Technical Specifications
Below are the key technical details of the Speaker Neodym 3W:
| Parameter | Value |
|---|---|
| Manufacturer | China |
| Power Handling | 3W (max) |
| Impedance | 8Ω |
| Frequency Response | 200 Hz – 20 kHz |
| Sensitivity | 88 dB |
| Magnet Type | Neodymium |
| Dimensions | Diameter: 40 mm, Thickness: 5 mm |
| Weight | ~15 g |
Pin Configuration and Descriptions
The Speaker Neodym 3W has two terminals for electrical connections:
| Pin | Description |
|---|---|
| + | Positive terminal for audio signal |
| - | Negative terminal (ground) |
Usage Instructions
How to Use the Speaker in a Circuit
- Connect the Terminals:
- Connect the positive terminal (
+) of the speaker to the audio signal output of your circuit. - Connect the negative terminal (
-) to the ground of your circuit.
- Connect the positive terminal (
- Amplification:
- For optimal performance, use an audio amplifier circuit to drive the speaker. Ensure the amplifier's output power does not exceed 3W to avoid damaging the speaker.
- Power Supply:
- Ensure the power supply to the amplifier is stable and within the recommended range for your specific amplifier circuit.
- Mounting:
- Secure the speaker in your project enclosure using screws or adhesive, ensuring the speaker cone is not obstructed.
Important Considerations and Best Practices
- Avoid Overloading: Do not exceed the 3W power rating to prevent damage to the speaker.
- Impedance Matching: Ensure the amplifier's output impedance matches the speaker's impedance (8Ω) for efficient power transfer.
- Protect from Dust and Moisture: Keep the speaker in a clean and dry environment to maintain sound quality and longevity.
- Use a Filter: If your circuit produces high-frequency noise, consider adding a low-pass filter to improve audio clarity.
Example: Connecting to an Arduino UNO
The Speaker Neodym 3W can be used with an Arduino UNO for simple audio output. Below is an example of generating a tone using the Arduino tone() function:
// Example: Generating a tone with Speaker Neodym 3W and Arduino UNO

// Define the pin connected to the speaker
const int speakerPin = 9;

void setup() {
  // No setup required for tone generation
}

void loop() {
  // Generate a 1 kHz tone on the speaker for 500 ms
  tone(speakerPin, 1000, 500);

  // Wait for 1 second before repeating
  delay(1000);
}
Note: Use a current-limiting resistor or a small amplifier circuit between the Arduino and the speaker to prevent overloading the microcontroller's output pin.
Troubleshooting and FAQs
Common Issues and Solutions
No Sound Output:
- Cause: Loose or incorrect connections.
- Solution: Verify that the positive and negative terminals are correctly connected to the audio source and ground.
Distorted Sound:
- Cause: Overdriving the speaker with excessive power.
- Solution: Ensure the amplifier's output power does not exceed 3W.
Low Volume:
- Cause: Insufficient signal strength from the audio source.
- Solution: Use an audio amplifier to boost the signal.
Speaker Not Working with Arduino:
- Cause: Direct connection without a resistor or amplifier.
- Solution: Add a current-limiting resistor or use an amplifier circuit to drive the speaker.
FAQs
Q1: Can I use this speaker with a 4Ω amplifier?
A1: Yes, but ensure the amplifier's output power does not exceed 3W to avoid damaging the speaker.
Q2: Is this speaker suitable for outdoor use?
A2: The speaker is not weatherproof. Use it in a dry and clean environment or enclose it in a weatherproof housing for outdoor applications.
Q3: Can I use this speaker for frequencies below 200 Hz?
A3: The speaker is optimized for frequencies between 200 Hz and 20 kHz. Frequencies below 200 Hz may not be reproduced effectively.
Q4: How do I clean the speaker?
A4: Use a soft, dry cloth to gently clean the speaker. Avoid using water or cleaning agents.
By following this documentation, you can effectively integrate the Speaker Neodym 3W into your projects and achieve high-quality audio output.