
How to Use SparkFun Soil Moisture Sensor: Examples, Pinouts, and Specs
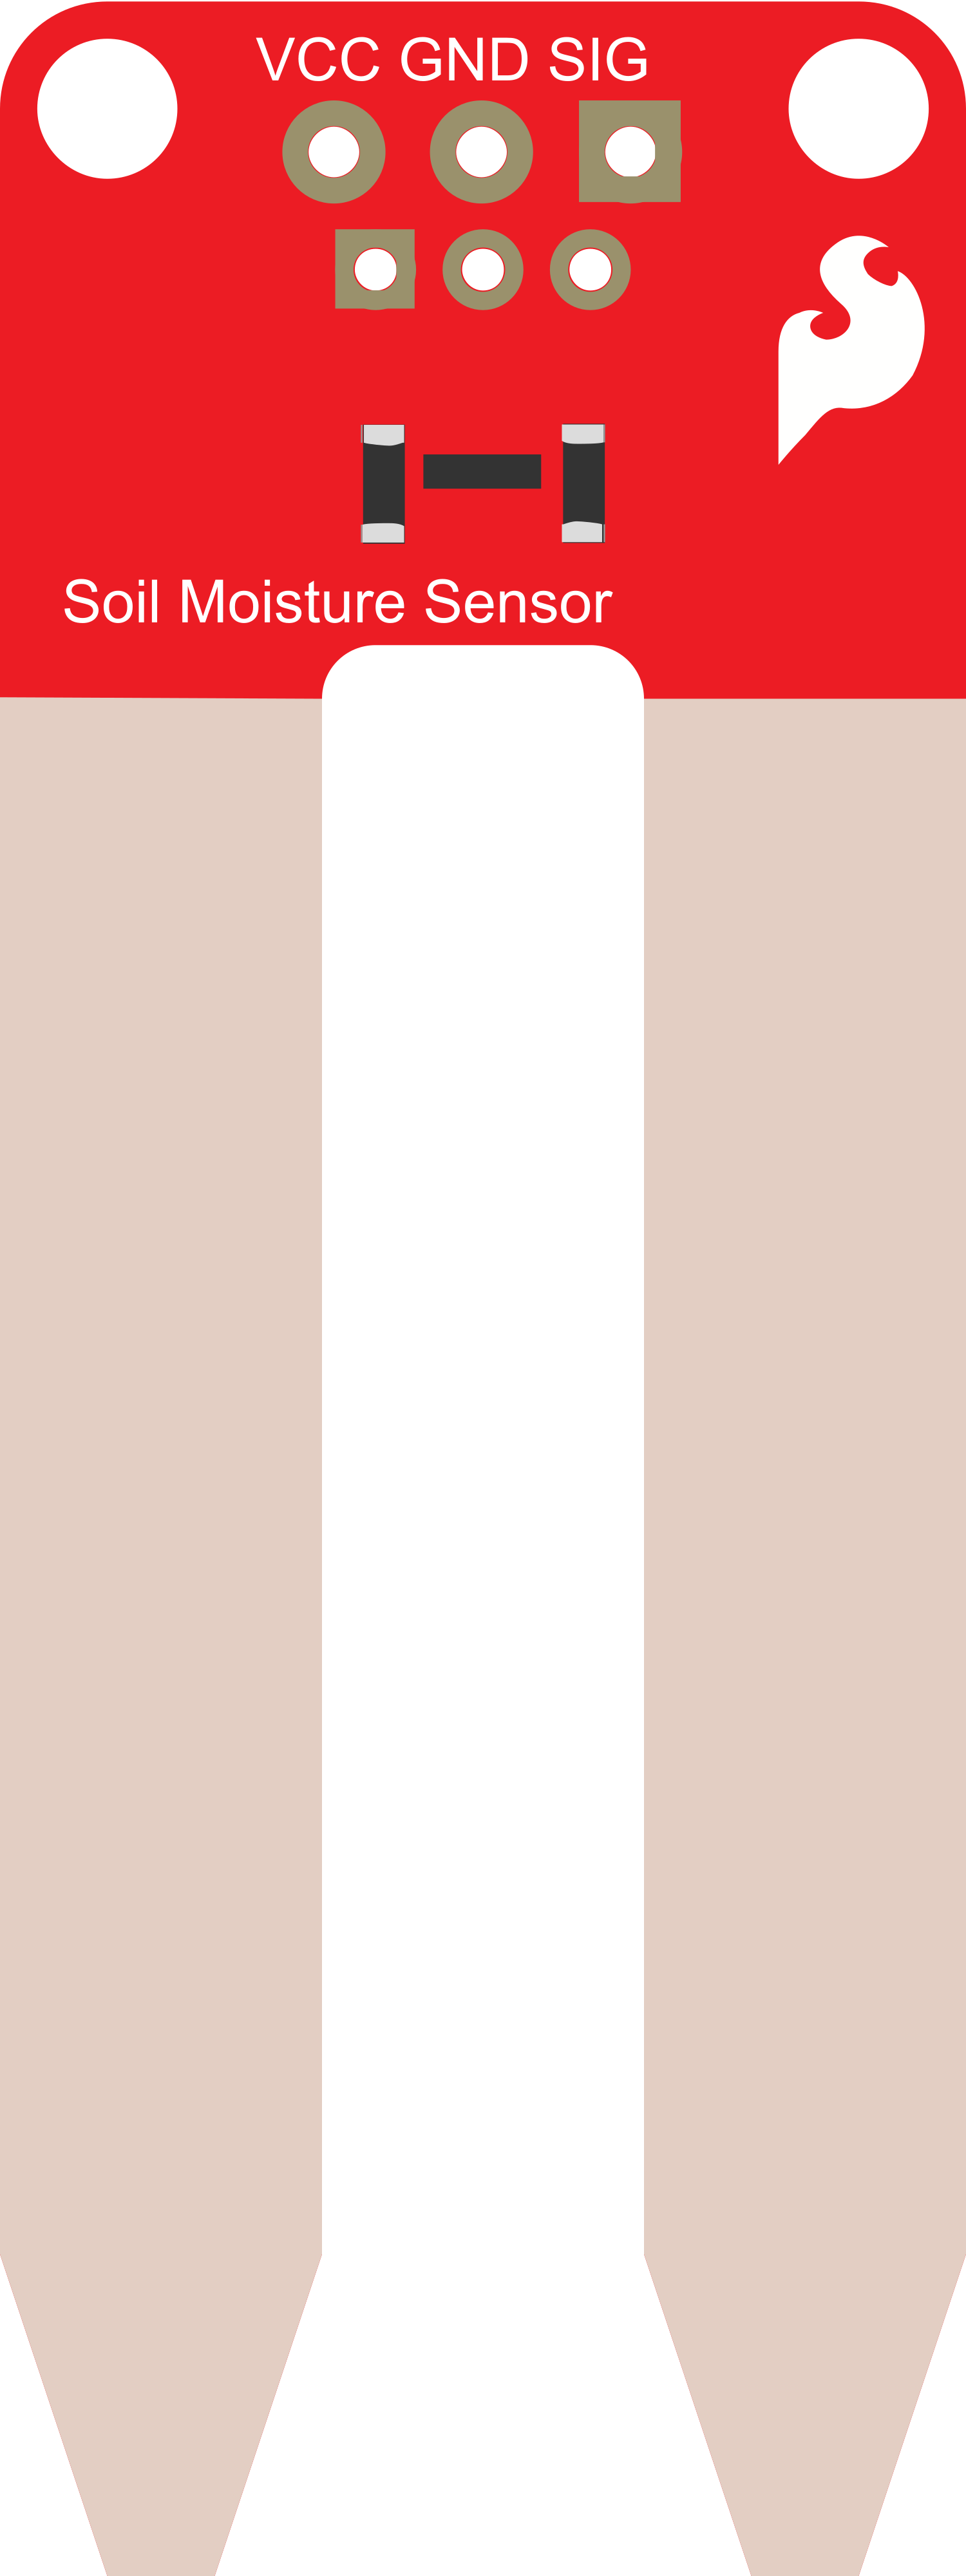
 Design with SparkFun Soil Moisture Sensor in Cirkit Designer
Introduction
The SparkFun Soil Moisture Sensor is a device designed to measure the volumetric water content in soil. It provides an analog output that corresponds to the moisture level, making it an essential tool for applications such as agriculture, gardening, and automated irrigation systems. By integrating this sensor into your projects, you can monitor soil conditions and optimize water usage effectively.
Explore Projects Built with SparkFun Soil Moisture Sensor
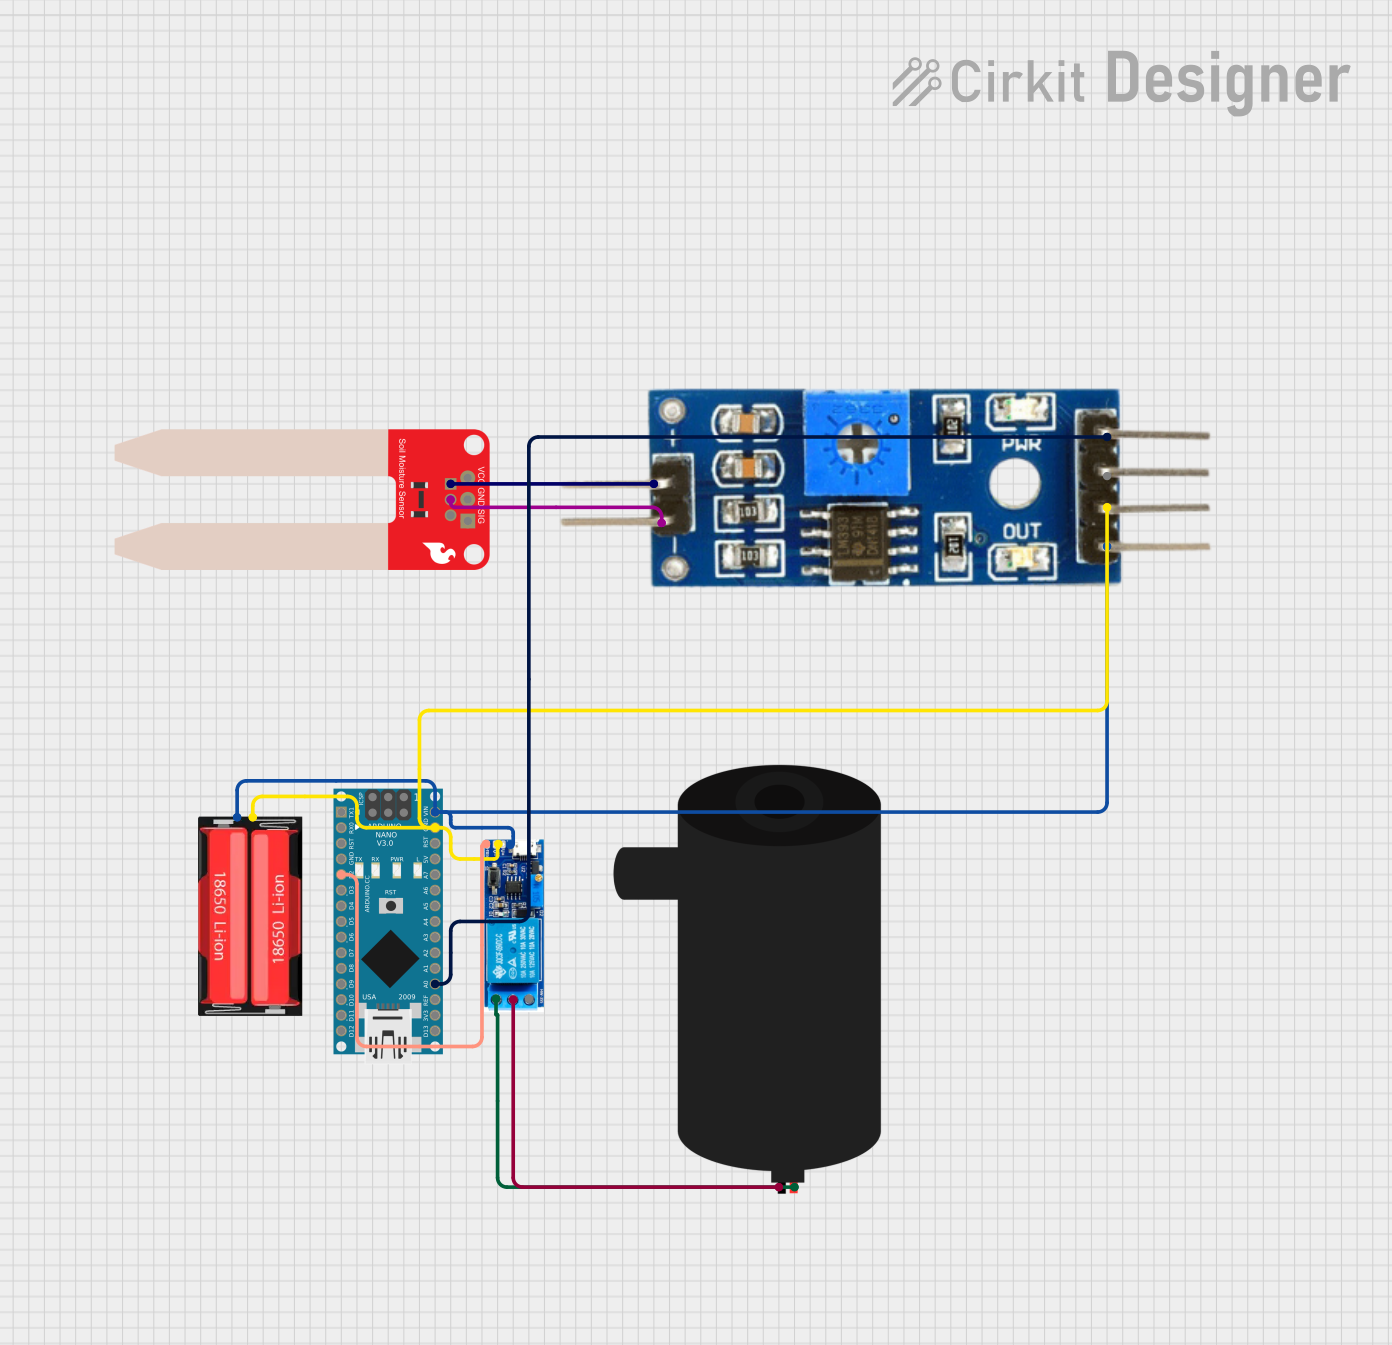 Open Project in Cirkit Designer
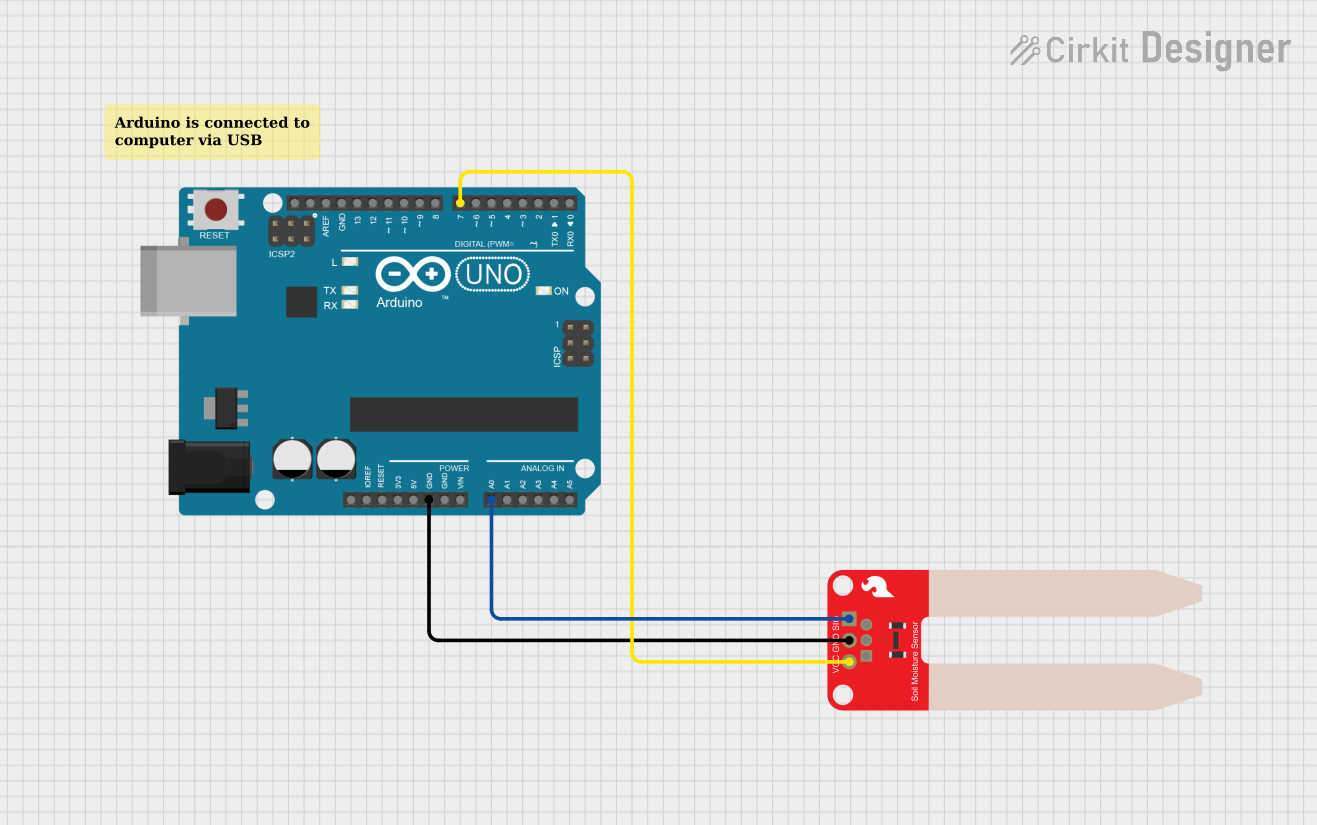 Open Project in Cirkit Designer
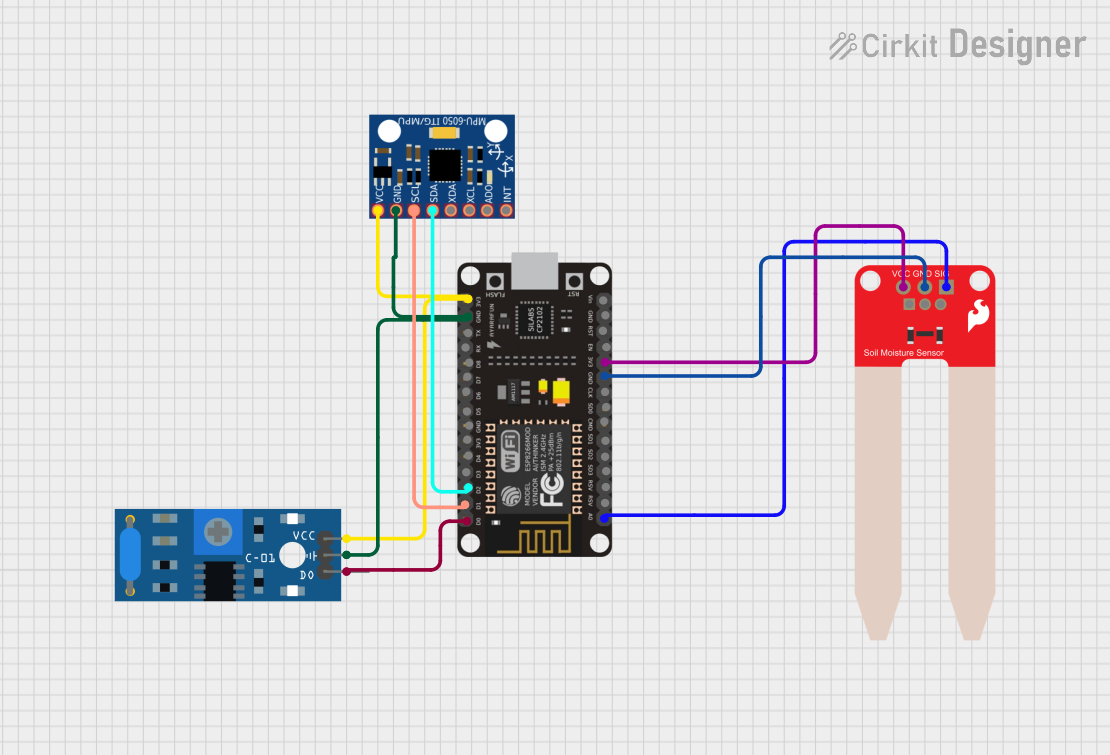 Open Project in Cirkit Designer
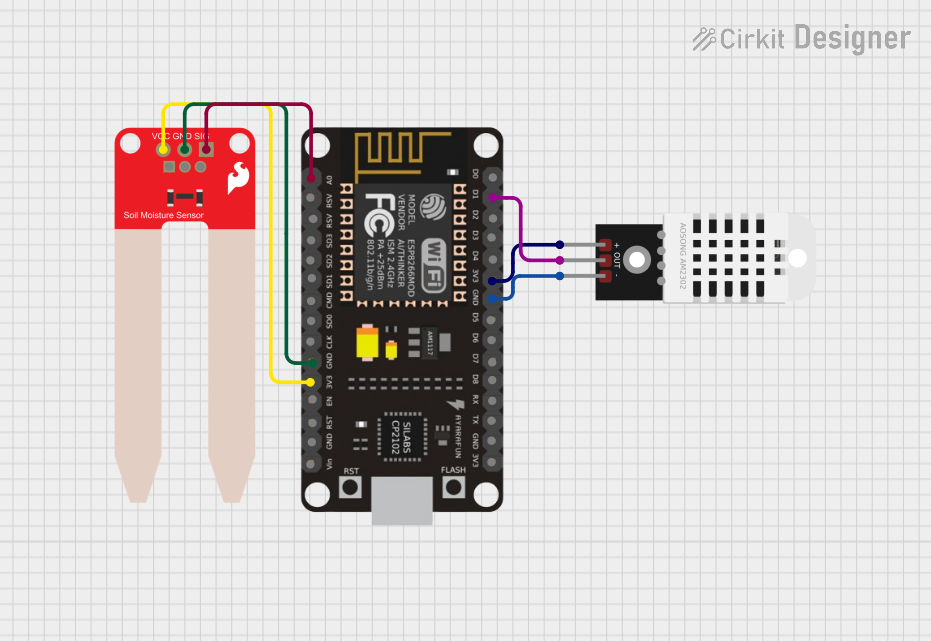 Open Project in Cirkit Designer
Explore Projects Built with SparkFun Soil Moisture Sensor
Open Project in Cirkit DesignerOpen Project in Cirkit DesignerOpen Project in Cirkit DesignerOpen Project in Cirkit DesignerCommon Applications and Use Cases
- Automated irrigation systems
- Smart gardening projects
- Agricultural monitoring
- Environmental research
- DIY plant care systems
Technical Specifications
The SparkFun Soil Moisture Sensor is a simple yet effective tool for detecting soil moisture levels. Below are its key technical details:
| Parameter | Value |
|---|---|
| Operating Voltage | 3.3V - 5V |
| Output Signal | Analog voltage (0V - VCC) |
| Current Consumption | < 20 mA |
| Dimensions | 60mm x 20mm x 5mm |
| Interface Type | Analog |
| Operating Temperature | 10°C to 55°C |
Pin Configuration and Descriptions
The sensor has three pins, as described in the table below:
| Pin | Name | Description |
|---|---|---|
| 1 | VCC | Power supply pin (3.3V - 5V) |
| 2 | GND | Ground connection |
| 3 | SIG | Analog signal output pin, provides voltage proportional |
| to soil moisture level |
Usage Instructions
How to Use the Sensor in a Circuit
Connect the Sensor:
- Connect the
VCCpin to a 3.3V or 5V power source. - Connect the
GNDpin to the ground of your circuit. - Connect the
SIGpin to an analog input pin on your microcontroller (e.g., Arduino).
- Connect the
Insert the Sensor into Soil:
- Place the sensor probes into the soil you want to monitor. Ensure the probes are fully inserted for accurate readings.
Read the Analog Output:
- The sensor outputs an analog voltage that varies with soil moisture. A higher voltage indicates dry soil, while a lower voltage indicates wet soil.
Important Considerations and Best Practices
- Avoid Corrosion: The sensor probes are prone to corrosion over time, especially in wet soil. To extend the sensor's lifespan, avoid prolonged exposure to water or consider using a corrosion-resistant version.
- Calibration: Calibrate the sensor for your specific soil type to improve accuracy. Measure the output voltage in dry and saturated soil to determine the range.
- Power Supply: Use a stable power source to ensure consistent readings.
- Placement: Avoid placing the sensor near rocks or debris, as this may affect the readings.
Example Code for Arduino UNO
Below is an example of how to use the SparkFun Soil Moisture Sensor with an Arduino UNO:
// SparkFun Soil Moisture Sensor Example Code
// This code reads the analog output from the sensor and prints the moisture level
// to the Serial Monitor.

const int sensorPin = A0; // Connect SIG pin to analog pin A0
int sensorValue = 0;      // Variable to store sensor reading

void setup() {
  Serial.begin(9600); // Initialize serial communication at 9600 baud
}

void loop() {
  sensorValue = analogRead(sensorPin); // Read the analog value from the sensor
  Serial.print("Soil Moisture Level: ");
  Serial.println(sensorValue); // Print the sensor value to the Serial Monitor

  delay(1000); // Wait for 1 second before taking the next reading
}
Interpreting the Output
- The
analogRead()function returns a value between 0 and 1023. - A higher value (e.g., 800-1023) indicates dry soil.
- A lower value (e.g., 0-300) indicates wet soil.
Troubleshooting and FAQs
Common Issues and Solutions
No Output or Incorrect Readings:
- Solution: Check all connections to ensure they are secure. Verify that the
VCCpin is connected to a 3.3V or 5V power source and that theGNDpin is properly grounded.
- Solution: Check all connections to ensure they are secure. Verify that the
Fluctuating Readings:
- Solution: Ensure the sensor is inserted firmly into the soil. Use a stable power supply to minimize noise in the readings.
Sensor Corrosion:
- Solution: Avoid leaving the sensor in wet soil for extended periods. Consider using a protective coating or a corrosion-resistant sensor.
Low Sensitivity:
- Solution: Calibrate the sensor for your specific soil type. Test the sensor in both dry and saturated soil to determine the appropriate range.
FAQs
Q: Can this sensor be used in hydroponic systems?
A: No, this sensor is designed for soil-based applications. For hydroponics, consider using a water-level or EC (electrical conductivity) sensor.
Q: How do I extend the lifespan of the sensor?
A: Minimize exposure to water and consider using a corrosion-resistant version. Alternatively, remove the sensor from the soil when not in use.
Q: Can I use this sensor with a Raspberry Pi?
A: Yes, but since the Raspberry Pi lacks analog input pins, you will need an ADC (analog-to-digital converter) to read the sensor's output.
Q: What is the maximum soil depth this sensor can measure?
A: The sensor measures moisture only at the depth of its probes, which is approximately 5-6 cm.
By following this documentation, you can effectively integrate the SparkFun Soil Moisture Sensor into your projects and ensure accurate soil moisture monitoring.