How to Use Switch Symbol SPST: Examples, Pinouts, and Specs

Introduction
A Single Pole Single Throw (SPST) switch is a fundamental electronic component used to control a single circuit. It has two terminals and operates in two states: open (off) and closed (on). This simplicity makes it a versatile and widely used switch in various applications.
Explore Projects Built with Switch Symbol SPST
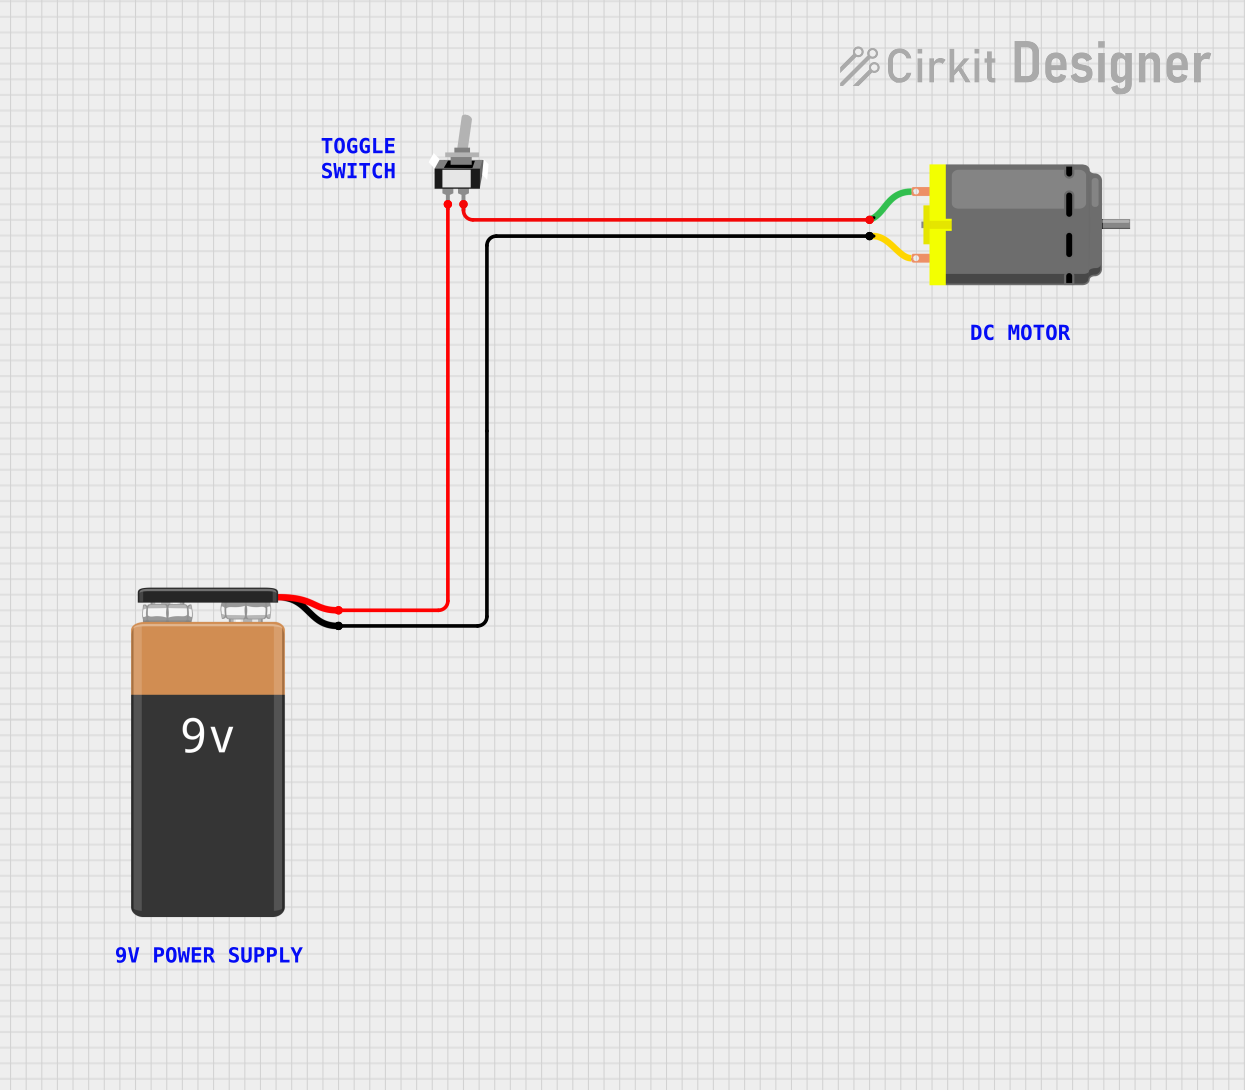


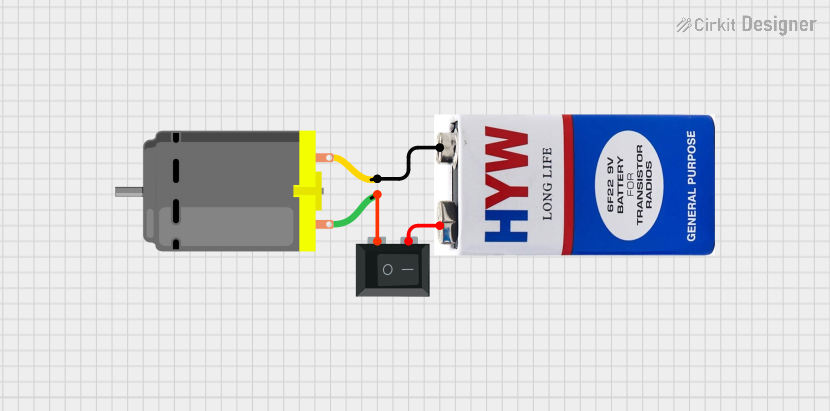
Explore Projects Built with Switch Symbol SPST
Common Applications and Use Cases
- Power Control: Turning devices on and off.
- Circuit Selection: Switching between different circuit paths.
- User Input: Simple user interfaces for electronic devices.
- Safety Mechanisms: Emergency stop buttons in machinery.
Technical Specifications
Key Technical Details
| Parameter | Value |
|---|---|
| Voltage Rating | Typically 12V to 250V |
| Current Rating | Typically 0.5A to 15A |
| Contact Resistance | < 50 mΩ |
| Insulation Resistance | > 100 MΩ |
| Operating Temperature | -40°C to +85°C |
| Mechanical Life | 10,000 to 100,000 cycles |
Pin Configuration and Descriptions
| Pin Number | Description |
|---|---|
| 1 | Terminal 1 (Input) |
| 2 | Terminal 2 (Output) |
Usage Instructions
How to Use the Component in a Circuit
- Identify the Terminals: Locate the two terminals on the SPST switch.
- Connect the Input: Connect Terminal 1 to the power source or the input signal.
- Connect the Output: Connect Terminal 2 to the load or the output circuit.
- Mount the Switch: Secure the switch in a suitable location for easy access.
Important Considerations and Best Practices
- Current Rating: Ensure the switch's current rating matches or exceeds the circuit's current.
- Voltage Rating: Verify the switch's voltage rating is appropriate for the application.
- Debouncing: Implement debouncing techniques in digital circuits to avoid false triggering.
- Mechanical Stress: Avoid excessive force on the switch to prolong its mechanical life.
Example Circuit with Arduino UNO
Here is an example of how to connect an SPST switch to an Arduino UNO to control an LED:
Circuit Diagram
[Power Source] --- [SPST Switch] --- [Arduino Digital Pin 2]
[Arduino GND] --- [LED] --- [Resistor] --- [Arduino Digital Pin 13]
Arduino Code
// Define the pin for the SPST switch
const int switchPin = 2;
// Define the pin for the LED
const int ledPin = 13;

void setup() {
  // Initialize the switch pin as input
  pinMode(switchPin, INPUT);
  // Initialize the LED pin as output
  pinMode(ledPin, OUTPUT);
}

void loop() {
  // Read the state of the switch
  int switchState = digitalRead(switchPin);

  // If the switch is closed (on), turn on the LED
  if (switchState == HIGH) {
    digitalWrite(ledPin, HIGH);
  } else {
    // If the switch is open (off), turn off the LED
    digitalWrite(ledPin, LOW);
  }
}
Troubleshooting and FAQs
Common Issues Users Might Face
Switch Not Working:
- Solution: Check the connections and ensure the switch is properly wired.
- Tip: Use a multimeter to verify continuity when the switch is closed.
LED Not Turning On:
- Solution: Ensure the LED and resistor are correctly connected.
- Tip: Verify the Arduino code and check for any errors.
False Triggering in Digital Circuits:
- Solution: Implement debouncing in the code.
- Tip: Use a capacitor or software debouncing techniques.
FAQs
Q1: Can I use an SPST switch for high-power applications?
- A1: Yes, but ensure the switch's current and voltage ratings match the application's requirements.
Q2: How do I implement debouncing in software?
- A2: Use a delay or a state machine to filter out noise and false triggers.
Q3: Can I use an SPST switch to control multiple devices?
- A3: No, an SPST switch controls a single circuit. Use a multi-pole switch for multiple devices.
This documentation provides a comprehensive guide to understanding, using, and troubleshooting an SPST switch. Whether you are a beginner or an experienced user, these insights will help you effectively integrate this component into your projects.