How to Use f722: Examples, Pinouts, and Specs
Introduction
The F722 is a high-performance microcontroller manufactured by Sologood, with the part ID "FC". It is designed for real-time applications and advanced processing tasks, making it ideal for demanding embedded systems. The F722 features a dual-core architecture with ARM Cortex-M7 and Cortex-M4 cores, providing exceptional computational power and efficiency. This microcontroller is widely used in industrial automation, robotics, IoT devices, and advanced signal processing applications.
Explore Projects Built with f722


Explore Projects Built with f722
Common Applications
- Industrial automation and control systems
- Robotics and motor control
- IoT (Internet of Things) devices
- Advanced signal processing and audio processing
- High-performance data acquisition systems
Technical Specifications
Key Technical Details
| Parameter | Specification |
|---|---|
| Architecture | Dual-core ARM Cortex-M7 and Cortex-M4 |
| Clock Speed (Cortex-M7) | Up to 216 MHz |
| Clock Speed (Cortex-M4) | Up to 100 MHz |
| Flash Memory | Up to 512 KB |
| SRAM | 256 KB |
| Operating Voltage | 1.7V to 3.6V |
| GPIO Pins | Up to 114 |
| Communication Interfaces | UART, SPI, I2C, CAN, USB, Ethernet |
| ADC Resolution | 12-bit, up to 16 channels |
| DAC Resolution | 12-bit, 2 channels |
| Timers | 16-bit and 32-bit timers |
| Package Options | LQFP, BGA |
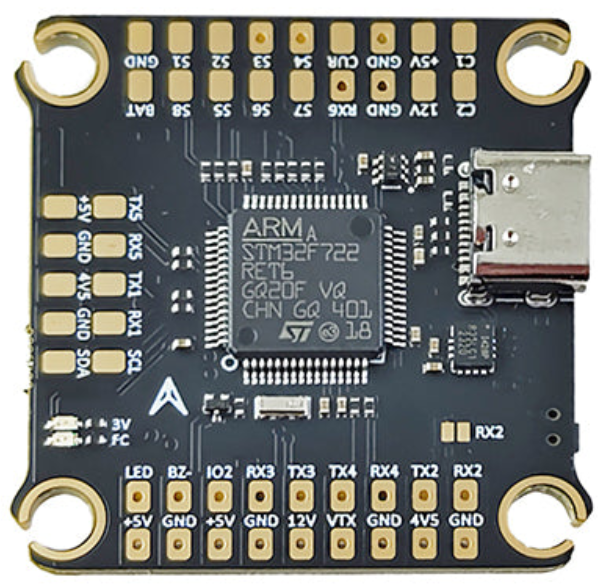
Pin Configuration and Descriptions
The F722 microcontroller comes in various package options. Below is an example pinout for the LQFP-64 package:
| Pin Number | Pin Name | Description |
|---|---|---|
| 1 | VDD | Power supply (1.7V to 3.6V) |
| 2 | VSS | Ground |
| 3 | PA0 | GPIO pin, ADC input, or UART TX |
| 4 | PA1 | GPIO pin, ADC input, or UART RX |
| 5 | PB0 | GPIO pin, PWM output, or I2C SDA |
| 6 | PB1 | GPIO pin, PWM output, or I2C SCL |
| ... | ... | ... (Refer to the datasheet for full pinout) |
Usage Instructions
How to Use the F722 in a Circuit
- Power Supply: Ensure the microcontroller is powered within the operating voltage range (1.7V to 3.6V). Use decoupling capacitors (e.g., 0.1 µF) near the VDD pins for stable operation.
- Clock Configuration: The F722 supports internal and external clock sources. Configure the clock source based on your application requirements.
- GPIO Configuration: Set up the GPIO pins as input, output, or alternate function using the microcontroller's registers or a development framework.
- Programming: Use an ST-Link programmer or equivalent to upload firmware to the microcontroller. The F722 supports debugging via SWD (Serial Wire Debug).
- Peripherals: Configure peripherals (e.g., UART, SPI, I2C) using the microcontroller's registers or a software library like STM32 HAL or CMSIS.
Important Considerations
- Heat Dissipation: Ensure proper heat dissipation if the microcontroller operates at high clock speeds for extended periods.
- Voltage Levels: Avoid exceeding the maximum voltage rating to prevent damage.
- Boot Configuration: Configure the boot pins correctly to select the desired boot mode (e.g., boot from flash memory or system memory).
- Development Tools: Use IDEs like STM32CubeIDE or Keil µVision for firmware development.
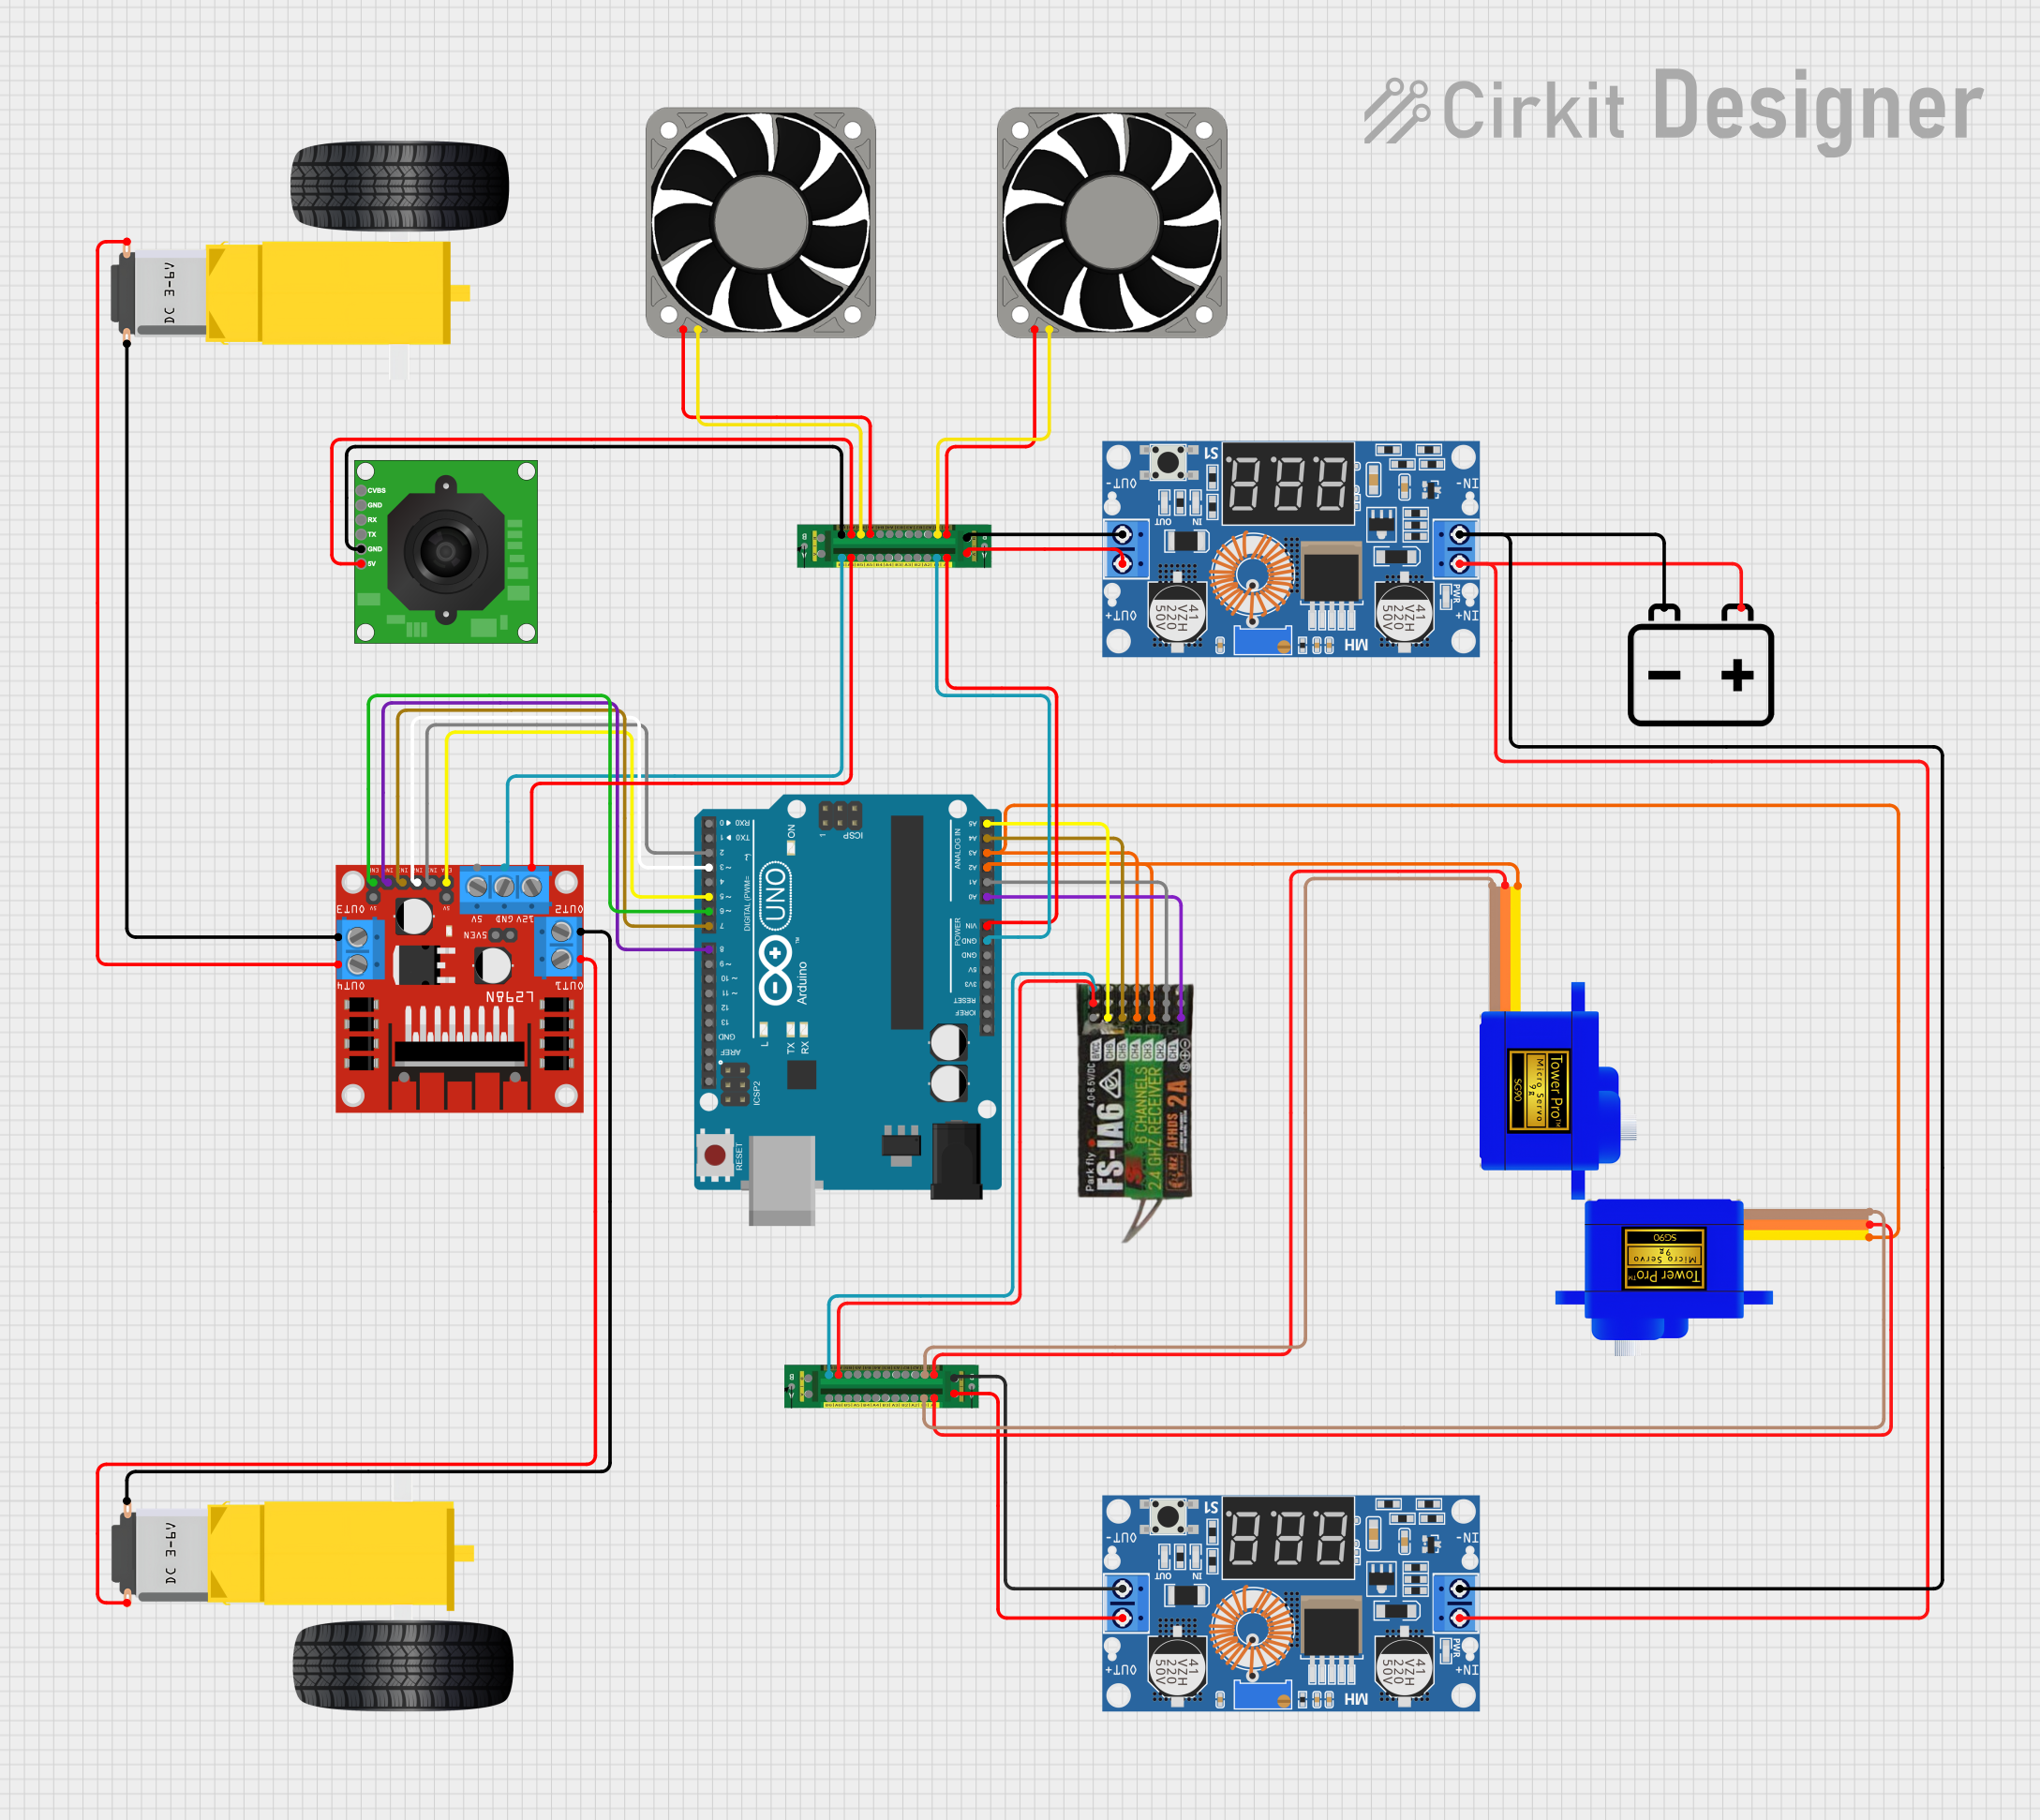
Example Code for Arduino UNO Integration
Although the F722 is not directly compatible with Arduino UNO, it can communicate with it via UART. Below is an example of how to send data from the F722 to an Arduino UNO:
F722 UART Configuration (Using STM32 HAL)
#include "stm32f7xx_hal.h"

UART_HandleTypeDef huart1;

void SystemClock_Config(void);
void MX_USART1_UART_Init(void);

int main(void) {
    HAL_Init(); // Initialize the HAL Library
    SystemClock_Config(); // Configure the system clock
    MX_USART1_UART_Init(); // Initialize UART1

    char message[] = "Hello from F722!\r\n";

    while (1) {
        HAL_UART_Transmit(&huart1, (uint8_t *)message, sizeof(message) - 1, HAL_MAX_DELAY);
        HAL_Delay(1000); // Wait for 1 second
    }
}

void MX_USART1_UART_Init(void) {
    huart1.Instance = USART1;
    huart1.Init.BaudRate = 9600;
    huart1.Init.WordLength = UART_WORDLENGTH_8B;
    huart1.Init.StopBits = UART_STOPBITS_1;
    huart1.Init.Parity = UART_PARITY_NONE;
    huart1.Init.Mode = UART_MODE_TX_RX;
    huart1.Init.HwFlowCtl = UART_HWCONTROL_NONE;
    huart1.Init.OverSampling = UART_OVERSAMPLING_16;
    HAL_UART_Init(&huart1);
}
Arduino UNO Code to Receive Data
void setup() {
    Serial.begin(9600); // Initialize Serial communication at 9600 baud
}

void loop() {
    if (Serial.available() > 0) {
        String receivedData = Serial.readString(); // Read incoming data
        Serial.println("Received: " + receivedData); // Print received data
    }
}
Troubleshooting and FAQs
Common Issues
Microcontroller Not Powering On:
- Ensure the power supply voltage is within the specified range (1.7V to 3.6V).
- Check for proper connections to the VDD and VSS pins.
- Verify that decoupling capacitors are placed near the power pins.
UART Communication Fails:
- Confirm that the baud rate and other UART settings match on both devices.
- Check the physical connections between the F722 and the external device.
- Ensure the UART pins are configured correctly in the firmware.
Firmware Upload Fails:
- Verify that the ST-Link programmer is properly connected.
- Check the boot pin configuration to ensure the microcontroller is in programming mode.
- Update the ST-Link firmware and IDE to the latest versions.
FAQs
Q: Can the F722 operate at low power?
A: Yes, the F722 supports multiple low-power modes, including sleep and standby, to reduce power consumption.
Q: What development tools are recommended for the F722?
A: STM32CubeIDE, Keil µVision, and IAR Embedded Workbench are commonly used for F722 development.
Q: How do I debug the F722?
A: Use the SWD (Serial Wire Debug) interface with an ST-Link programmer for debugging.
Q: Can I use the F722 for audio processing?
A: Yes, the F722's high-performance Cortex-M7 core and integrated DSP instructions make it suitable for audio processing tasks.