
How to Use SparkFun SHT15 Humidity and Temperature Breakout: Examples, Pinouts, and Specs
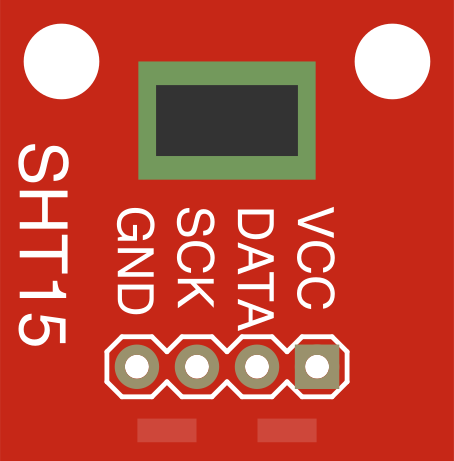
 Design with SparkFun SHT15 Humidity and Temperature Breakout in Cirkit Designer
Introduction
The SparkFun SHT15 Humidity and Temperature Breakout (Part ID: SEN-08257) is a compact sensor module designed to measure both relative humidity and temperature with high accuracy. It features a digital output, making it easy to integrate with microcontrollers and other digital systems. The module is based on the Sensirion SHT15 sensor, which combines a capacitive humidity sensor and a band-gap temperature sensor in a single package.
Explore Projects Built with SparkFun SHT15 Humidity and Temperature Breakout
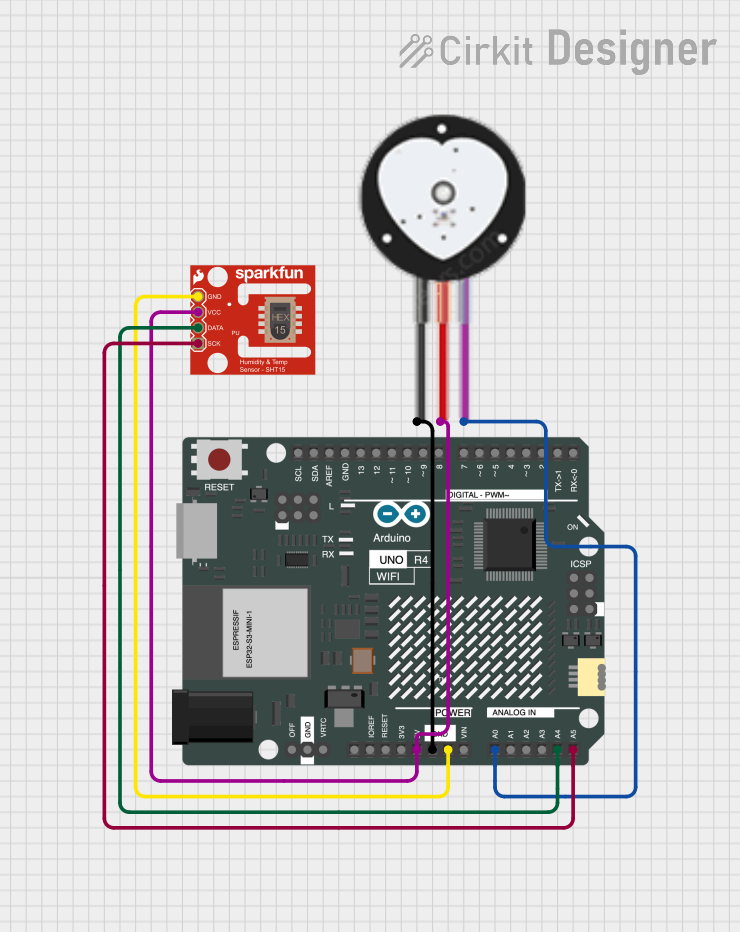 Open Project in Cirkit Designer
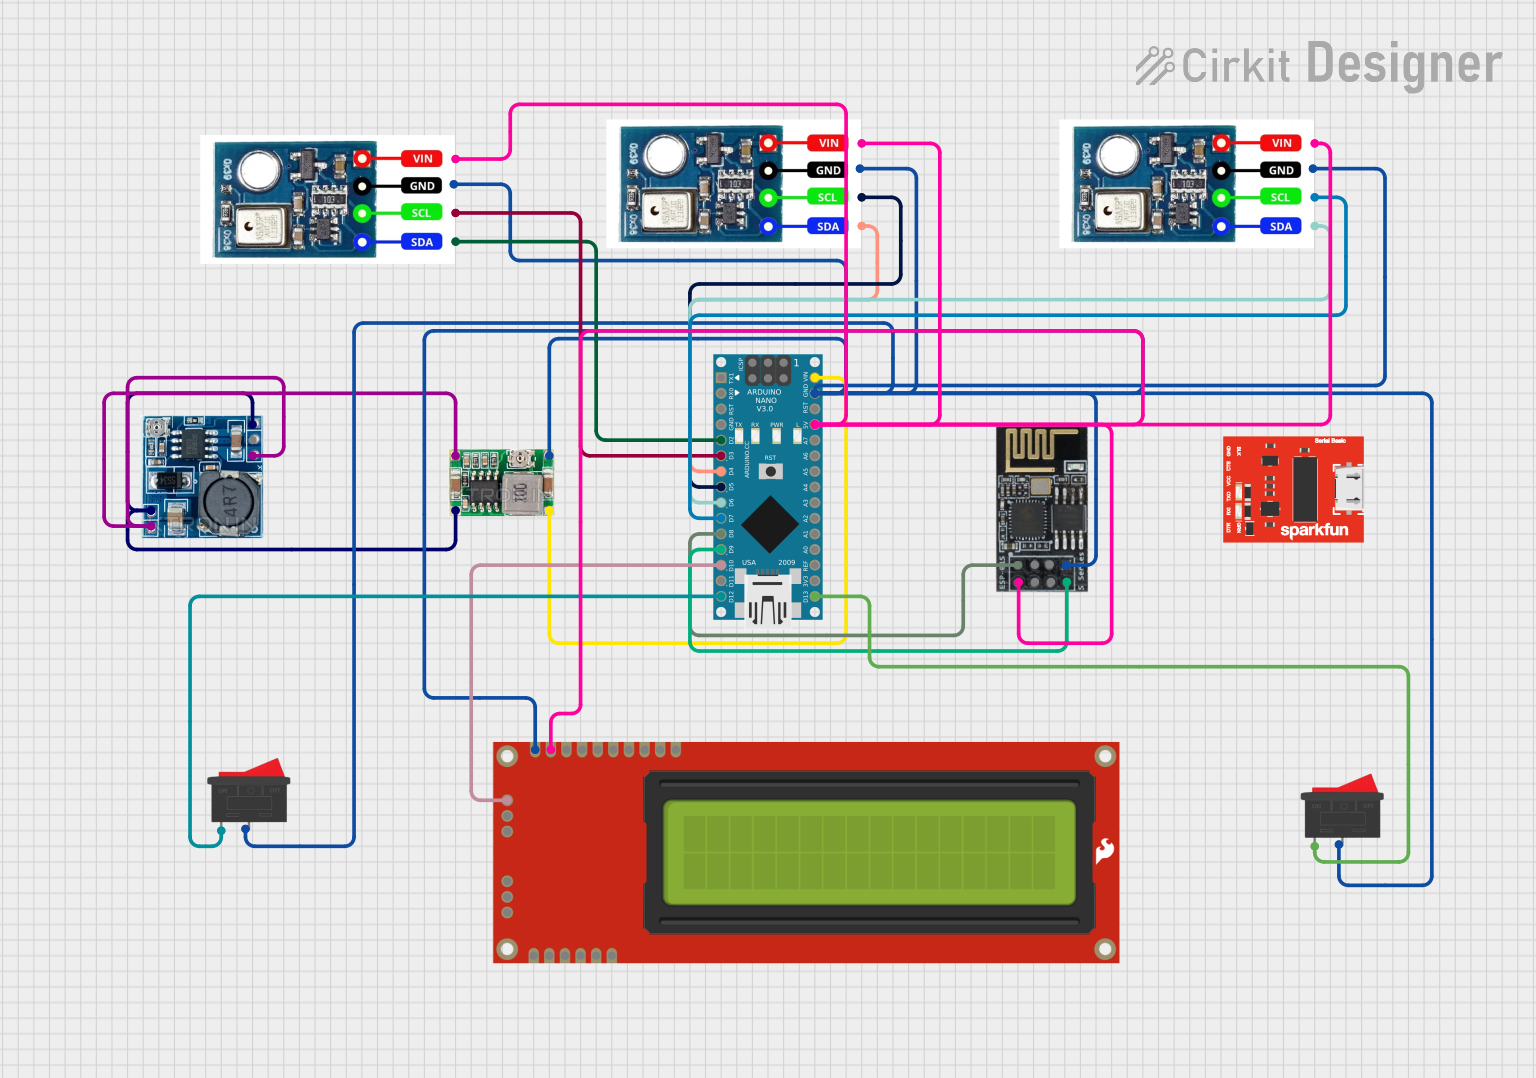 Open Project in Cirkit Designer
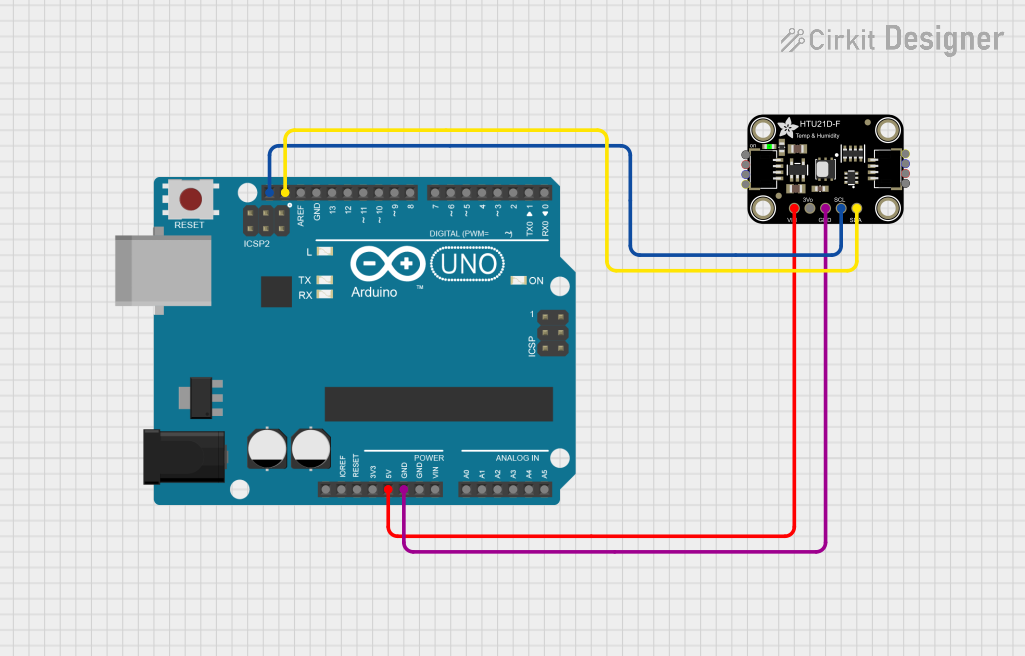 Open Project in Cirkit Designer
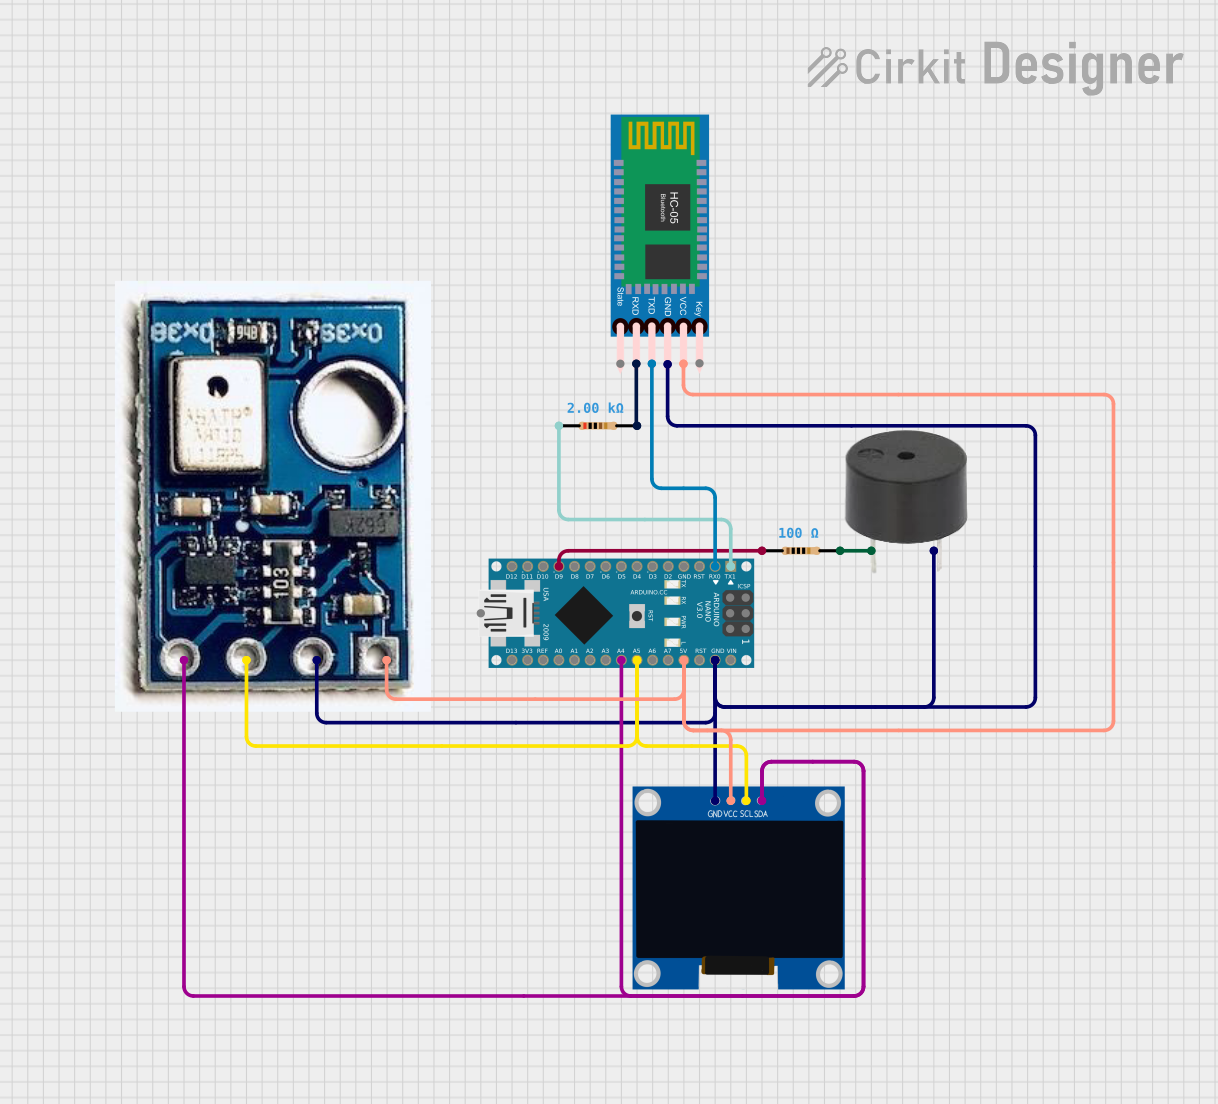 Open Project in Cirkit Designer
Explore Projects Built with SparkFun SHT15 Humidity and Temperature Breakout
Open Project in Cirkit DesignerOpen Project in Cirkit DesignerOpen Project in Cirkit DesignerOpen Project in Cirkit DesignerCommon Applications and Use Cases
- Environmental monitoring systems
- Weather stations
- HVAC (Heating, Ventilation, and Air Conditioning) control
- Industrial process monitoring
- IoT (Internet of Things) devices for climate data collection
Technical Specifications
The following table outlines the key technical details of the SparkFun SHT15 Humidity and Temperature Breakout:
| Parameter | Value |
|---|---|
| Supply Voltage | 2.4V to 5.5V |
| Current Consumption | 550 µA (measuring), 28 µA (standby) |
| Humidity Measurement Range | 0% to 100% RH |
| Humidity Accuracy | ±3.0% RH |
| Temperature Measurement Range | -40°C to +123.8°C |
| Temperature Accuracy | ±0.3°C |
| Communication Protocol | Digital (2-wire interface) |
| Dimensions | 19.3mm x 16.5mm |
Pin Configuration and Descriptions
The SparkFun SHT15 breakout board has four pins, as described in the table below:
| Pin | Name | Description |
|---|---|---|
| 1 | VCC | Power supply input (2.4V to 5.5V). Connect to the 3.3V or 5V pin of your microcontroller. |
| 2 | GND | Ground connection. Connect to the ground pin of your microcontroller. |
| 3 | DATA | Data line for communication. Connect to a digital I/O pin on your microcontroller. |
| 4 | SCK | Clock line for communication. Connect to a digital I/O pin on your microcontroller. |
Usage Instructions
How to Use the Component in a Circuit
- Power the Sensor: Connect the VCC pin to a 3.3V or 5V power source and the GND pin to ground.
- Connect Communication Lines:
- Connect the DATA pin to a digital I/O pin on your microcontroller.
- Connect the SCK pin to another digital I/O pin on your microcontroller.
- Pull-Up Resistors: Use 10kΩ pull-up resistors on both the DATA and SCK lines to ensure proper communication.
- Code Integration: Use a library or write custom code to communicate with the sensor using its digital protocol.
Important Considerations and Best Practices
- Avoid Condensation: Ensure the sensor is not exposed to condensation, as this can affect accuracy and longevity.
- Stabilization Time: Allow the sensor to stabilize for a few seconds after powering it on before taking measurements.
- Placement: Place the sensor in an area with good airflow for accurate readings.
- Voltage Compatibility: Ensure the microcontroller's logic level matches the sensor's operating voltage (use a level shifter if necessary).
Example Code for Arduino UNO
Below is an example of how to use the SparkFun SHT15 with an Arduino UNO. This code uses the SHT1x library, which simplifies communication with the sensor.
#include <SHT1x.h>

// Define the pins connected to the sensor
#define dataPin 10  // Pin connected to the DATA line
#define clockPin 11 // Pin connected to the SCK line

// Create an instance of the SHT1x library
SHT1x sht1x(dataPin, clockPin);

void setup() {
  Serial.begin(9600); // Initialize serial communication
  Serial.println("SHT15 Humidity and Temperature Sensor");
}

void loop() {
  // Read temperature and humidity from the sensor
  float temperature = sht1x.readTemperatureC(); // Temperature in Celsius
  float humidity = sht1x.readHumidity();       // Relative humidity in %

  // Print the readings to the Serial Monitor
  Serial.print("Temperature: ");
  Serial.print(temperature);
  Serial.println(" °C");

  Serial.print("Humidity: ");
  Serial.print(humidity);
  Serial.println(" %");

  delay(2000); // Wait 2 seconds before the next reading
}
Troubleshooting and FAQs
Common Issues and Solutions
No Data or Incorrect Readings:
- Cause: Missing or incorrect pull-up resistors on the DATA and SCK lines.
- Solution: Ensure 10kΩ pull-up resistors are connected to both lines.
Communication Errors:
- Cause: Incorrect wiring or mismatched voltage levels.
- Solution: Double-check the wiring and ensure the microcontroller's logic level matches the sensor's operating voltage.
Inconsistent Readings:
- Cause: Environmental factors such as condensation or poor airflow.
- Solution: Place the sensor in a well-ventilated area and avoid exposure to condensation.
Sensor Not Detected:
- Cause: Incorrect pin definitions in the code.
- Solution: Verify that the
dataPinandclockPinin the code match the actual pins used in the circuit.
FAQs
Q: Can the SHT15 sensor measure both temperature and humidity simultaneously?
A: Yes, the sensor can measure both parameters, but the measurements are taken sequentially.
Q: Is the sensor compatible with 5V microcontrollers?
A: Yes, the sensor operates at 2.4V to 5.5V, making it compatible with both 3.3V and 5V systems.
Q: Do I need an external library to use the sensor with Arduino?
A: While you can write custom code, using a library like SHT1x simplifies communication and reduces development time.
Q: How often should I take measurements?
A: The sensor can provide readings as frequently as every 2 seconds, but this depends on your application requirements.
Q: Can I use the sensor outdoors?
A: The sensor can be used outdoors if it is protected from direct exposure to water and extreme environmental conditions.