
How to Use SHT1x Humdity Sensor: Examples, Pinouts, and Specs
 Design with SHT1x Humdity Sensor in Cirkit Designer
Introduction
The SHT1x is a digital sensor designed to measure relative humidity and temperature with high accuracy and reliability. It integrates a capacitive humidity sensor and a band-gap temperature sensor, along with an analog-to-digital converter and a digital interface. This compact and versatile sensor is widely used in environmental monitoring, HVAC systems, weather stations, and industrial process control.
Explore Projects Built with SHT1x Humdity Sensor
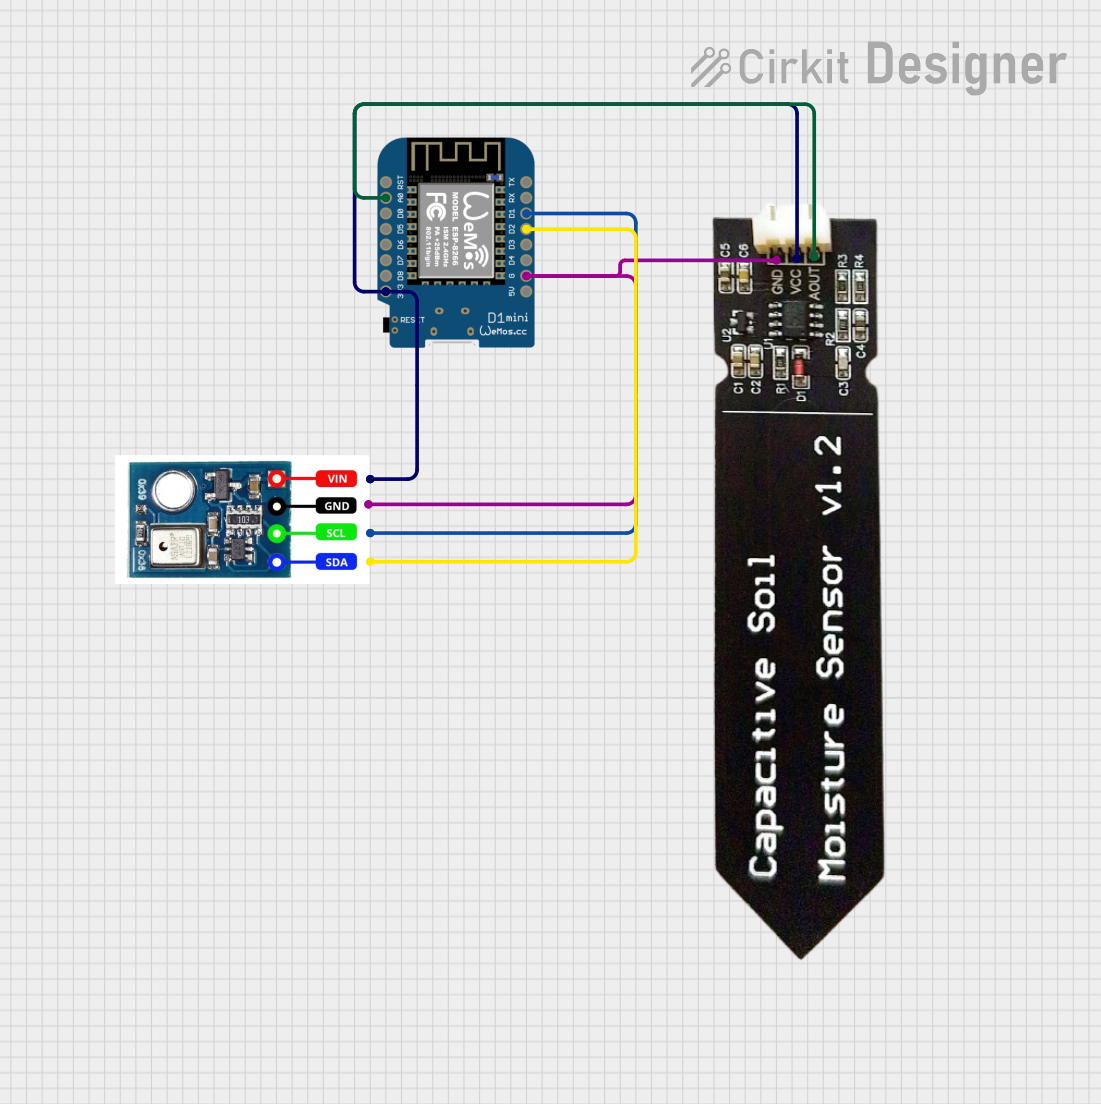 Open Project in Cirkit Designer
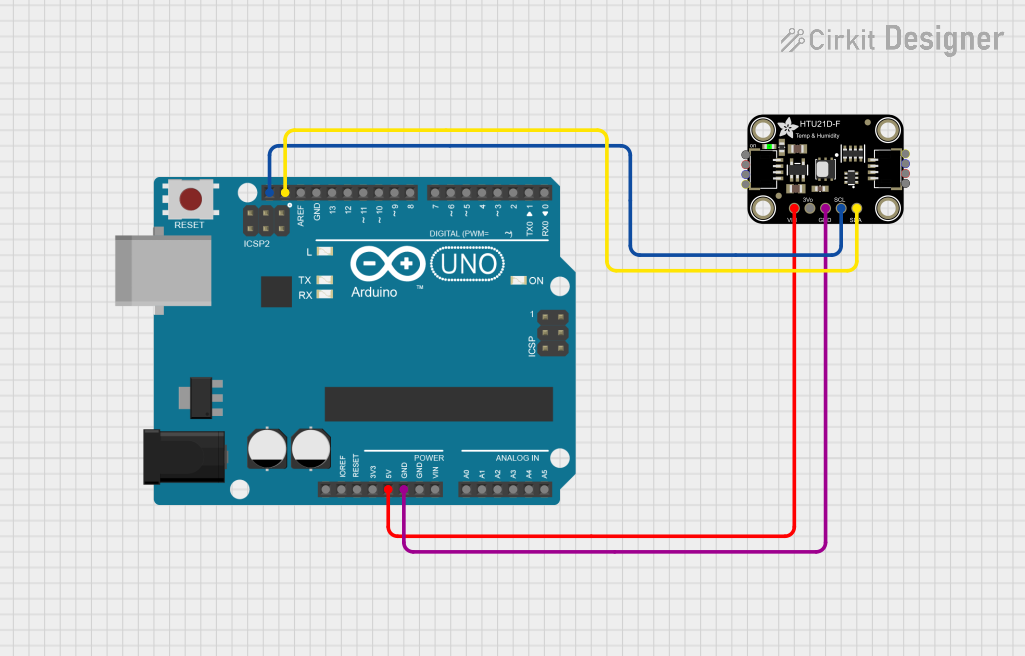 Open Project in Cirkit Designer
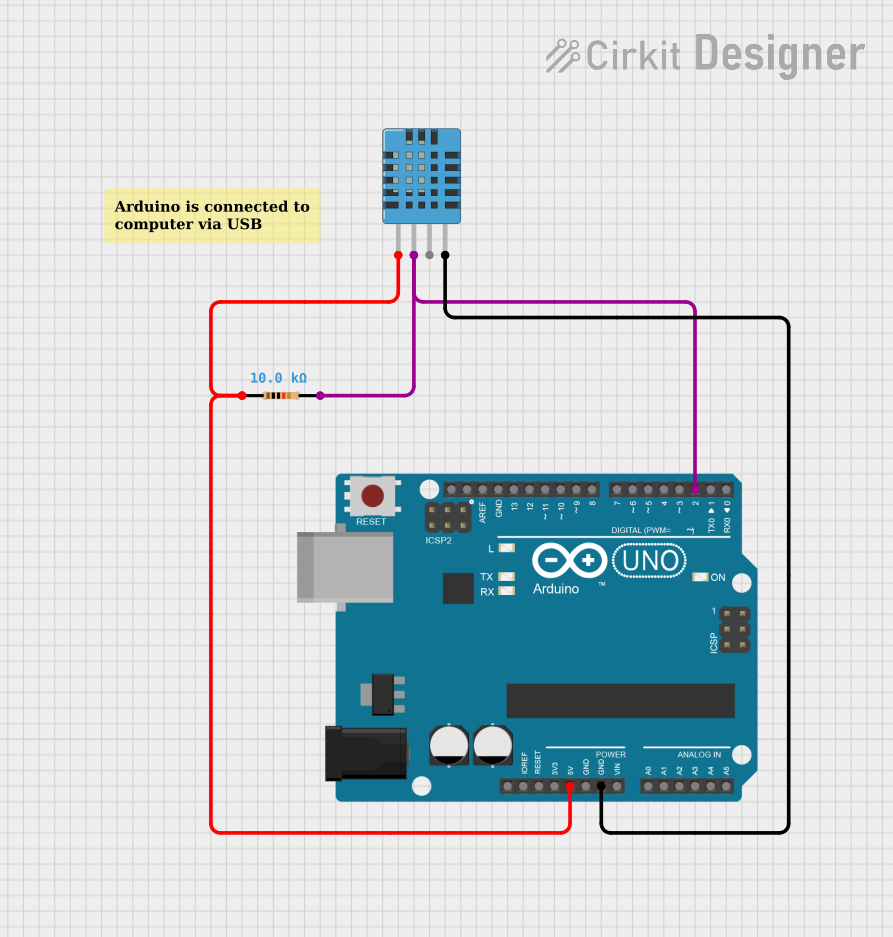 Open Project in Cirkit Designer
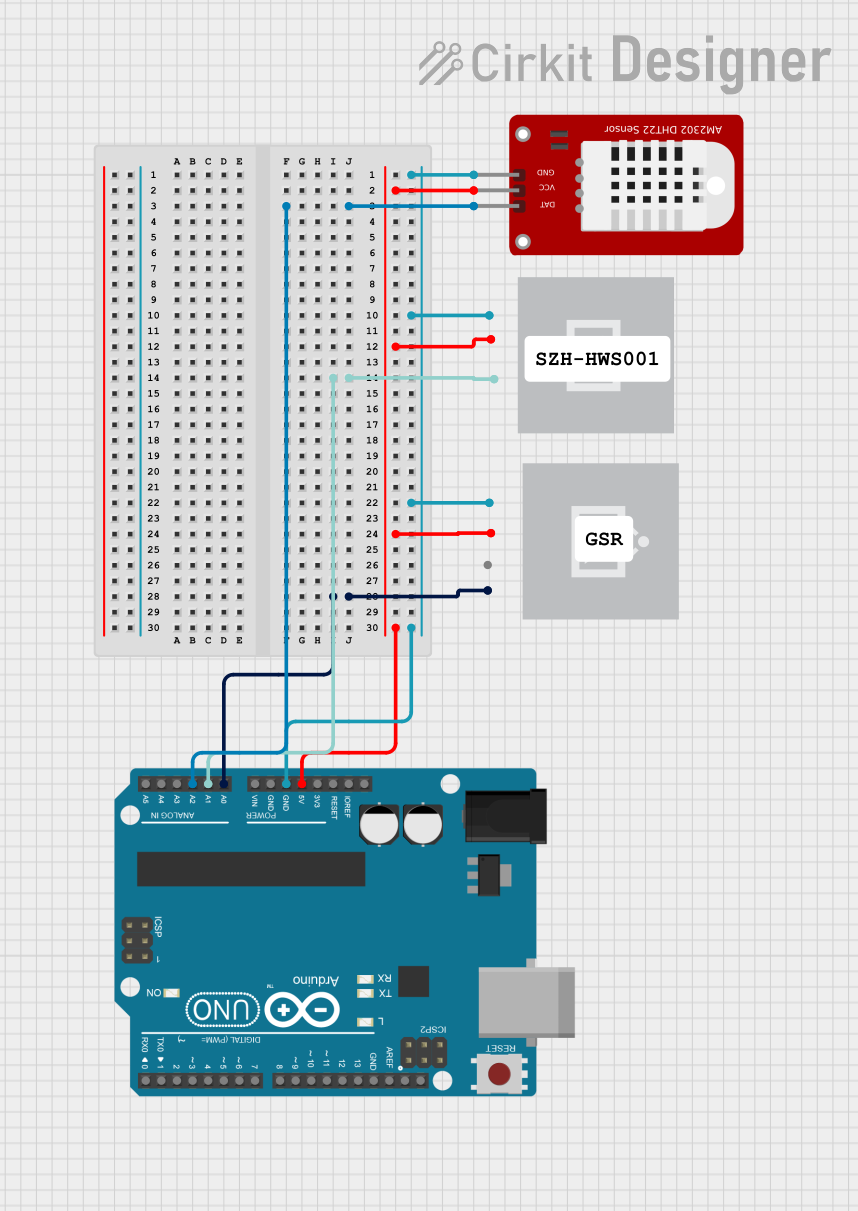 Open Project in Cirkit Designer
Explore Projects Built with SHT1x Humdity Sensor
Open Project in Cirkit DesignerOpen Project in Cirkit DesignerOpen Project in Cirkit DesignerOpen Project in Cirkit DesignerCommon Applications:
- Environmental monitoring systems
- HVAC (Heating, Ventilation, and Air Conditioning) control
- Weather stations
- Industrial process monitoring
- Data loggers and IoT devices
Technical Specifications
The SHT1x series includes models such as SHT10, SHT11, and SHT15, which differ slightly in accuracy and response time. Below are the general technical specifications:
| Parameter | Value |
|---|---|
| Supply Voltage | 2.4V to 5.5V |
| Average Current Consumption | 550 µA (measuring) / 28 µA (standby) |
| Humidity Measurement Range | 0% to 100% RH |
| Humidity Accuracy | ±3% RH (SHT11) |
| Temperature Measurement Range | -40°C to +123.8°C |
| Temperature Accuracy | ±0.4°C (SHT11) |
| Communication Interface | 2-wire digital (proprietary) |
| Response Time (Humidity) | 8 seconds (typical) |
| Response Time (Temperature) | 5 seconds (typical) |
| Dimensions | 7.5mm x 5mm x 2.5mm |
Pin Configuration and Descriptions
The SHT1x sensor has four pins, as described in the table below:
| Pin | Name | Description |
|---|---|---|
| 1 | GND | Ground connection |
| 2 | DATA | Serial data line for communication |
| 3 | SCK | Serial clock line for communication |
| 4 | VDD | Positive supply voltage (2.4V to 5.5V) |
Usage Instructions
How to Use the SHT1x in a Circuit
- Power Supply: Connect the VDD pin to a 3.3V or 5V power source and the GND pin to ground.
- Communication Lines: Use pull-up resistors (typically 10kΩ) on the DATA and SCK lines to ensure proper communication.
- Microcontroller Interface: Connect the DATA and SCK pins to the corresponding GPIO pins of your microcontroller. The SHT1x uses a proprietary 2-wire protocol, which is similar to I2C but not identical.
- Start Communication: Follow the sensor's communication protocol to send commands and read data. Libraries are available for platforms like Arduino to simplify this process.
Important Considerations and Best Practices
- Avoid Condensation: Prolonged exposure to condensation can damage the sensor. Use a protective cover if necessary.
- Stabilization Time: Allow the sensor to stabilize for at least 1 second after power-up before taking measurements.
- Cable Length: Keep the communication lines as short as possible to avoid signal degradation.
- Calibration: The sensor is factory-calibrated, so no additional calibration is required.
Example Code for Arduino UNO
Below is an example of how to interface the SHT1x sensor with an Arduino UNO using the SHT1x library:
#include <SHT1x.h>

// Define the pins for the DATA and SCK lines
#define dataPin 10  // Connect to the DATA pin of the SHT1x
#define clockPin 11 // Connect to the SCK pin of the SHT1x

// Create an instance of the SHT1x library
SHT1x sht1x(dataPin, clockPin);

void setup() {
  Serial.begin(9600); // Initialize serial communication
  Serial.println("SHT1x Humidity and Temperature Sensor Example");
}

void loop() {
  // Read temperature and humidity values
  float temperature = sht1x.readTemperatureC(); // Temperature in Celsius
  float humidity = sht1x.readHumidity();       // Relative humidity in %

  // Print the readings to the Serial Monitor
  Serial.print("Temperature: ");
  Serial.print(temperature);
  Serial.println(" °C");

  Serial.print("Humidity: ");
  Serial.print(humidity);
  Serial.println(" %");

  delay(2000); // Wait for 2 seconds before the next reading
}
Troubleshooting and FAQs
Common Issues and Solutions
No Data Output:
- Cause: Incorrect wiring or missing pull-up resistors.
- Solution: Double-check the connections and ensure 10kΩ pull-up resistors are used on the DATA and SCK lines.
Inaccurate Readings:
- Cause: Sensor exposed to contaminants or condensation.
- Solution: Clean the sensor gently with isopropyl alcohol and allow it to dry completely.
Communication Errors:
- Cause: Signal interference or incorrect timing in the communication protocol.
- Solution: Shorten the cable length and ensure the microcontroller's timing matches the sensor's requirements.
Sensor Not Responding:
- Cause: Insufficient power supply or damaged sensor.
- Solution: Verify the power supply voltage and replace the sensor if necessary.
FAQs
Q: Can the SHT1x sensor be used outdoors?
A: Yes, but it should be protected from direct exposure to water, dust, and extreme conditions using an appropriate enclosure.
Q: Does the sensor require calibration?
A: No, the SHT1x is factory-calibrated and does not require additional calibration.
Q: Can I use the SHT1x with a 3.3V microcontroller?
A: Yes, the sensor operates within a voltage range of 2.4V to 5.5V, making it compatible with 3.3V systems.
Q: What is the maximum cable length for the SHT1x?
A: The maximum cable length depends on the operating environment and pull-up resistor values. For best results, keep the cable length under 20cm.