
How to Use sensor garis: Examples, Pinouts, and Specs
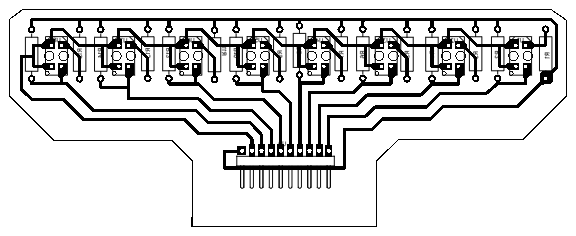
 Design with sensor garis in Cirkit Designer
Manta Line Sensor (Part ID: 2025) Documentation
1. Introduction
The Manta Line Sensor (Part ID: 2025) is a specialized sensor designed to detect and follow lines, making it an essential component in robotics for line-following applications. This sensor is widely used in educational robotics, autonomous vehicles, and industrial automation systems. Its ability to accurately detect lines on various surfaces ensures reliable performance in diverse environments.
2. Technical Specifications
Key Technical Details
| Parameter | Value |
|---|---|
| Operating Voltage | 3.3V - 5V |
| Operating Current | 20mA |
| Output Type | Digital (High/Low) |
| Detection Range | 0.1 cm - 1.5 cm |
| Response Time | < 1 ms |
| Dimensions | 30mm x 15mm x 5mm |
| Weight | 5g |
Pin Configuration and Descriptions
| Pin No. | Pin Name | Description |
|---|---|---|
| 1 | VCC | Power supply (3.3V - 5V) |
| 2 | GND | Ground |
| 3 | OUT | Digital output (High/Low) |
3. Usage Instructions
How to Use the Component in a Circuit
- Power Supply: Connect the VCC pin to a 3.3V or 5V power supply.
- Ground Connection: Connect the GND pin to the ground of the circuit.
- Output Connection: Connect the OUT pin to a digital input pin on your microcontroller (e.g., Arduino UNO).
Example Circuit Diagram
  Arduino UNO
  +---------+
  |         |
  |    5V   +----+ VCC (Pin 1)
  |         |
  |   GND   +----+ GND (Pin 2)
  |         |
  |   D2    +----+ OUT (Pin 3)
  |         |
  +---------+
Important Considerations and Best Practices
- Mounting Height: Ensure the sensor is mounted at an optimal height (0.1 cm - 1.5 cm) above the line for accurate detection.
- Surface and Line Color: The sensor works best with high-contrast lines (e.g., black line on a white surface).
- Ambient Light: Minimize ambient light interference by shielding the sensor if necessary.
4. Example Code for Arduino UNO
/*
 * Manta Line Sensor Example Code
 * This code reads the output from the Manta Line Sensor and
 * prints the sensor state to the Serial Monitor.
 */

const int sensorPin = 2; // Pin connected to OUT pin of the sensor
int sensorState = 0;     // Variable to store the sensor state

void setup() {
  pinMode(sensorPin, INPUT); // Set sensor pin as input
  Serial.begin(9600);        // Initialize serial communication
}

void loop() {
  sensorState = digitalRead(sensorPin); // Read the sensor state

  if (sensorState == HIGH) {
    Serial.println("Line detected"); // Print message if line is detected
  } else {
    Serial.println("No line detected"); // Print message if no line is detected
  }

  delay(100); // Small delay to avoid flooding the serial monitor
}
5. Troubleshooting and FAQs
Common Issues Users Might Face
No Line Detection:
- Solution: Ensure the sensor is at the correct height above the line. Check the power supply and connections.
False Positives:
- Solution: Reduce ambient light interference. Ensure the line and surface have high contrast.
Intermittent Detection:
- Solution: Stabilize the sensor mounting. Check for loose connections.
FAQs
Q1: Can the sensor detect colored lines?
- A1: The sensor is optimized for high-contrast lines (e.g., black on white). It may not perform well with colored lines.
Q2: What is the maximum detection range?
- A2: The sensor can detect lines at a range of 0.1 cm to 1.5 cm.
Q3: Can I use this sensor with a 3.3V microcontroller?
- A3: Yes, the sensor operates within a voltage range of 3.3V to 5V.
Q4: How do I minimize false detections?
- A4: Ensure the sensor is properly shielded from ambient light and the line has a high contrast with the surface.
By following this documentation, users can effectively integrate the Manta Line Sensor (Part ID: 2025) into their projects, ensuring reliable line detection and optimal performance.
Explore Projects Built with sensor garis
 Open Project in Cirkit Designer
 Open Project in Cirkit Designer
 Open Project in Cirkit Designer
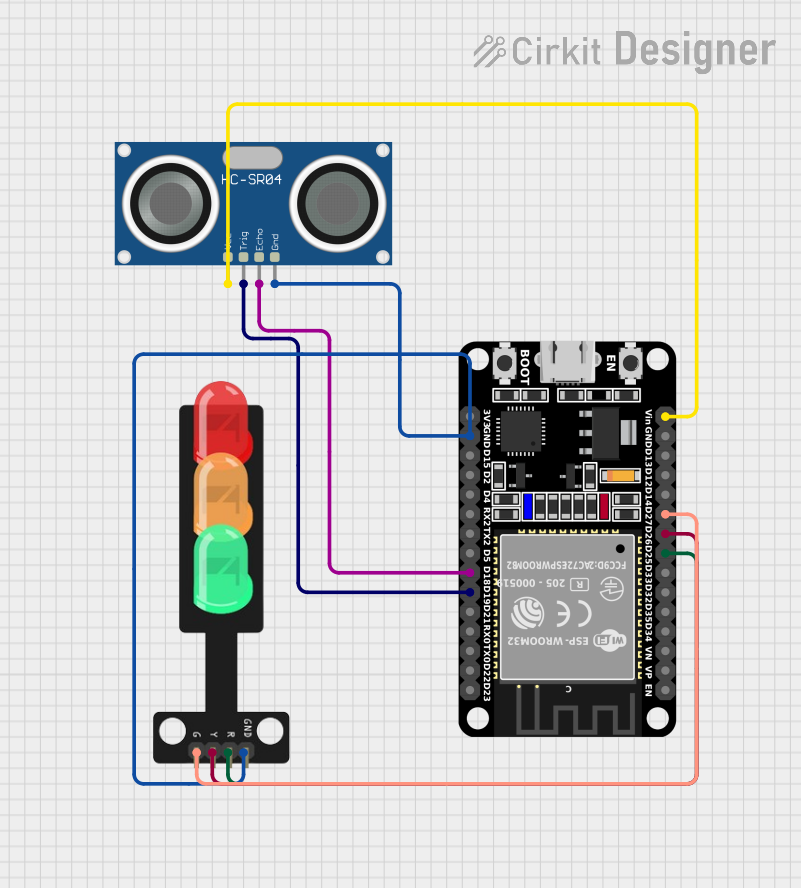
 Open Project in Cirkit Designer
Explore Projects Built with sensor garis

 Open Project in Cirkit Designer
 Open Project in Cirkit Designer
 Open Project in Cirkit Designer
 Open Project in Cirkit Designer