Introduction
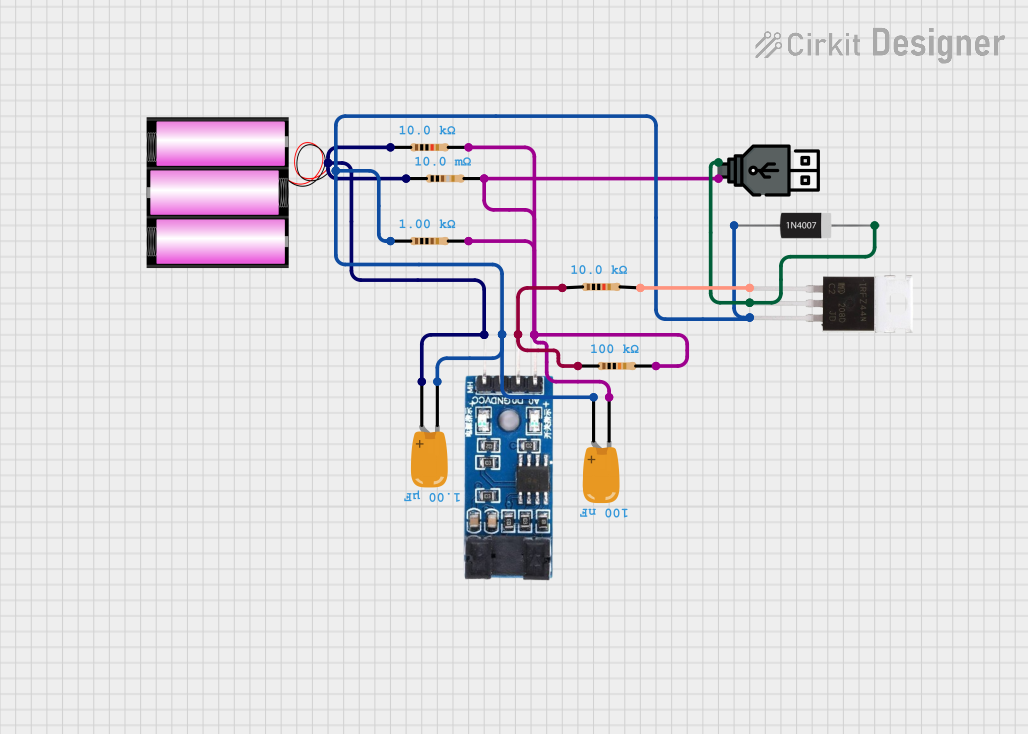
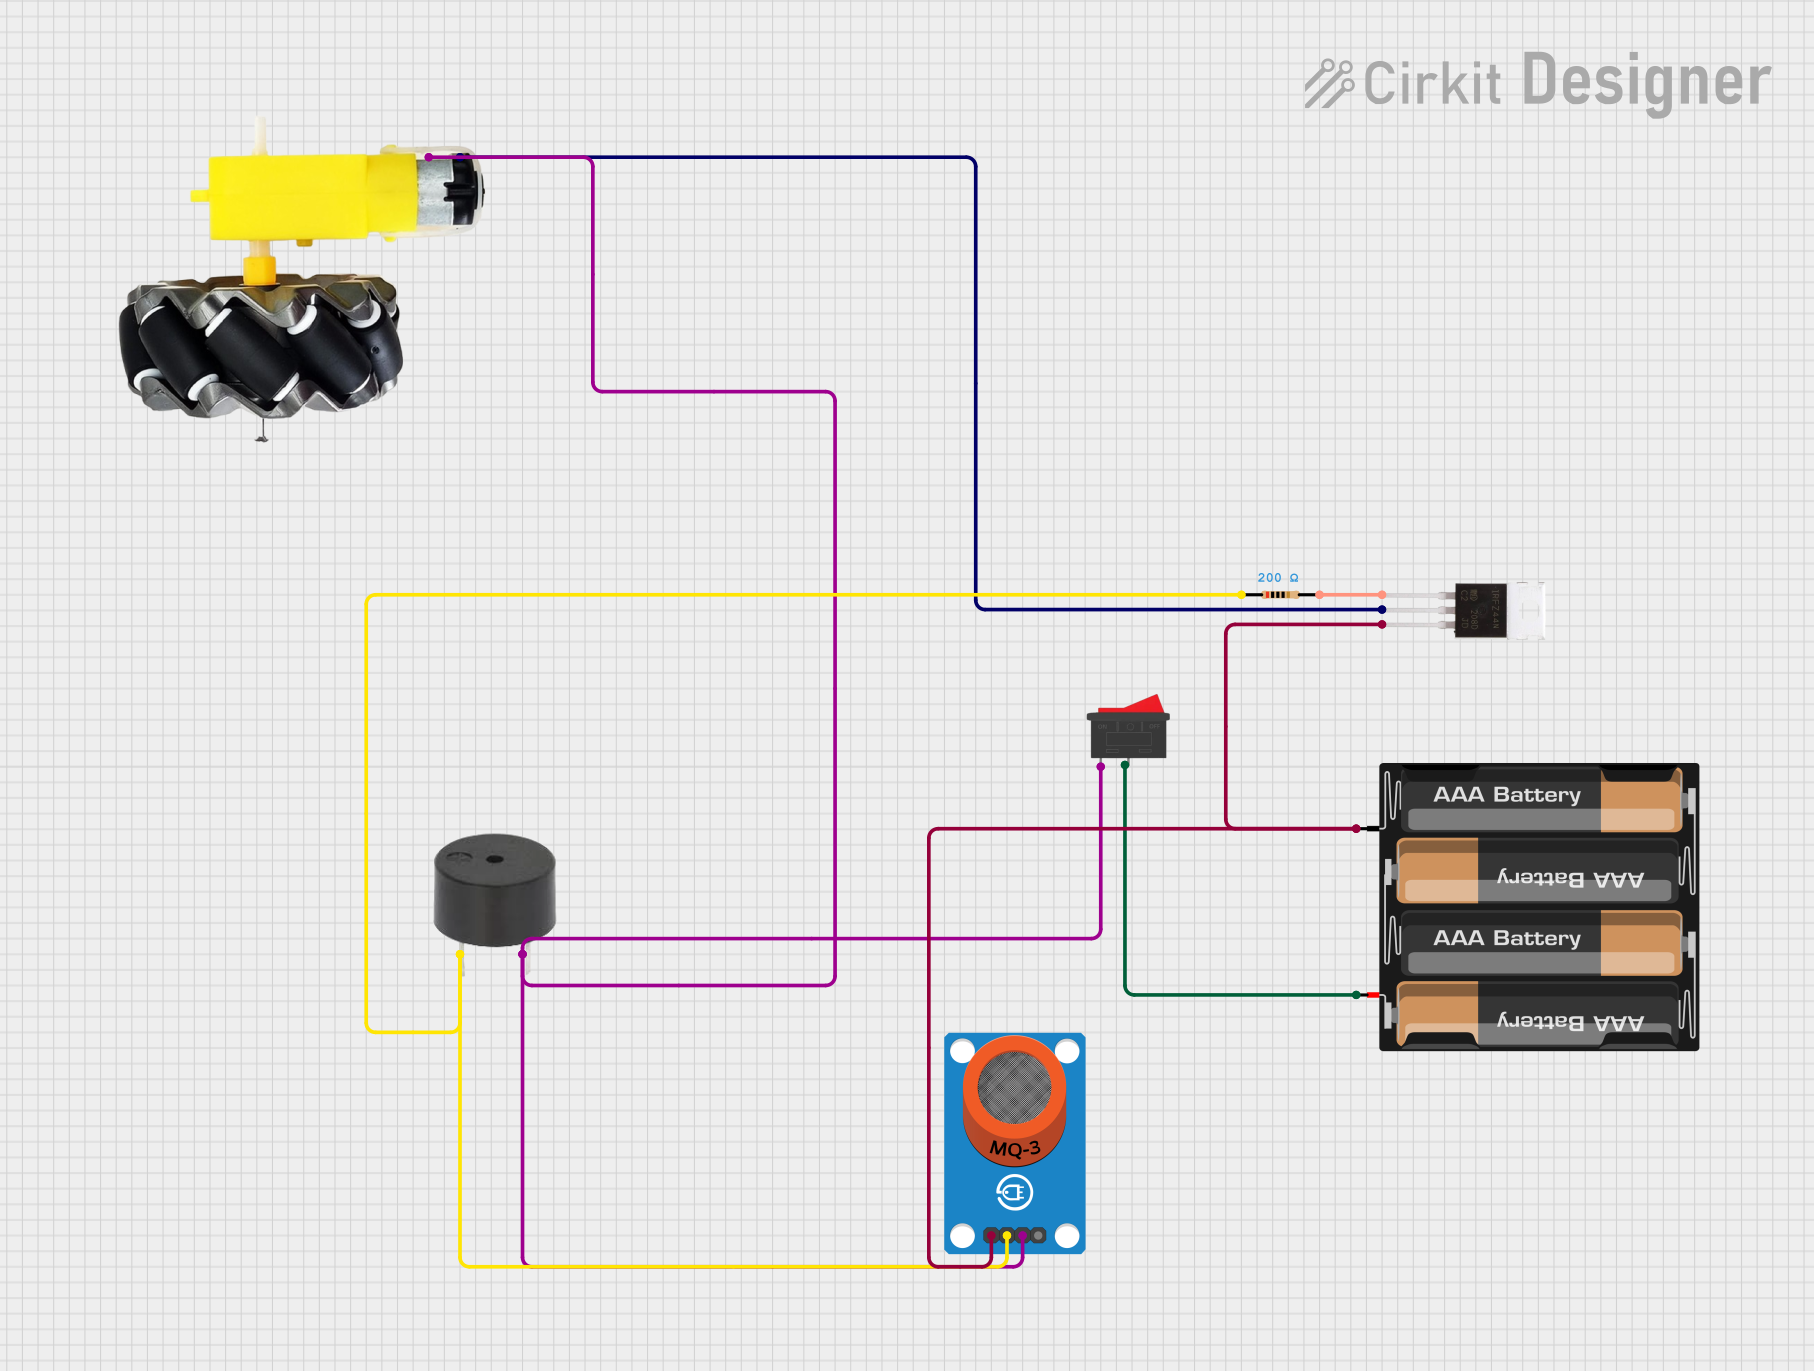
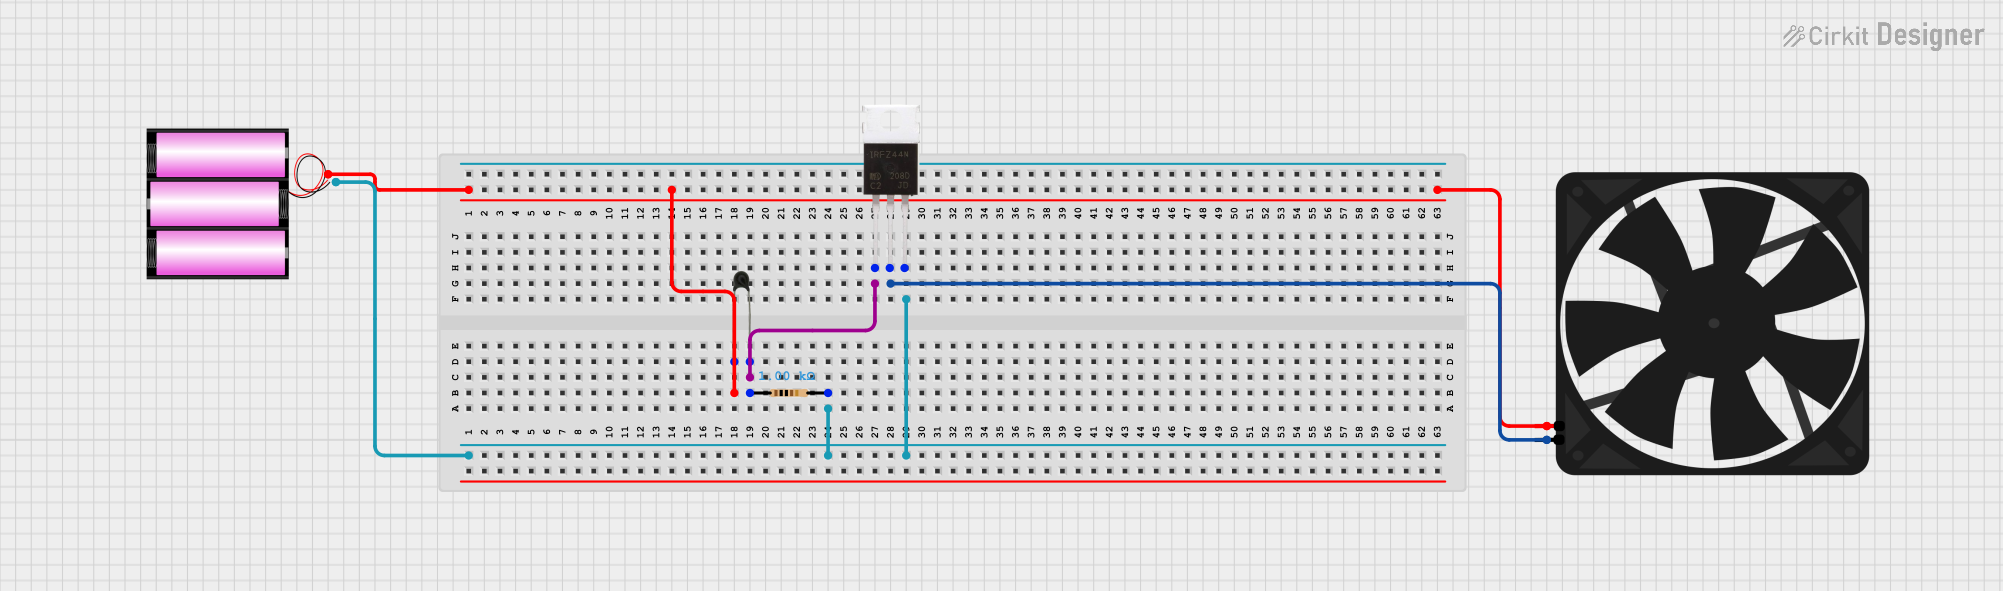
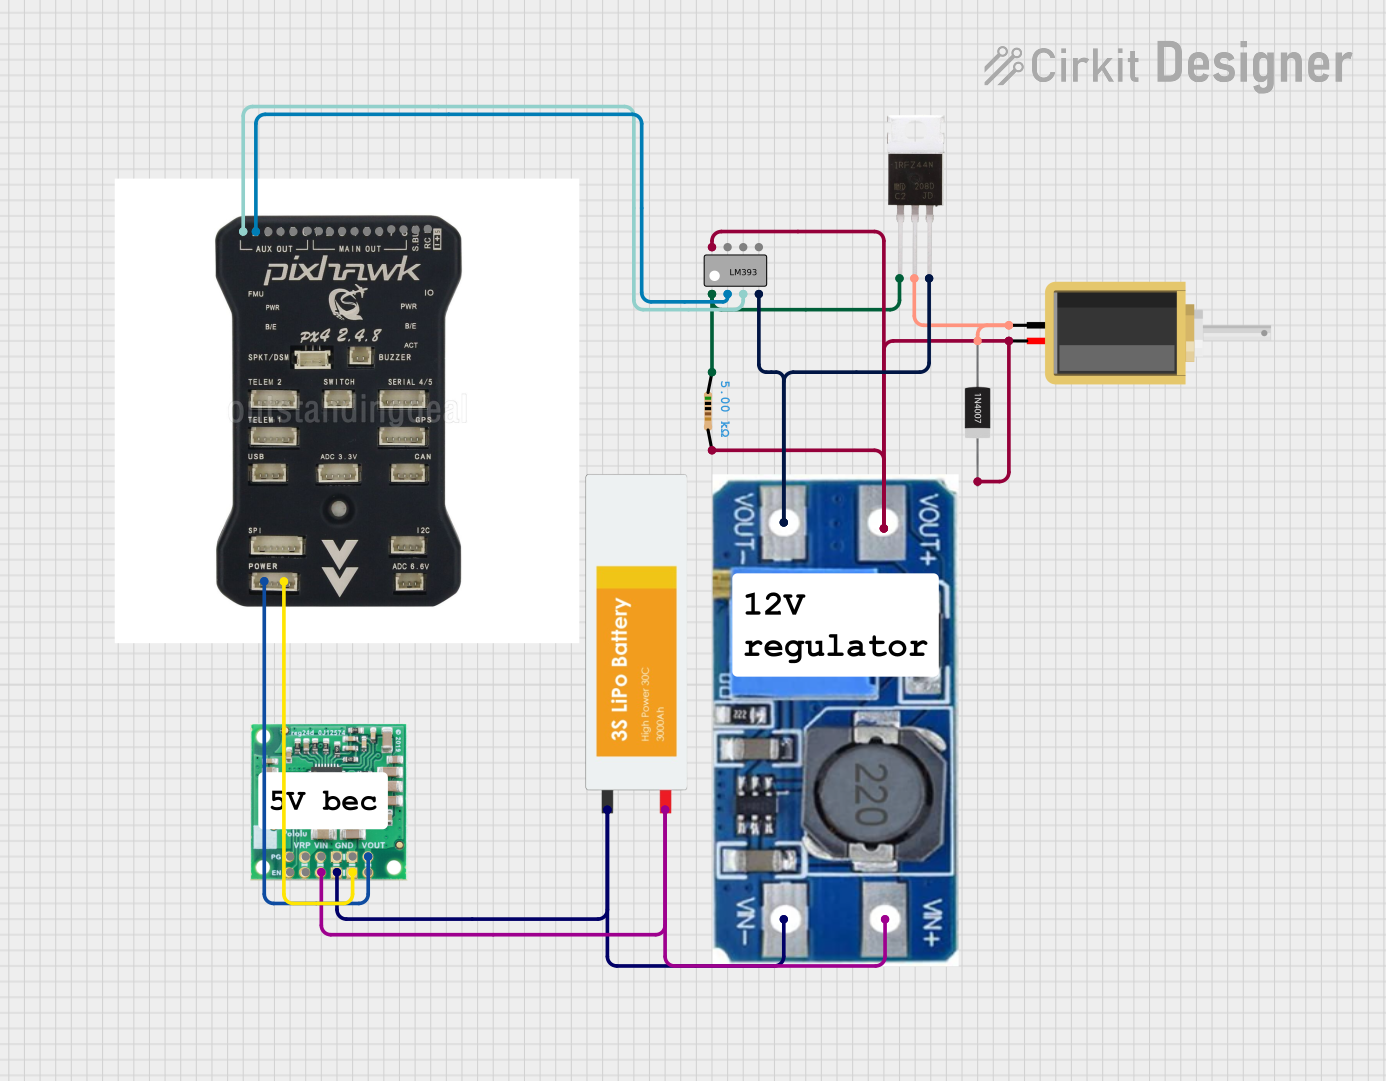
The IRFZ44N is an N-channel MOSFET (Metal-Oxide-Semiconductor Field-Effect Transistor) designed for high-speed switching applications. It is widely used in circuits requiring efficient power management due to its low on-resistance and ability to handle high currents. This component is ideal for applications such as motor control, DC-DC converters, power supplies, and other high-current switching circuits.
Common Applications:
- Motor drivers for robotics and automation
- DC-DC converters and power supply circuits
- LED dimming and lighting control
- Battery management systems
- High-speed switching in industrial equipment
Technical Specifications
Below are the key technical details of the IRFZ44N MOSFET:
Pin Configuration
The IRFZ44N has three pins, as shown in the table below:
Usage Instructions
How to Use the IRFZ44N in a Circuit
- Gate Control: Apply a voltage to the Gate (G) to control the MOSFET. A voltage of 10V is typically recommended for full switching performance.
- Drain-Source Connection: Connect the load between the Drain (D) and the positive supply voltage. The Source (S) is usually connected to ground.
- Gate Resistor: Use a resistor (typically 10Ω to 100Ω) between the Gate and the control signal to limit inrush current and prevent damage to the MOSFET.
- Flyback Diode: For inductive loads (e.g., motors), connect a flyback diode across the load to protect the MOSFET from voltage spikes.
Example Circuit with Arduino UNO
The IRFZ44N can be used to control a DC motor with an Arduino UNO. Below is an example circuit and code:
Circuit Connections:
- Gate (G): Connect to Arduino digital pin (e.g., D9) through a 100Ω resistor.
- Drain (D): Connect to one terminal of the motor.
- Source (S): Connect to ground.
- Motor: Connect the other terminal to the positive supply voltage.
- Flyback Diode: Place a diode (e.g., 1N4007) across the motor terminals, with the cathode connected to the positive supply.
Arduino Code:
// IRFZ44N MOSFET Motor Control Example
// Connect the Gate to pin 9 of the Arduino through a 100Ω resistor.

const int motorPin = 9; // Pin connected to the MOSFET Gate

void setup() {
  pinMode(motorPin, OUTPUT); // Set the motor pin as an output
}

void loop() {
  analogWrite(motorPin, 128); // Set motor speed (0-255, 128 = ~50% duty cycle)
  delay(5000); // Run motor for 5 seconds

  analogWrite(motorPin, 0); // Turn off motor
  delay(5000); // Wait for 5 seconds
}
Important Considerations:
- Ensure the Gate voltage (VGS) is within the specified range (±20V).
- Use a heatsink if the MOSFET is operating at high currents to prevent overheating.
- Avoid exceeding the maximum Drain-Source voltage (55V) to prevent damage.
Troubleshooting and FAQs
Common Issues:
MOSFET Overheating:
- Cause: High current without proper heatsinking.
- Solution: Attach a heatsink to the MOSFET or reduce the load current.
MOSFET Not Switching:
- Cause: Insufficient Gate voltage.
- Solution: Ensure the Gate voltage is at least 10V for full switching.
Motor Not Running:
- Cause: Incorrect wiring or damaged MOSFET.
- Solution: Double-check connections and test the MOSFET with a multimeter.
Voltage Spikes Damaging MOSFET:
- Cause: Inductive load without a flyback diode.
- Solution: Add a flyback diode across the load.
FAQs:
Q1: Can the IRFZ44N be used with a 3.3V microcontroller?
A1: The IRFZ44N requires a Gate voltage of at least 10V for optimal performance. For 3.3V logic, consider using a logic-level MOSFET like the IRLZ44N.
Q2: What is the maximum current the IRFZ44N can handle?
A2: The IRFZ44N can handle up to 49A continuously, provided proper cooling is used.
Q3: Can I use the IRFZ44N for AC loads?
A3: The IRFZ44N is designed for DC applications. For AC loads, consider using a TRIAC or other suitable components.
By following these guidelines, you can effectively use the IRFZ44N in your electronic projects.


 Open Project in Cirkit Designer