How to Use Relay 433Mhz: Examples, Pinouts, and Specs
Introduction
The Relay 433MHz is a wireless relay module that operates at a frequency of 433 MHz. It is widely used in wireless communication systems to enable remote control of devices such as lights, fans, motors, and other electrical appliances. This component is ideal for applications requiring long-range wireless control, offering a reliable and efficient solution for home automation, industrial automation, and IoT projects.
Common applications and use cases include:
- Home automation systems for controlling appliances remotely.
- Industrial automation for wireless control of machinery.
- IoT projects requiring wireless communication.
- Security systems for remote activation of alarms or locks.
Explore Projects Built with Relay 433Mhz


Explore Projects Built with Relay 433Mhz
Technical Specifications
The Relay 433MHz module is designed to work seamlessly in wireless communication systems. Below are its key technical details:
General Specifications
- Operating Frequency: 433 MHz
- Operating Voltage: 5V DC
- Relay Switching Voltage: Up to 250V AC or 30V DC
- Relay Switching Current: Up to 10A
- Communication Range: Up to 100 meters (line of sight)
- Control Signal: Digital (High/Low)
- Power Consumption: Low power consumption in standby mode
- Dimensions: Varies by manufacturer, typically compact for easy integration
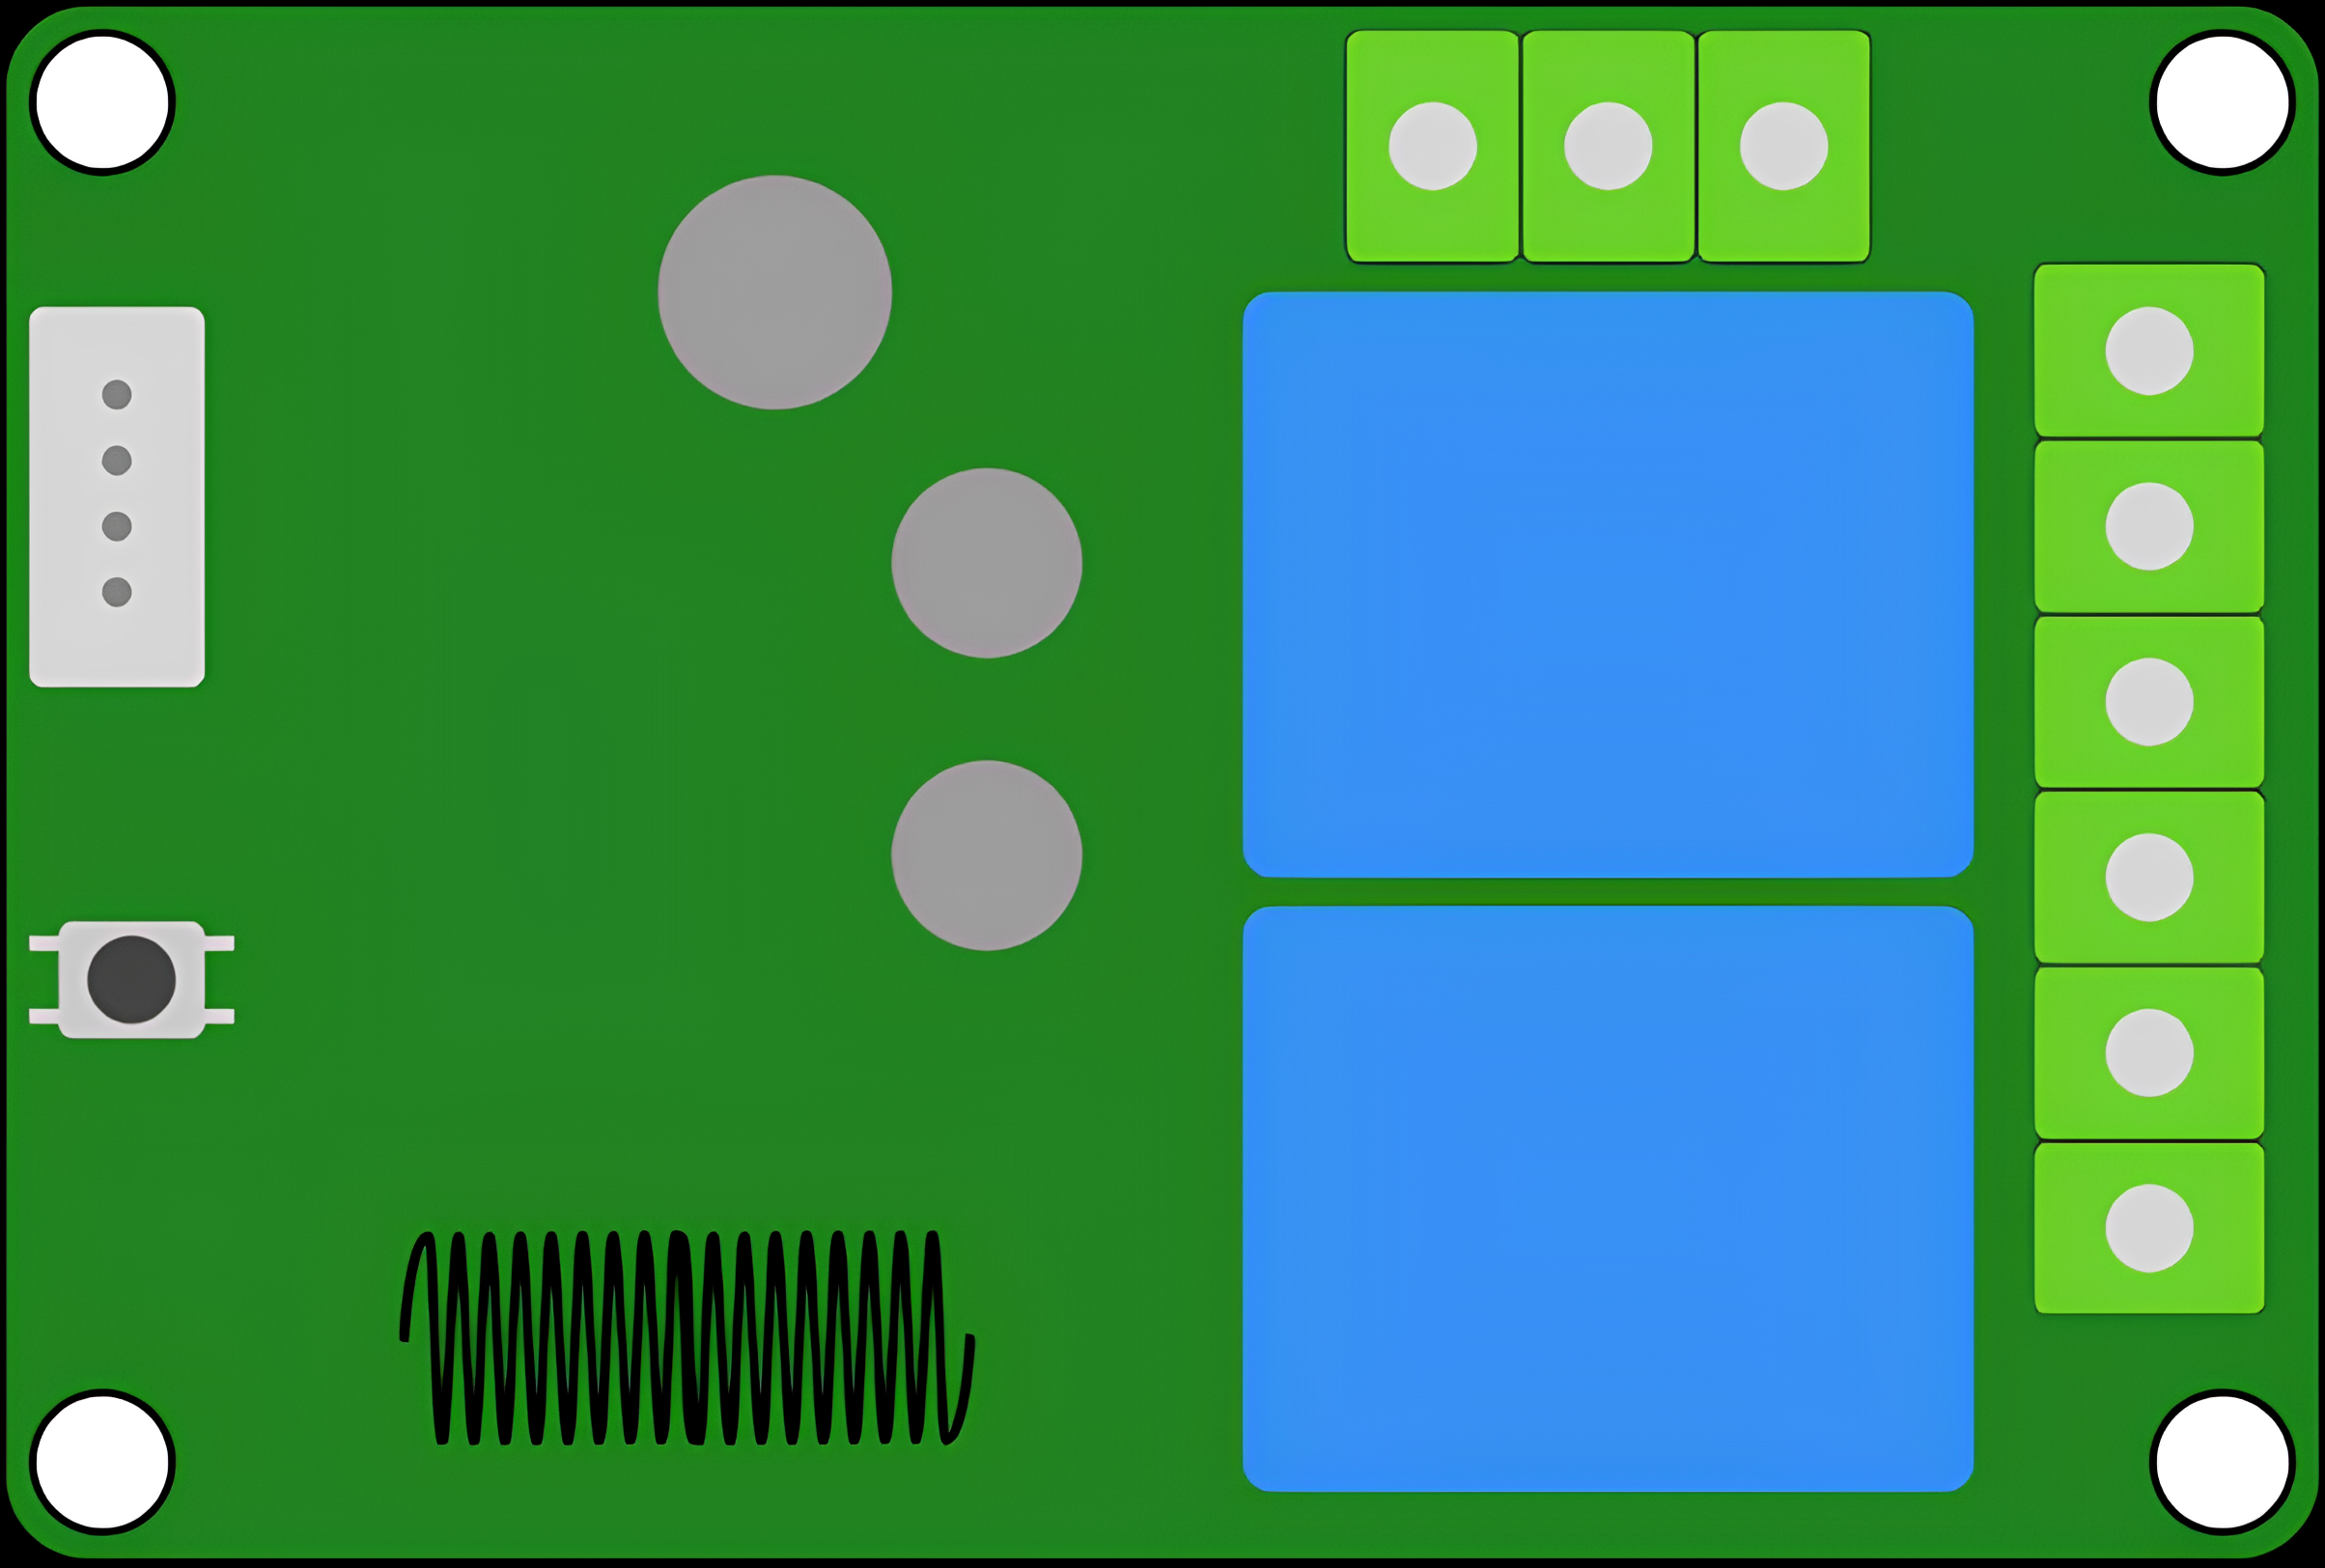
Pin Configuration and Descriptions
The Relay 433MHz module typically has the following pin configuration:
| Pin Name | Description |
|---|---|
| VCC | Power supply input (5V DC). |
| GND | Ground connection. |
| IN | Control signal input (High to activate the relay, Low to deactivate). |
| NO | Normally Open terminal of the relay. Connect the load here for default OFF. |
| NC | Normally Closed terminal of the relay. Connect the load here for default ON. |
| COM | Common terminal of the relay. Connect the power source for the load here. |
Usage Instructions
How to Use the Relay 433MHz in a Circuit
- Power the Module: Connect the VCC pin to a 5V DC power source and the GND pin to ground.
- Connect the Load:
- For devices that should be OFF by default, connect the load between the NO (Normally Open) terminal and the COM (Common) terminal.
- For devices that should be ON by default, connect the load between the NC (Normally Closed) terminal and the COM terminal.
- Control the Relay: Use a digital signal (High/Low) on the IN pin to toggle the relay:
- High signal activates the relay, connecting the COM terminal to the NO terminal.
- Low signal deactivates the relay, connecting the COM terminal to the NC terminal.
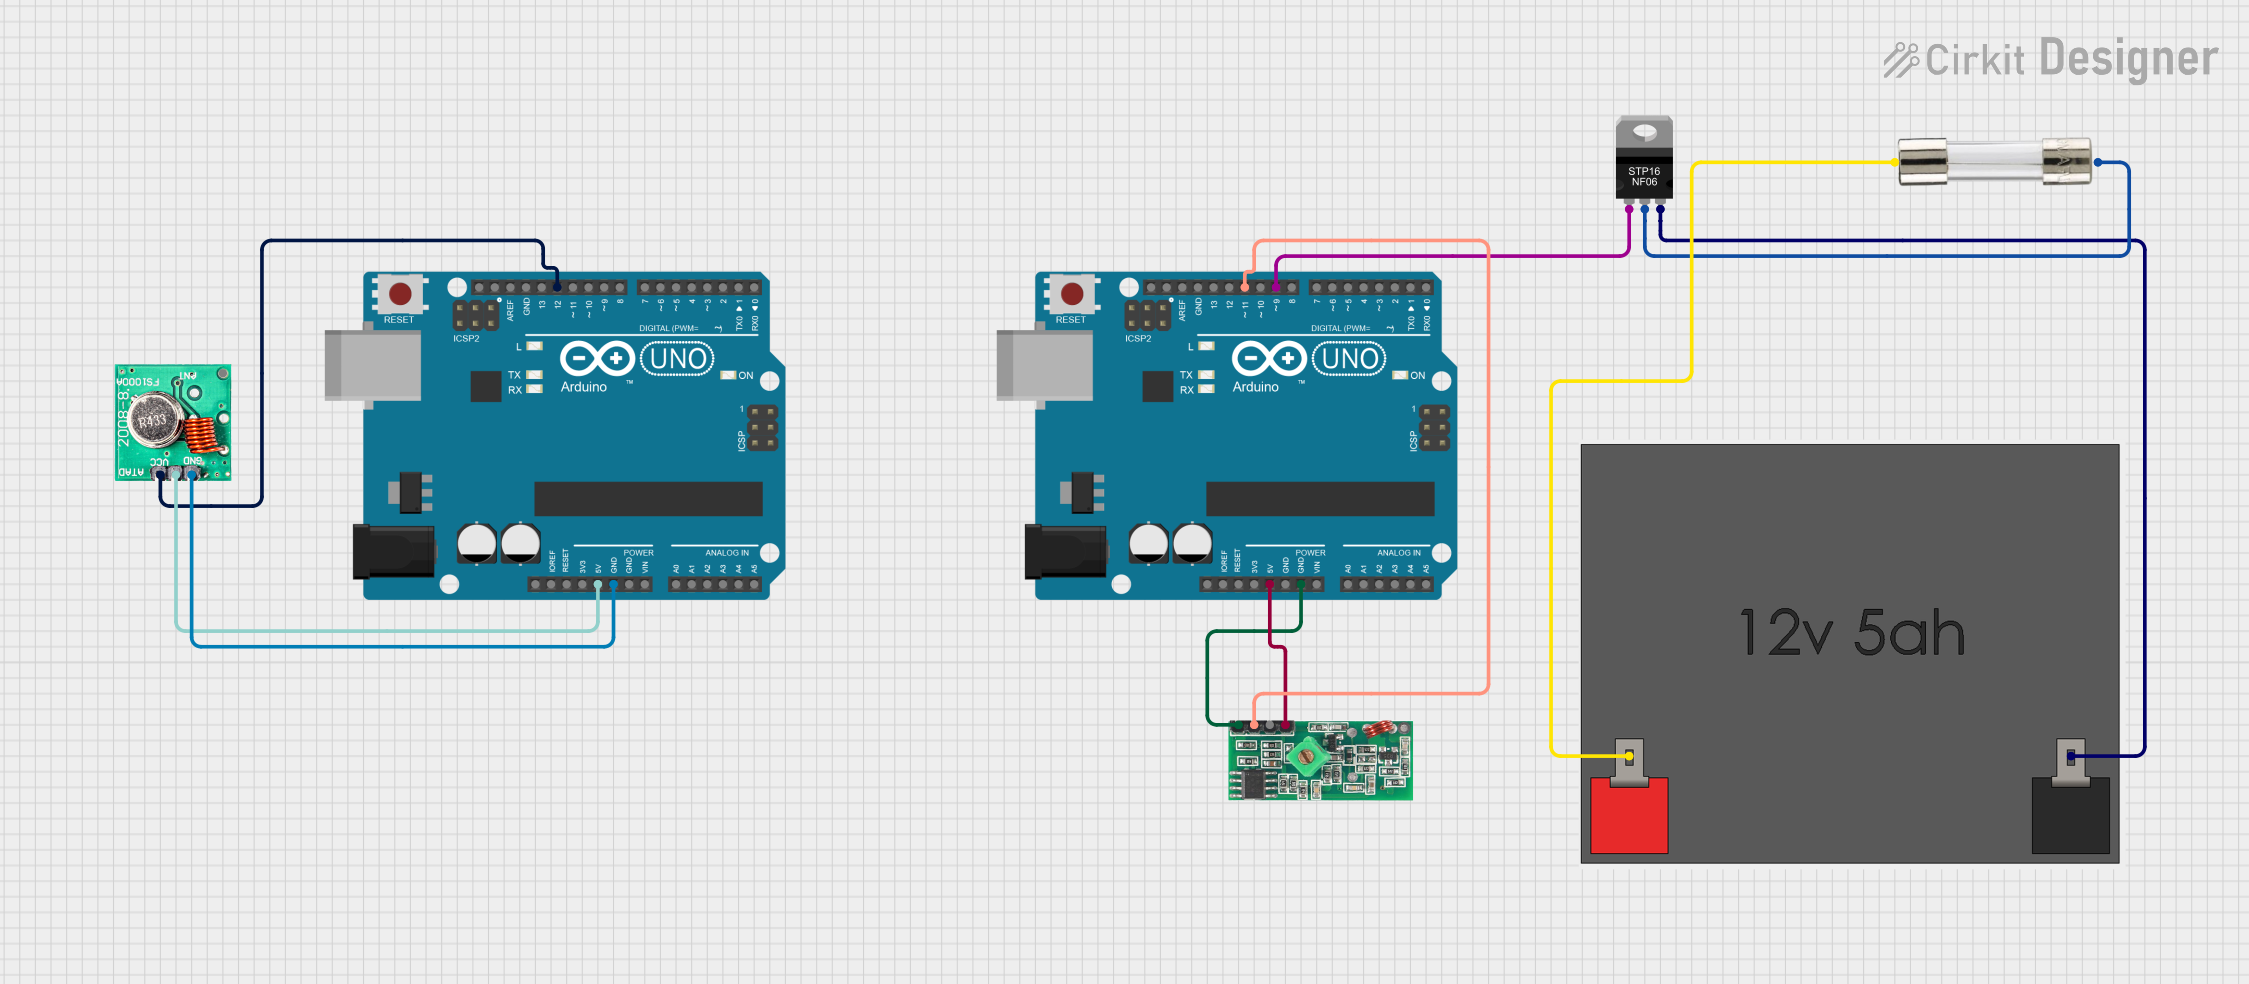
- Wireless Communication: Pair the relay module with a 433 MHz transmitter to enable wireless control. Ensure both the transmitter and receiver are configured to the same frequency and protocol.
Important Considerations and Best Practices
- Isolation: Ensure proper electrical isolation between the control circuit and the high-voltage load to prevent damage or hazards.
- Power Supply: Use a stable 5V DC power supply to avoid erratic behavior.
- Signal Integrity: For long-range communication, ensure a clear line of sight between the transmitter and receiver.
- Load Ratings: Do not exceed the relay's maximum voltage and current ratings to avoid damage.
- Debouncing: If the relay is used in a rapidly switching application, consider adding a debounce circuit or software logic to prevent erratic operation.
Example: Using the Relay 433MHz with Arduino UNO
Below is an example of how to control the Relay 433MHz module using an Arduino UNO:
// Example code to control a Relay 433MHz module with Arduino UNO
// Connect the IN pin of the relay to Arduino pin 7

#define RELAY_PIN 7  // Define the Arduino pin connected to the relay's IN pin

void setup() {
  pinMode(RELAY_PIN, OUTPUT);  // Set the relay pin as an output
  digitalWrite(RELAY_PIN, LOW);  // Ensure the relay is off at startup
}

void loop() {
  digitalWrite(RELAY_PIN, HIGH);  // Turn the relay ON
  delay(5000);  // Keep the relay ON for 5 seconds
  digitalWrite(RELAY_PIN, LOW);  // Turn the relay OFF
  delay(5000);  // Keep the relay OFF for 5 seconds
}
Troubleshooting and FAQs
Common Issues and Solutions
Relay Not Activating:
- Cause: Insufficient power supply or incorrect wiring.
- Solution: Verify the power supply voltage is 5V DC and check all connections.
Erratic Behavior:
- Cause: Electrical noise or unstable power supply.
- Solution: Use a decoupling capacitor (e.g., 100µF) across the VCC and GND pins to stabilize the power supply.
Short Communication Range:
- Cause: Obstructions or interference in the signal path.
- Solution: Ensure a clear line of sight and minimize interference from other 433 MHz devices.
Load Not Switching:
- Cause: Exceeding the relay's voltage or current ratings.
- Solution: Verify the load's voltage and current are within the relay's specifications.
FAQs
Q: Can I use the Relay 433MHz module with a 3.3V microcontroller?
A: Most modules require a 5V control signal. Use a level shifter or a transistor circuit to interface with a 3.3V microcontroller.Q: What is the maximum range of the Relay 433MHz module?
A: The maximum range is typically up to 100 meters in an open area with a clear line of sight.Q: Can I control multiple relays with a single transmitter?
A: Yes, you can control multiple relays by configuring them with unique addresses or codes, depending on the transmitter and receiver module.Q: Is the Relay 433MHz module safe for high-power applications?
A: Yes, as long as the load does not exceed the relay's maximum voltage and current ratings (250V AC, 10A).
This documentation provides a comprehensive guide to understanding, using, and troubleshooting the Relay 433MHz module.