How to Use LiPo 600mAh Battery: Examples, Pinouts, and Specs
Introduction
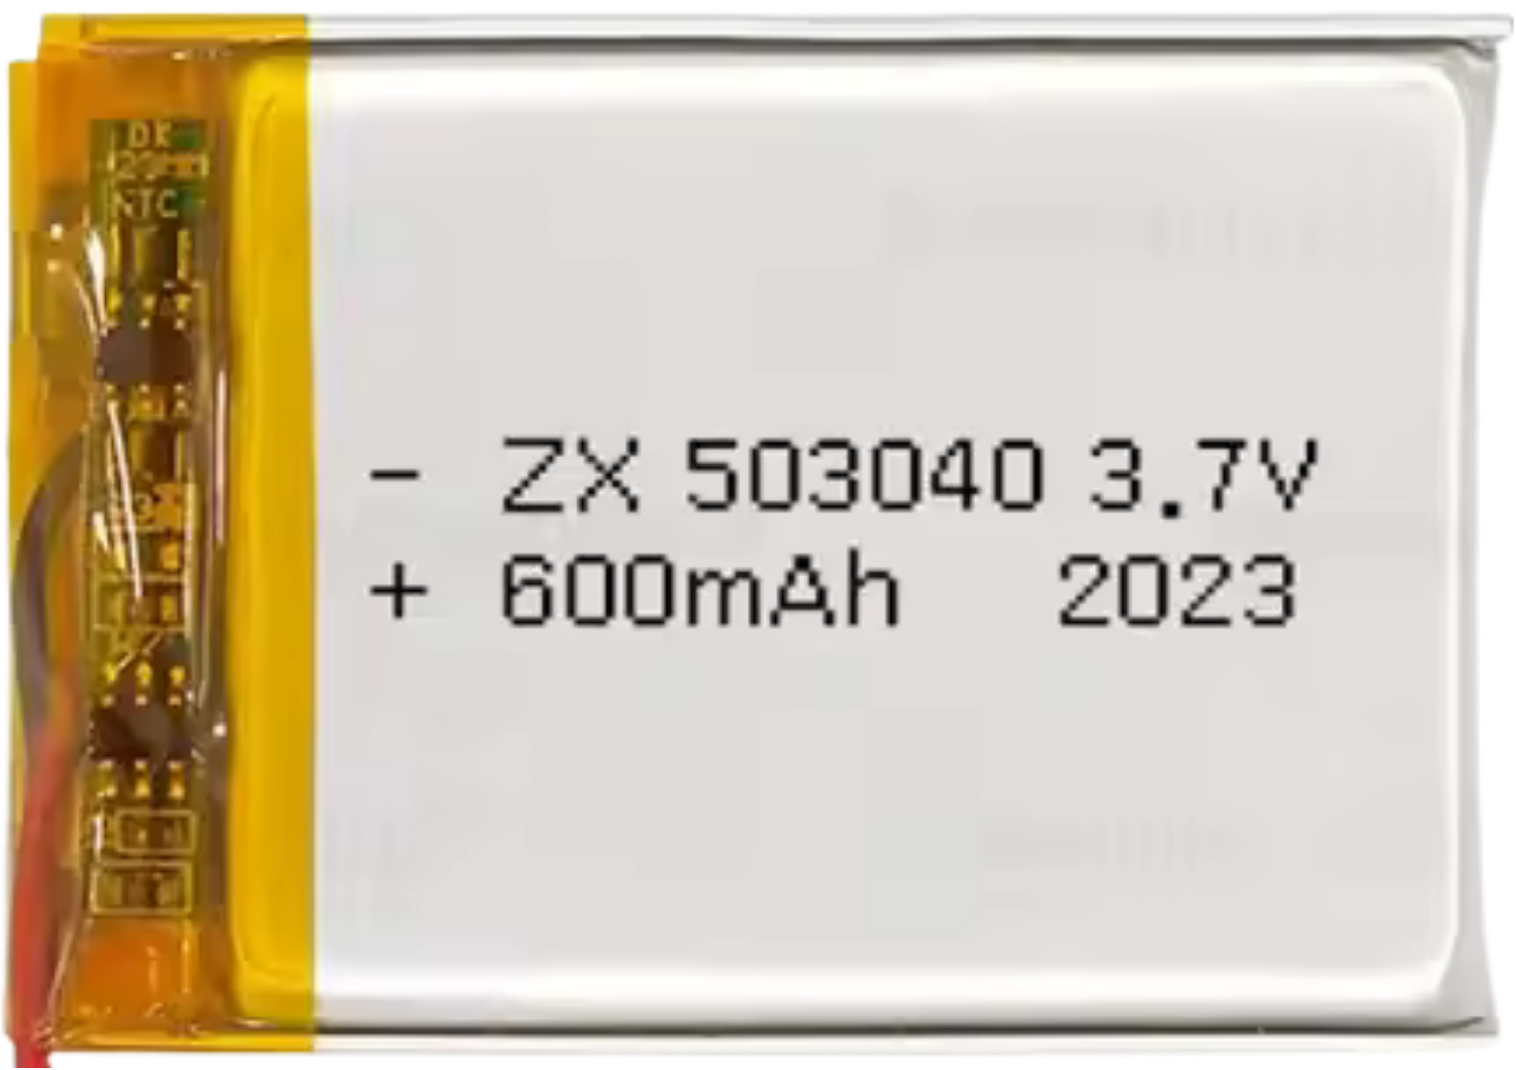
The LiPo 600mAh battery is a lightweight and compact lithium polymer battery with a capacity of 600 milliampere-hours (mAh). It is widely used in applications requiring a reliable and rechargeable power source, such as remote-controlled (RC) vehicles, drones, wearable devices, and other portable electronics. Its high energy density and low weight make it an ideal choice for projects where size and weight are critical factors.
Explore Projects Built with LiPo 600mAh Battery


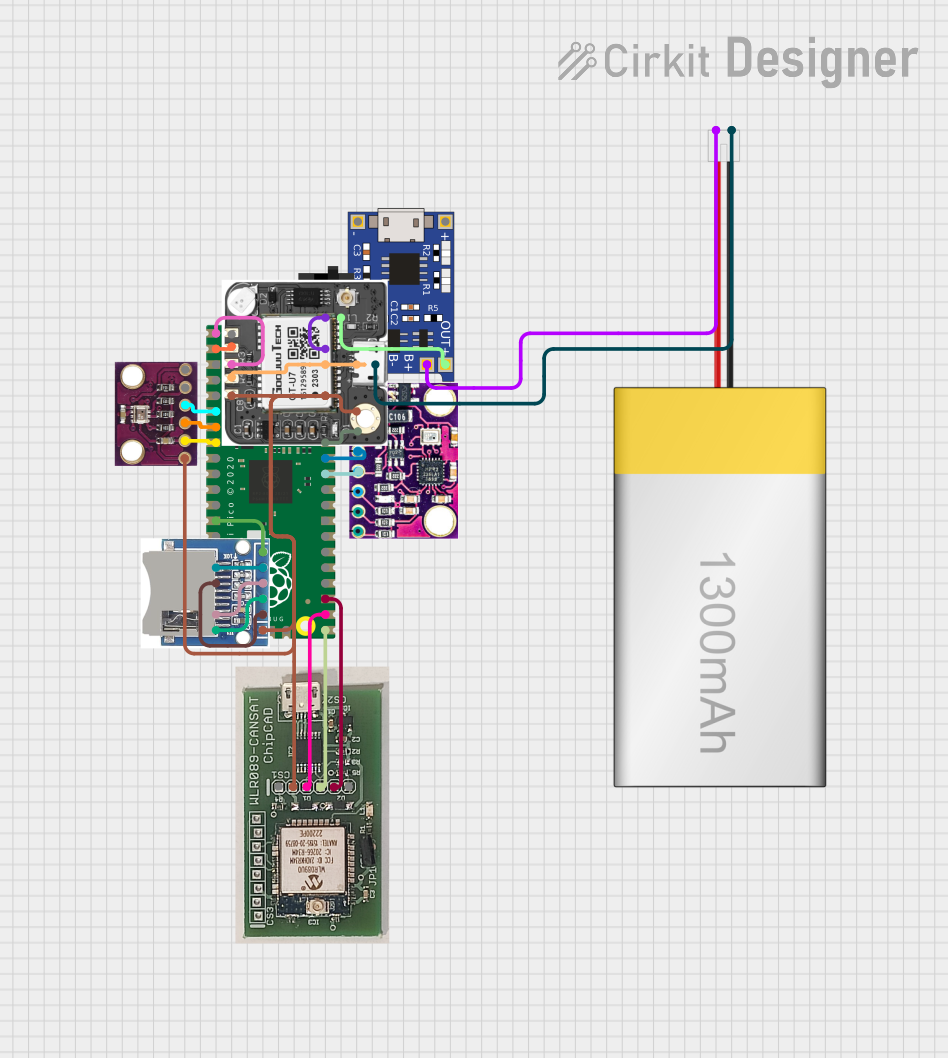
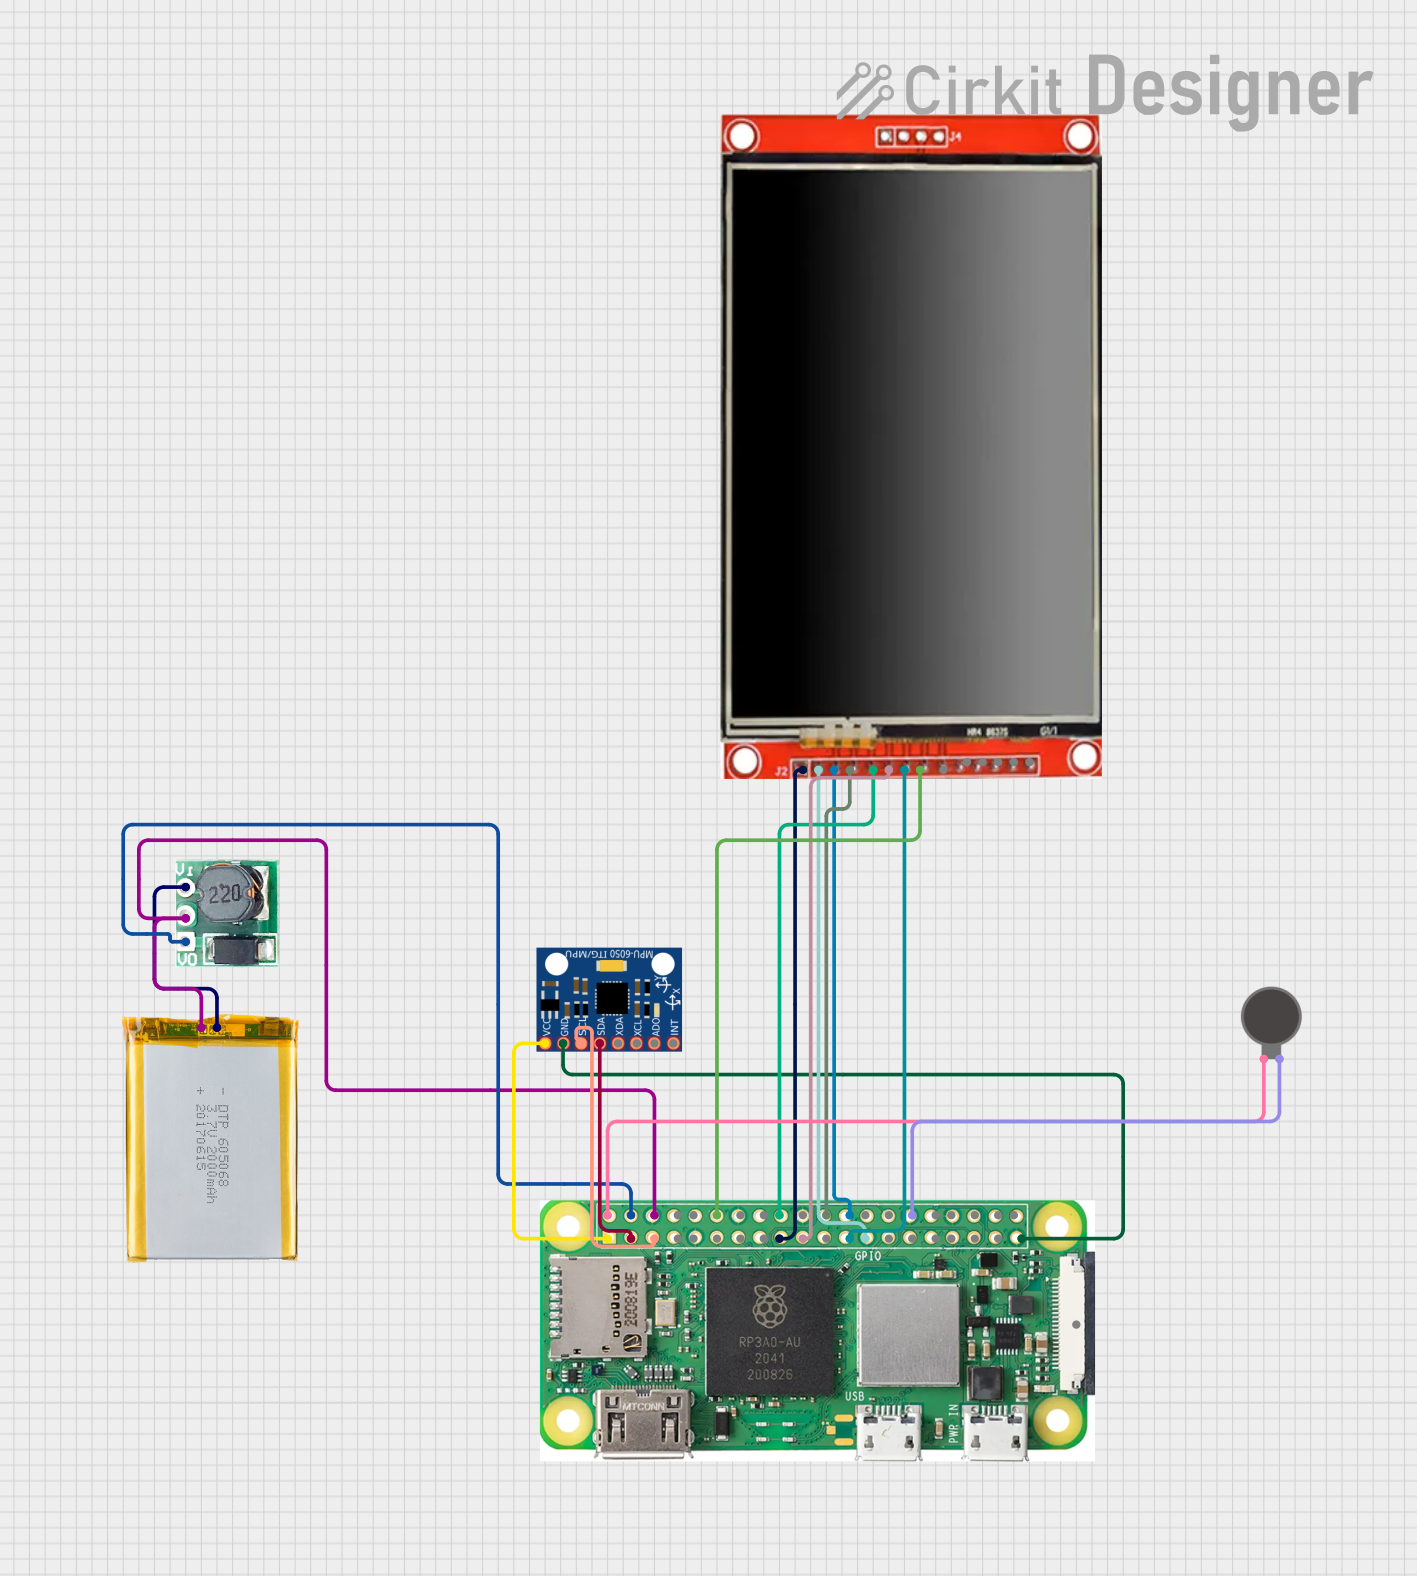
Explore Projects Built with LiPo 600mAh Battery
Common Applications:
- RC vehicles (cars, boats, planes)
- Drones and quadcopters
- Wearable electronics
- Portable IoT devices
- DIY electronics projects
Technical Specifications
The following table outlines the key technical details of the LiPo 600mAh battery:
| Parameter | Value |
|---|---|
| Nominal Voltage | 3.7V |
| Capacity | 600mAh |
| Maximum Discharge Rate | 20C (12A) |
| Charging Voltage | 4.2V (maximum) |
| Charging Current | 0.5C (300mA recommended) |
| Dimensions | ~40mm x 20mm x 7mm |
| Weight | ~12g |
| Connector Type | JST or Molex (varies by model) |
| Chemistry | Lithium Polymer (LiPo) |
Pin Configuration and Descriptions
The LiPo 600mAh battery typically has two or three wires, depending on the model. Below is a description of the pin configuration:
| Wire Color | Function |
|---|---|
| Red | Positive terminal (+) |
| Black | Negative terminal (-) |
| Yellow/White | Balance lead (optional, for charging balance) |
Usage Instructions
How to Use the LiPo 600mAh Battery in a Circuit
- Connection: Connect the red wire to the positive terminal of your circuit and the black wire to the negative terminal. If your battery has a balance lead, it is used only during charging and should not be connected to the circuit.
- Voltage Regulation: Ensure that your circuit operates within the battery's voltage range (3.0V to 4.2V). Use a voltage regulator if your circuit requires a stable voltage.
- Charging: Use a LiPo-compatible charger to safely charge the battery. Set the charging current to 300mA (0.5C) for optimal battery life.
- Discharge Rate: Ensure that the current drawn by your circuit does not exceed the maximum discharge rate of 12A (20C).
Important Considerations and Best Practices
- Avoid Overcharging: Never charge the battery above 4.2V, as this can cause overheating or damage.
- Avoid Overdischarging: Do not let the battery voltage drop below 3.0V, as this can permanently damage the battery.
- Storage: Store the battery at a voltage of around 3.8V for long-term storage to maintain its lifespan.
- Safety: Avoid puncturing, short-circuiting, or exposing the battery to high temperatures, as this can lead to fire or explosion.
- Balancing: If your battery has a balance lead, use a balance charger to ensure all cells are charged evenly.
Example: Using the LiPo 600mAh Battery with an Arduino UNO
To power an Arduino UNO with a LiPo 600mAh battery, you can use a DC-DC step-up converter to boost the battery's 3.7V to 5V. Below is an example circuit and code:
Circuit:
- Connect the battery's red wire to the input positive terminal of the step-up converter.
- Connect the battery's black wire to the input negative terminal of the step-up converter.
- Connect the output of the step-up converter to the Arduino UNO's VIN and GND pins.
Code:
// Example code to blink an LED on pin 13 using Arduino UNO
// Ensure the LiPo battery is connected via a step-up converter to provide 5V.

void setup() {
  pinMode(13, OUTPUT); // Set pin 13 as an output pin
}

void loop() {
  digitalWrite(13, HIGH); // Turn the LED on
  delay(1000);            // Wait for 1 second
  digitalWrite(13, LOW);  // Turn the LED off
  delay(1000);            // Wait for 1 second
}
Troubleshooting and FAQs
Common Issues and Solutions
Battery Not Charging:
- Cause: Charger not compatible or incorrect settings.
- Solution: Use a LiPo-specific charger and set the charging current to 300mA.
Battery Swelling:
- Cause: Overcharging, overdischarging, or physical damage.
- Solution: Stop using the battery immediately and dispose of it safely.
Short Battery Life:
- Cause: Frequent overdischarge or improper storage.
- Solution: Avoid discharging below 3.0V and store at 3.8V when not in use.
Battery Voltage Drops Quickly:
- Cause: High current draw or aging battery.
- Solution: Ensure the current draw is within the 12A limit and replace the battery if it is old.
FAQs
Q1: Can I use this battery to power a 5V device directly?
A1: No, the battery's nominal voltage is 3.7V. Use a DC-DC step-up converter to boost the voltage to 5V.
Q2: How long will the battery last on a full charge?
A2: The runtime depends on the current draw of your circuit. For example, at a 300mA load, the battery will last approximately 2 hours (600mAh ÷ 300mA).
Q3: Is it safe to charge the battery overnight?
A3: No, always monitor the charging process and use a charger with overcharge protection.
Q4: Can I use this battery in parallel with another LiPo battery?
A4: Yes, but ensure both batteries have the same voltage and capacity, and use a balancing circuit.
By following these guidelines, you can safely and effectively use the LiPo 600mAh battery in your projects.