
How to Use Touch Shield : Examples, Pinouts, and Specs
 Design with Touch Shield in Cirkit Designer
Introduction
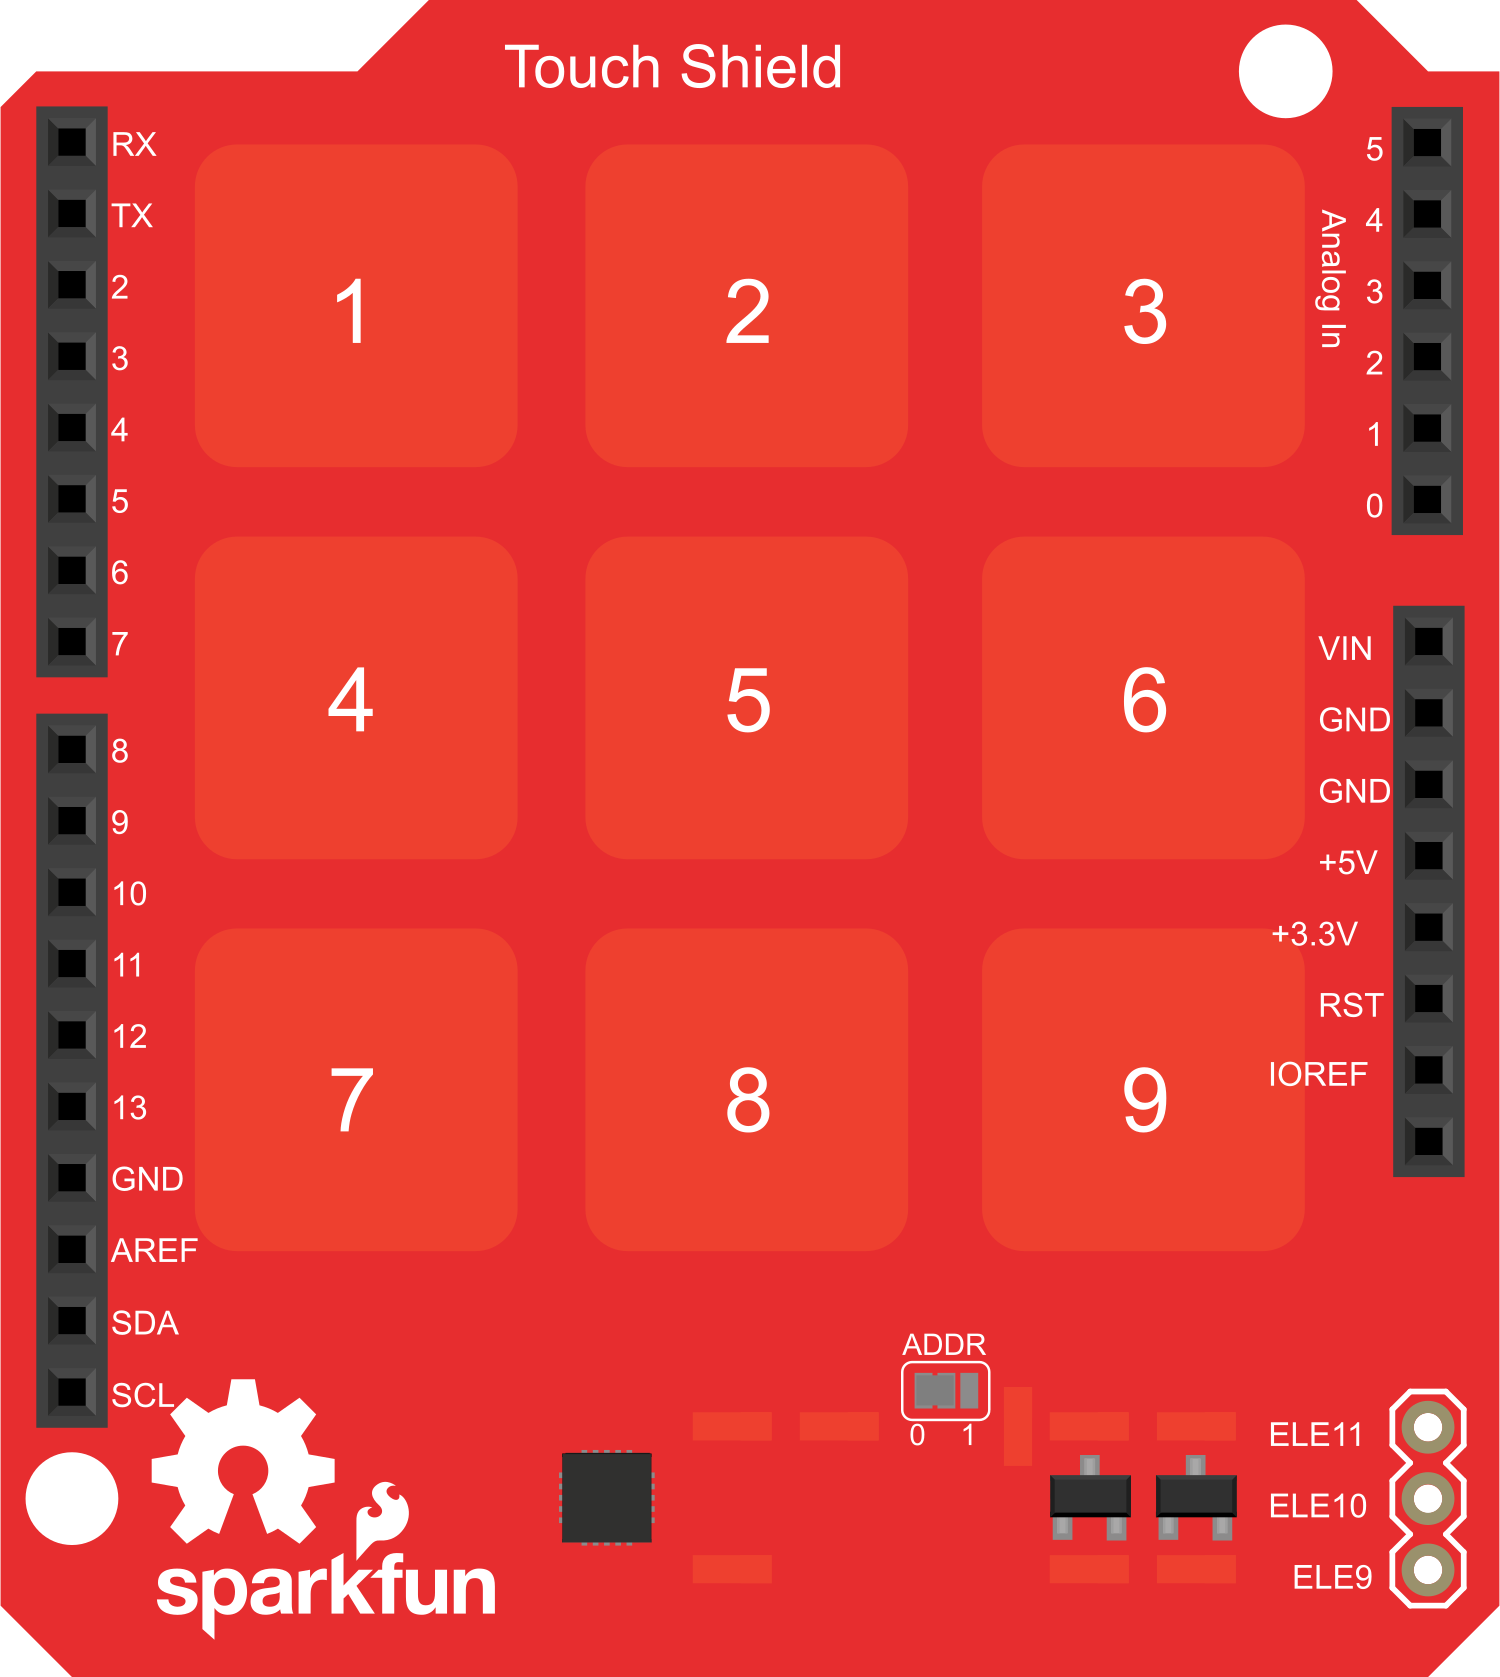
The Touch Shield is an electronic component designed to add touch-sensitive input to projects. It typically features a capacitive touch sensor, which can detect finger presence and location on a surface. This shield is often used with microcontroller platforms like the Arduino UNO to create interactive devices, such as touch interfaces, control panels, or even simple games.
Common applications include:
- Home automation control panels
- Interactive art installations
- DIY game controllers
- Educational tools for learning about human-machine interfaces
Explore Projects Built with Touch Shield
 Open Project in Cirkit Designer
 Open Project in Cirkit Designer
 Open Project in Cirkit Designer
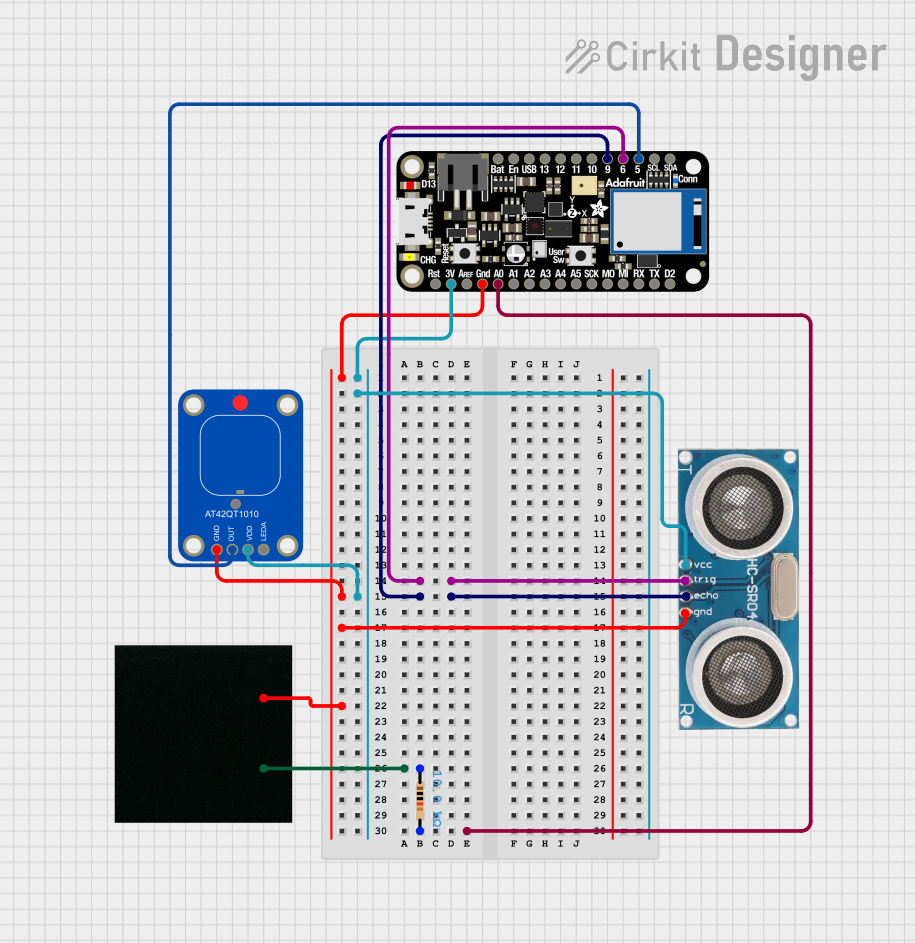
 Open Project in Cirkit Designer
Explore Projects Built with Touch Shield

 Open Project in Cirkit Designer
 Open Project in Cirkit Designer
 Open Project in Cirkit Designer
 Open Project in Cirkit Designer
Technical Specifications
Key Technical Details
- Operating Voltage: 3.3V - 5V
- Current Consumption: Typically <10mA (varies by model)
- Touch Sensing Area: Varies by model (e.g., 2.4 inches diagonal)
- Interface: I2C or SPI (model dependent)
- Resolution: Depends on the touch controller IC (e.g., 1024x600)
Pin Configuration and Descriptions
| Pin Number | Description | Notes |
|---|---|---|
| 1 | VCC | Connect to 3.3V or 5V |
| 2 | GND | Connect to ground |
| 3 | SCL (I2C) / SCK (SPI) | Serial clock line |
| 4 | SDA (I2C) / MOSI (SPI) | Serial data line |
| 5 | RESET | Reset pin, active low |
| 6 | INT | Interrupt pin |
| 7 | MISO (SPI only) | Master In Slave Out (SPI mode) |
| 8 | CS (SPI only) | Chip Select (SPI mode) |
Usage Instructions
Integrating with a Circuit
- Power Connections: Connect the VCC pin to the 5V output on the Arduino and the GND pin to one of the Arduino's ground pins.
- Data Connections: For I2C, connect SCL to A5 and SDA to A4 on the Arduino UNO. For SPI, connect SCK to pin 13, MOSI to pin 11, MISO to pin 12, and CS to a digital pin (e.g., pin 10).
- Interrupts (Optional): The INT pin can be connected to a digital pin on the Arduino to allow the touch shield to notify the microcontroller of touch events.
Important Considerations and Best Practices
- Ensure that the power supply is stable and within the specified voltage range.
- Use pull-up resistors on the I2C lines if they are not included on the shield.
- Avoid placing the touch shield near high-frequency sources to minimize interference.
- Calibrate the touch sensor if the shield provides such functionality, to ensure accurate touch detection.
Example Code for Arduino UNO
#include <TouchScreen.h> // Include the touch screen library

// Touch screen pins
#define YP A3  // must be an analog pin
#define XM A2  // must be an analog pin
#define YM 9   // can be a digital pin
#define XP 8   // can be a digital pin

// Touch screen calibration values
#define TS_MINX 150
#define TS_MINY 120
#define TS_MAXX 920
#define TS_MAXY 940

// Create a touch screen object
TouchScreen ts = TouchScreen(XP, YP, XM, YM, 300);

void setup() {
  Serial.begin(9600);
}

void loop() {
  // Check for a touch
  TSPoint p = ts.getPoint();

  pinMode(XM, OUTPUT);
  pinMode(YP, OUTPUT);

  if (p.z > ts.pressureThreshhold) {
     // Scale from touch coordinates to screen coordinates
     p.x = map(p.x, TS_MINX, TS_MAXX, 0, 240);
     p.y = map(p.y, TS_MINY, TS_MAXY, 0, 320);
     Serial.print("X = "); Serial.print(p.x);
     Serial.print("\tY = "); Serial.print(p.y);
     Serial.println();
  }
}
Troubleshooting and FAQs
Common Issues
- Touch Not Detected: Ensure that the shield is correctly powered and that all data lines are properly connected. Check for loose connections.
- Inaccurate Touch Position: Calibrate the touch screen using the calibration values in the example code. Adjust
TS_MINX,TS_MINY,TS_MAXX, andTS_MAXYas needed. - Intermittent Functionality: Verify that the interrupt pin (if used) is correctly configured and that the microcontroller's interrupt service routine is properly handling touch events.
Solutions and Tips for Troubleshooting
- Double-check wiring against the pin configuration table.
- Use serial output to debug and verify that the touch coordinates are being read.
- If using I2C, scan the bus to ensure the touch shield is detected by the microcontroller.
- For SPI, ensure that the correct chip select (CS) pin is being used and that it's being driven low during communication.
FAQs
Q: Can I use the touch shield with a 3.3V system? A: Yes, but ensure that the touch shield is compatible with 3.3V logic levels.
Q: How do I clean the touch surface? A: Use a soft, slightly damp cloth. Avoid harsh chemicals and do not apply excessive force.
Q: What should I do if the touch shield is unresponsive? A: Reset the microcontroller and the touch shield. If the issue persists, check for any visible damage to the shield or its connections.