Cirkit Designer Logo
Cirkit Designer
Your all-in-one circuit design IDE
Home / 
Component Documentation

How to Use Adafruit USB Serial Char LCD Backpack: Examples, Pinouts, and Specs

Image of Adafruit USB Serial Char LCD Backpack
Cirkit Designer LogoDesign with Adafruit USB Serial Char LCD Backpack in Cirkit Designer

Introduction

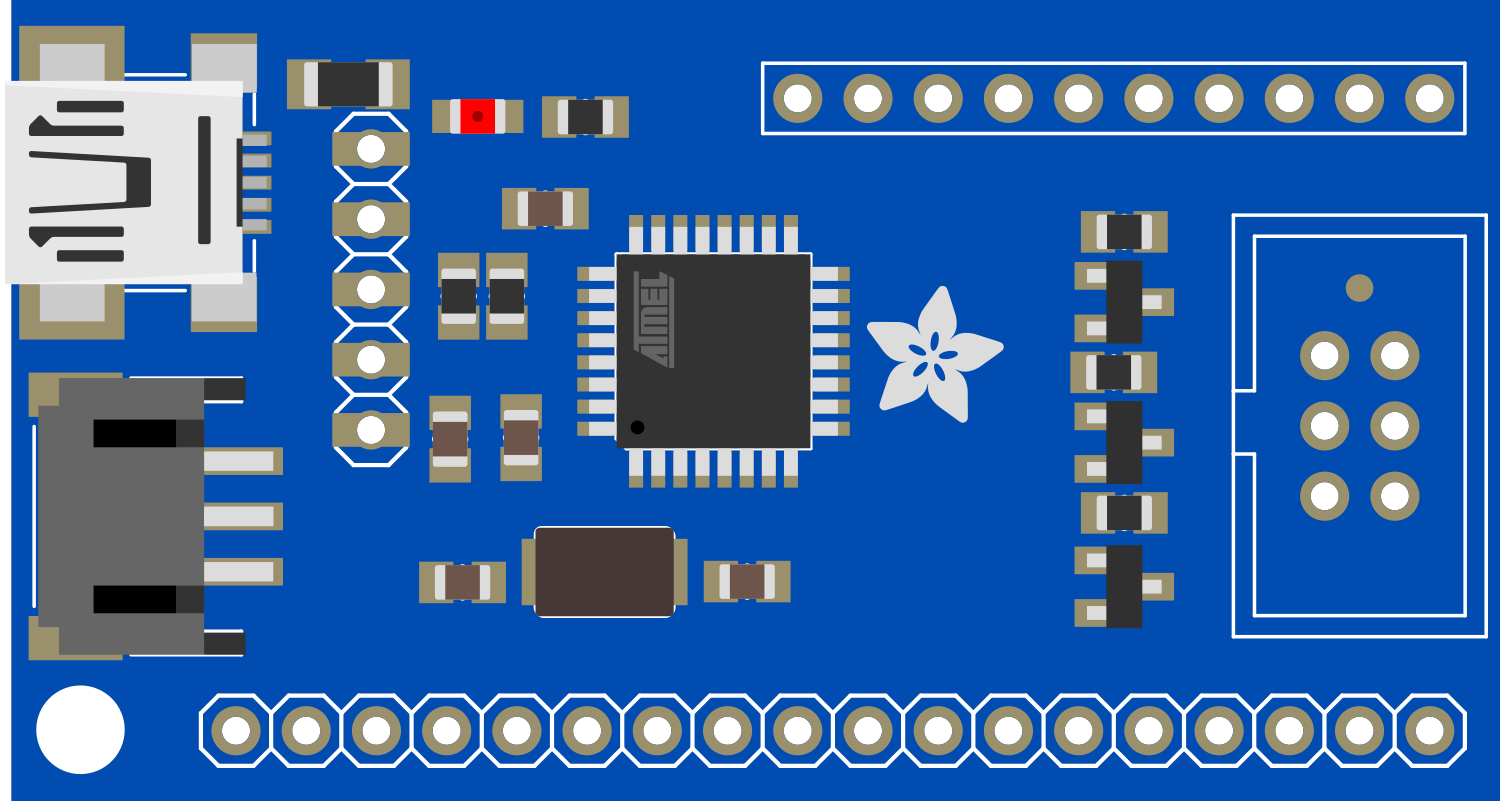
The Adafruit USB Serial Char LCD Backpack is an innovative module that simplifies the process of interfacing with character LCD displays. This backpack module is designed to work with a wide range of character LCDs and provides a USB interface for communication, making it ideal for projects that require a display for user interaction. Common applications include DIY electronics projects, hobbyist displays, and user interfaces for devices that require a simple output display.

Explore Projects Built with Adafruit USB Serial Char LCD Backpack

Use Cirkit Designer to design, explore, and prototype these projects online. Some projects support real-time simulation. Click "Open Project" to start designing instantly!
Arduino Mega 2560 Controlled LCD Display with Adjustable Contrast
Image of lcd: A project utilizing Adafruit USB Serial Char LCD Backpack in a practical application
This circuit features an Arduino Mega 2560 microcontroller connected to a 16x2 LCD display, with a trimmer potentiometer to adjust the LCD contrast and a resistor for backlight current limiting. The Arduino is programmed to initialize the LCD and display the message 'Hello, World!'. The circuit is powered through the Arduino's 5V pin, which is connected to a voltage regulator (verter_usb), and is designed for displaying simple text messages with adjustable visibility.
Cirkit Designer LogoOpen Project in Cirkit Designer
Arduino Leonardo Controlled I2C LCD Display for Text Scrolling
Image of final year project: A project utilizing Adafruit USB Serial Char LCD Backpack in a practical application
This circuit features an Arduino Leonardo microcontroller connected to a 16x2 I2C LCD screen, powered by a 5V battery. The Arduino is programmed to display and continuously scroll a message on the LCD. The I2C communication protocol is used for the microcontroller to interface with the LCD, utilizing the SDA and SCL connections for data transfer.
Cirkit Designer LogoOpen Project in Cirkit Designer
Arduino Nano Controlled LCD Interface with Pushbutton Inputs
Image of MacroDisplay: A project utilizing Adafruit USB Serial Char LCD Backpack in a practical application
This circuit features a Nano 3.0 ATmega328P microcontroller connected to a 16x2 I2C LCD display for output. Two pushbuttons, each with a 10k Ohm pull-down resistor, are connected to digital pins D2 and D3 of the microcontroller for input. The LCD and pushbuttons are powered by the 5V output from the microcontroller, and all components share a common ground.
Cirkit Designer LogoOpen Project in Cirkit Designer
Arduino UNO I2C LCD Display Tester with 12V Battery and Step-Down Converter
Image of nigga: A project utilizing Adafruit USB Serial Char LCD Backpack in a practical application
This circuit features an Arduino UNO connected to an I2C LCD 16x2 Screen for display purposes. The Arduino is powered by a 12V battery through a step-down converter that reduces the voltage to 5V. The Arduino runs an I2C scanner code to detect devices on the I2C bus, which is used for communication with the LCD.
Cirkit Designer LogoOpen Project in Cirkit Designer

Explore Projects Built with Adafruit USB Serial Char LCD Backpack

Use Cirkit Designer to design, explore, and prototype these projects online. Some projects support real-time simulation. Click "Open Project" to start designing instantly!
Image of lcd: A project utilizing Adafruit USB Serial Char LCD Backpack in a practical application
Arduino Mega 2560 Controlled LCD Display with Adjustable Contrast
This circuit features an Arduino Mega 2560 microcontroller connected to a 16x2 LCD display, with a trimmer potentiometer to adjust the LCD contrast and a resistor for backlight current limiting. The Arduino is programmed to initialize the LCD and display the message 'Hello, World!'. The circuit is powered through the Arduino's 5V pin, which is connected to a voltage regulator (verter_usb), and is designed for displaying simple text messages with adjustable visibility.
Cirkit Designer LogoOpen Project in Cirkit Designer
Image of final year project: A project utilizing Adafruit USB Serial Char LCD Backpack in a practical application
Arduino Leonardo Controlled I2C LCD Display for Text Scrolling
This circuit features an Arduino Leonardo microcontroller connected to a 16x2 I2C LCD screen, powered by a 5V battery. The Arduino is programmed to display and continuously scroll a message on the LCD. The I2C communication protocol is used for the microcontroller to interface with the LCD, utilizing the SDA and SCL connections for data transfer.
Cirkit Designer LogoOpen Project in Cirkit Designer
Image of MacroDisplay: A project utilizing Adafruit USB Serial Char LCD Backpack in a practical application
Arduino Nano Controlled LCD Interface with Pushbutton Inputs
This circuit features a Nano 3.0 ATmega328P microcontroller connected to a 16x2 I2C LCD display for output. Two pushbuttons, each with a 10k Ohm pull-down resistor, are connected to digital pins D2 and D3 of the microcontroller for input. The LCD and pushbuttons are powered by the 5V output from the microcontroller, and all components share a common ground.
Cirkit Designer LogoOpen Project in Cirkit Designer
Image of nigga: A project utilizing Adafruit USB Serial Char LCD Backpack in a practical application
Arduino UNO I2C LCD Display Tester with 12V Battery and Step-Down Converter
This circuit features an Arduino UNO connected to an I2C LCD 16x2 Screen for display purposes. The Arduino is powered by a 12V battery through a step-down converter that reduces the voltage to 5V. The Arduino runs an I2C scanner code to detect devices on the I2C bus, which is used for communication with the LCD.
Cirkit Designer LogoOpen Project in Cirkit Designer

Technical Specifications

Key Technical Details

  • Communication Interface: USB (Serial emulation)
  • Compatible LCDs: 16x2 and 20x4 character displays
  • Baud Rate: Configurable (default 9600 bps)
  • Logic Level: 5V
  • Power Supply: 5V via USB
  • Dimensions: Varies with the attached LCD

Pin Configuration and Descriptions

Pin Number Name Description
1 GND Ground connection
2 VCC 5V power supply
3 RX Serial Receive pin
4 TX Serial Transmit pin
5 DTR Data Terminal Ready, used for resetting the module

Usage Instructions

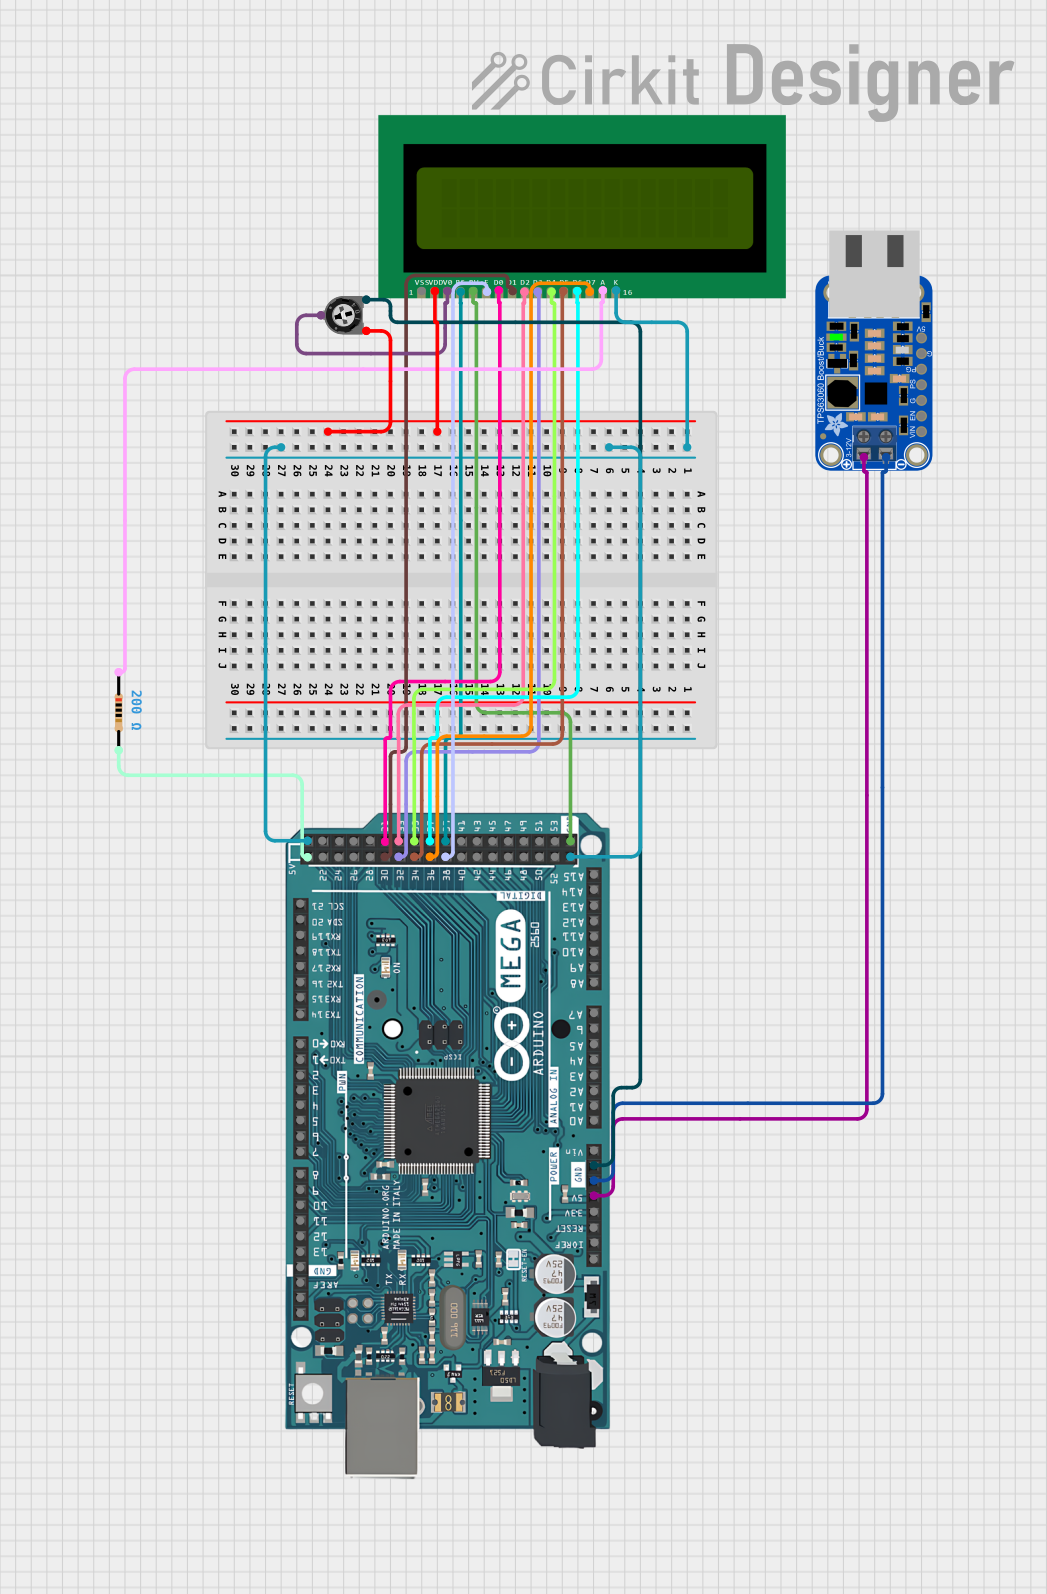
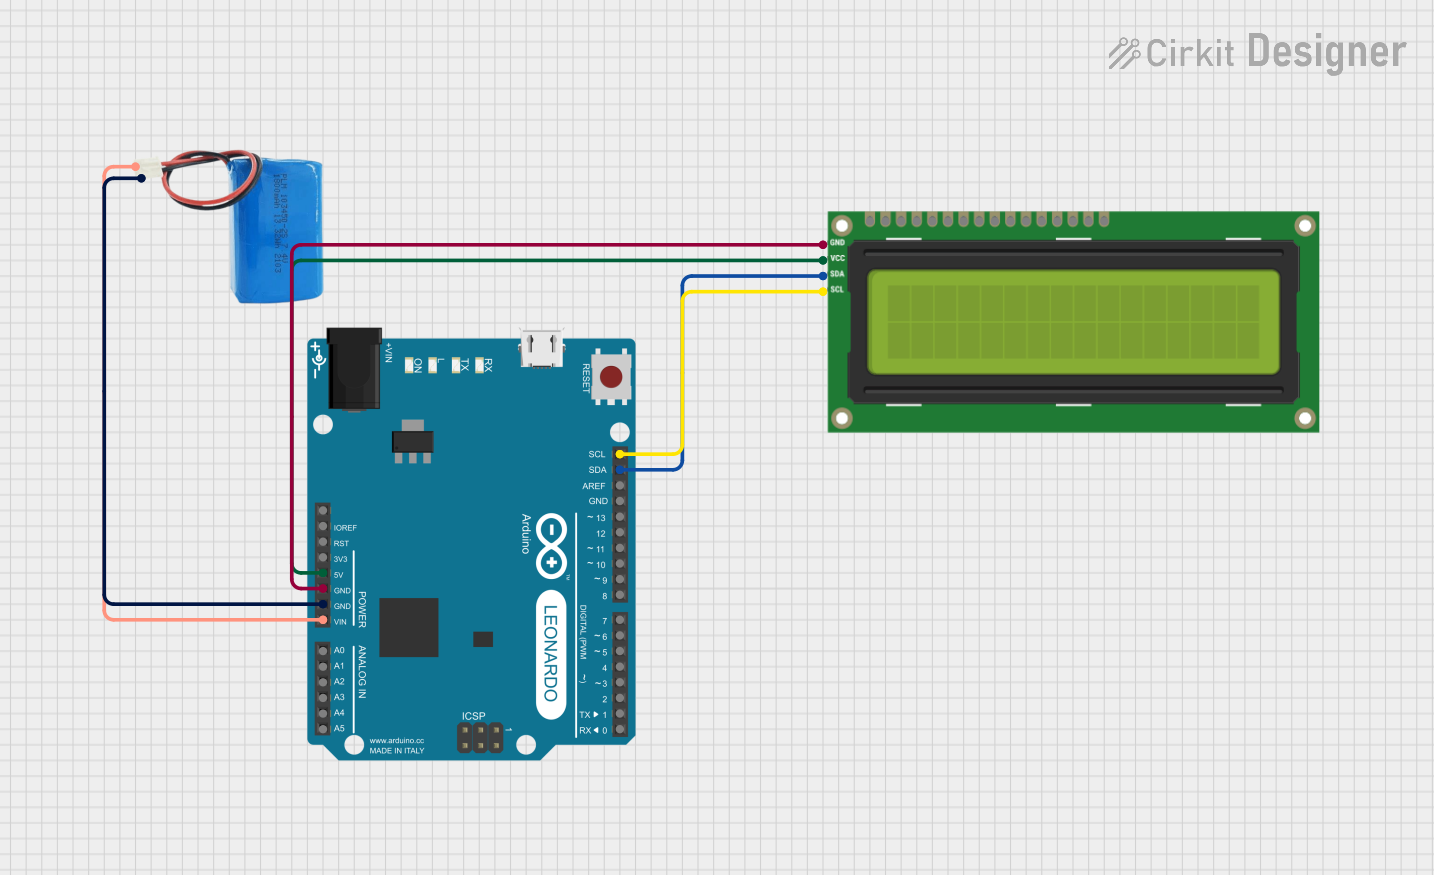
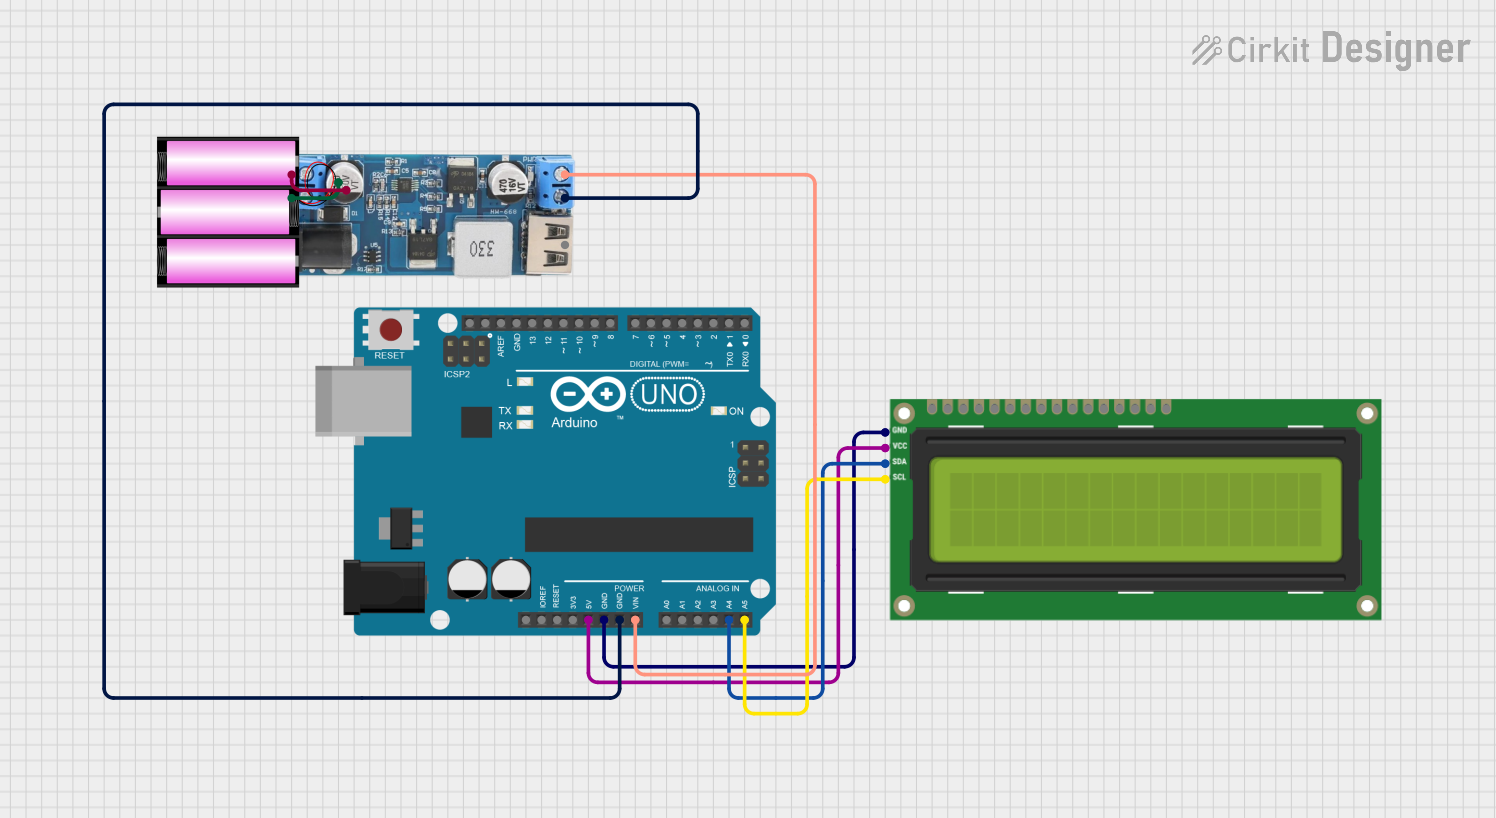
Interfacing with a Microcontroller

  1. Power Connections: Connect the GND pin to the ground of your microcontroller and the VCC pin to a 5V supply.
  2. Serial Connection: Connect the RX pin of the backpack to the TX pin of your microcontroller, and the TX pin of the backpack to the RX pin of your microcontroller.
  3. Software Configuration: Set the baud rate of your microcontroller's serial port to match the backpack's default baud rate (9600 bps) or the rate you configured.

Important Considerations and Best Practices

  • Ensure that the power supply is stable and does not exceed 5V.
  • Always disconnect the USB connection when interfacing with a microcontroller to avoid conflicts on the serial lines.
  • Use a current limiting resistor if you are connecting LEDs or other components to the backpack.

Example Code for Arduino UNO

#include <SoftwareSerial.h>

// RX and TX pins for software serial connection
#define BACKPACK_RX 10
#define BACKPACK_TX 11

// Set up a new software serial port
SoftwareSerial backpackSerial(BACKPACK_RX, BACKPACK_TX);

void setup() {
  // Start the hardware serial port
  Serial.begin(9600);
  // Start the software serial port
  backpackSerial.begin(9600);
  // Clear the LCD screen
  backpackSerial.write(254); // Command prefix
  backpackSerial.write(1);   // Clear screen command
}

void loop() {
  // Send a string to the LCD
  backpackSerial.print("Hello, World!");
  // Wait for 2 seconds
  delay(2000);
  // Clear the screen
  backpackSerial.write(254); // Command prefix
  backpackSerial.write(1);   // Clear screen command
  // Wait for another 2 seconds
  delay(2000);
}

Troubleshooting and FAQs

Common Issues

  • Display Not Responding: Ensure that the serial connections are correct and that the baud rate matches the configuration of the backpack.
  • Garbled Text: This usually indicates a baud rate mismatch. Double-check the baud rate settings on both the backpack and your microcontroller.
  • No Power to LCD: Verify that the VCC and GND connections are secure and that the power supply is at 5V.

Solutions and Tips for Troubleshooting

  • If you encounter issues, try connecting the backpack to a computer and use a serial terminal to send commands directly.
  • Use the backpackSerial.write(254); command prefix followed by the appropriate command to control the LCD.
  • Remember to add a delay after clearing the screen, as the LCD will need time to process the command.

FAQs

Q: Can I use the Adafruit USB Serial Char LCD Backpack with any character LCD?

A: The backpack is designed to work with most common 16x2 and 20x4 character LCDs. However, it's important to check the compatibility of your specific LCD.

Q: How do I change the baud rate of the backpack?

A: You can change the baud rate by sending a specific command sequence to the backpack. Refer to the Adafruit documentation for the exact command.

Q: Can I power the LCD display through the backpack?

A: Yes, the backpack can provide power to the LCD display as long as the power requirements do not exceed the capabilities of the backpack's voltage regulator.

Q: Is it possible to use the backpack with a computer?

A: Absolutely. The backpack can be connected to a computer's USB port, and you can interact with it using a serial terminal program.