How to Use 테무 태양광 패널 100W 타입 2: Examples, Pinouts, and Specs
Introduction
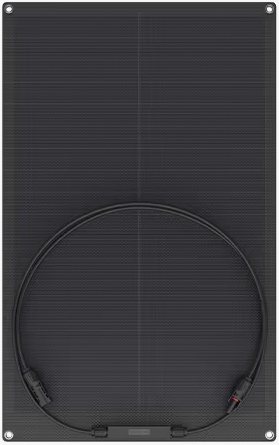
The 테무 태양광 패널 100W 타입 2 is a high-efficiency solar panel designed to convert sunlight into electricity with minimal energy loss. Manufactured by 테무, this 100W solar panel is ideal for a wide range of applications, including residential, commercial, and off-grid systems. Its robust design ensures durability and reliable performance in various environmental conditions.
Explore Projects Built with 테무 태양광 패널 100W 타입 2

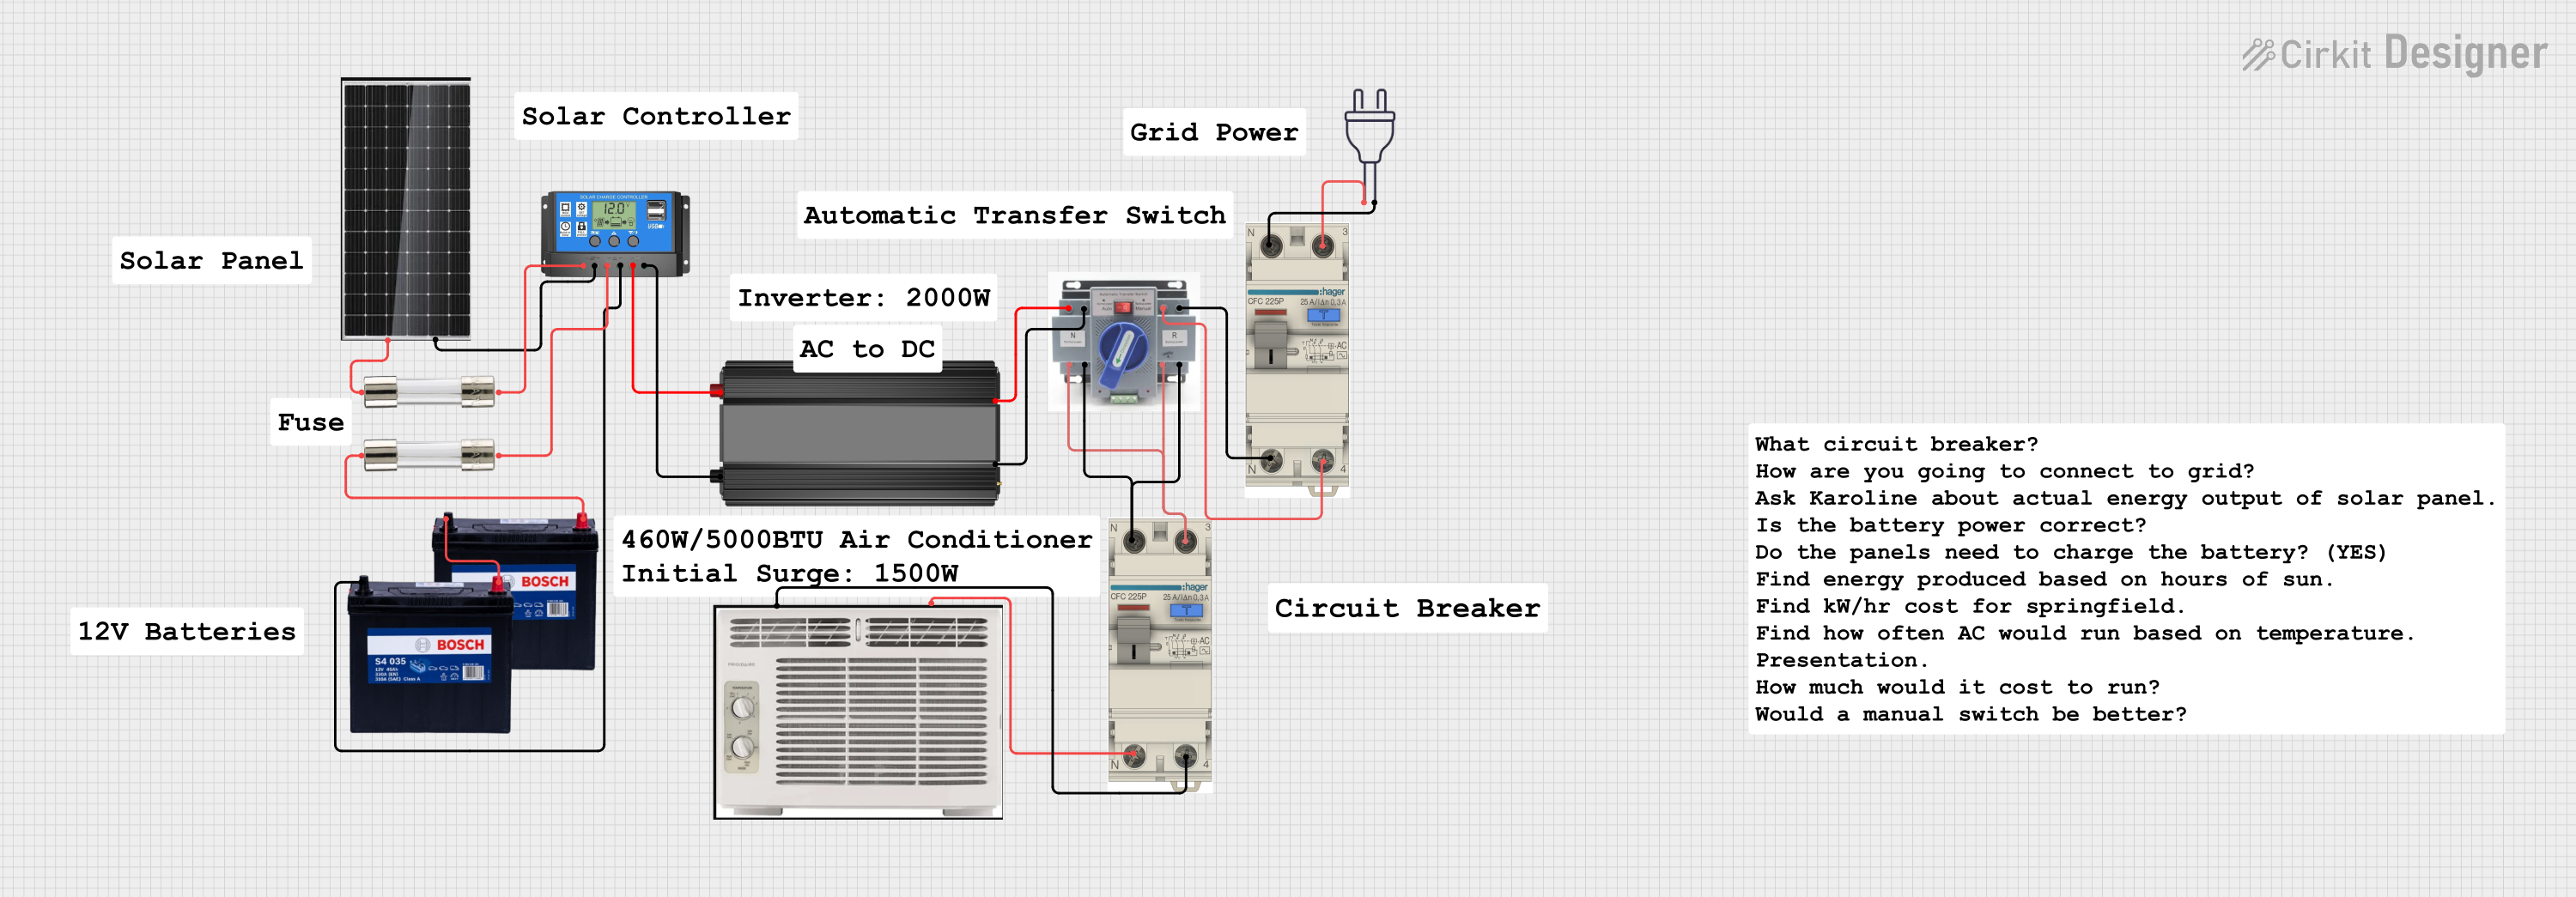
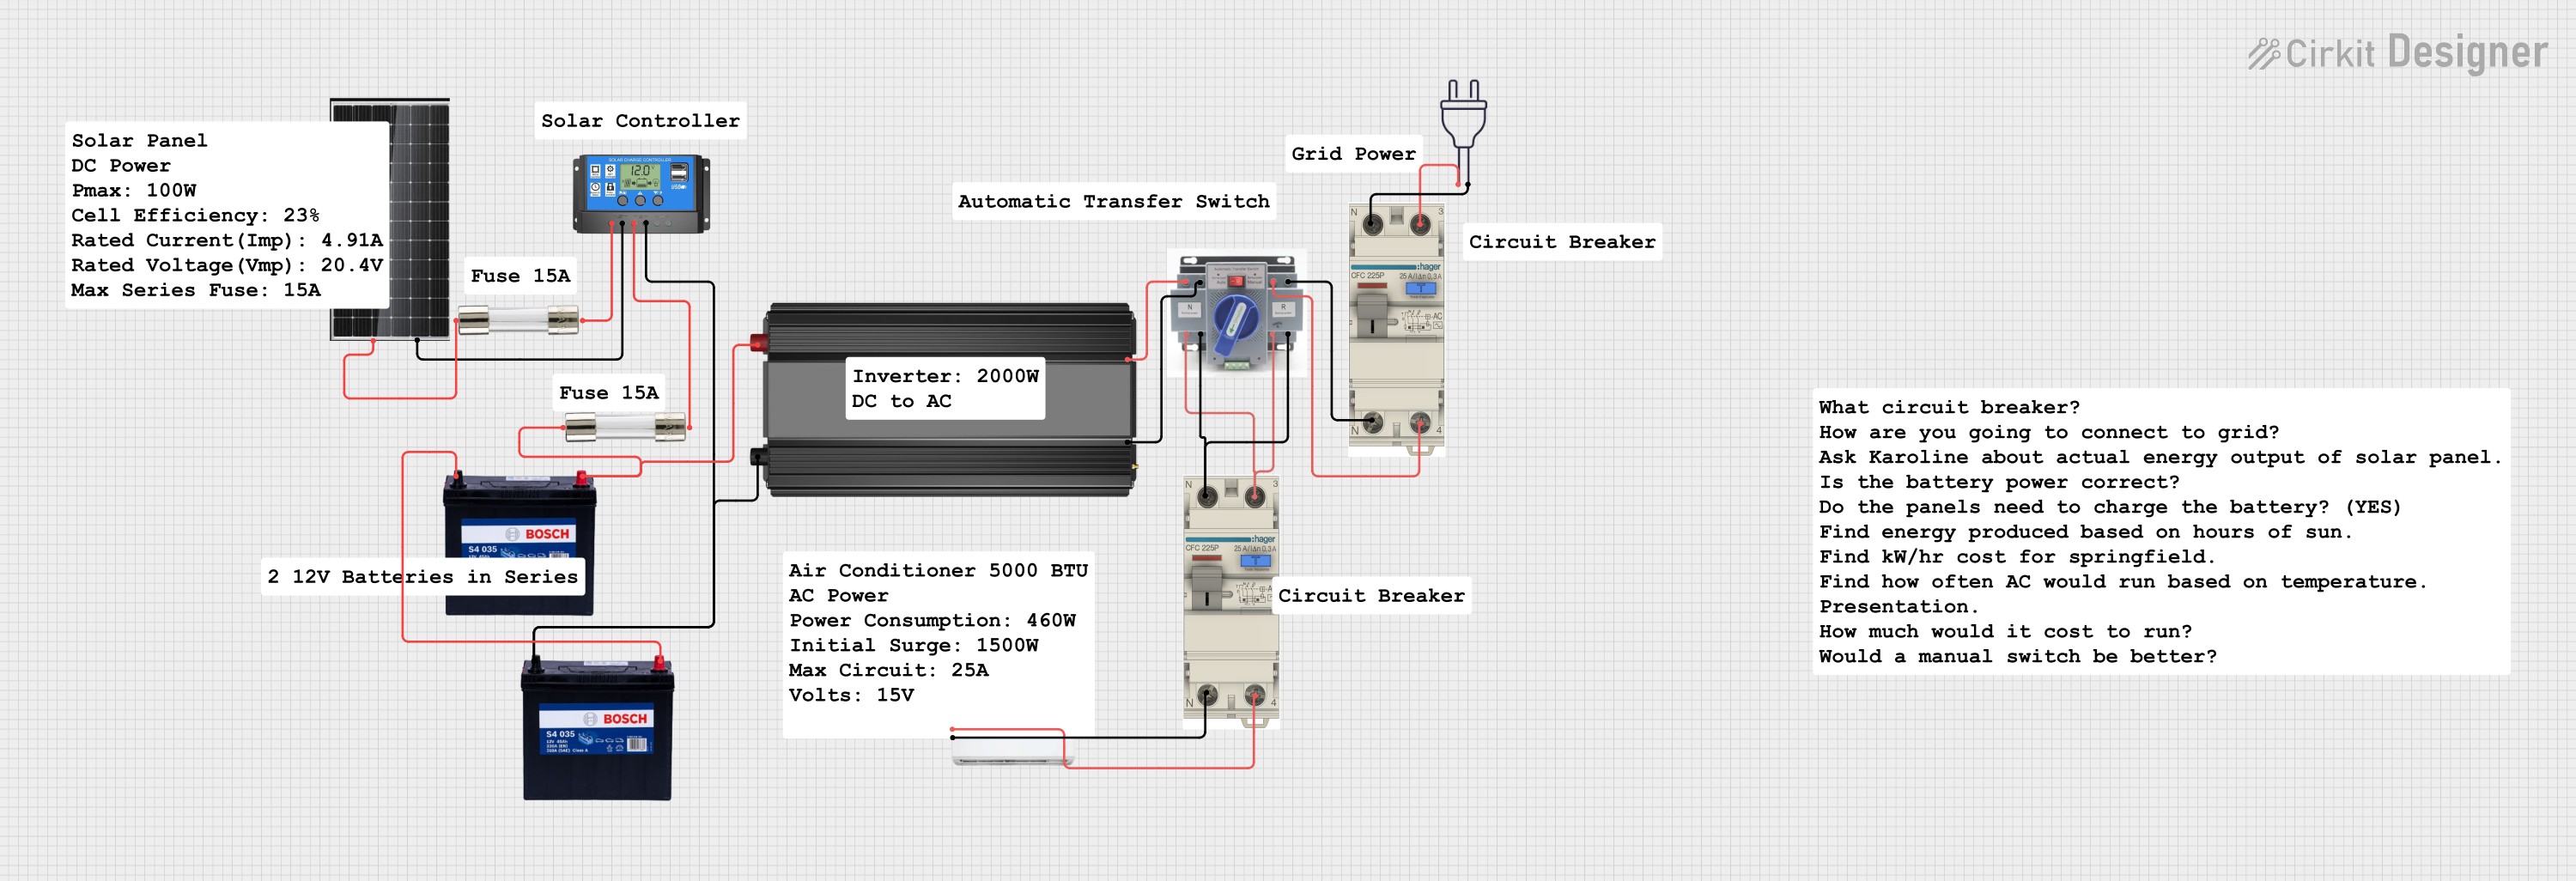
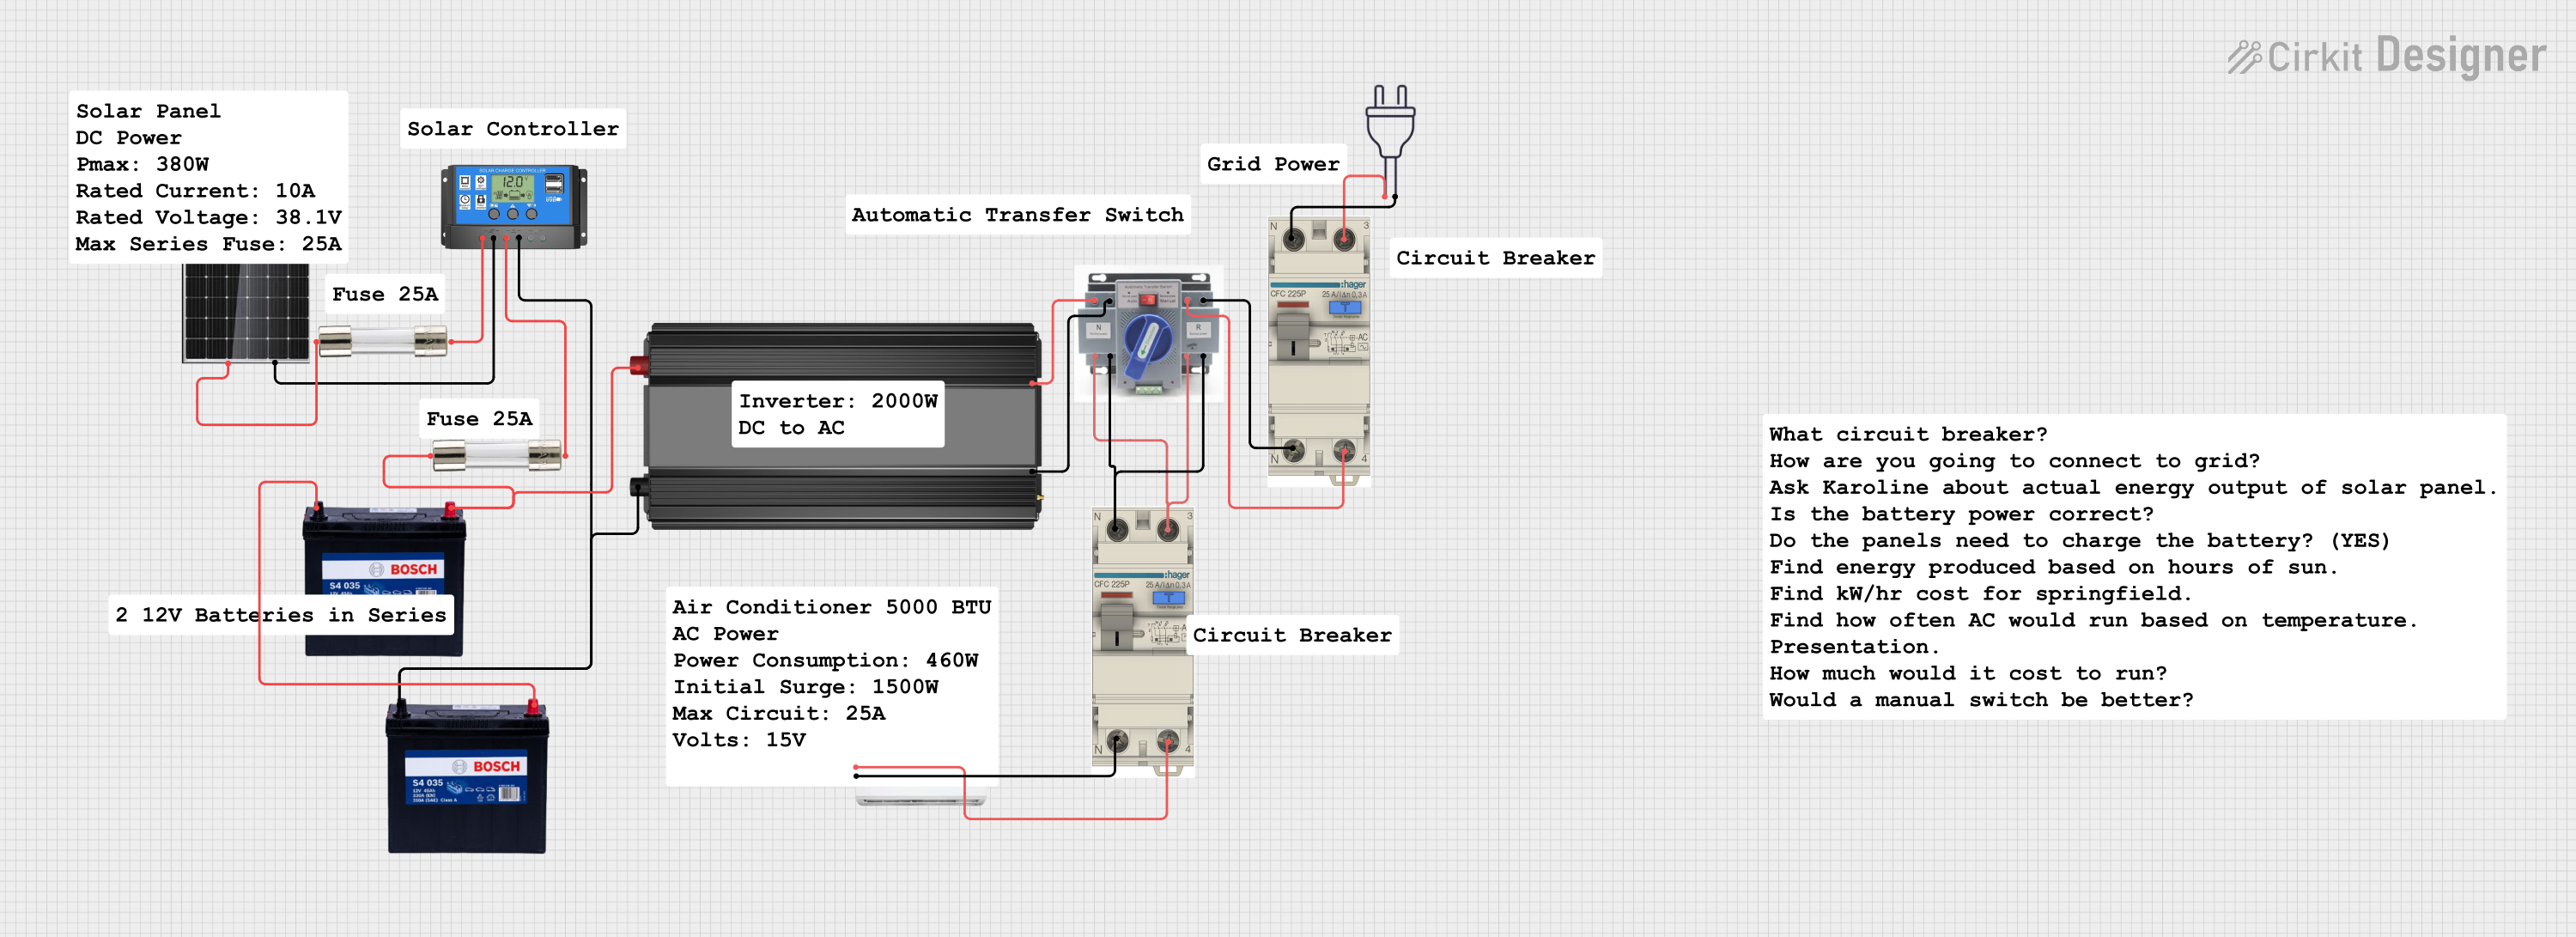
Explore Projects Built with 테무 태양광 패널 100W 타입 2
Common Applications
- Residential rooftop solar systems
- Commercial solar installations
- Off-grid power systems (e.g., RVs, boats, and remote cabins)
- Solar-powered lighting and small appliances
- Backup power systems
Technical Specifications
Key Technical Details
| Parameter | Value |
|---|---|
| Manufacturer | 테무 |
| Part ID | 테무 태양광 패널 100W 타입 2 |
| Rated Power Output | 100W |
| Maximum Power Voltage (Vmp) | 18V |
| Maximum Power Current (Imp) | 5.56A |
| Open Circuit Voltage (Voc) | 21.6V |
| Short Circuit Current (Isc) | 5.95A |
| Efficiency | ≥ 20% |
| Dimensions | 1200mm x 540mm x 35mm |
| Weight | 7.5kg |
| Operating Temperature | -40°C to +85°C |
| Connector Type | MC4 |
| Frame Material | Anodized aluminum alloy |
| Glass Type | Tempered, anti-reflective |
| IP Rating | IP65 |
Pin Configuration and Descriptions
The 테무 태양광 패널 100W 타입 2 uses standard MC4 connectors for electrical connections. Below is the pin configuration:
| Pin Name | Description |
|---|---|
| Positive (+) | Positive terminal for DC output |
| Negative (-) | Negative terminal for DC output |
Usage Instructions
How to Use the Component in a Circuit
Positioning the Panel:
- Install the panel in a location with maximum sunlight exposure.
- Ensure the panel is tilted at an angle optimal for your geographic location.
- Avoid shading from nearby objects like trees or buildings.
Connecting the Panel:
- Use MC4-compatible cables to connect the panel to your system.
- Connect the positive terminal of the panel to the positive input of your charge controller or inverter.
- Similarly, connect the negative terminal to the negative input.
Using with a Charge Controller:
- Always use a charge controller to regulate the voltage and current from the panel to prevent overcharging your battery.
- Ensure the charge controller is rated for at least 100W and supports the panel's voltage and current specifications.
Connecting to an Arduino UNO (Optional):
- If using the panel to power an Arduino UNO, connect the panel to a 12V battery via a charge controller.
- Use a DC-DC step-down converter to regulate the voltage to 5V for the Arduino UNO.
Example Arduino code to monitor battery voltage:
const int analogPin = A0; // Pin connected to the voltage divider float voltage = 0.0; void setup() { Serial.begin(9600); // Initialize serial communication } void loop() { int sensorValue = analogRead(analogPin); // Read the analog input voltage = sensorValue * (5.0 / 1023.0) * 2; // Multiply by 2 due to the voltage divider Serial.print("Battery Voltage: "); Serial.print(voltage); Serial.println(" V"); delay(1000); // Wait for 1 second }Note: Use a voltage divider circuit to scale down the battery voltage to a safe range for the Arduino's analog input.
Important Considerations and Best Practices
- Safety: Always handle the panel with care to avoid damaging the glass or frame.
- Wiring: Use appropriately rated cables to handle the panel's current output.
- Maintenance: Clean the panel surface periodically to remove dirt and debris for optimal performance.
- Overvoltage Protection: Use a charge controller or voltage regulator to protect connected devices from overvoltage.
Troubleshooting and FAQs
Common Issues and Solutions
| Issue | Possible Cause | Solution |
|---|---|---|
| Low power output | Panel is shaded or dirty | Remove obstructions and clean the panel surface. |
| No power output | Loose or incorrect connections | Check all connections and ensure proper polarity. |
| Overheating of components | Poor ventilation or excessive load | Ensure proper airflow and reduce the load. |
| Charge controller not working | Incompatible voltage or current rating | Verify the charge controller's specifications. |
FAQs
Can I connect multiple panels in series or parallel?
- Yes, you can connect multiple panels in series to increase voltage or in parallel to increase current. Ensure your charge controller or inverter supports the combined output.
What is the lifespan of this solar panel?
- The panel is designed to last over 25 years with proper maintenance.
Can this panel charge a 12V battery directly?
- No, you must use a charge controller to regulate the voltage and current for safe charging.
Is the panel waterproof?
- Yes, the panel has an IP65 rating, making it resistant to water and dust.
By following this documentation, you can effectively integrate the 테무 태양광 패널 100W 타입 2 into your solar energy system for reliable and efficient performance.