How to Use JSN-SR04T Ultrasonic Sensor: Examples, Pinouts, and Specs
Introduction
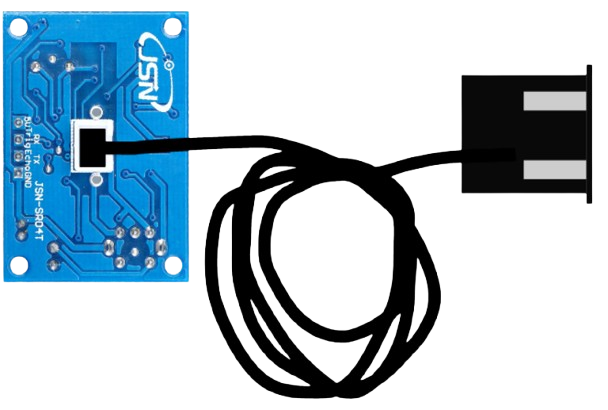
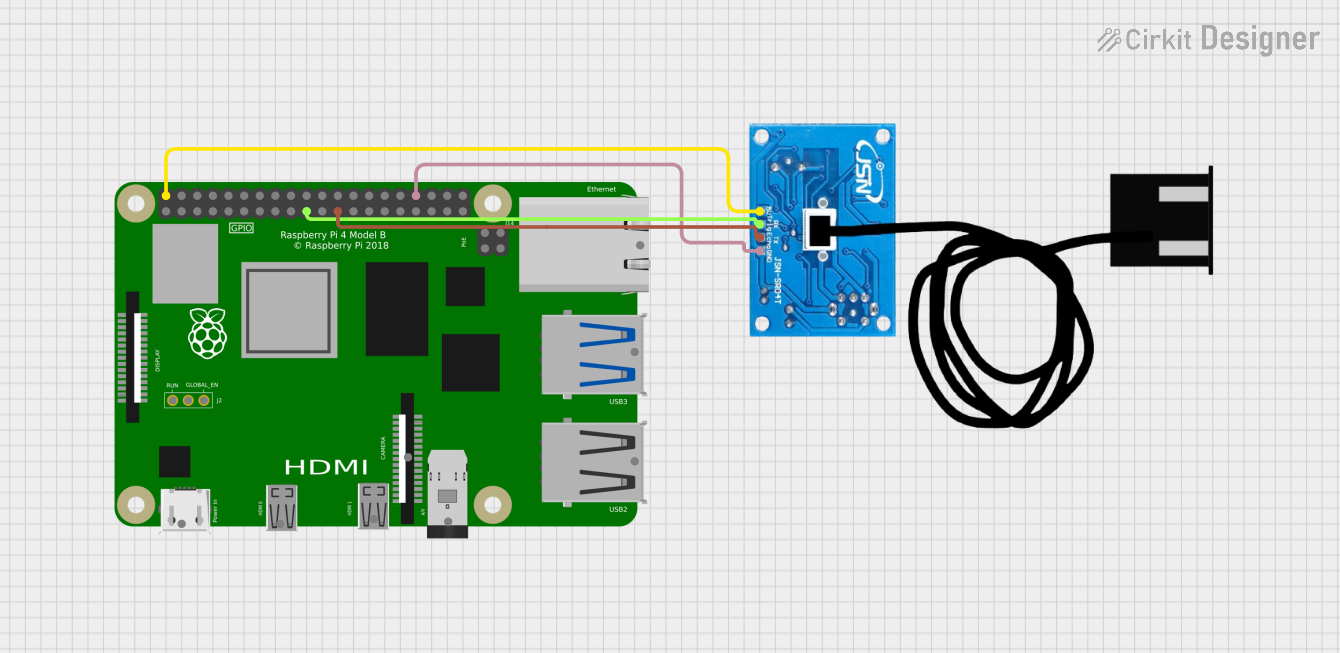
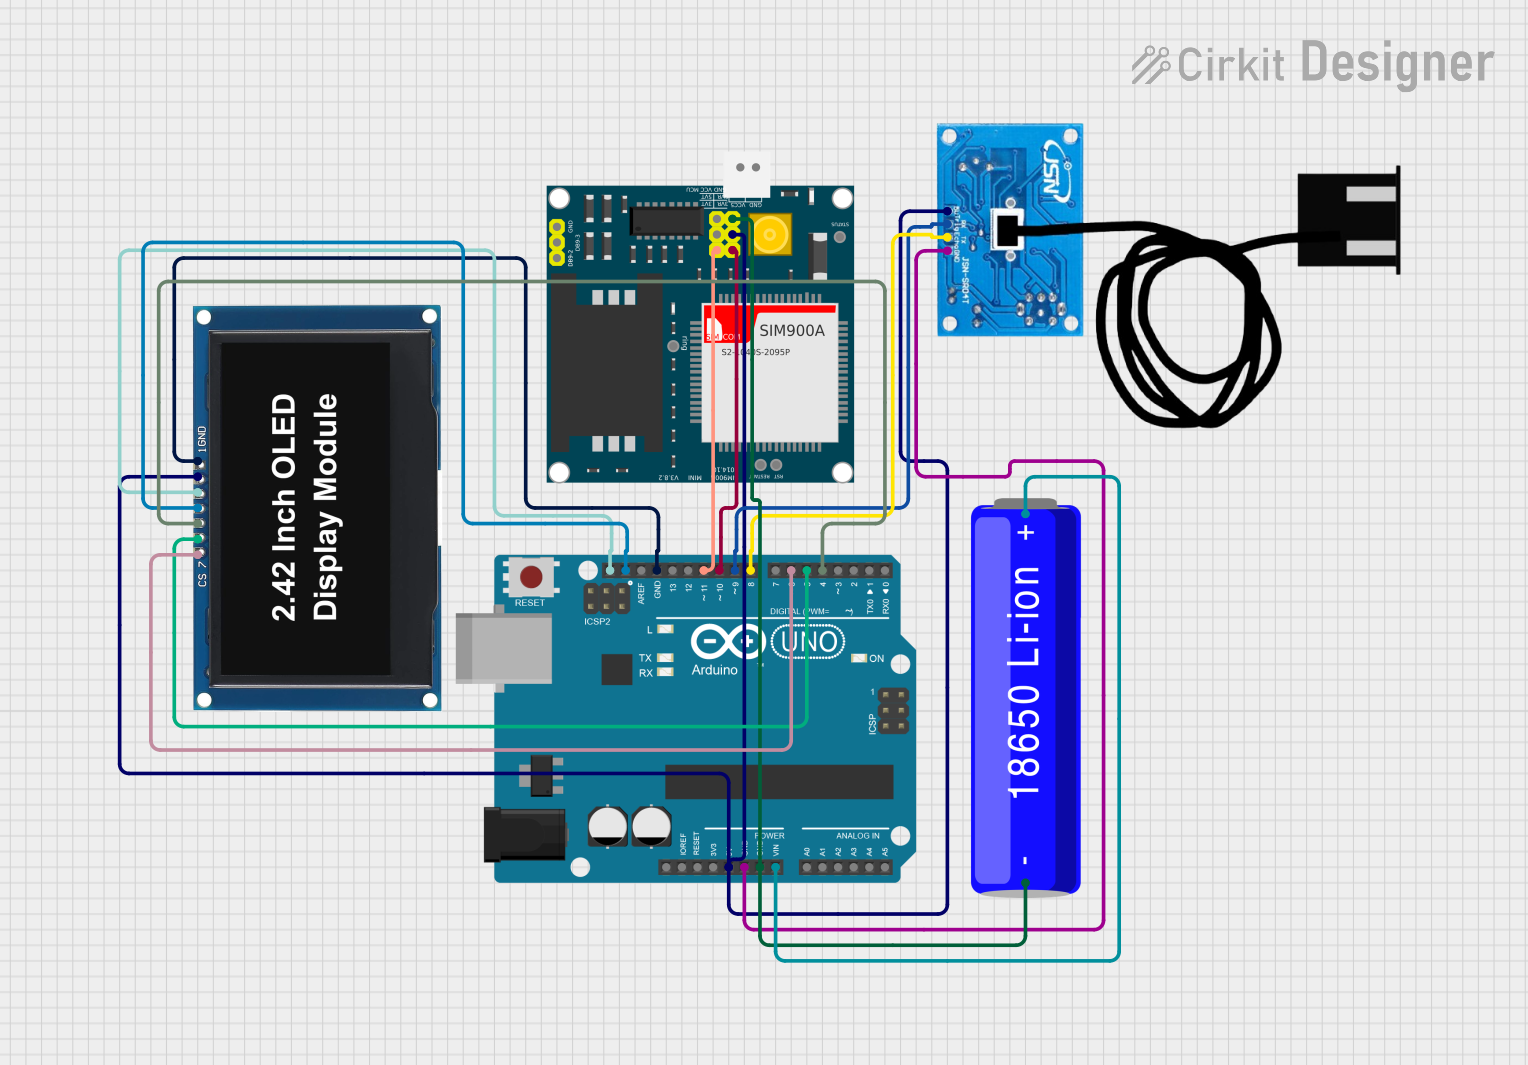
The JSN-SR04T Ultrasonic Sensor is a versatile and waterproof distance measuring module that utilizes ultrasonic waves to determine the distance to an object. It is widely used in various applications such as robotics, automation, vehicle parking sensors, obstacle avoidance systems, and IoT projects. The sensor is designed to be robust and reliable, making it suitable for outdoor environments and harsh conditions.
Explore Projects Built with JSN-SR04T Ultrasonic Sensor
Explore Projects Built with JSN-SR04T Ultrasonic Sensor
Technical Specifications
Key Technical Details
- Operating Voltage: 5V DC
- Quiescent Current: <5mA
- Total Current Work: 30mA
- Acoustic Emission Frequency: 40kHz
- Max Range: 4.5m
- Min Range: 25cm
- Resolution: 1cm
- Measuring Angle: 75 degrees
- Working Temperature: -20°C to +70°C
Pin Configuration and Descriptions
| Pin Number | Pin Name | Description |
|---|---|---|
| 1 | VCC | Power supply (5V DC) |
| 2 | Trig | Trigger input (TTL pulse) |
| 3 | Echo | Echo output (TTL level signal) |
| 4 | GND | Ground |
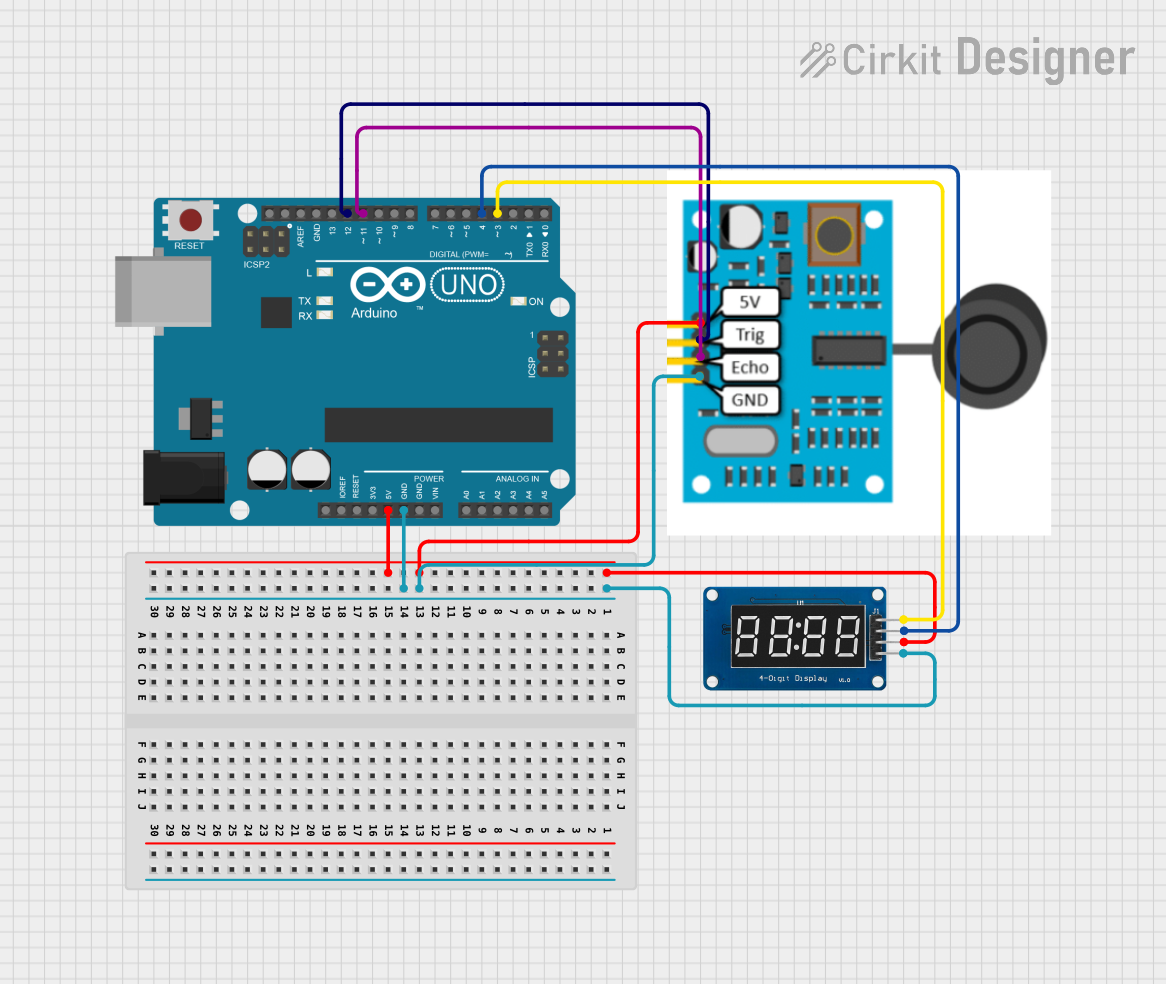
Usage Instructions
Connecting to a Circuit
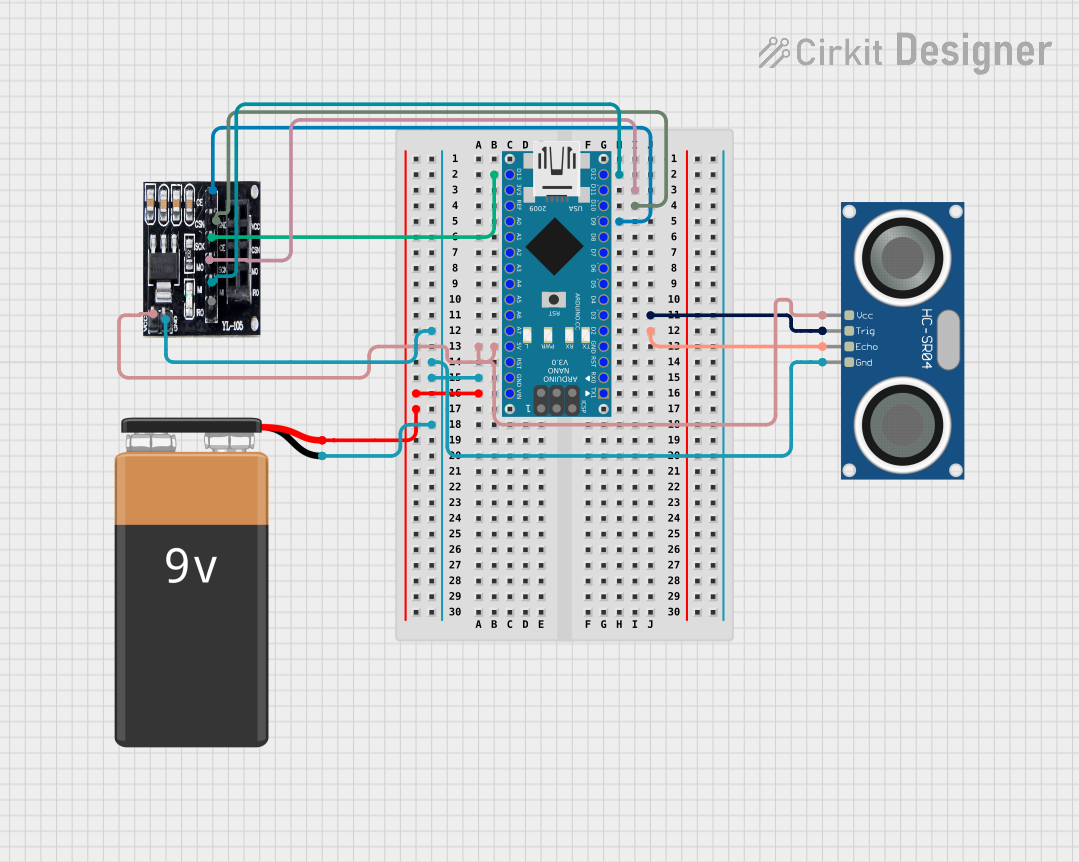
- Connect the VCC pin to the 5V output on the Arduino UNO.
- Connect the GND pin to one of the GND pins on the Arduino UNO.
- Connect the Trig pin to a digital I/O pin on the Arduino UNO.
- Connect the Echo pin to another digital I/O pin on the Arduino UNO.
Important Considerations and Best Practices
- Ensure that the power supply is stable and does not exceed 5V.
- Avoid placing the sensor in a location where it can be exposed to direct sunlight, which may interfere with the sensor's operation.
- Keep the sensor away from acoustic noise and surfaces that may absorb or deflect ultrasonic waves irregularly.
- Use a pull-up resistor if the Echo pin is experiencing erratic readings.
Sample Arduino Code
#include <NewPing.h>

#define TRIGGER_PIN  12  // Arduino pin tied to trigger pin on the sensor.
#define ECHO_PIN     11  // Arduino pin tied to echo pin on the sensor.
#define MAX_DISTANCE 450 // Maximum distance we want to ping for (in centimeters).

NewPing sonar(TRIGGER_PIN, ECHO_PIN, MAX_DISTANCE); // NewPing setup of pins and maximum distance.

void setup() {
  Serial.begin(9600); // Open serial monitor at 9600 baud to see ping results.
}

void loop() {
  delay(50); // Wait 50ms between pings (about 20 pings/sec). 29ms should be the shortest delay between pings.
  unsigned int uS = sonar.ping(); // Send ping, get ping time in microseconds (uS).
  Serial.print("Ping: ");
  Serial.print(uS / US_ROUNDTRIP_CM); // Convert time into distance and print result (in cm).
  Serial.println("cm");
}
Troubleshooting and FAQs
Common Issues
- Inaccurate Readings: Ensure that the sensor is not facing any soft materials that can absorb the ultrasonic waves. Also, check for any obstacles within the range that might cause multiple reflections.
- No Readings: Verify that all connections are secure and the sensor is powered correctly. Check the Arduino code for correct pin assignments.
Solutions and Tips for Troubleshooting
- If the readings are sporadic, try adding a delay between measurements to allow the sensor to stabilize.
- Ensure that the sensor is mounted firmly and is not vibrating, as this can cause false readings.
- Use averaging or median filtering in your code to smooth out the sensor readings.
FAQs
Q: Can the JSN-SR04T sensor be used underwater? A: No, the JSN-SR04T is waterproof but not designed for underwater use.
Q: What is the maximum reliable range of the sensor? A: The maximum reliable range is up to 4.5 meters, but optimal performance is achieved within 25cm to 4m.
Q: How can I extend the sensor's wires? A: You can extend the wires using shielded cables to minimize interference. Keep the extension as short as possible to maintain signal integrity.