
How to Use DFRobot DFPlayer Mini: Examples, Pinouts, and Specs
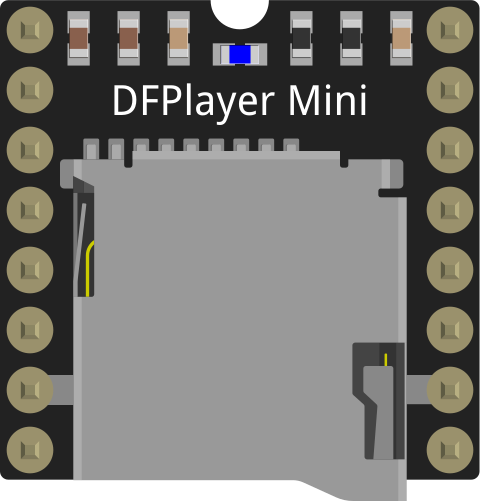
 Design with DFRobot DFPlayer Mini in Cirkit Designer
Introduction
The DFRobot DFPlayer Mini is a compact and cost-effective MP3 player module designed for embedded audio applications. It can play audio files directly from a micro SD card and features a built-in amplifier, making it suitable for standalone or microcontroller-based projects. The module supports various audio formats, including MP3, WAV, and WMA, and offers multiple control modes such as serial communication, AD key control, and GPIO control.
Explore Projects Built with DFRobot DFPlayer Mini
 Open Project in Cirkit Designer
 Open Project in Cirkit Designer
 Open Project in Cirkit Designer
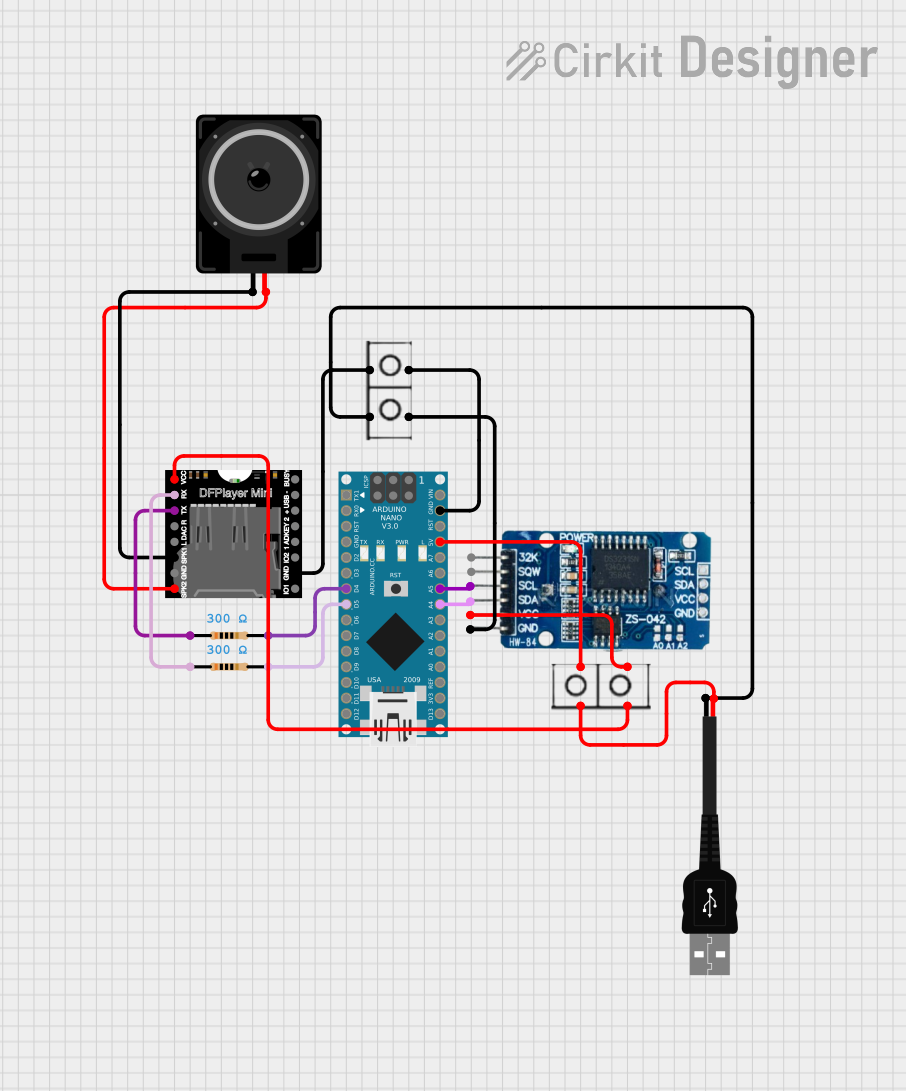 Open Project in Cirkit Designer
Explore Projects Built with DFRobot DFPlayer Mini
Open Project in Cirkit DesignerOpen Project in Cirkit DesignerOpen Project in Cirkit DesignerOpen Project in Cirkit DesignerCommon Applications
- Voice prompts in embedded systems
- Audio playback in IoT devices
- Interactive art installations
- Educational projects and DIY electronics
- Alarm systems with audio notifications
Technical Specifications
Key Technical Details
- Operating Voltage: 3.2V to 5.0V
- Operating Current: 20mA (idle), up to 100mA (playback)
- Audio Formats Supported: MP3, WAV, WMA
- Storage Support: Micro SD card (up to 32GB, FAT16/FAT32 file system)
- Output Options:
- Stereo audio output via DAC pins
- Mono audio output via built-in 3W amplifier
- Control Modes:
- Serial communication (UART)
- AD key control
- GPIO control
- Dimensions: 22mm x 20mm x 3.3mm
Pin Configuration and Descriptions
The DFPlayer Mini has 16 pins. Below is the pinout and description:
| Pin | Name | Description |
|---|---|---|
| 1 | VCC | Power supply input (3.2V to 5.0V). |
| 2 | RX | UART receive pin for serial communication. |
| 3 | TX | UART transmit pin for serial communication. |
| 4 | DAC_R | Right channel audio output (stereo). |
| 5 | DAC_L | Left channel audio output (stereo). |
| 6 | SPK_1 | Positive terminal for mono speaker output (built-in amplifier). |
| 7 | SPK_2 | Negative terminal for mono speaker output (built-in amplifier). |
| 8 | IO_1 | GPIO pin 1 for AD key or GPIO control. |
| 9 | IO_2 | GPIO pin 2 for AD key or GPIO control. |
| 10 | BUSY | Indicates playback status (HIGH when idle, LOW when playing). |
| 11 | GND | Ground connection. |
| 12 | ADKEY_1 | Analog input for AD key control. |
| 13 | ADKEY_2 | Analog input for AD key control. |
| 14 | SD/TF_CS | Chip select for micro SD card interface. |
| 15 | SD/TF_CLK | Clock signal for micro SD card interface. |
| 16 | SD/TF_DIO | Data input/output for micro SD card interface. |
Usage Instructions
How to Use the DFPlayer Mini in a Circuit
Power Supply:
- Connect the VCC pin to a 3.2V–5.0V power source and GND to ground.
- Ensure a stable power supply to avoid noise or malfunction.
Audio Output:
- For stereo output, connect DAC_R and DAC_L to an external amplifier or headphones.
- For mono output, connect a speaker (4Ω or 8Ω) to SPK_1 and SPK_2.
Control via UART:
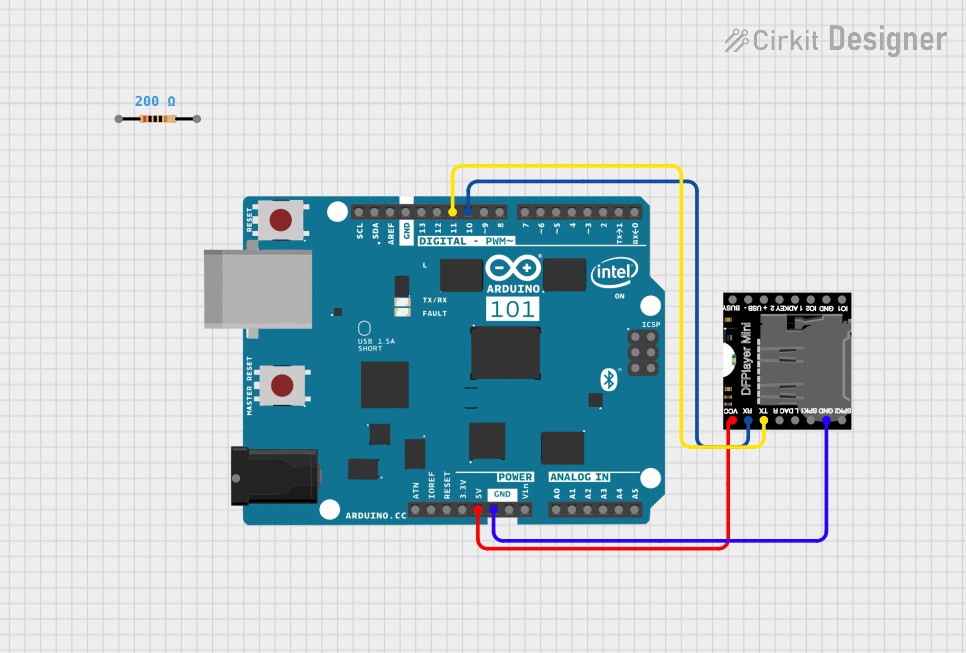
- Connect the RX pin to the TX pin of a microcontroller (e.g., Arduino UNO).
- Connect the TX pin to the RX pin of the microcontroller.
- Use a logic level converter if the microcontroller operates at 3.3V logic.
Micro SD Card:
- Format the micro SD card to FAT16 or FAT32.
- Load audio files onto the card and insert it into the DFPlayer Mini.
Serial Communication:
- Use the
SoftwareSeriallibrary on Arduino to communicate with the module. - Send commands to control playback, volume, and track selection.
- Use the
Important Considerations and Best Practices
- Use decoupling capacitors (e.g., 100µF and 0.1µF) near the power pins to reduce noise.
- Avoid using long wires for the speaker output to minimize interference.
- Ensure the micro SD card is properly formatted and securely inserted.
- Use resistors or a logic level shifter if interfacing with a 3.3V microcontroller.
Example Code for Arduino UNO
#include "SoftwareSerial.h"

// Define RX and TX pins for SoftwareSerial
SoftwareSerial mySerial(10, 11); // RX = Pin 10, TX = Pin 11

void setup() {
  mySerial.begin(9600); // Initialize DFPlayer Mini at 9600 baud rate
  Serial.begin(9600);   // Initialize Serial Monitor for debugging

  // Send initialization command to DFPlayer Mini
  mySerial.write(0x7E); // Start byte
  mySerial.write(0xFF); // Version
  mySerial.write(0x06); // Length
  mySerial.write(0x09); // Command: Select device
  mySerial.write(0x00); // Feedback
  mySerial.write(0x02); // Parameter: TF card
  mySerial.write(0xFE); // Checksum high byte
  mySerial.write(0xED); // Checksum low byte
  mySerial.write(0xEF); // End byte

  Serial.println("DFPlayer Mini initialized.");
}

void loop() {
  // Example: Play the first track
  mySerial.write(0x7E); // Start byte
  mySerial.write(0xFF); // Version
  mySerial.write(0x06); // Length
  mySerial.write(0x03); // Command: Play track
  mySerial.write(0x00); // Feedback
  mySerial.write(0x00); // Parameter high byte
  mySerial.write(0x01); // Parameter low byte (track number)
  mySerial.write(0xFE); // Checksum high byte
  mySerial.write(0xF7); // Checksum low byte
  mySerial.write(0xEF); // End byte

  delay(5000); // Wait for 5 seconds before repeating
}
Troubleshooting and FAQs
Common Issues and Solutions
No Sound Output:
- Ensure the speaker is properly connected to SPK_1 and SPK_2.
- Verify that the audio file format is supported (MP3, WAV, or WMA).
- Check the micro SD card for proper formatting (FAT16/FAT32).
Module Not Responding:
- Confirm the RX and TX connections between the module and microcontroller.
- Ensure the baud rate is set to 9600 in the code.
- Check the power supply voltage (3.2V–5.0V).
Playback Stops Unexpectedly:
- Verify the micro SD card is securely inserted.
- Use a high-quality micro SD card to avoid read errors.
Noise or Distortion in Audio:
- Add decoupling capacitors near the power pins.
- Use shielded cables for audio connections.
FAQs
Q: Can I use the DFPlayer Mini without a microcontroller?
A: Yes, the module supports standalone operation using AD key or GPIO control.
Q: What is the maximum speaker power supported?
A: The built-in amplifier supports up to 3W for an 8Ω speaker.
Q: How many tracks can the module handle?
A: The DFPlayer Mini can handle up to 3000 audio files stored in the root directory or folders.
Q: Can I adjust the volume programmatically?
A: Yes, volume can be controlled via UART commands or AD key inputs.